Wednesday, June 22, 2016

Spanish Town - San Lorenzo Mártir (basic construction)


In addition to the other buildings for my Spanish colonial town (details of the first building can be found here: Part 1, Part 2), I wanted to have a large church. I wanted an imposing structure that would dominate the center of the town visually, and felt a church would be the perfect thing.

I began looking for inspiration by looking at the church that Gary Chalk built in an article for Wargames Illustrated.
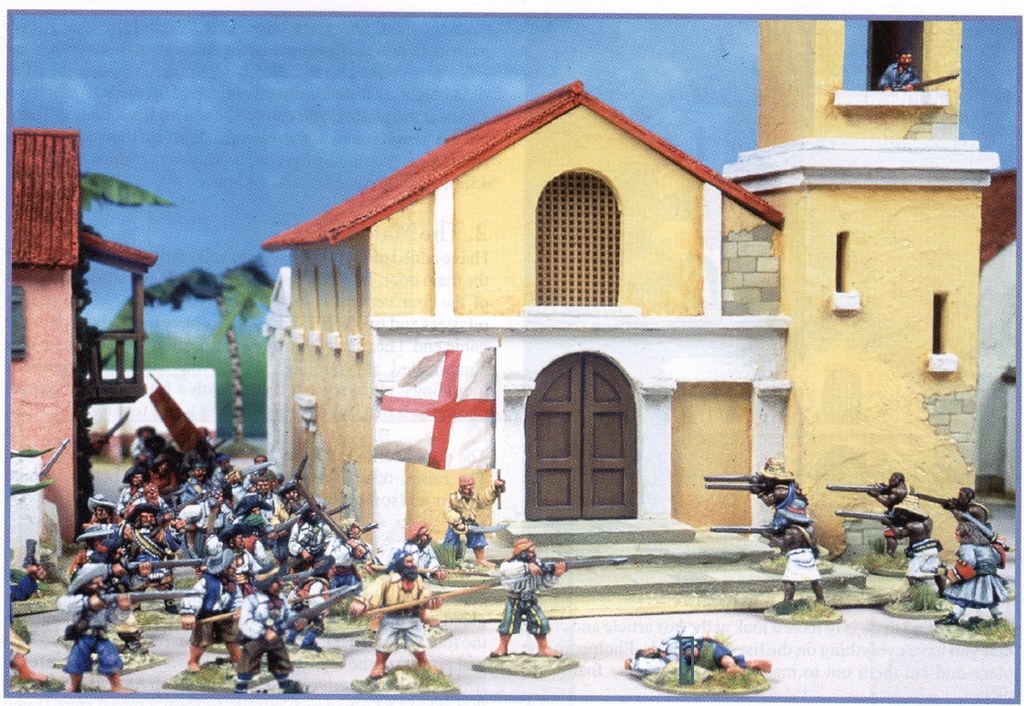
Church built by Gary Chalk.

I am a big fan of Mr. Chalk's work, and decided I'd follow his lead, My church is designed a little differently and has different dimensions, but has a similar look.

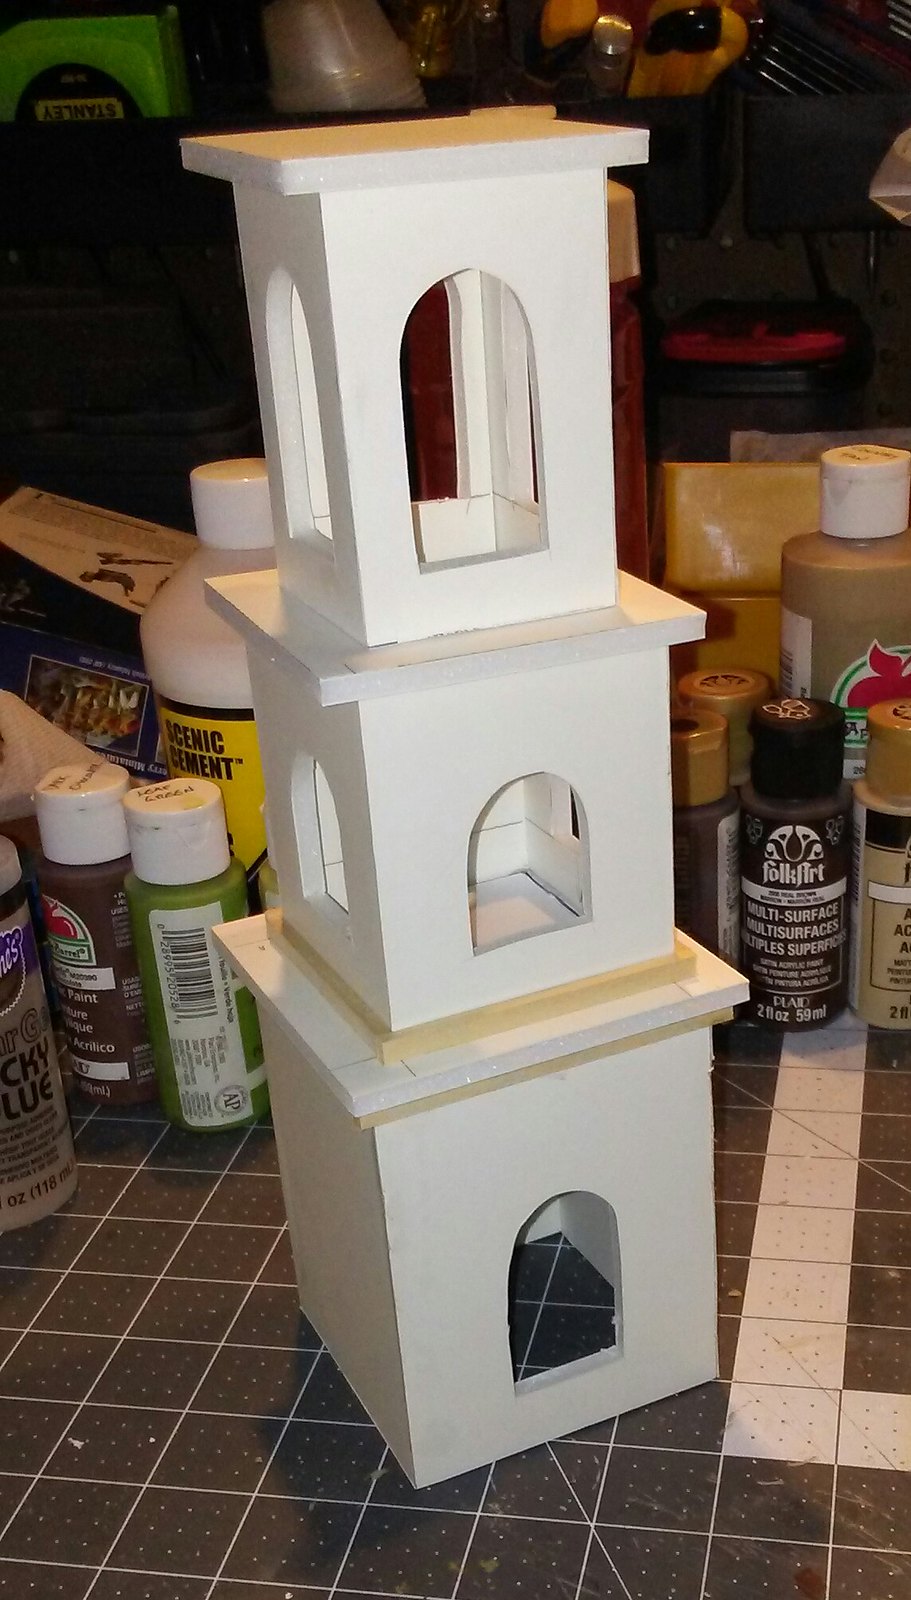
I began work on the bell tower portion of the church. As is my custom, I built the main structure of the church from foamcore, using wood strips and pieces to add relief and detail.
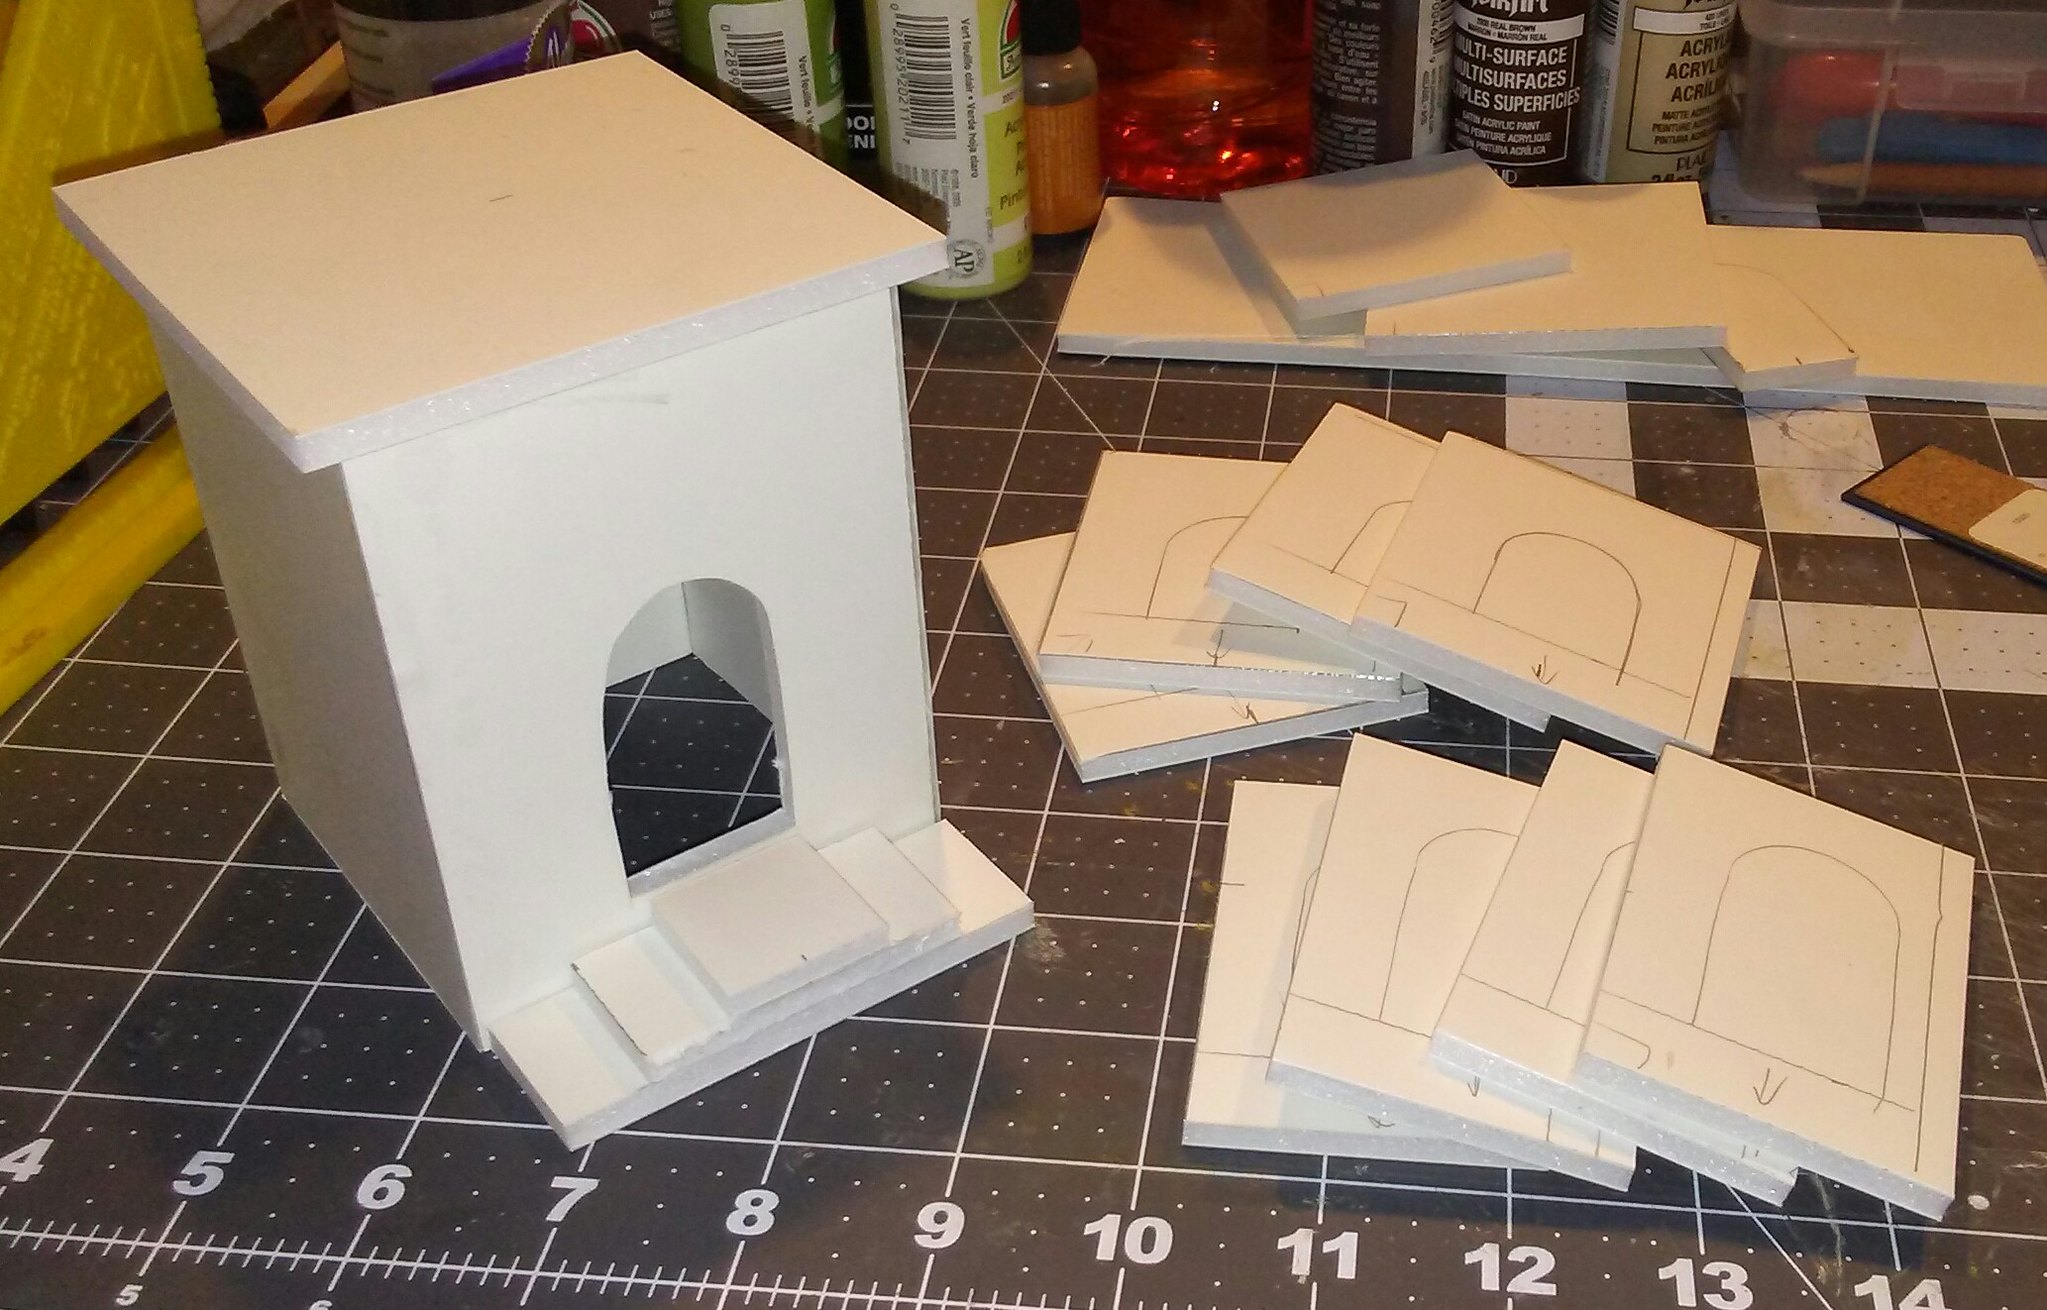
Bell tower construction begins.

Main tower structure assembled.

I sketched the front wall of the church directly on to the foamcore, and set it beside the tower to test size and fit. Unless I am working on a particularly complex building, I am a "trial and error" builder, and cut out the walls and parts as I need them, test fit them, then trim or re-cut them as needed.
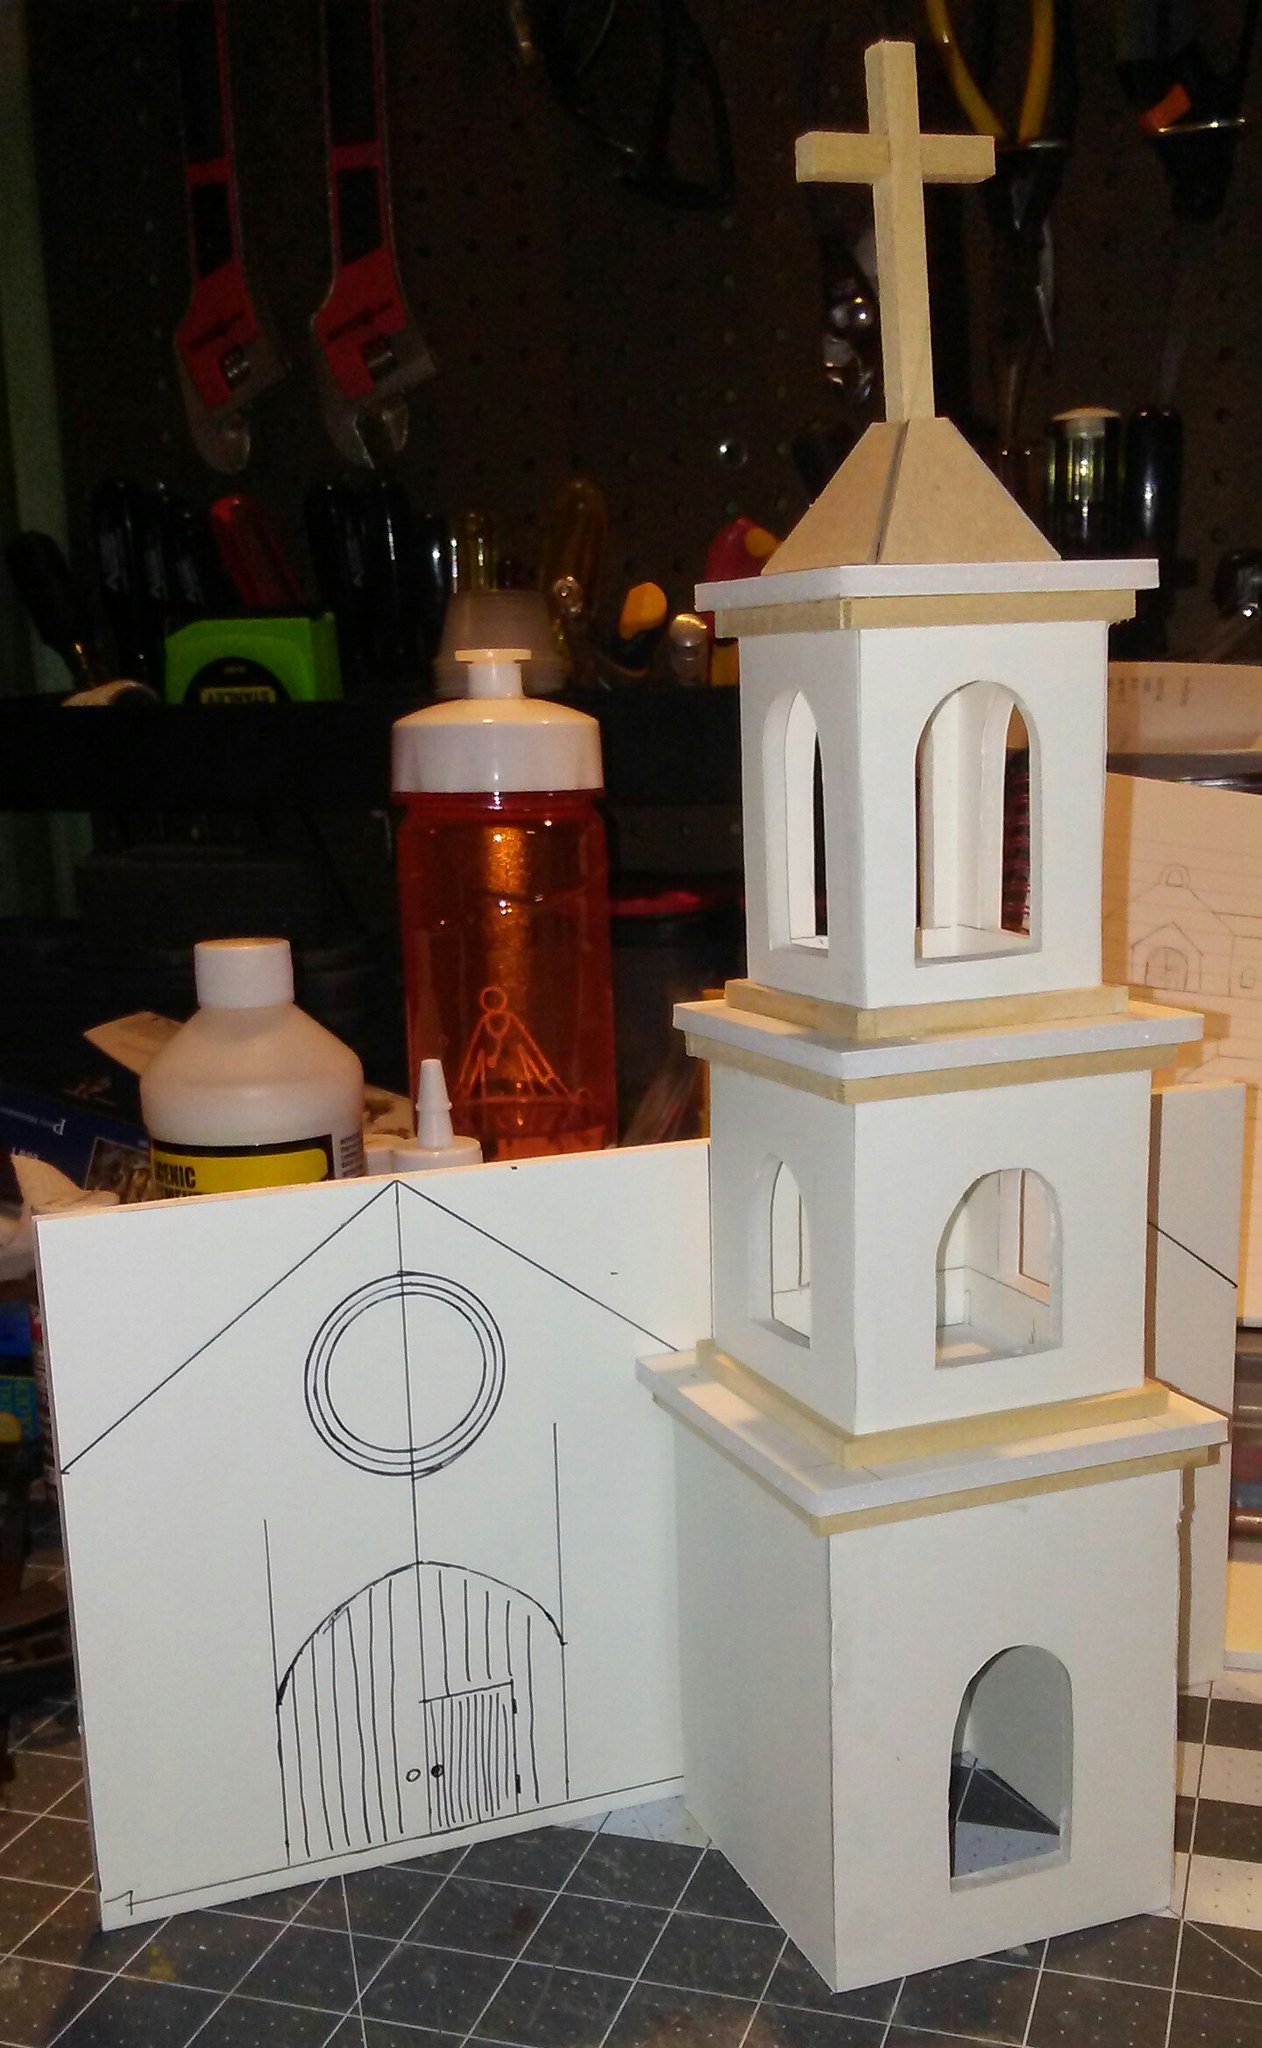
Tower beside sketched front wall.

Once I was happy with the size of the front wall, I cut a matching rear wall. I built an alcove into the back of the church in which I would place the altar. I used a couple of layers of foamcore to build up the rear of the church. I cut the front door from balsa, scribed lines and nail holes into it, and glued it into place. I also cut some decorative beams from scrap pieces of wood and glued them on to the front of the church. I also cut out circular holes for large windows on each wall.

Front and rear walls.

Bumped out section in rear wall.

Following that, I cut out the side walls. I cut out small rectangular windows on the sides, and added a door near the altar for the priests to use. Then I glued the four walls together and the main structure was finished.


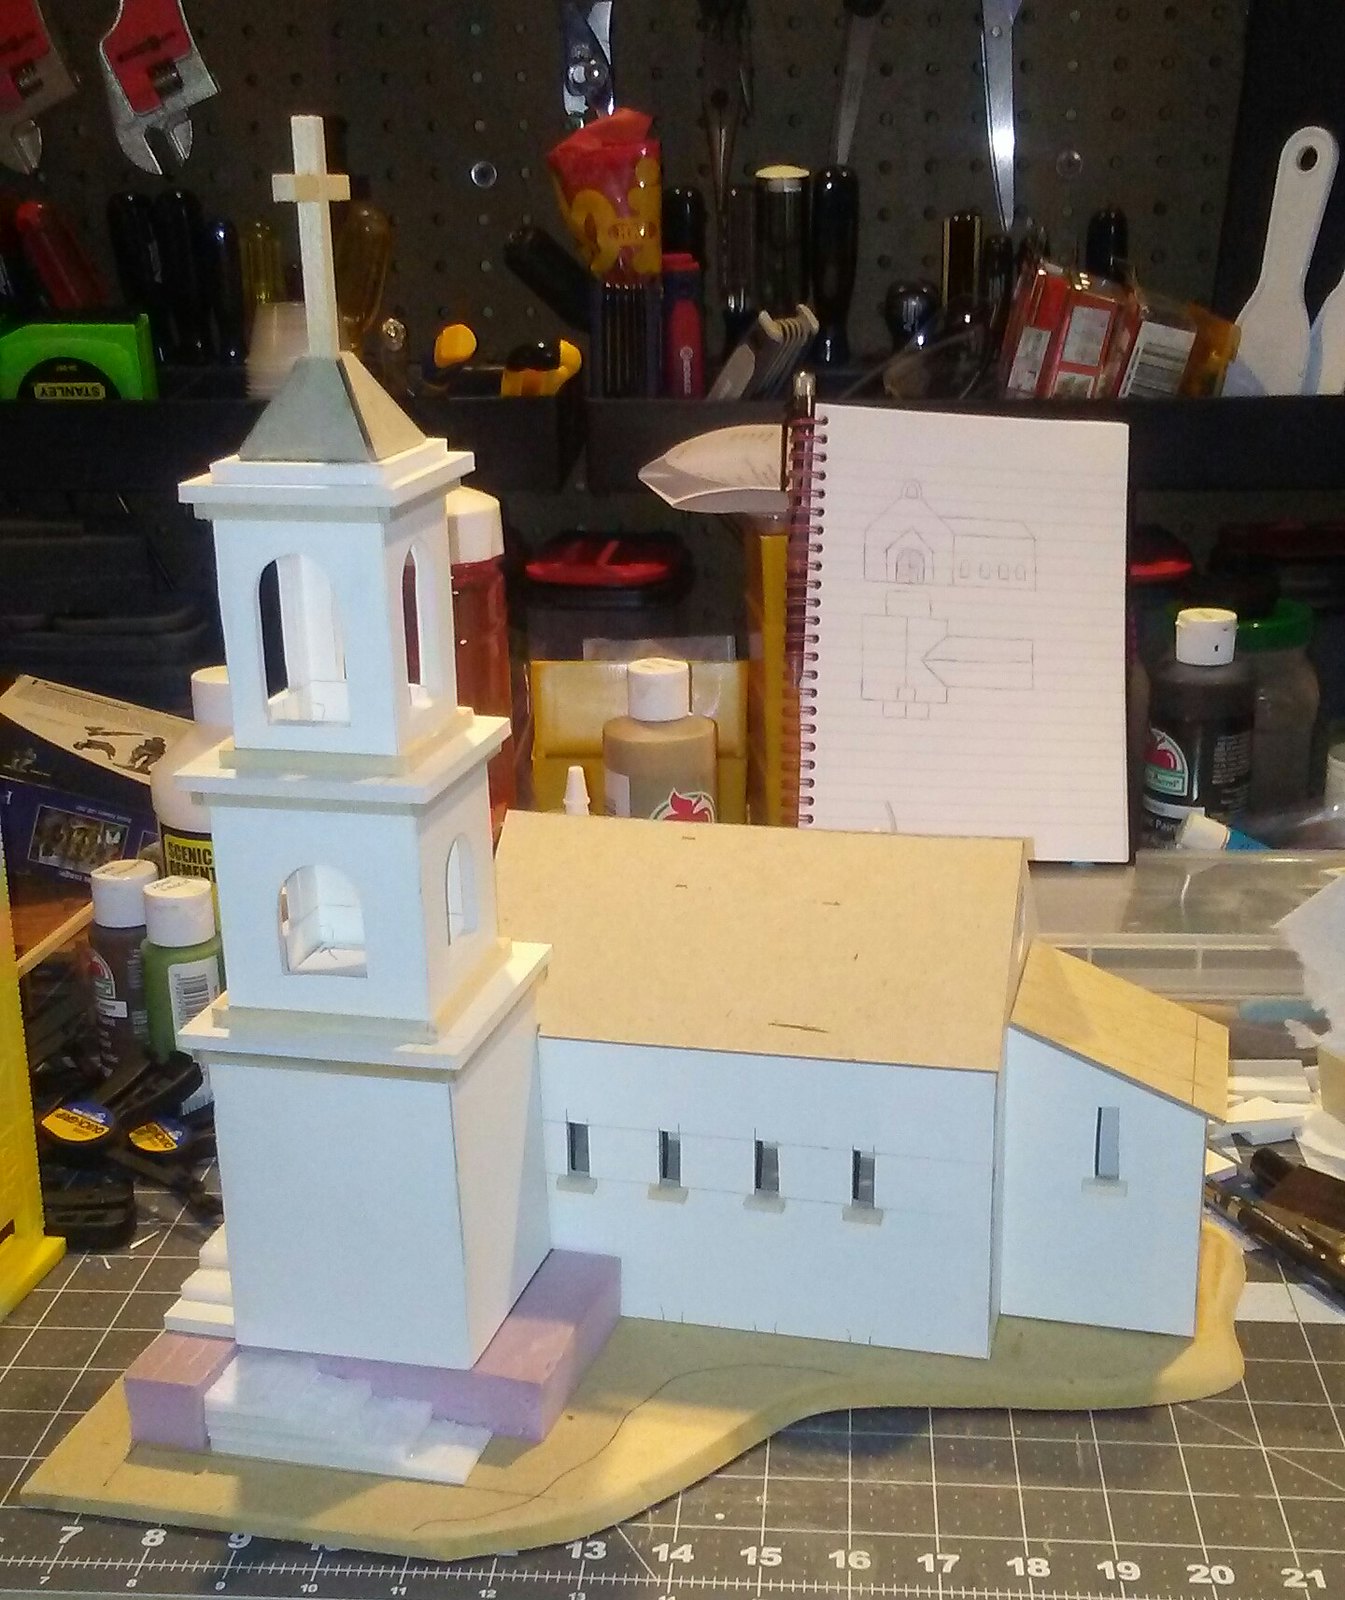
Main structure of church completed.

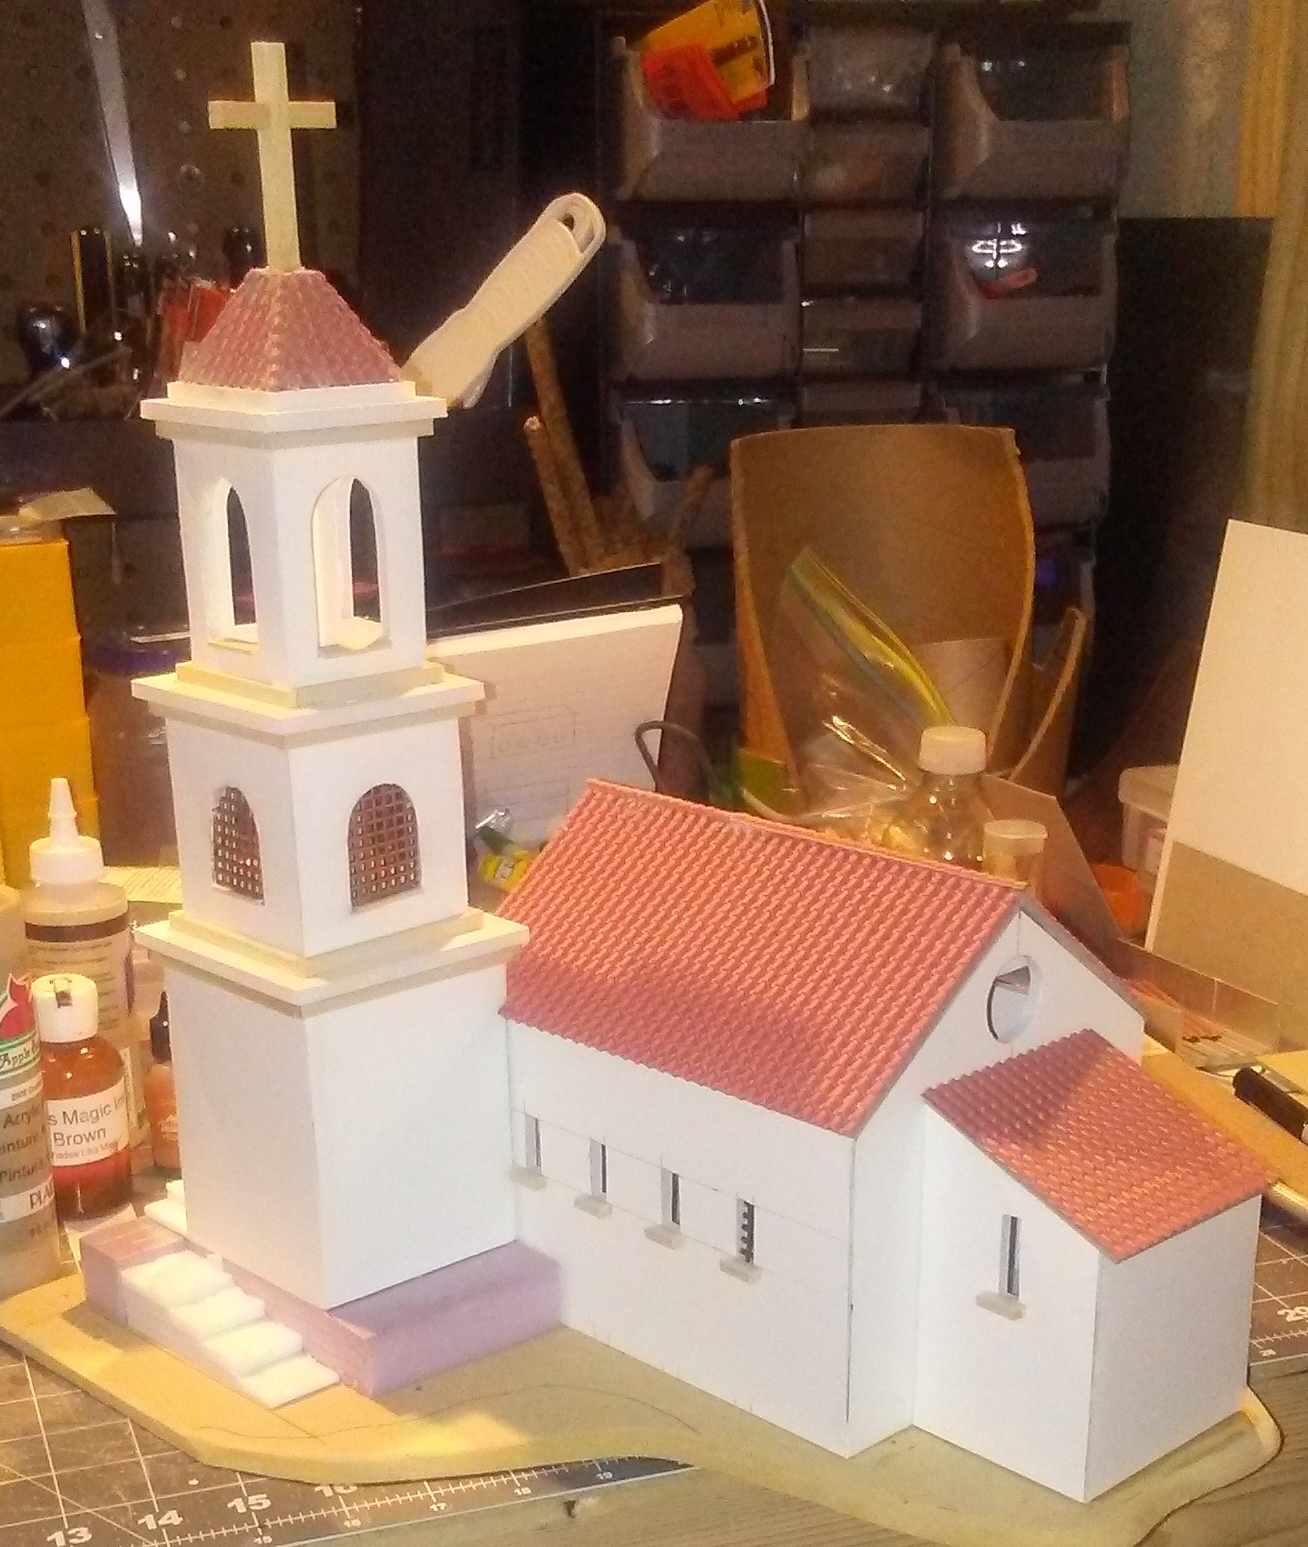
Once this was done, I realized that the tower would need to be elevated in order to fit properly against the side of the church. I cut a piece of pink insulation foam to use as the tower foundation.
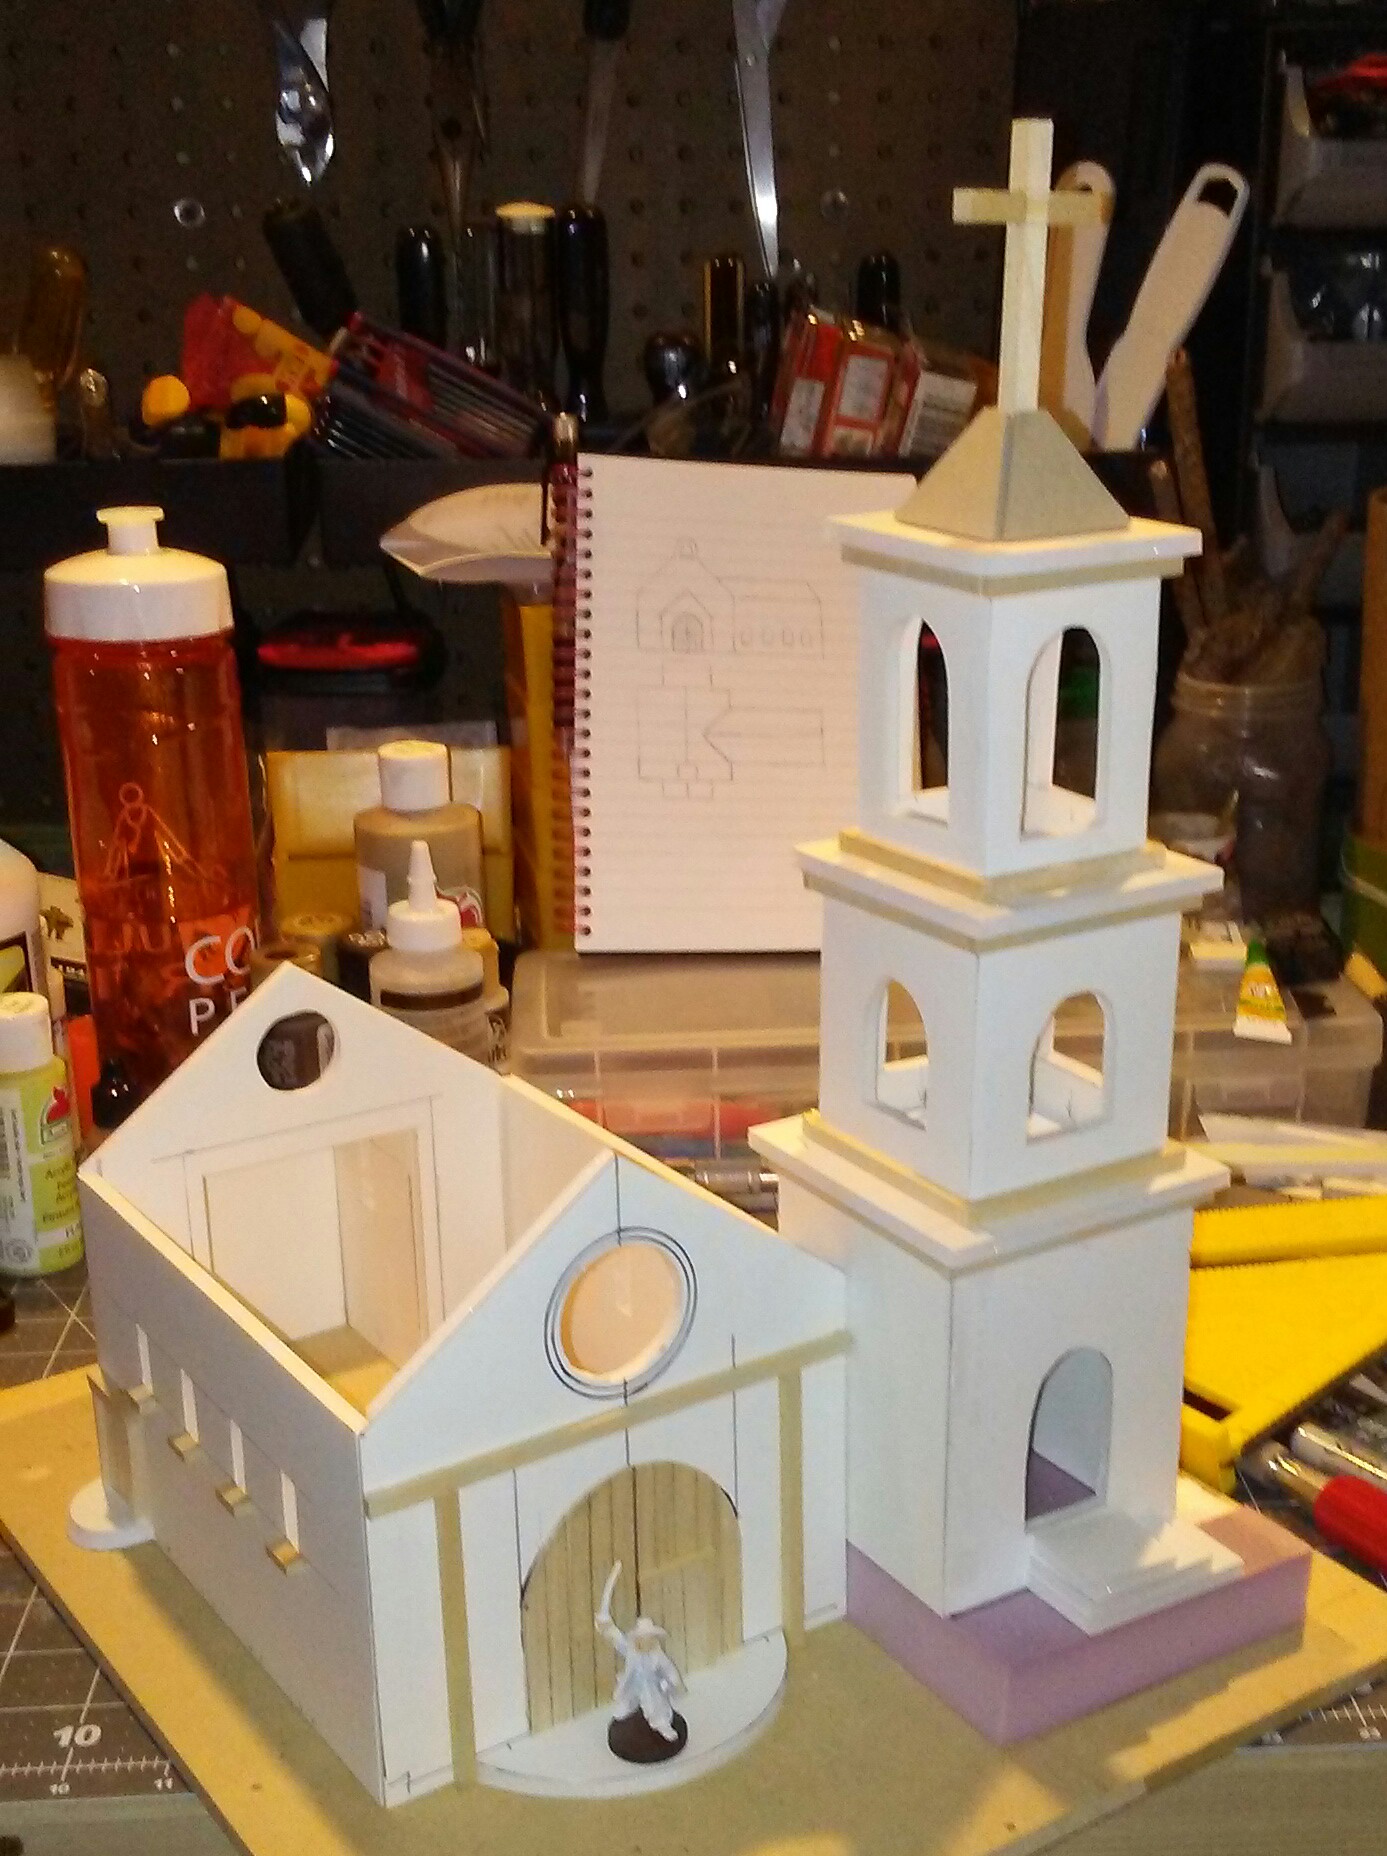
Artizan pirate shown for scale.

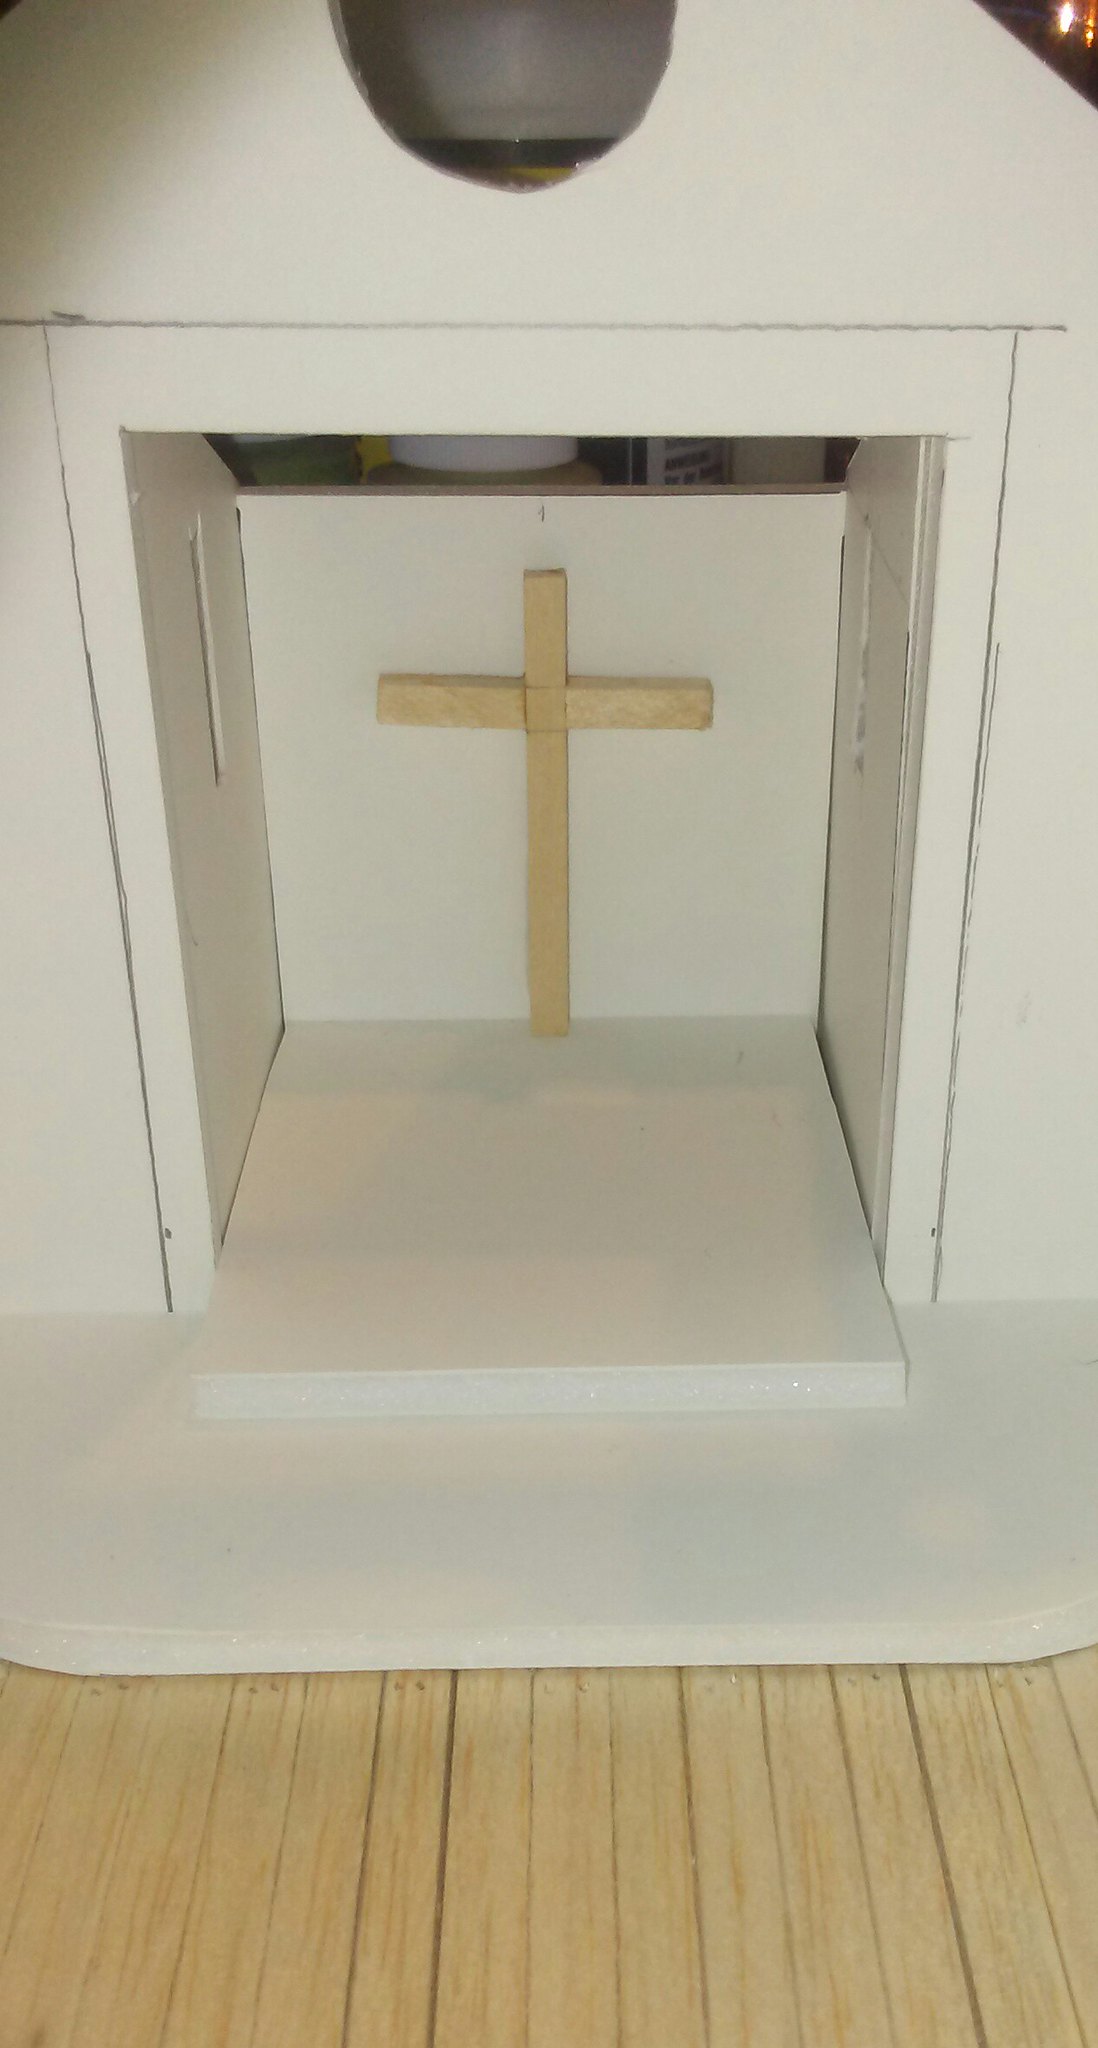
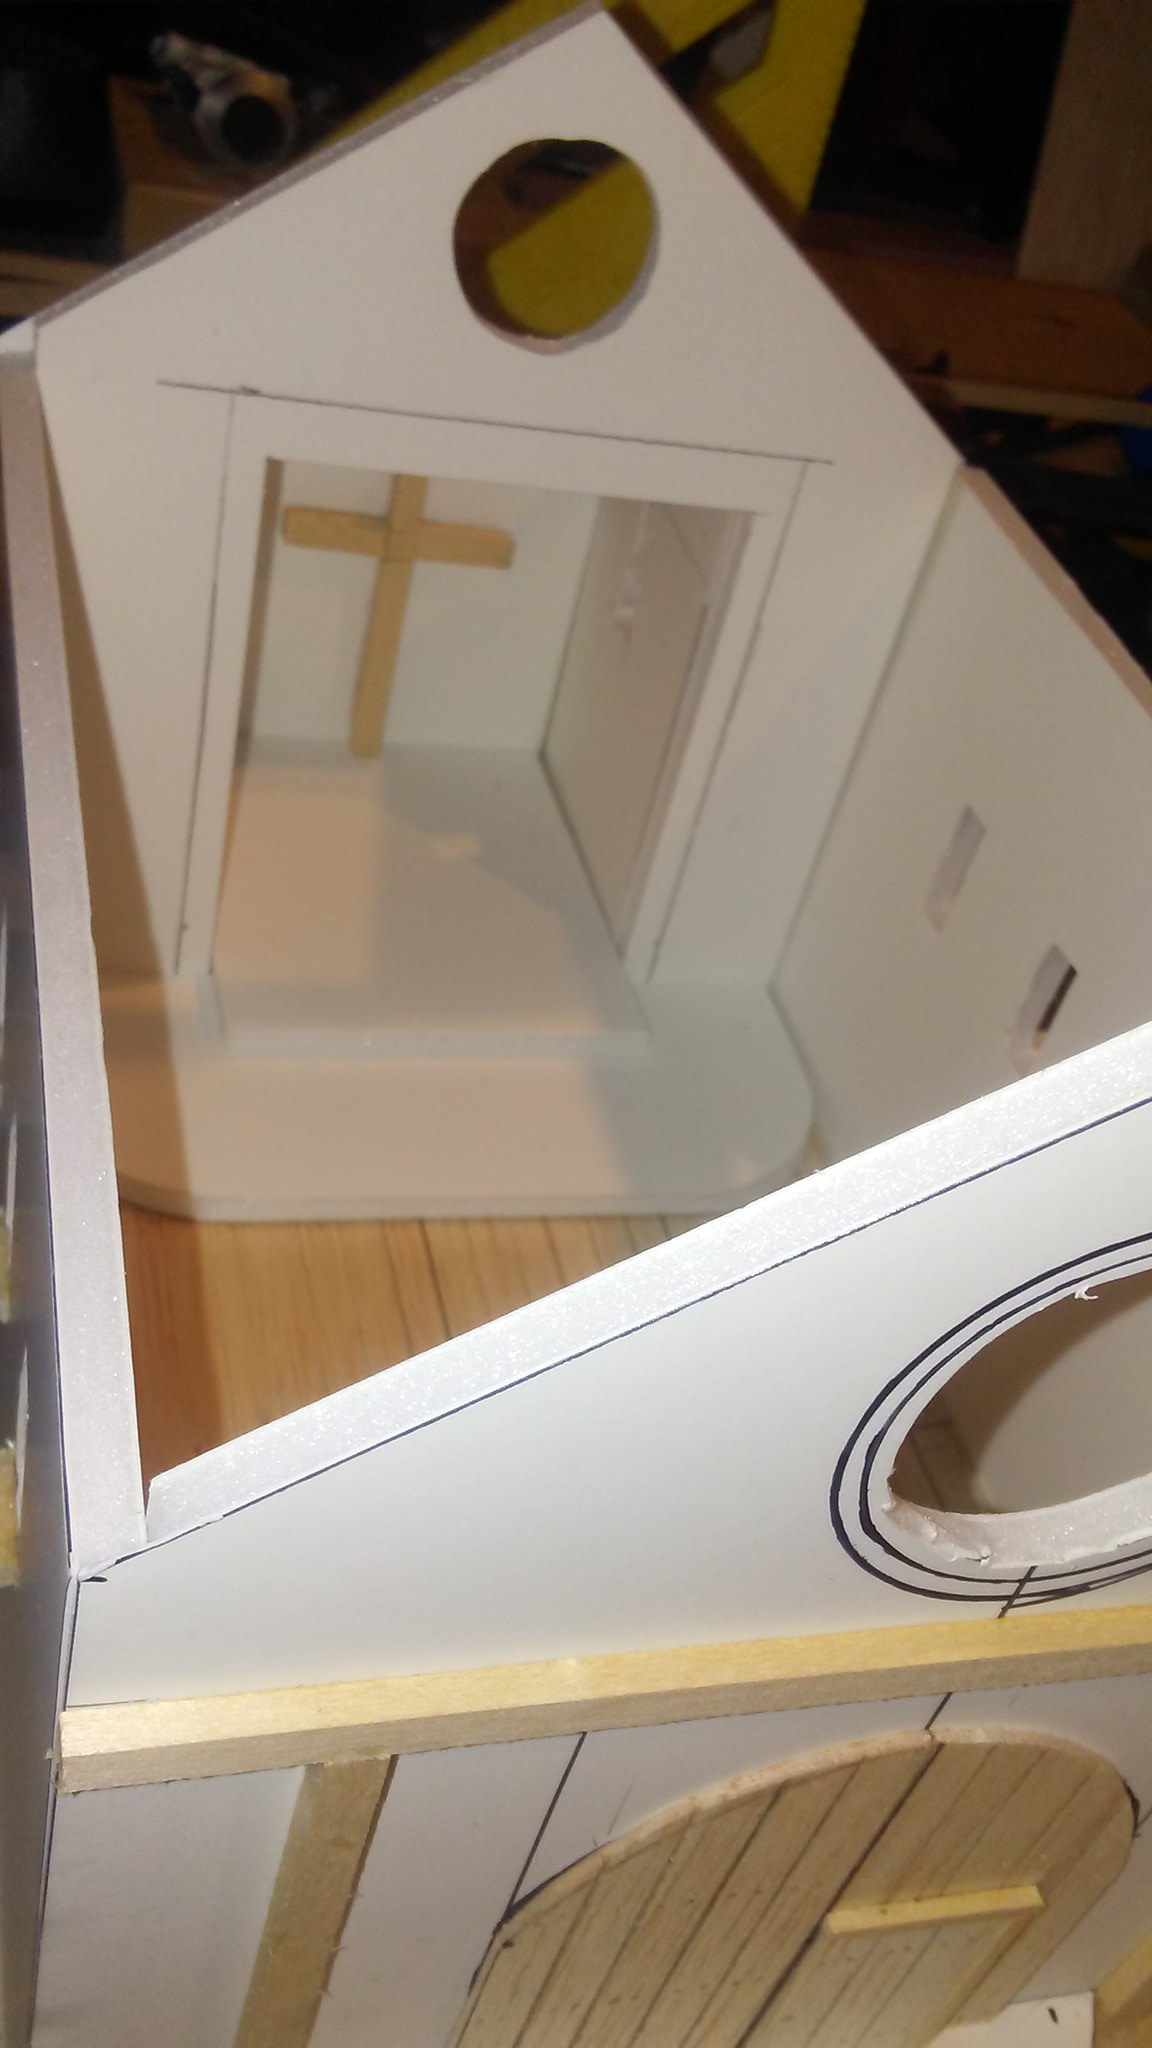
I measured the interior dimensions, and cut balsa wood to fit for a floor, scribing planks along the length of it. I felt the church definitely needed a cross behind the altar, so I built one and glued it in place. I also glued the church down to a thick MDF board that I had cut to size.

Aerial view of interior.

Cross behind the altar.

Interior view.

The roof is made from thick cardboard, onto which I will glue Plastruct Spanish Tile sheets when it is complete.
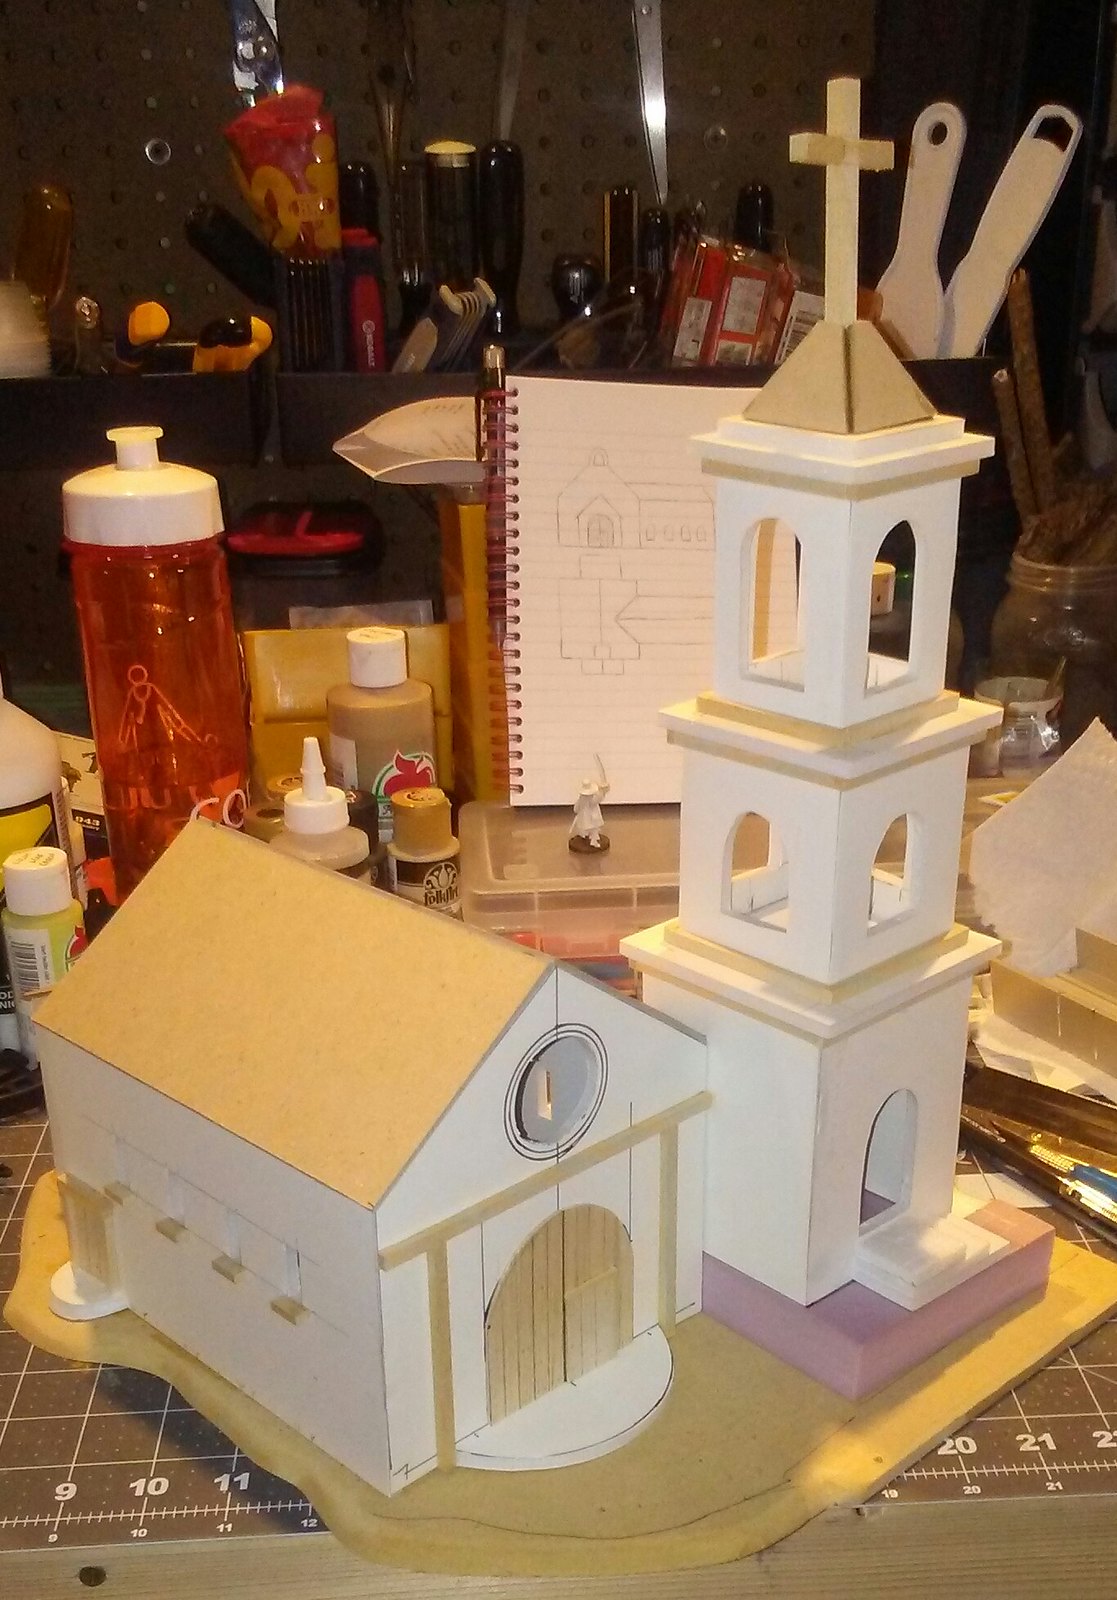
Roof in place.

Rear view with roof in place.

Side view with roof in place.
On the top of the bell tower, I cut cardboard triangles and built a pyramid-shaped top. Over that I also glued Plastruct tiles.
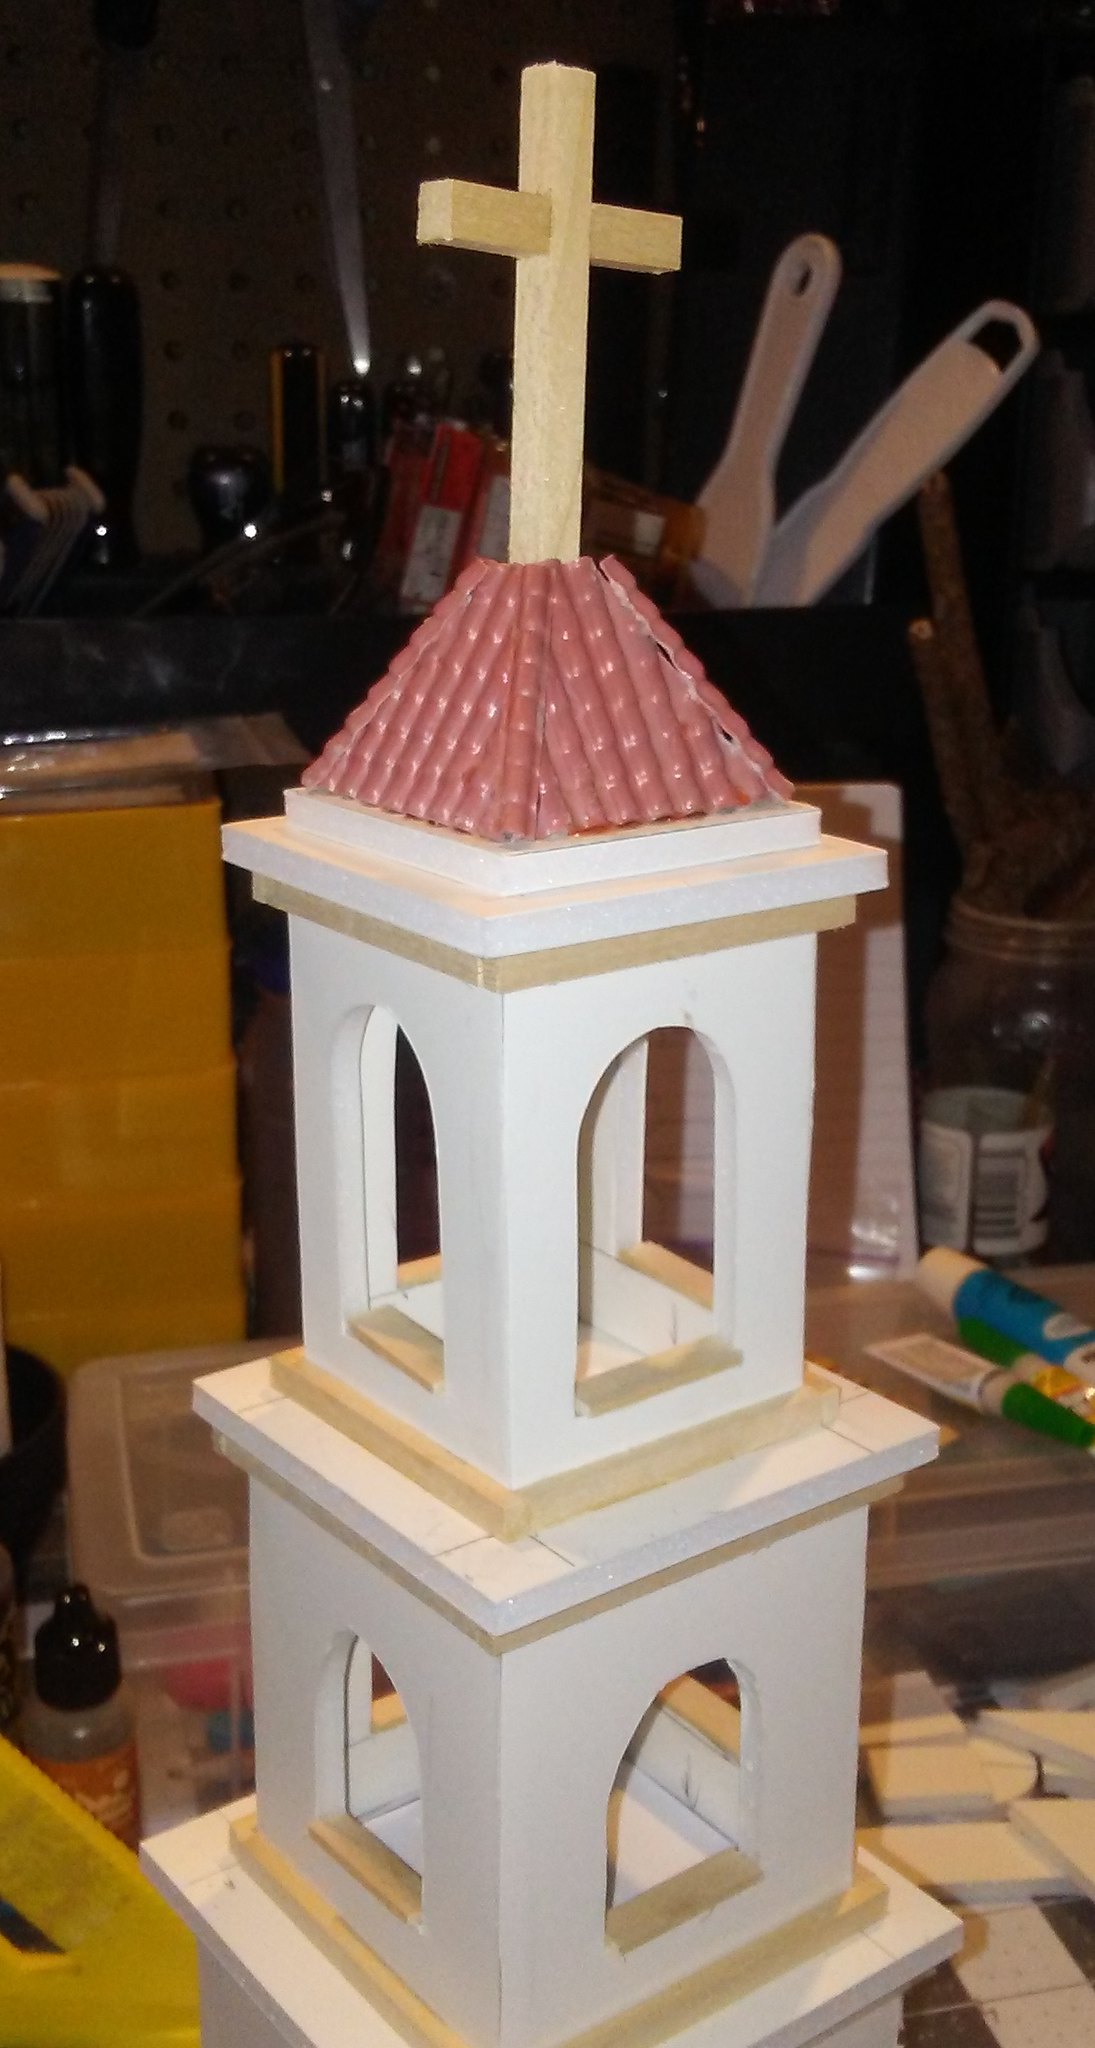
Bell tower roof.

At this point, I took another look at the overall church, and decided I was not happy with having an open door into the bell tower. So I cut a sheet of balsa to size, scribed planks into it, and glued it over the door opening. I think it looks much better this way.
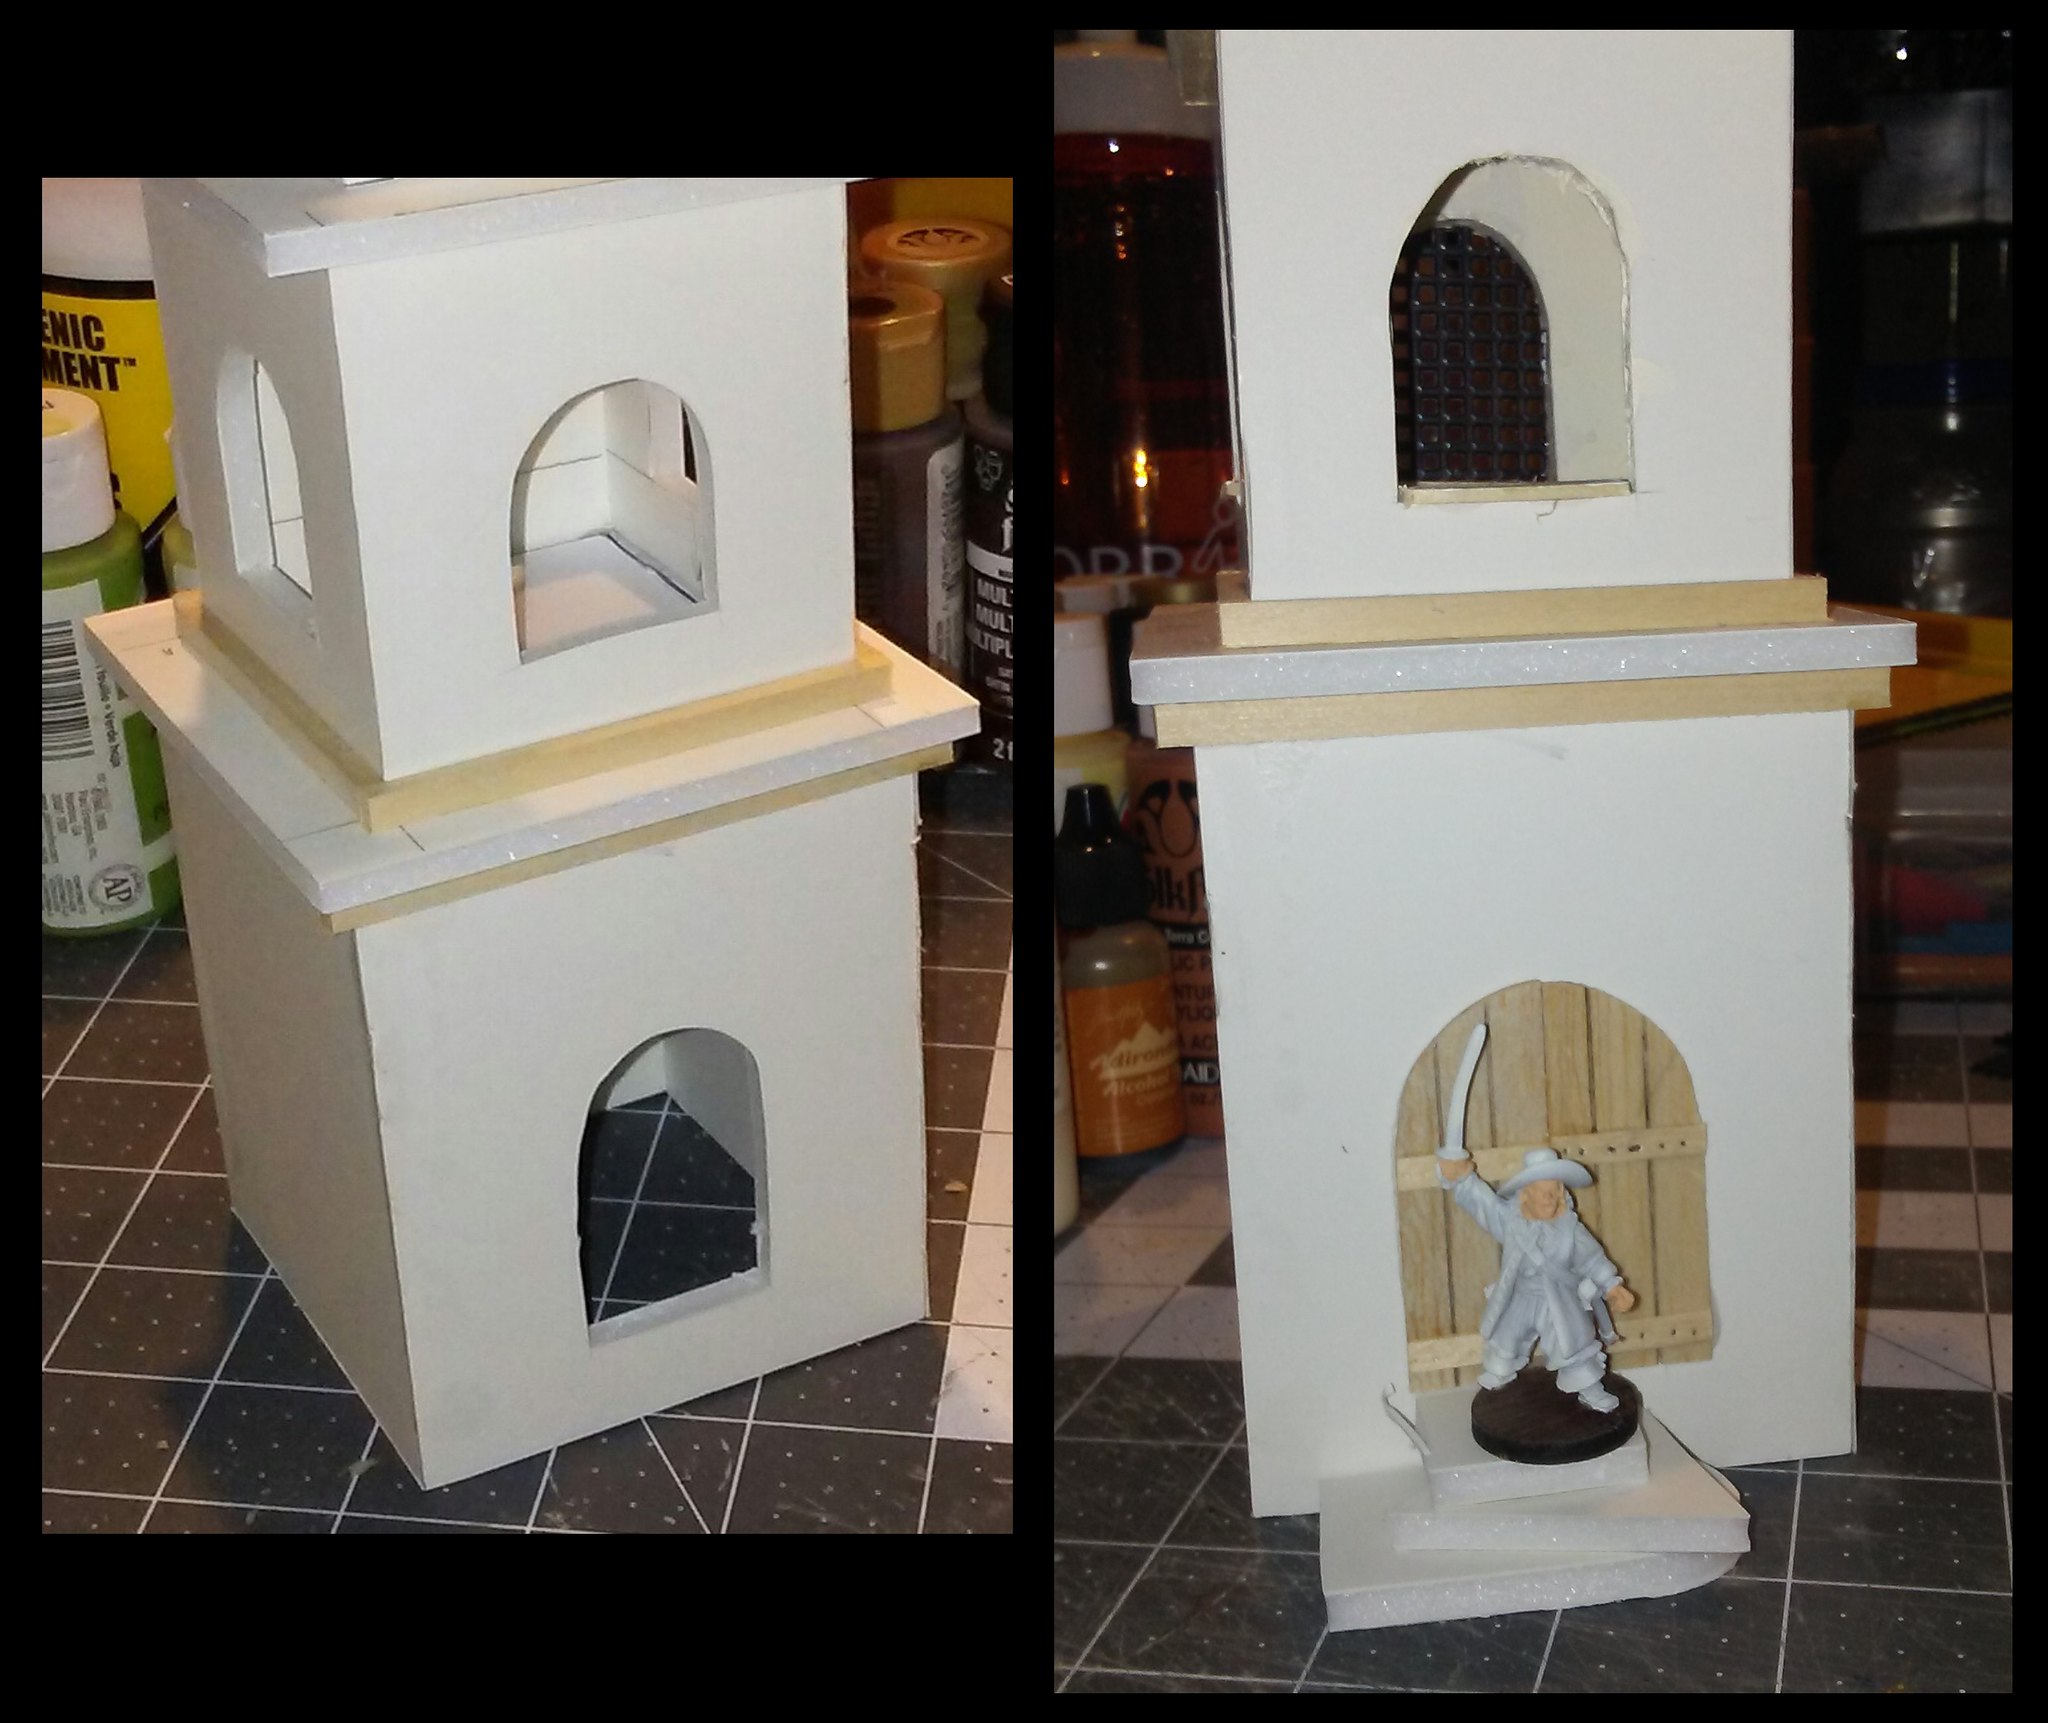
Open door (left); new wooden door (right).

As you can see, it's a much better match for the main church doors.
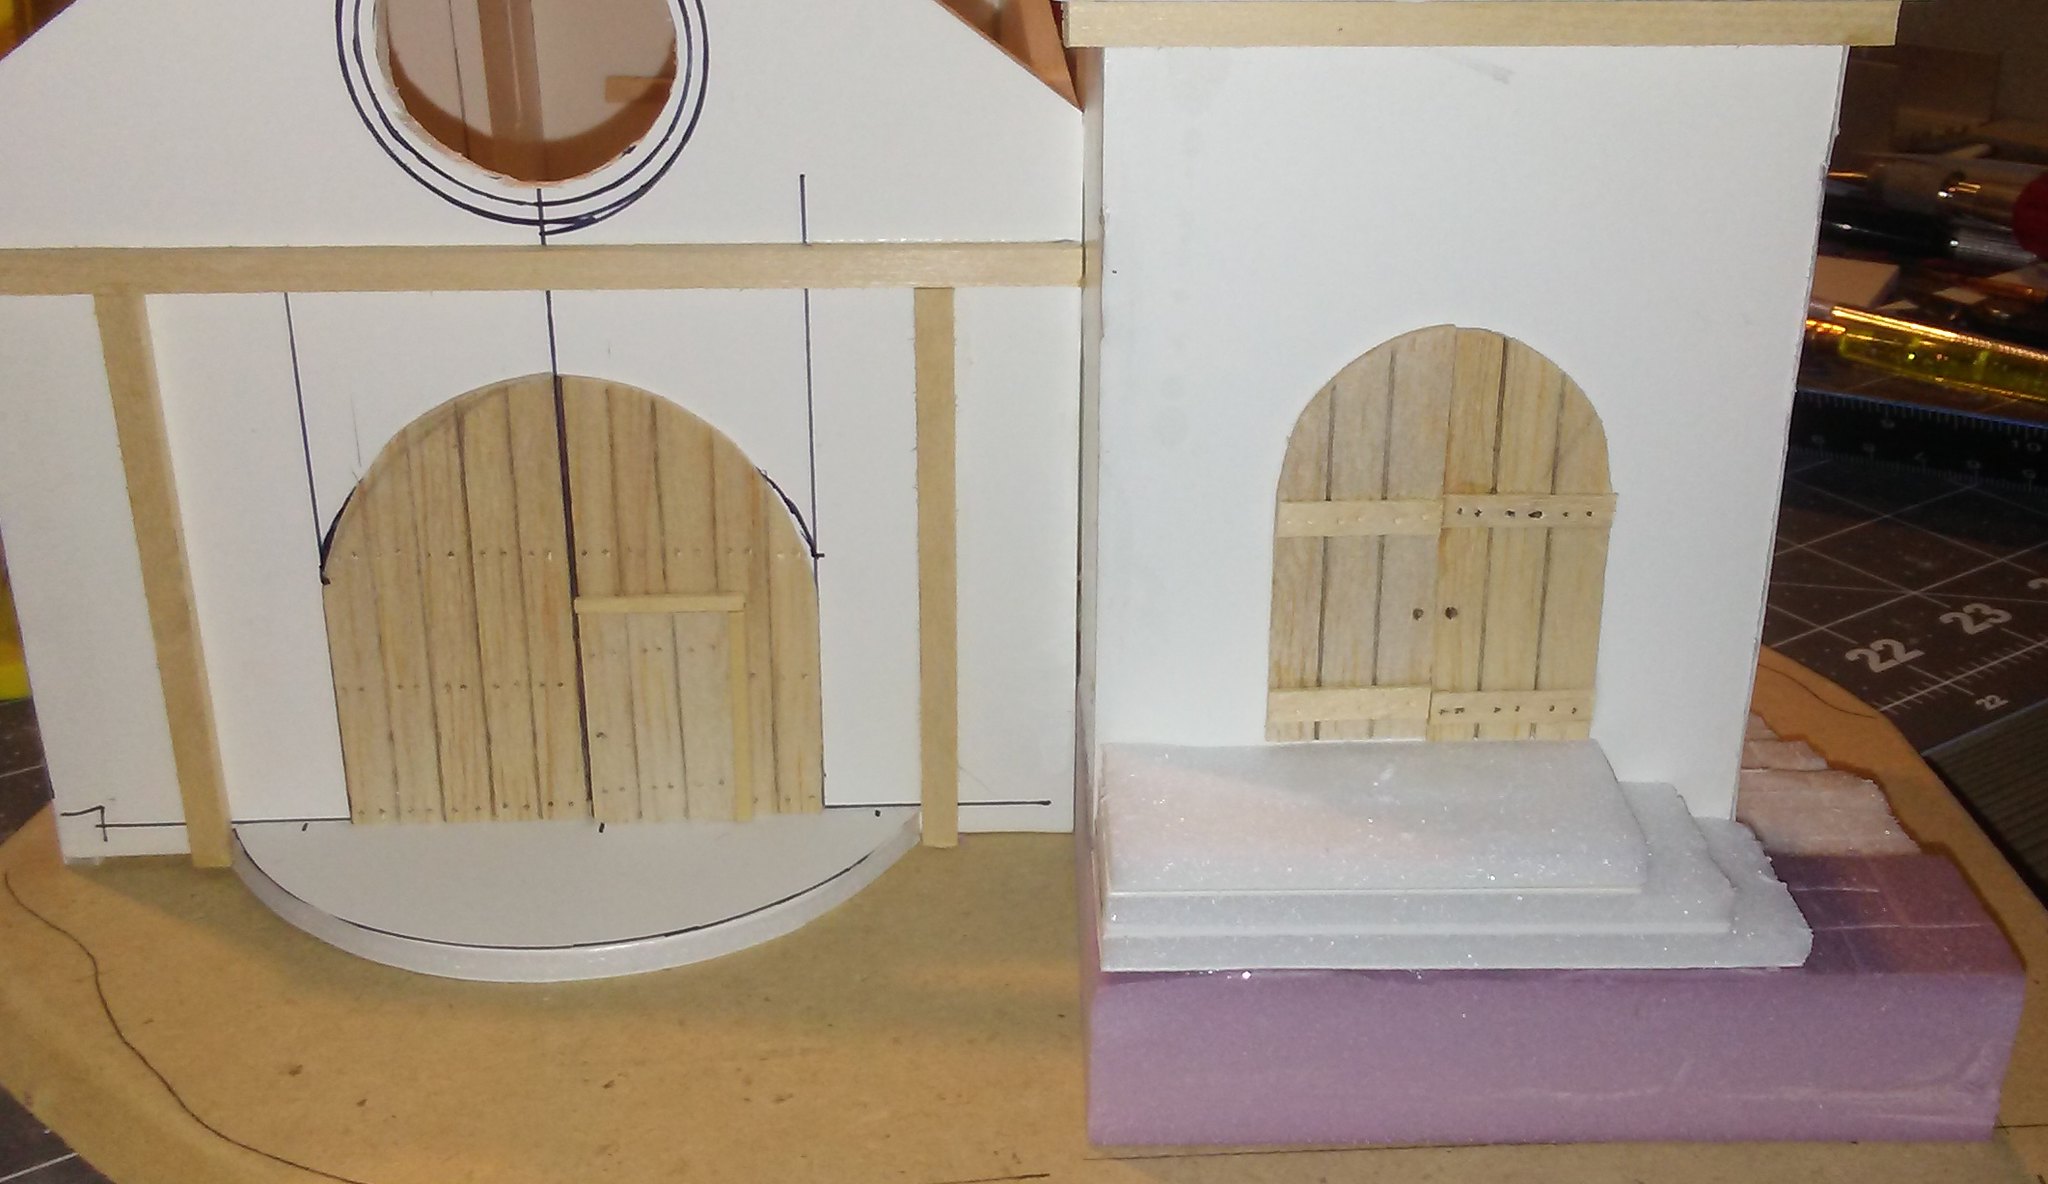
Doors at front of church.

The Spanish tile applied to the entire roof really made the church stand out, in my opinion, and it began to look like a complete structure.

Front view, with completed roof.

Rear view, with completed roof.

Now that the structure of the church is finished, that's it for this installment. In the next post, I'll detail the painting and finishing touches that will make this a complete piece of terrain.

'Til next time.

Thursday, June 16, 2016

Spanish Town - Completing the first building

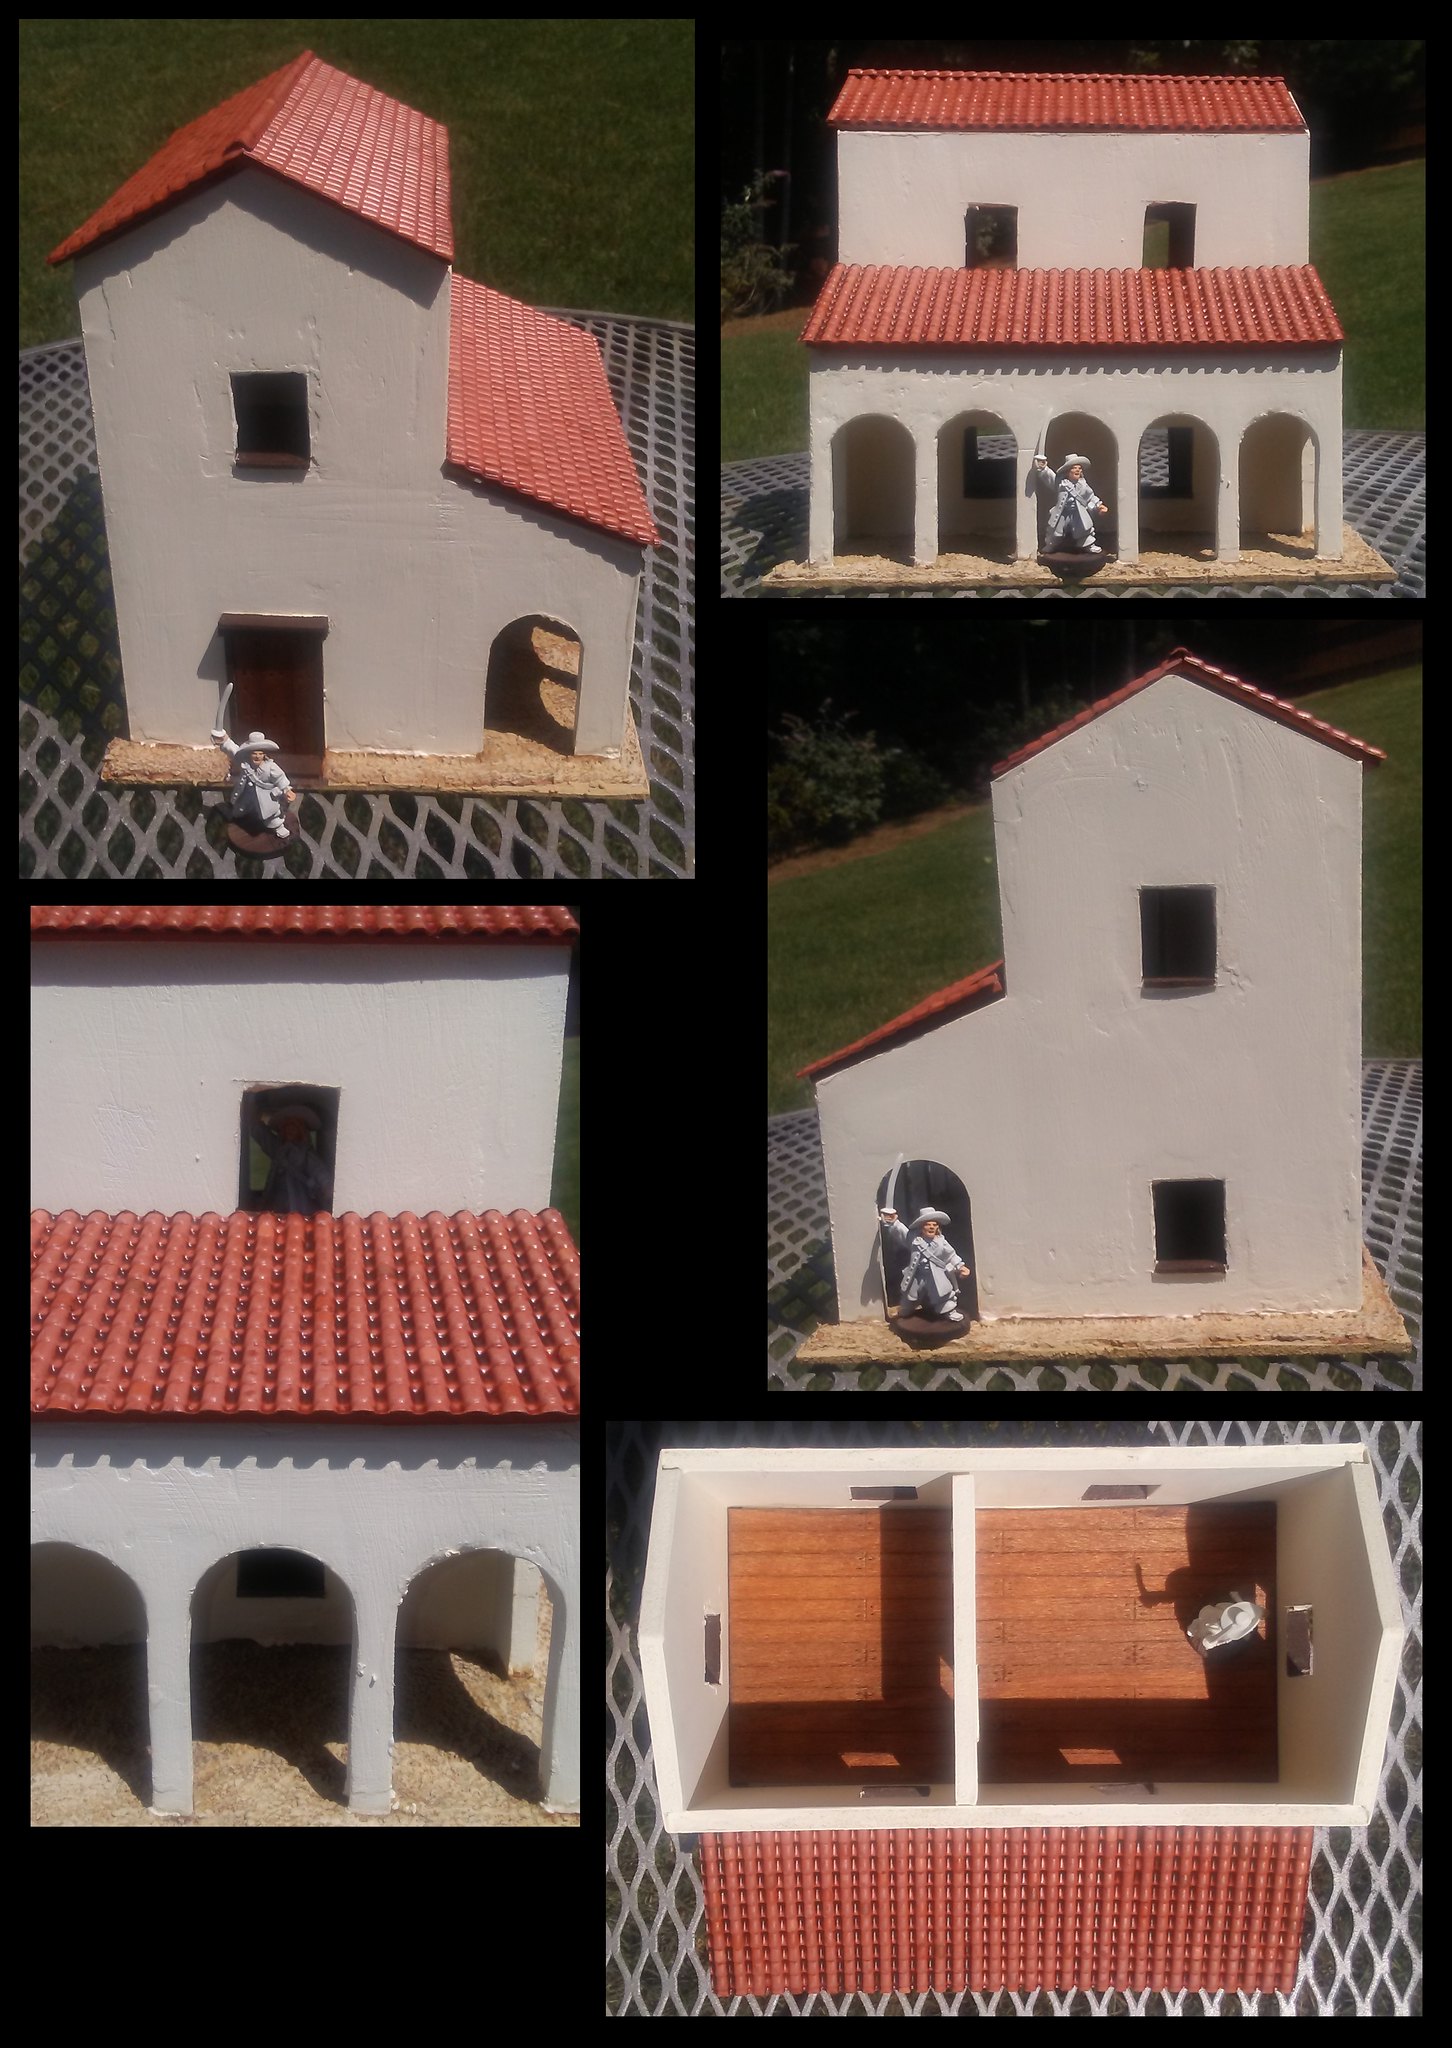
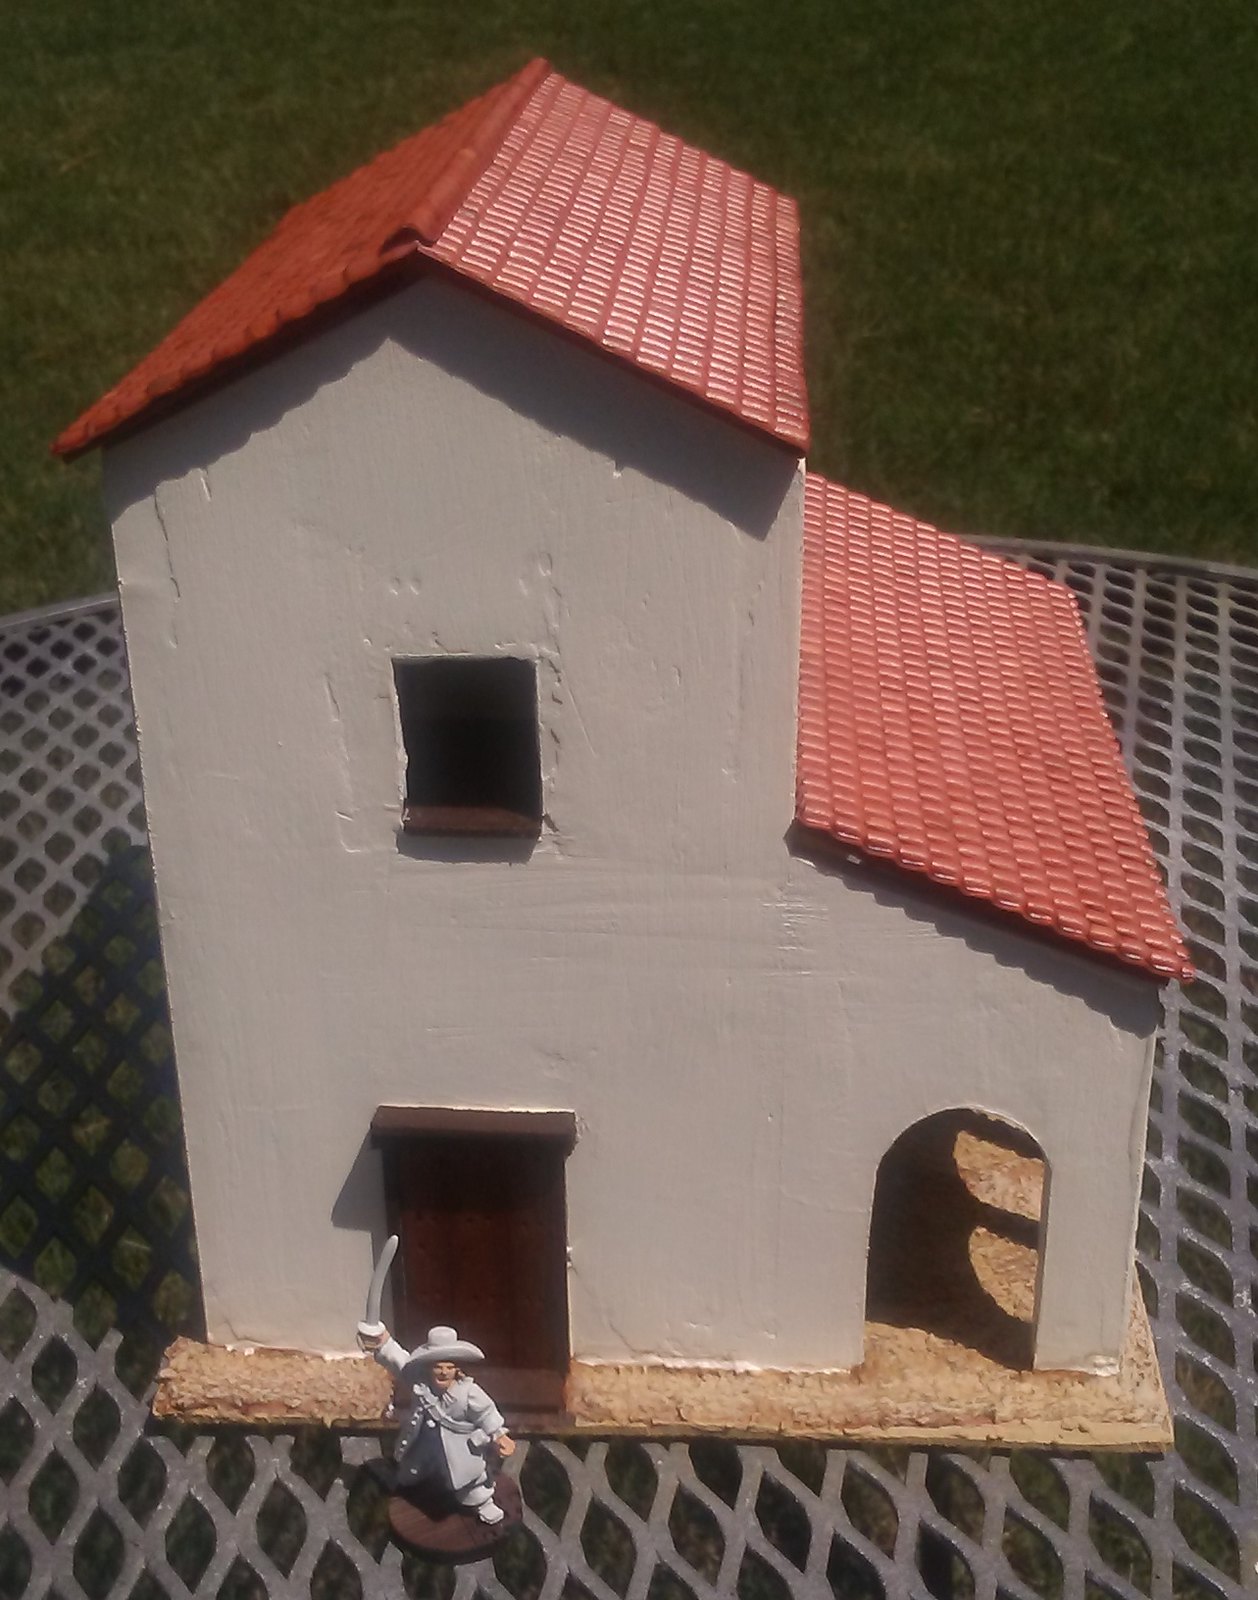
First building complete!
Last time, I said I'd talk about the church next. Well, change of plans.

I decided to completely knock out the smaller building with the colonnade first, before tackling the finish work on the church. (In the last post, I detailed the beginning stages of construction.)

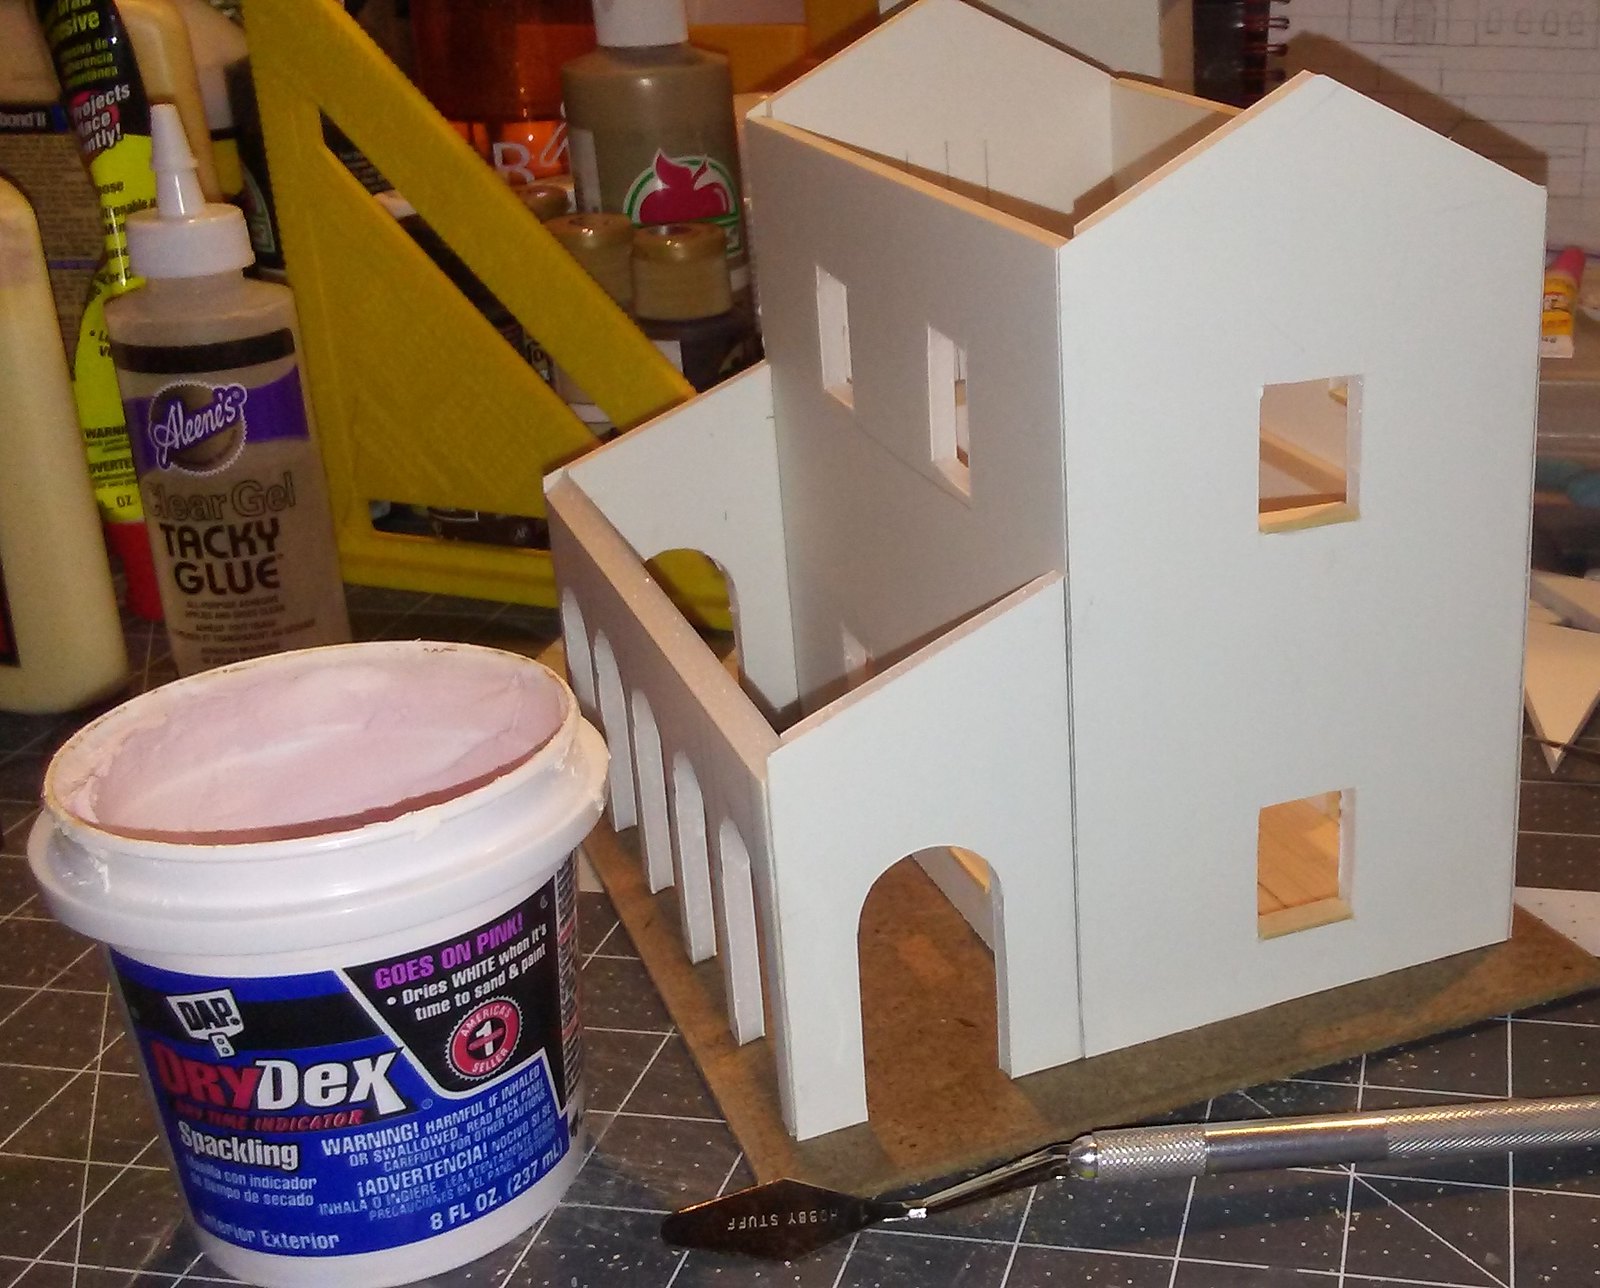
First, the walls need a little touching up with spackle. This serves two purposes. First, it covers any seams that may be visible. Second, it gives the walls a little texture so they are not so smooth.

These are the tools of the trade, sort of. A pot of DAP DryDex spackling. I am sure any filler will do, this just happens to be what I had on hand. And a tool for smoothing and spreading the spackle.

Spackle ready to be applied
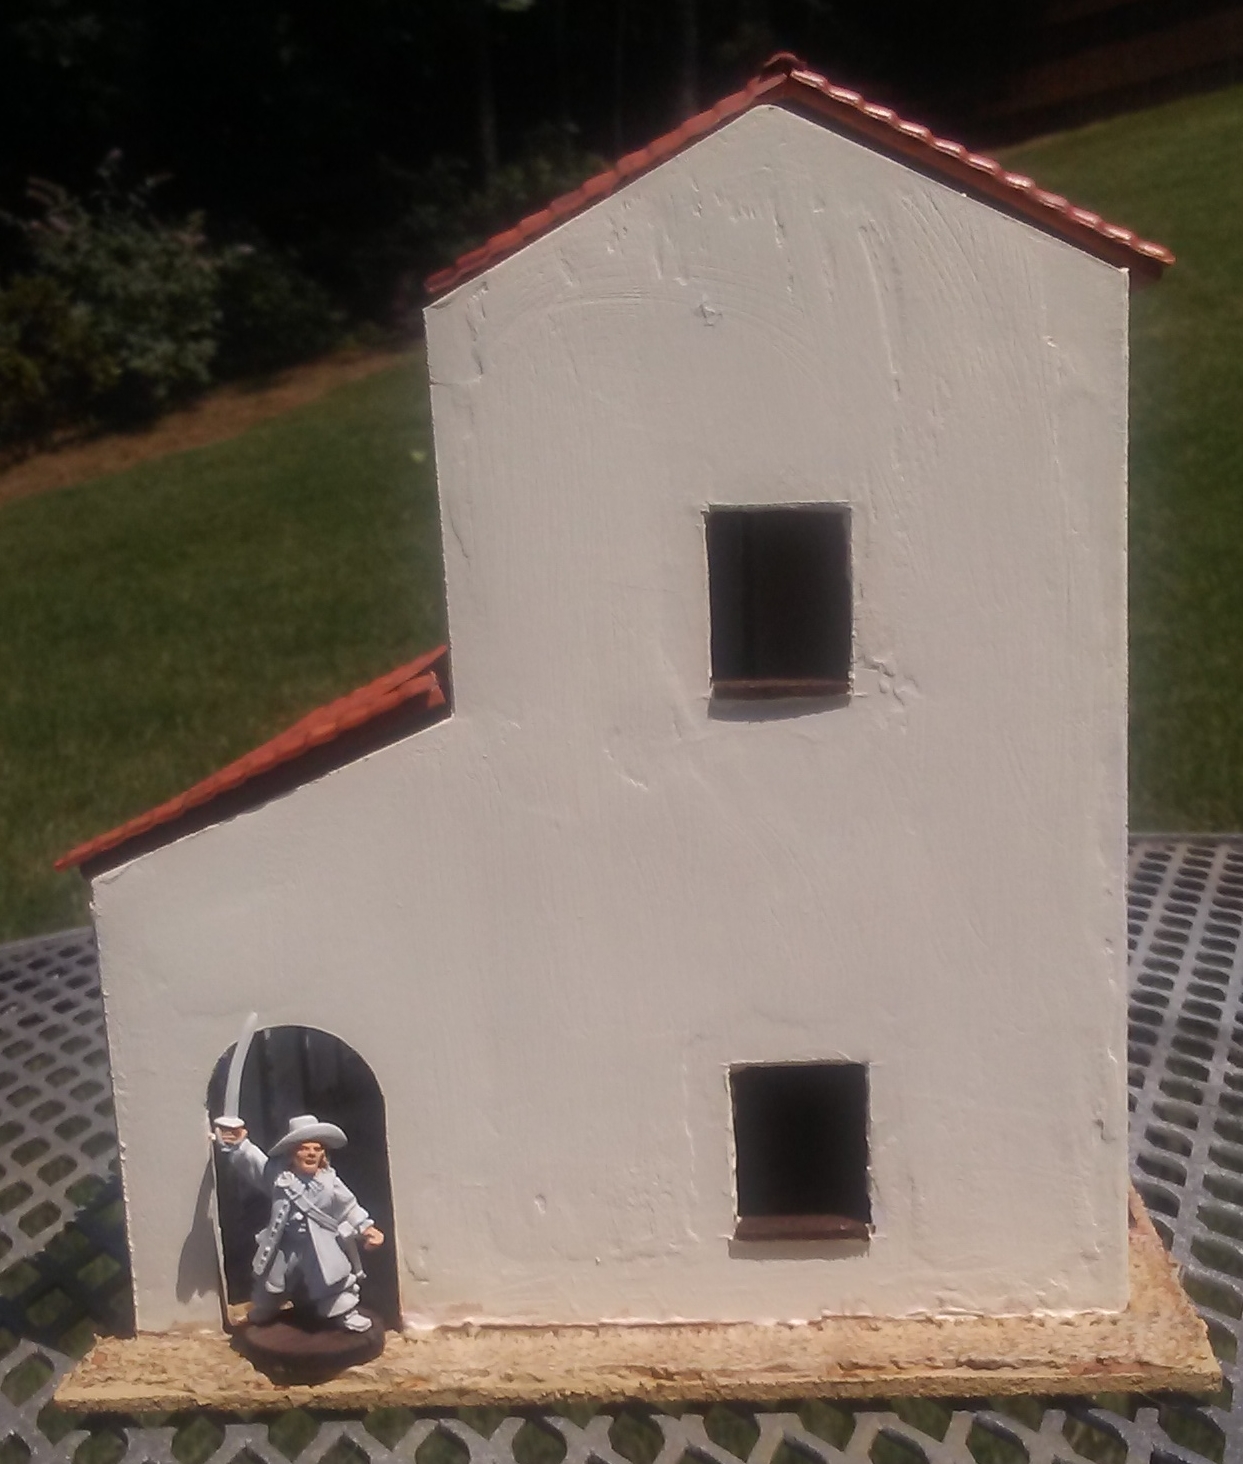
The spreader is what I am referring to when I say "sort of." I actually find the best tool to use is my finger! I just drop a glob of spackle onto the foamcore surface of the building, and spread it and smooth it with my finger. I try to make sure I push the spackle into any unsightly gaps. Also, make sure any lines or ridges in the spackle run in the same direction. I choose to make mine run vertically, but as long as you don't have them going every which way you should be fine. Below is a before/after picture showing the texture applied, and the seam between the building and the colonnade "magically" disappears.

Before (left) and after applying spackle
Once the spackle is fully dry, I take a small piece of sandpaper to the entire surface. This smooths any sharp edges and removes larger bits of spackle you may have missed while spreading. Be careful not to over-sand, as you don't want to remove all the detail you just spent so much effort to apply!

Once that's done, it's time for the painting. I used an ivory craft paint on the building, with a lighter and darker brown for the wood trim. I try to keep in mind this is a piece of wargaming terrain, and not a museum piece. I do not spend as much time or effort when painting this as I do, for example, on the troops that are going to fight over it!

Painted, ready for the landscaping
For the roof sections, all I did was give them a brown wash to bring out some detail. Then I took a bottle of terracotta craft paint I had and picked out some random tiles to break up the uniformity.

After that, all that was left was to add the surface texture to the base. As mentioned in my post on making desert terrain, I mix filler, paint and sand to create a mud-like like mixture that I spread over the base. Once that's completely dry, I just drybrush a couple of lighter colors over it to add some relief. And that's it - one terrain piece down, many more to go.


Up next, unless I once again get distracted by something else - the Spanish church (which I have named San Lorenzo Mártir).

'Til next time!


Sunday, June 12, 2016

Spanish Town - Administration building

After completing my desert terrain, I decided I need to add some buildings to the mix. As usual, in the interest of making my terrain as versatile as possible, I chose to work on some colonial Spanish buildings. I can use them for pirate themed games in the Caribbean (Blood & Plunder) as well as Napoleonic games set during the Peninsular campaign (Sharp Practice).

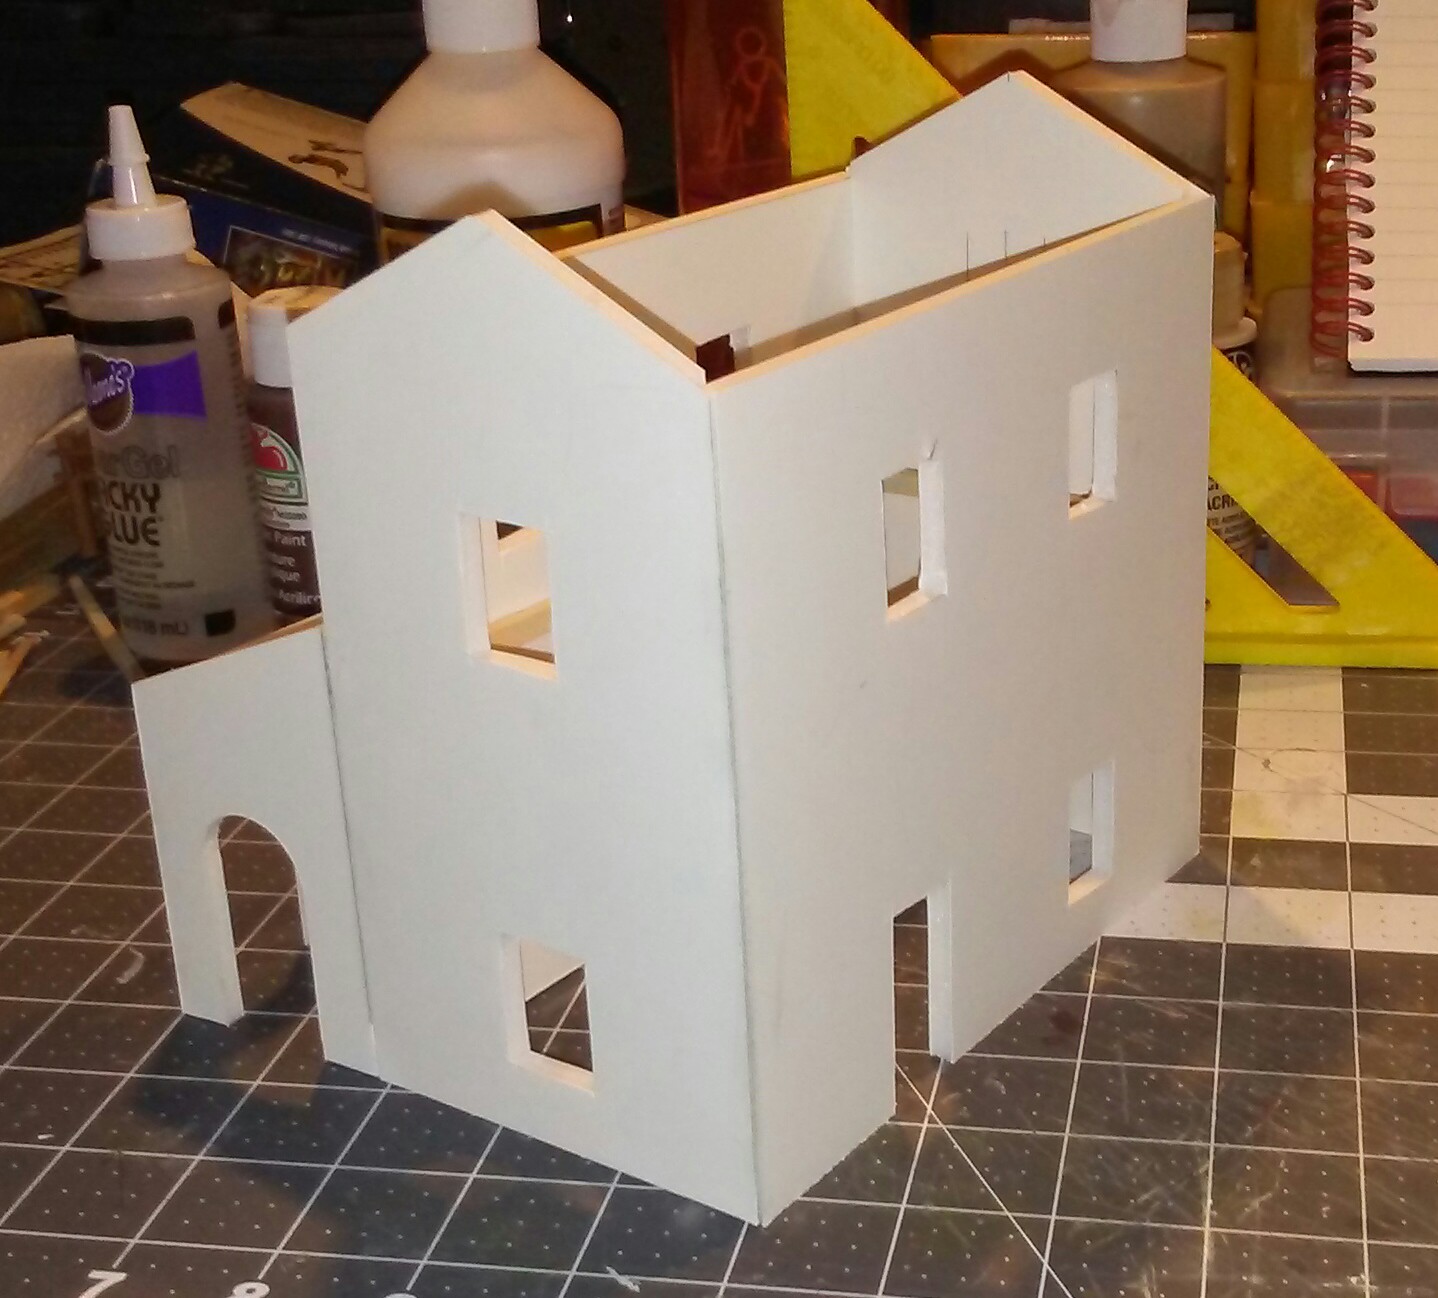
My technique for making building is quite simple - I cut the basic shapes out of foamcore, glue them together, then add any details. It's not complicated, and I hope the photos will help you follow along.

A while back I started making some Spanish style buildings, but never finished them. They are all in various stages of completion. They will now join the queue to be completed.


I'll complete those, and share the details here, at a later date. For now, I am going to concentrate on a pair of new additions. I felt the town would need at least two new buildings. I wanted the town's centerpiece to be an impressive church, and also to have a distinctive administrative building with a colonnade along one wall.

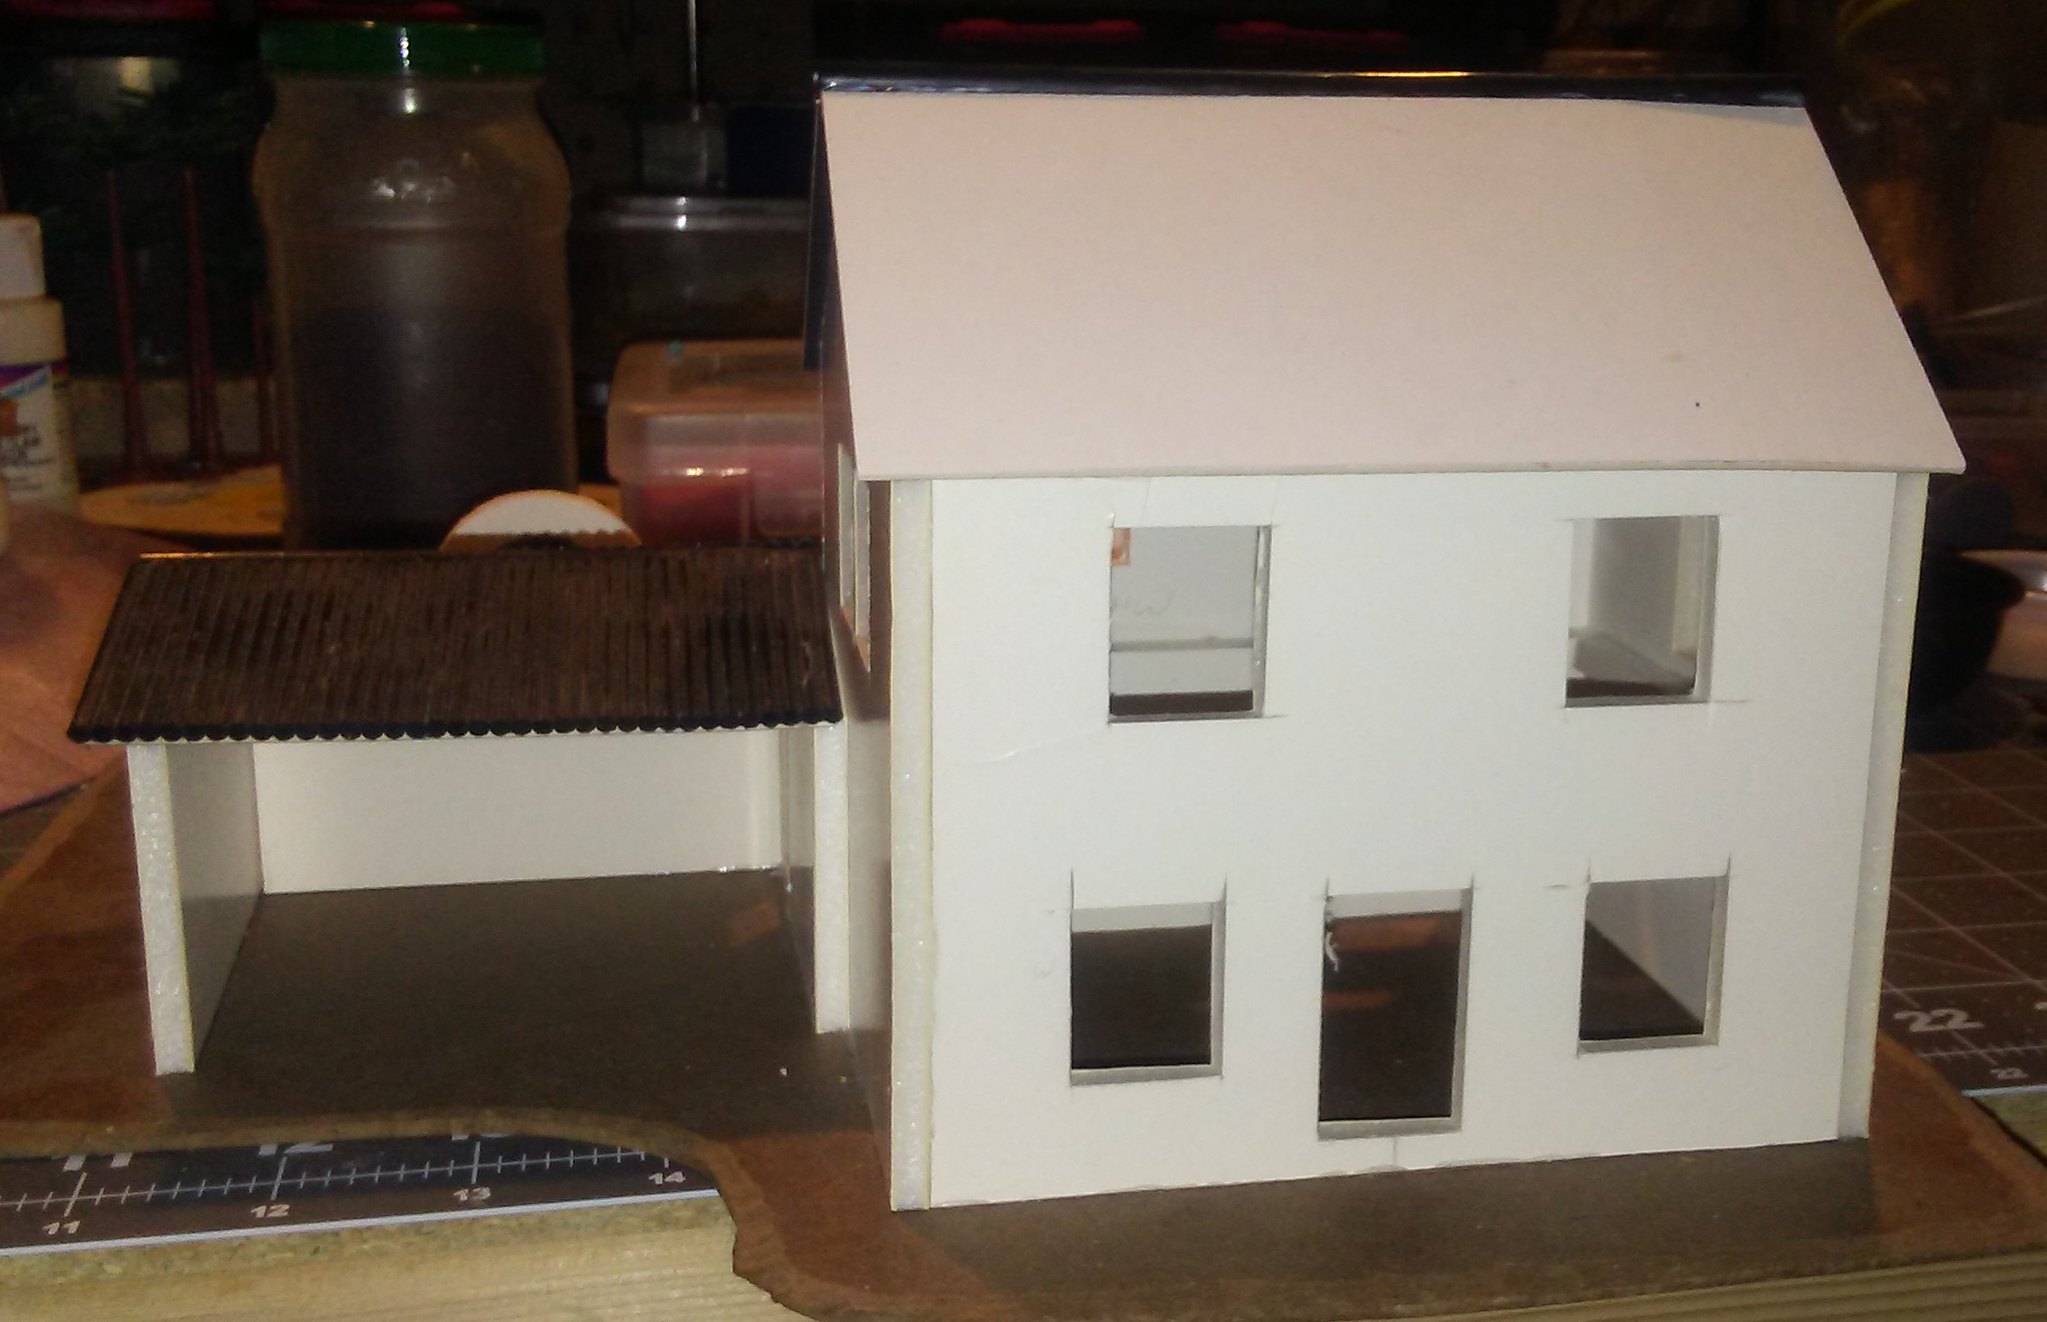
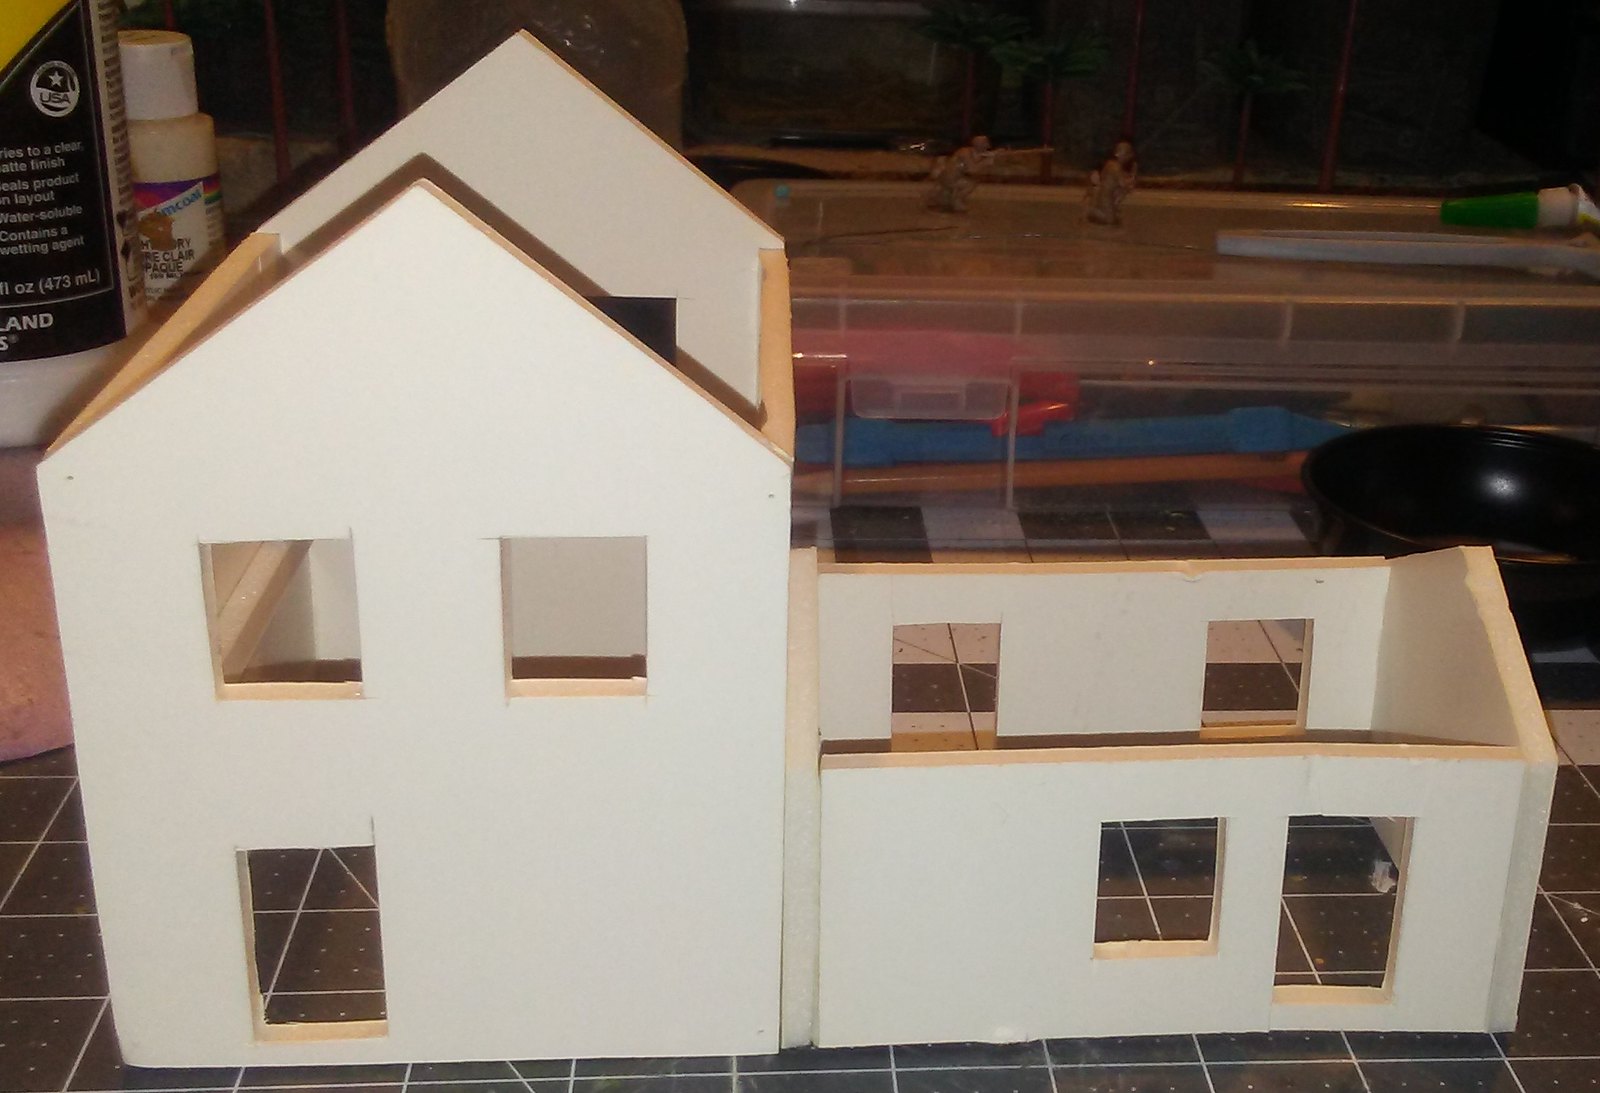
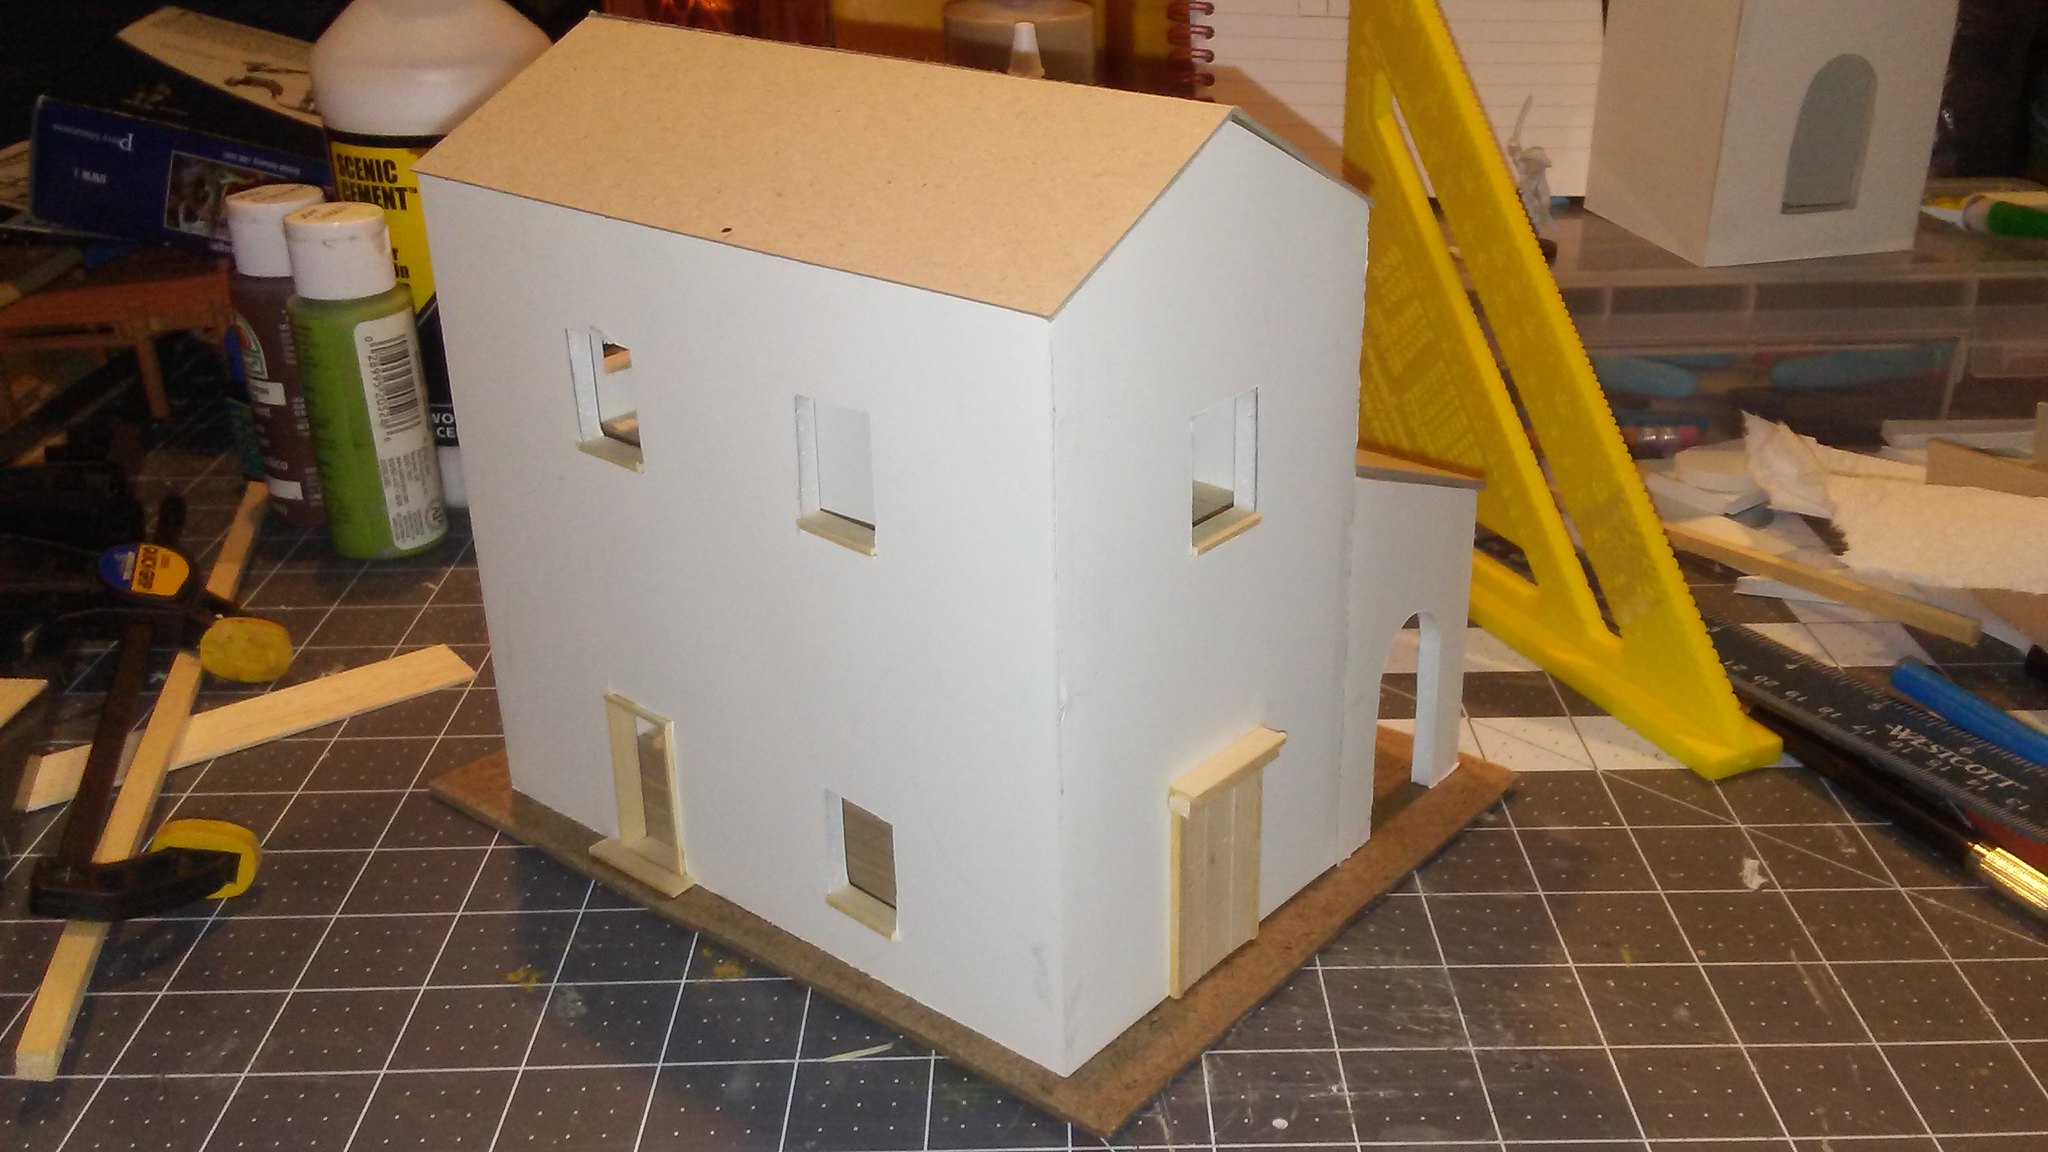
Since I thought it would be the easier of the two, I started with the administration building. I am what I call an "intuitive" builder. I tend to have an idea in my head of what I want to build, and sometimes I sketch it out, and sometimes I do not. Since foamcore is so easy to work with, I usually start cutting out shapes of what I think are the right size. Once I pick one to be the "main" wall, I can get my measurements for the other walls from it.

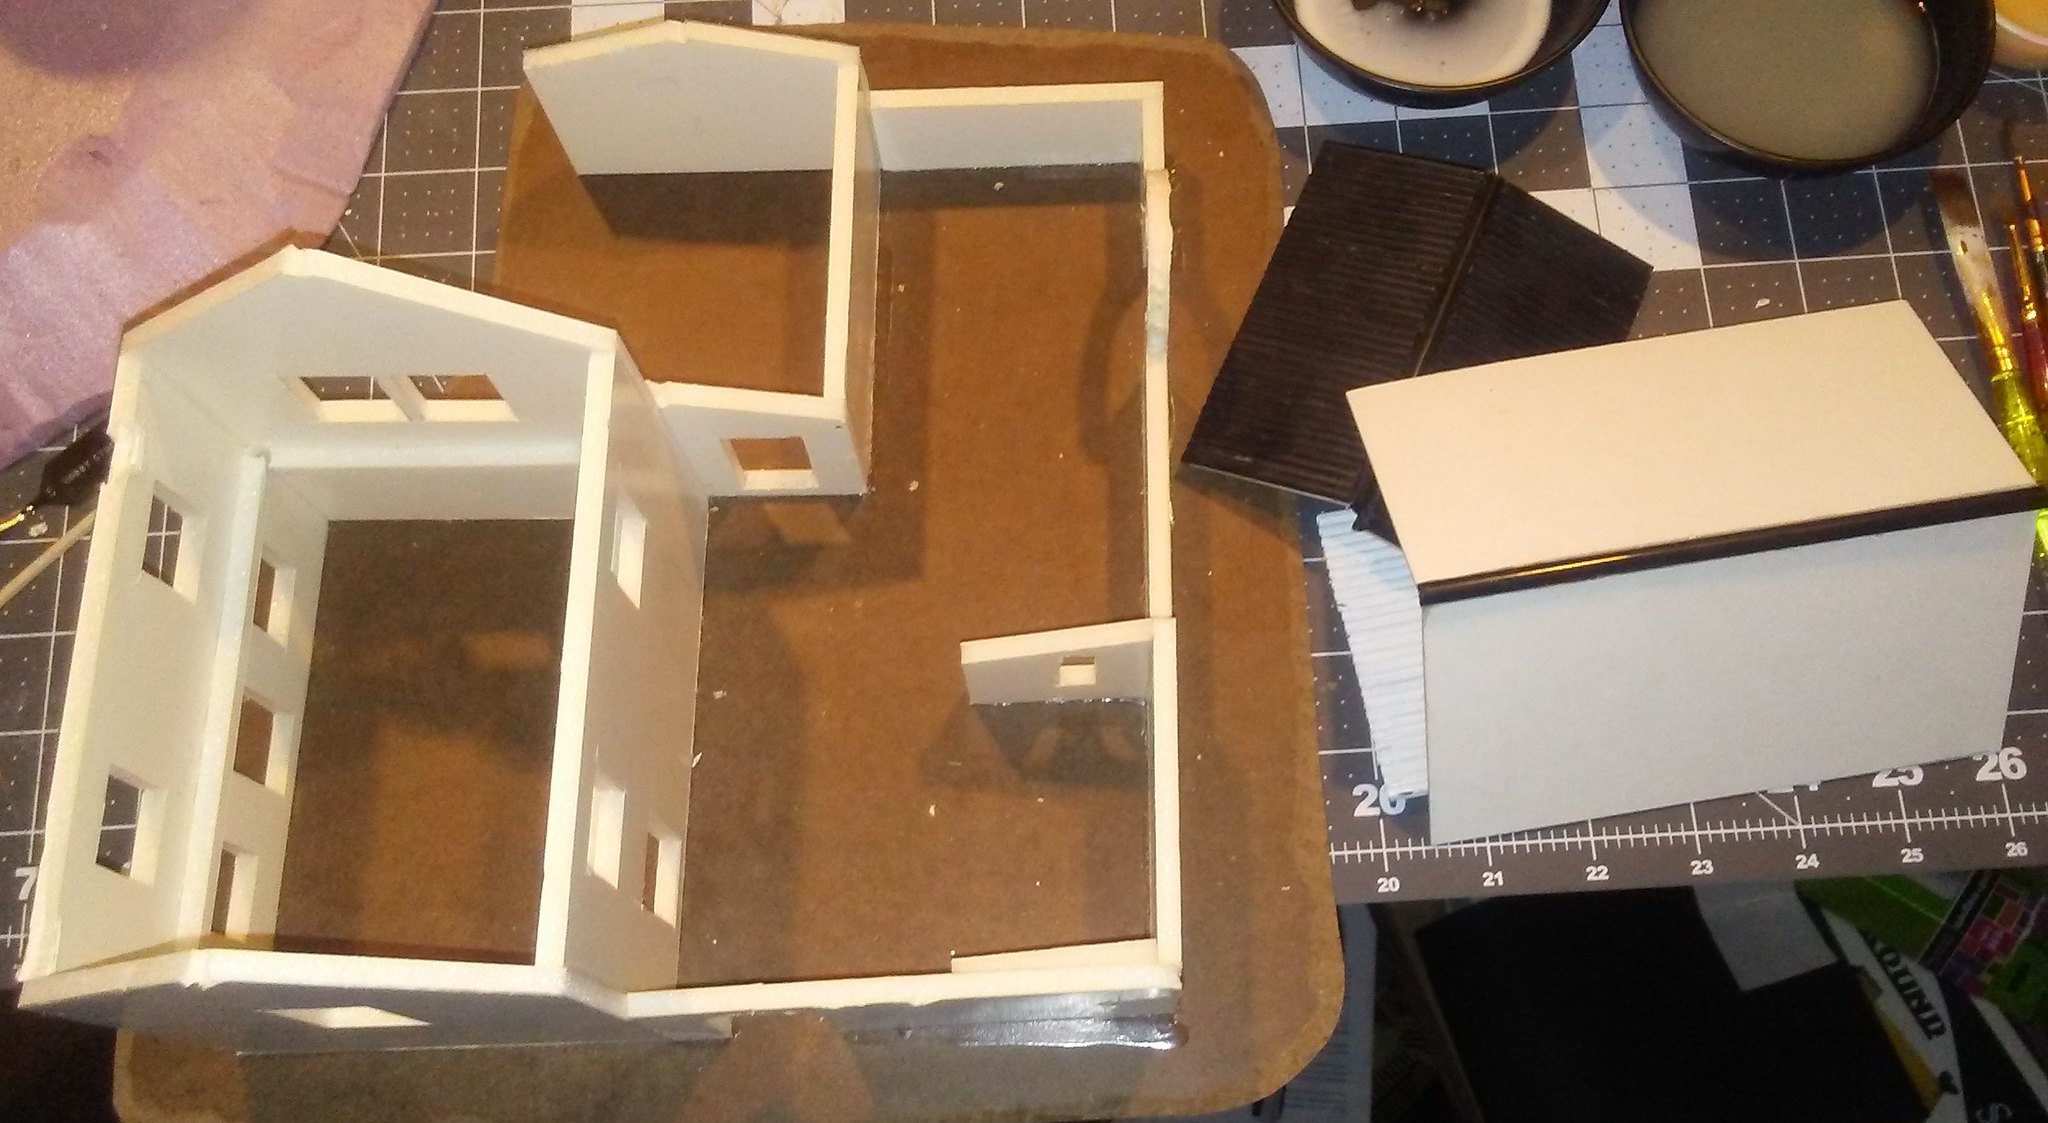
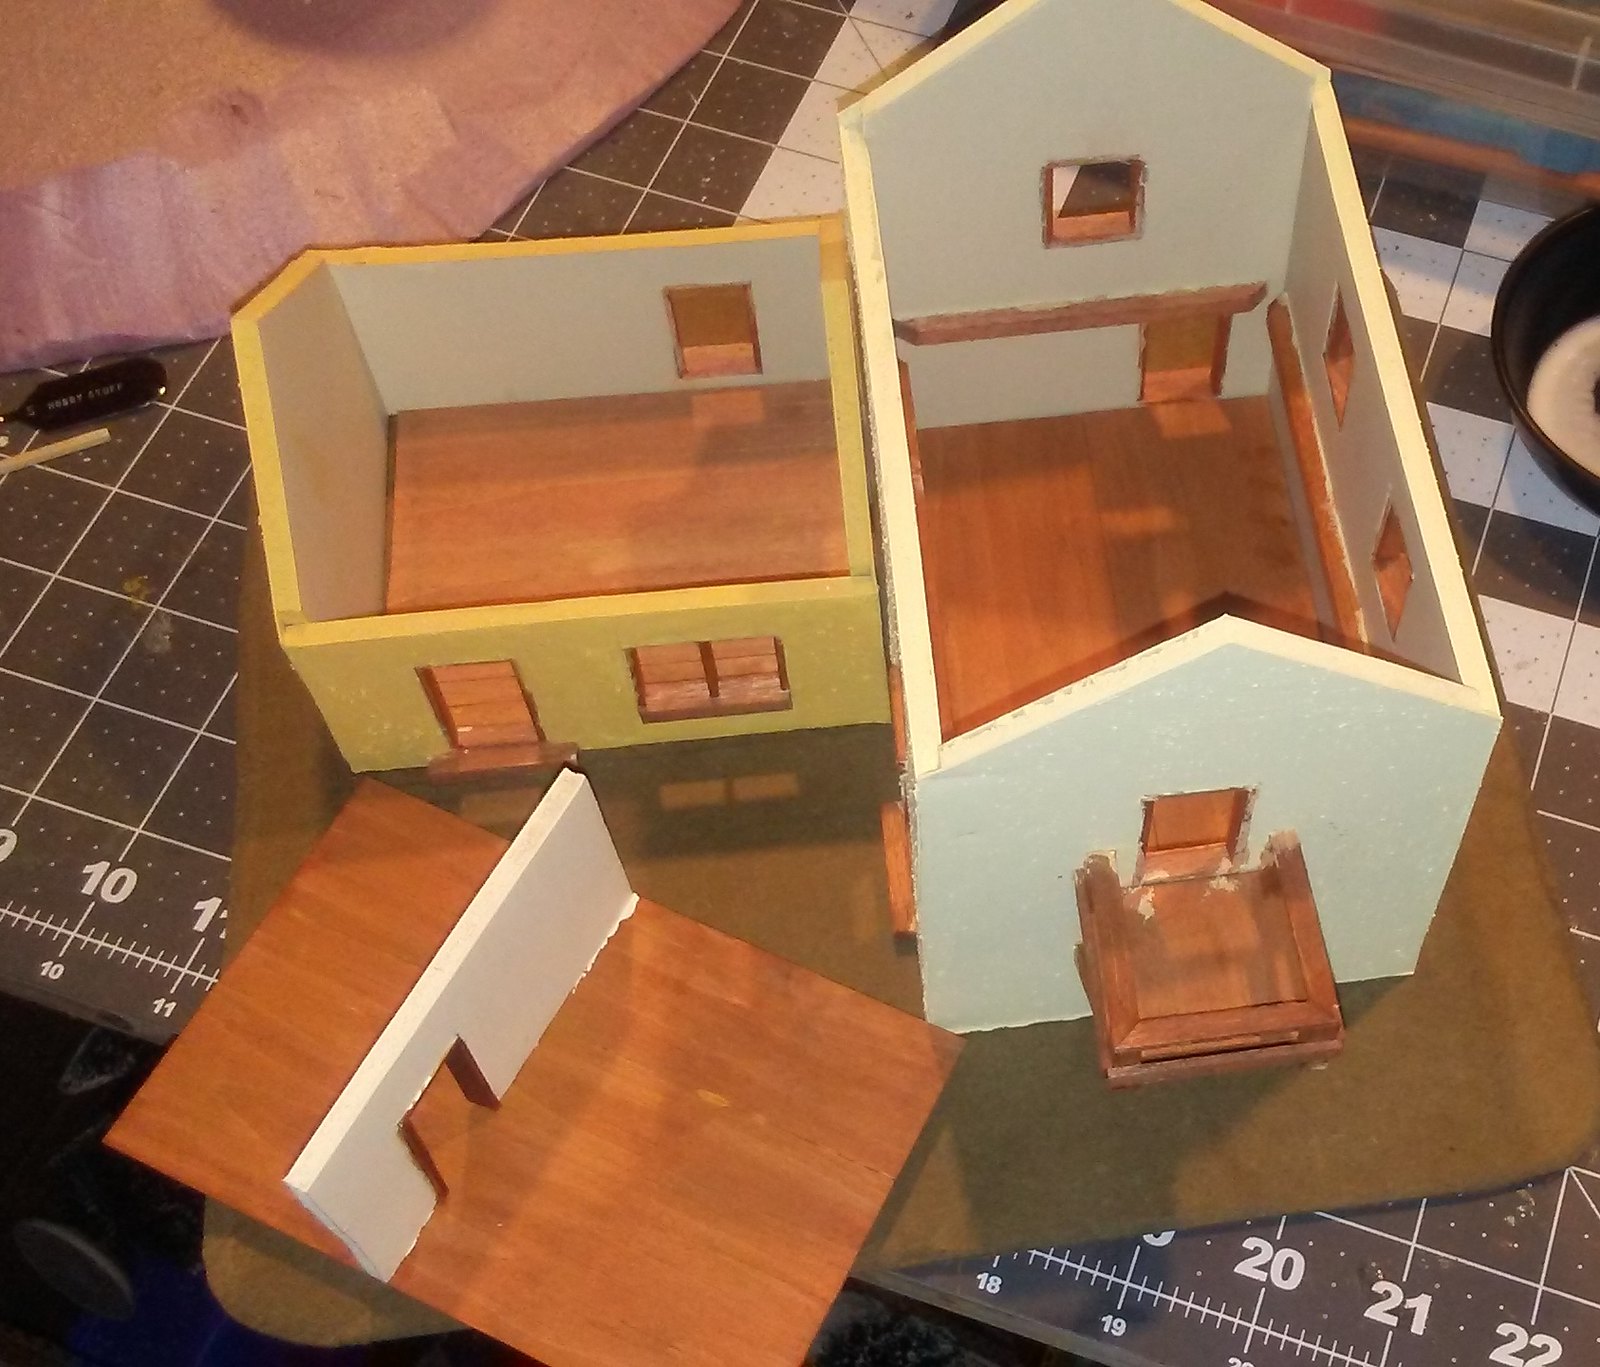
The components for the administration building - cut and ready for assembly
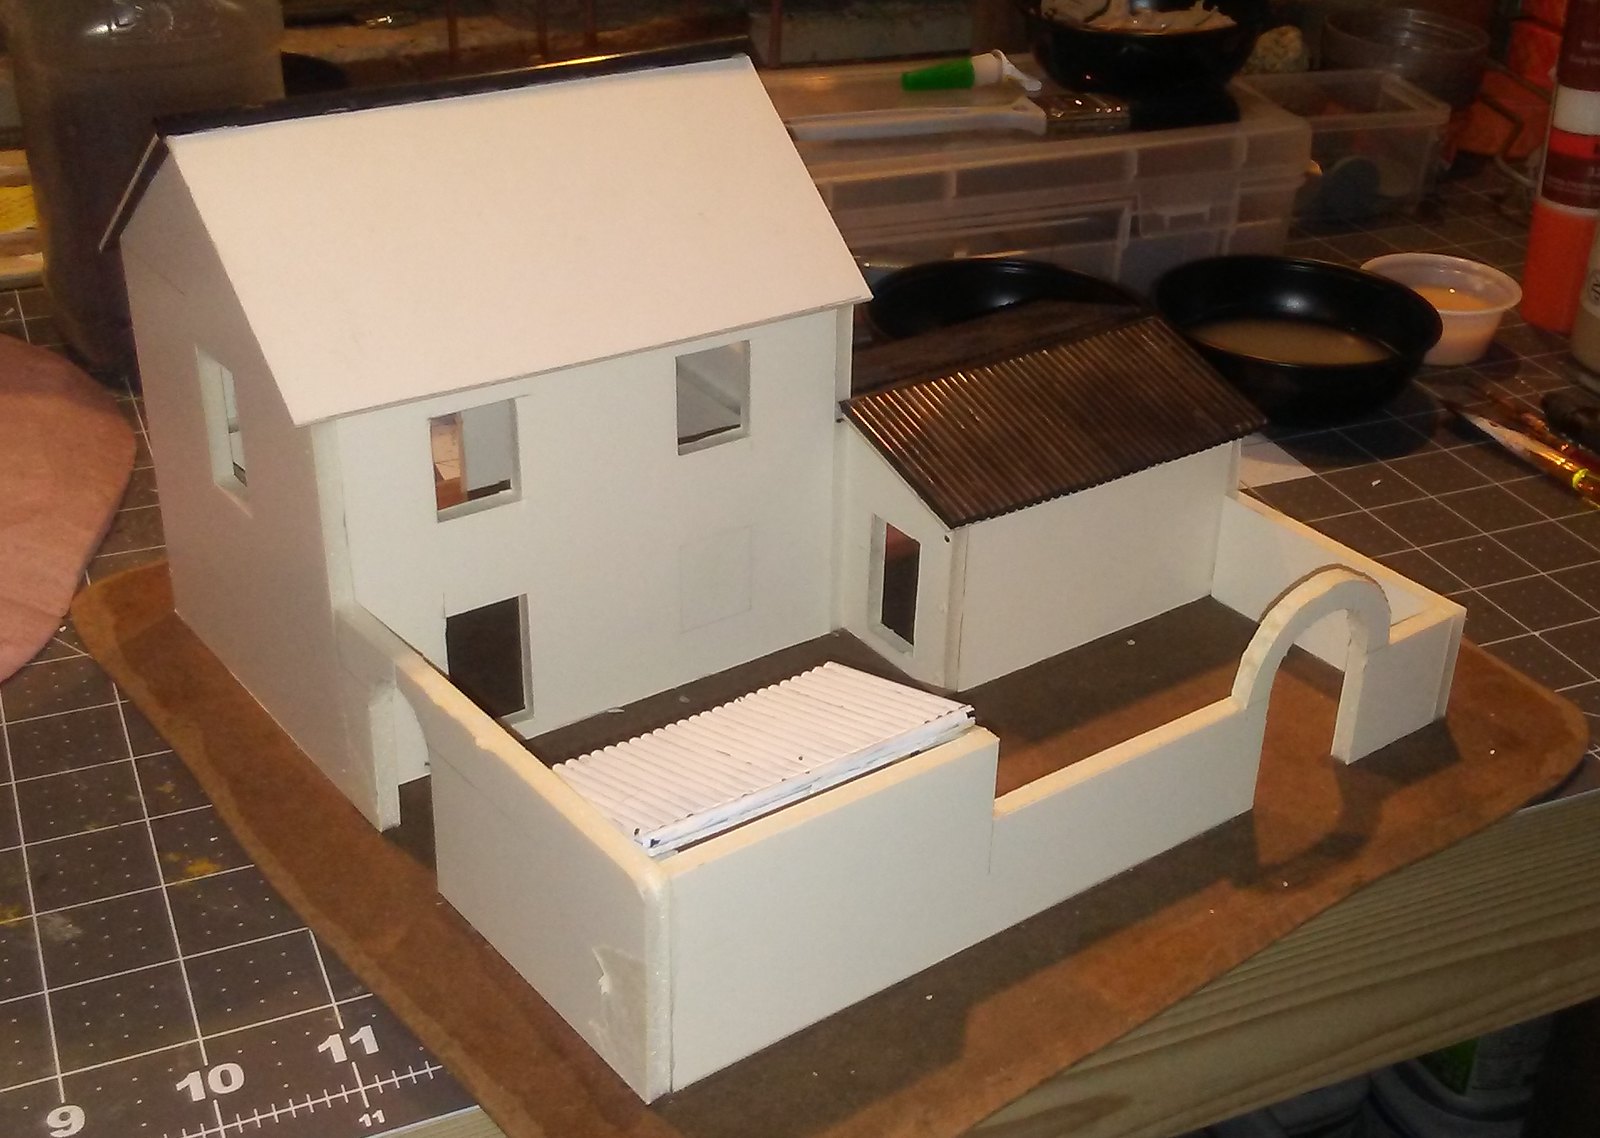
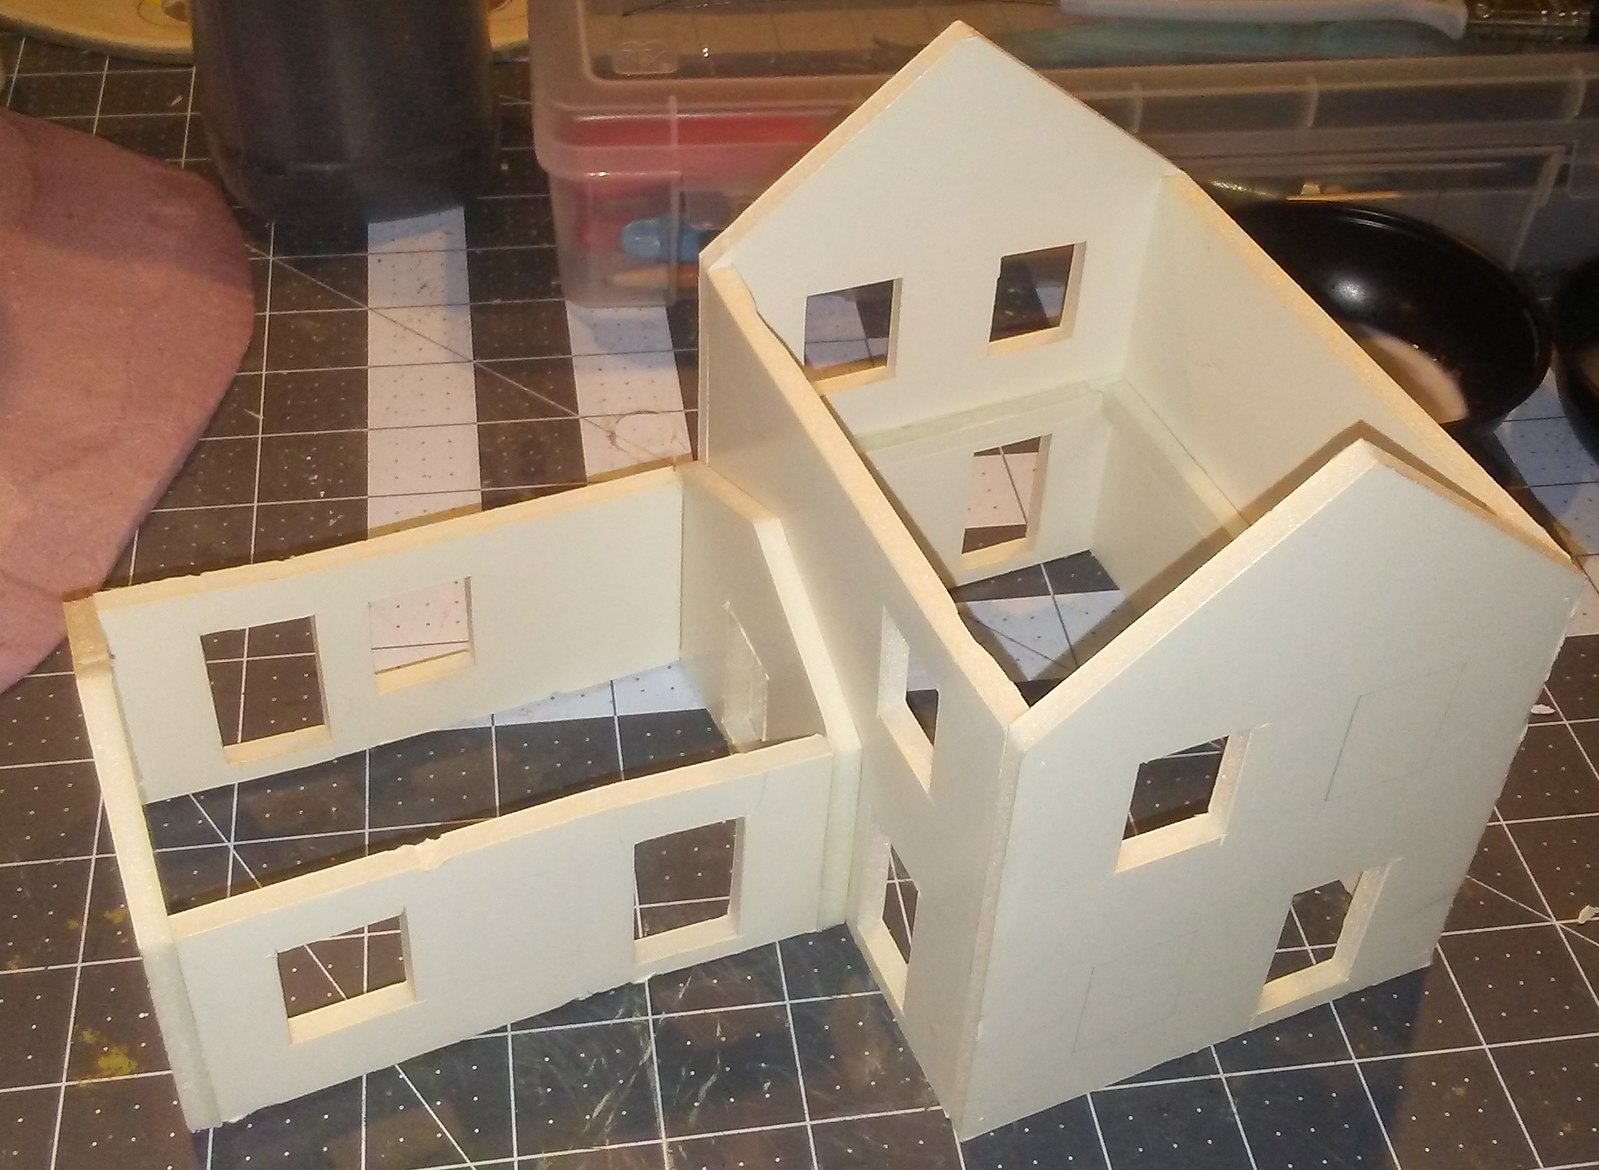
Initial assembly of the administrative building

Rear view
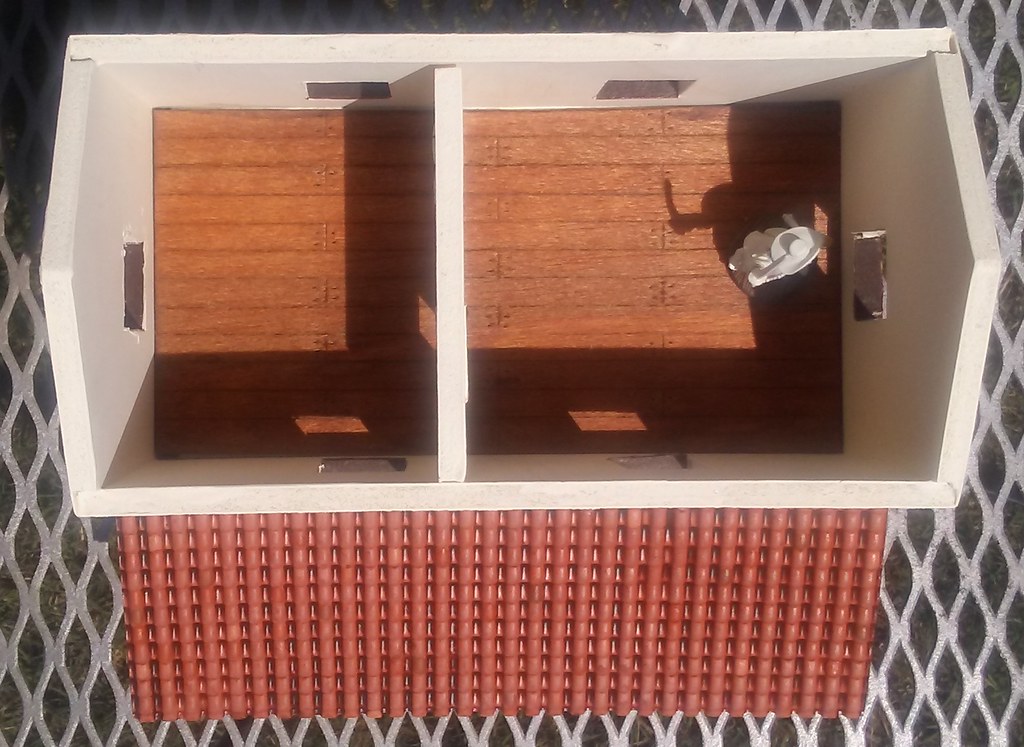
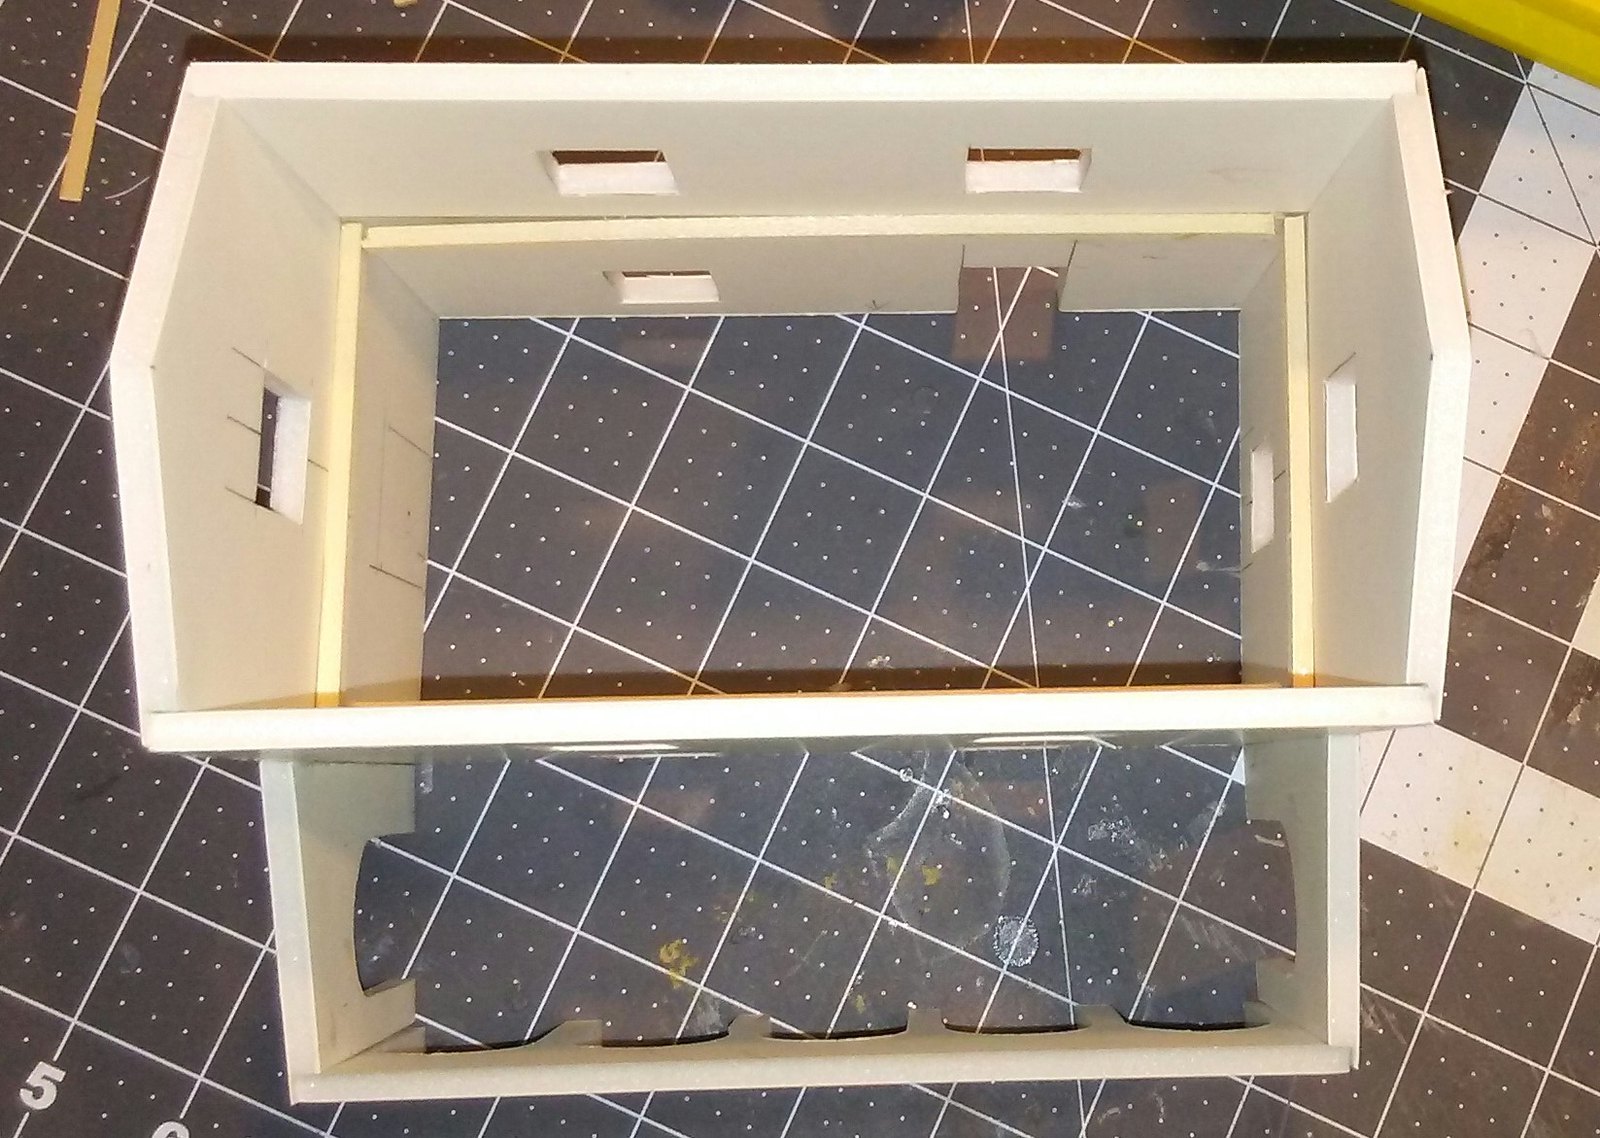
Since I usually like to have interior floors for realism (I can place units in various floors of a building for cover), I glue supports around the interior wall to hold the floor in place. That way the floor can slide in and out in order to give access to the bottom floor as well. Note - It is easier to add these supports before assembling the walls.

Supports to hold up second floor
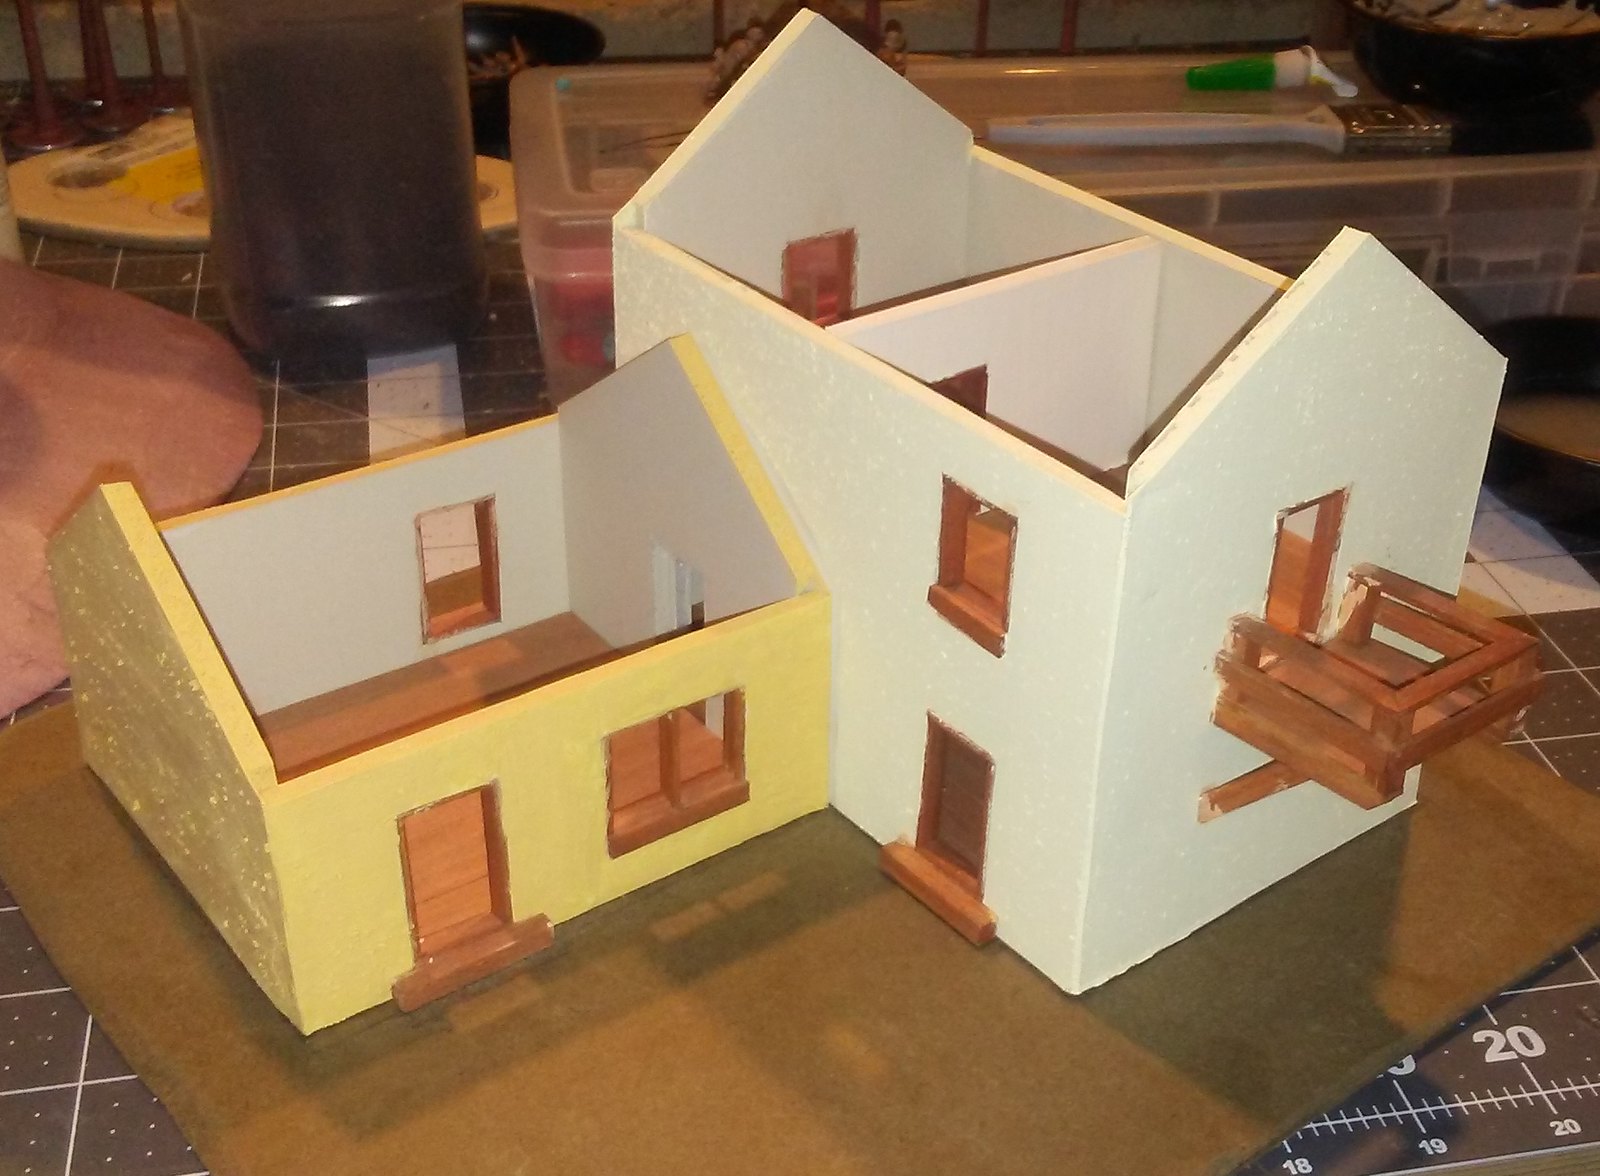
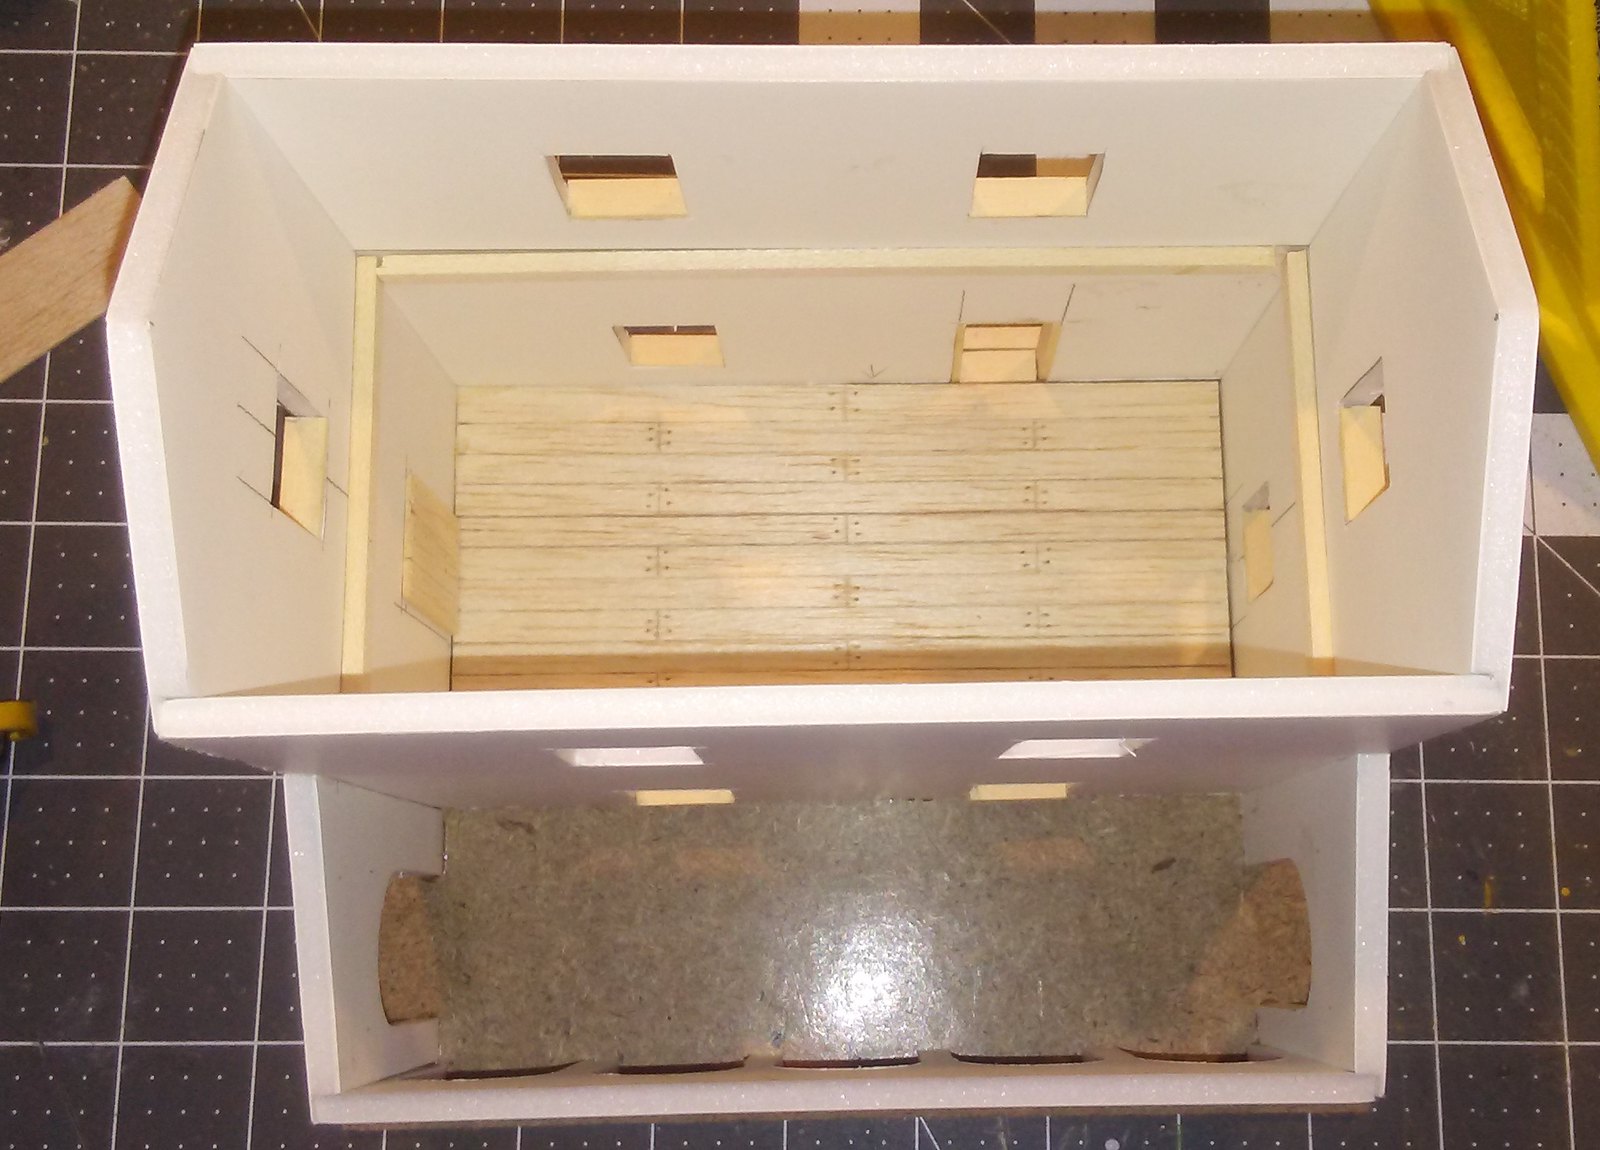
I glued the building to a piece of MDF, to give it some support and provide some area for me to add scenery when the building is complete. Then I glued down a sheet of balsa wood that I had scribed with a plank pattern.


The top floor is the same, a sheet of scribed balsa with some balsa beams glued underneath for support. I also added an interior wall. This gives me something to grab to pull the floor out when needed.


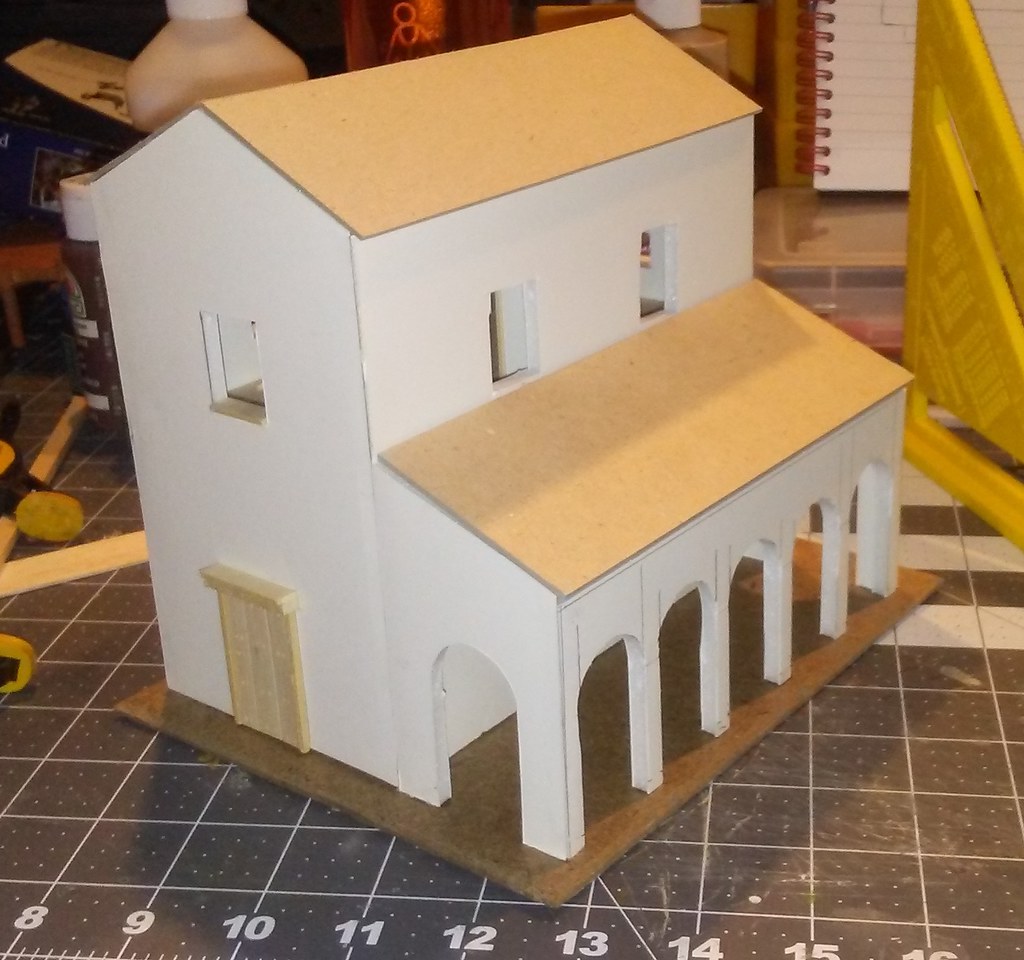
The roof sections are made of cardboard, cut to size. I make all the roof sections removable, so that troops can be placed inside the building.


Once I am sure the roof sections are of the correct size, I add textured plastic sheet to make them look like Spanish tile. I use Plastruct Spanish tile sheets. They are very easy to use, and make detailing the roof sections a painless and quick process. In the past I have experimented with gluing down thin straws or coffee stirrers, but that is very time consuming and not worth the effort, in my opinion. I've also used corrugated cardboard to simulate the effect. At least here in the U.S., most of the corrugated cardboard I have found is covered on both sides, not just one, so that one side needs to be removed before the cardboard can be used. For me this has also proved to be difficult, which is why I use the Plastruct sheets. I usually dislike using anything storebought when a cheaper alternative is available, but this is one exception I make to that rule.

Complete - ready for plastering and painting
In the next post, I'll share with you how I built the church.

'Til next time.
Friday, June 3, 2016

Desert terrain - more palms and a sand ridge

Following up on the desert theme from my last post, I've been able to get a lot of work done on making terrain in the past few days - better progress than I've ever been able to maintain consistently! I don't know about you, but with me it seems that almost every time I get up a good head of steam and enthusiasm for a new game, era, theatre, etc., life comes at me and quickly interrupts my progress. Or, I get in my own way by fixating on a new shiny before I complete work on --- SQUIRREL! You get the picture.

I finished the oasis piece, with the addition of some small beige tufts from Gamer's Grass.
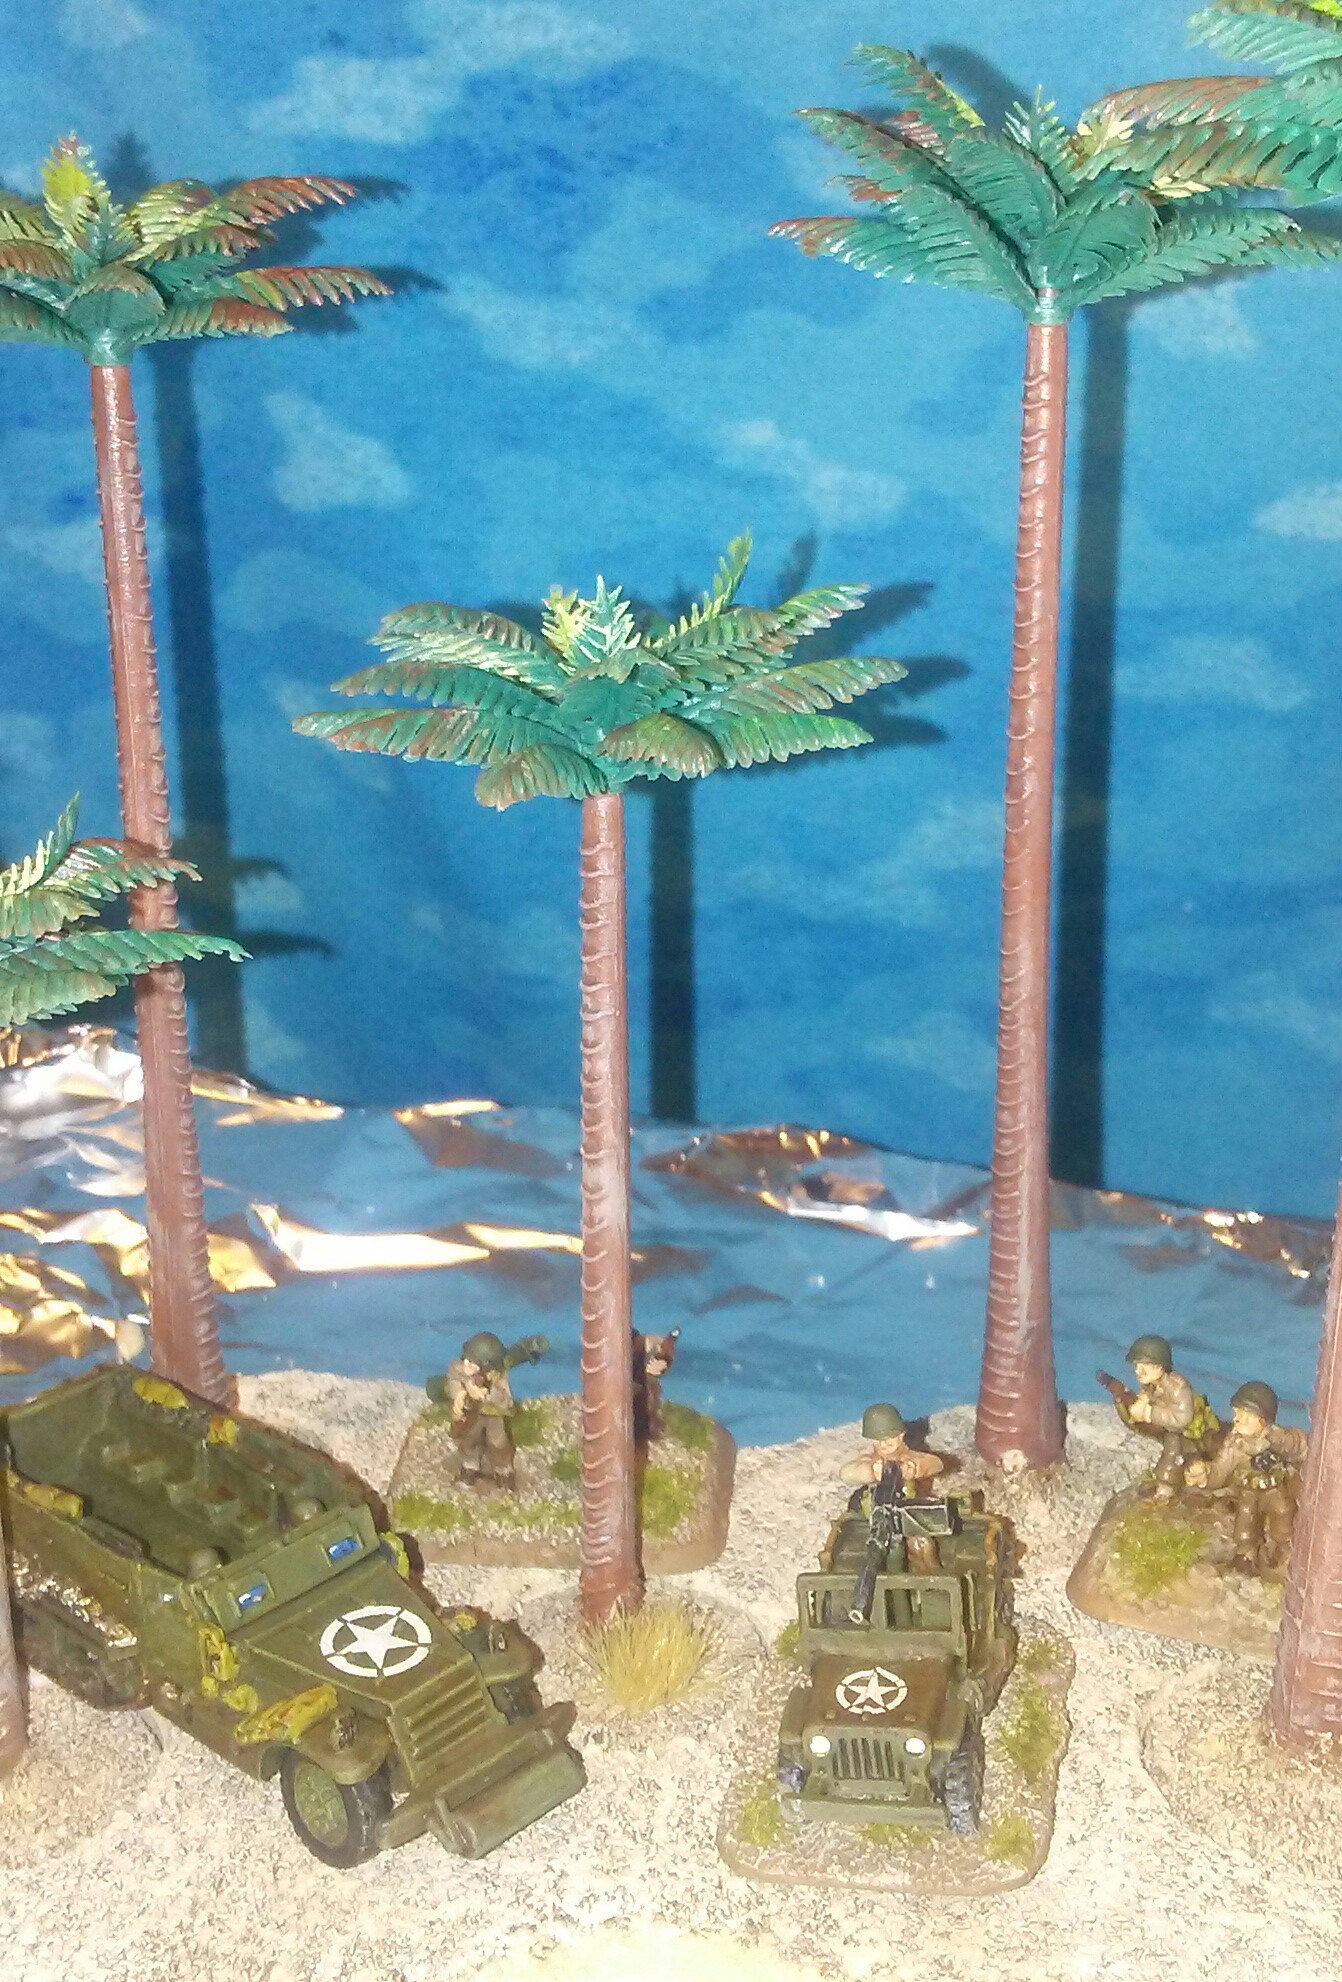
Photo of Beige 6mm Tufts from Gamer's Grass website.
I'd never used pre-made tufts before, and I must say - I am sold. I will definitely be picking up a wider variety of these to use in all my various terrain-making and figure-basing projects. They look terrific, and they are very easy to apply. The tufts just peel off the backing paper, and they have a slight adhesive already on them. The instructions suggest using a dab of glue for a better bond. I used Aleene's Clear Gel Tacky Glue. Peel, dab and stick. It really is as easy as that, and improves the look of the terrain tremendously, in my opinion.

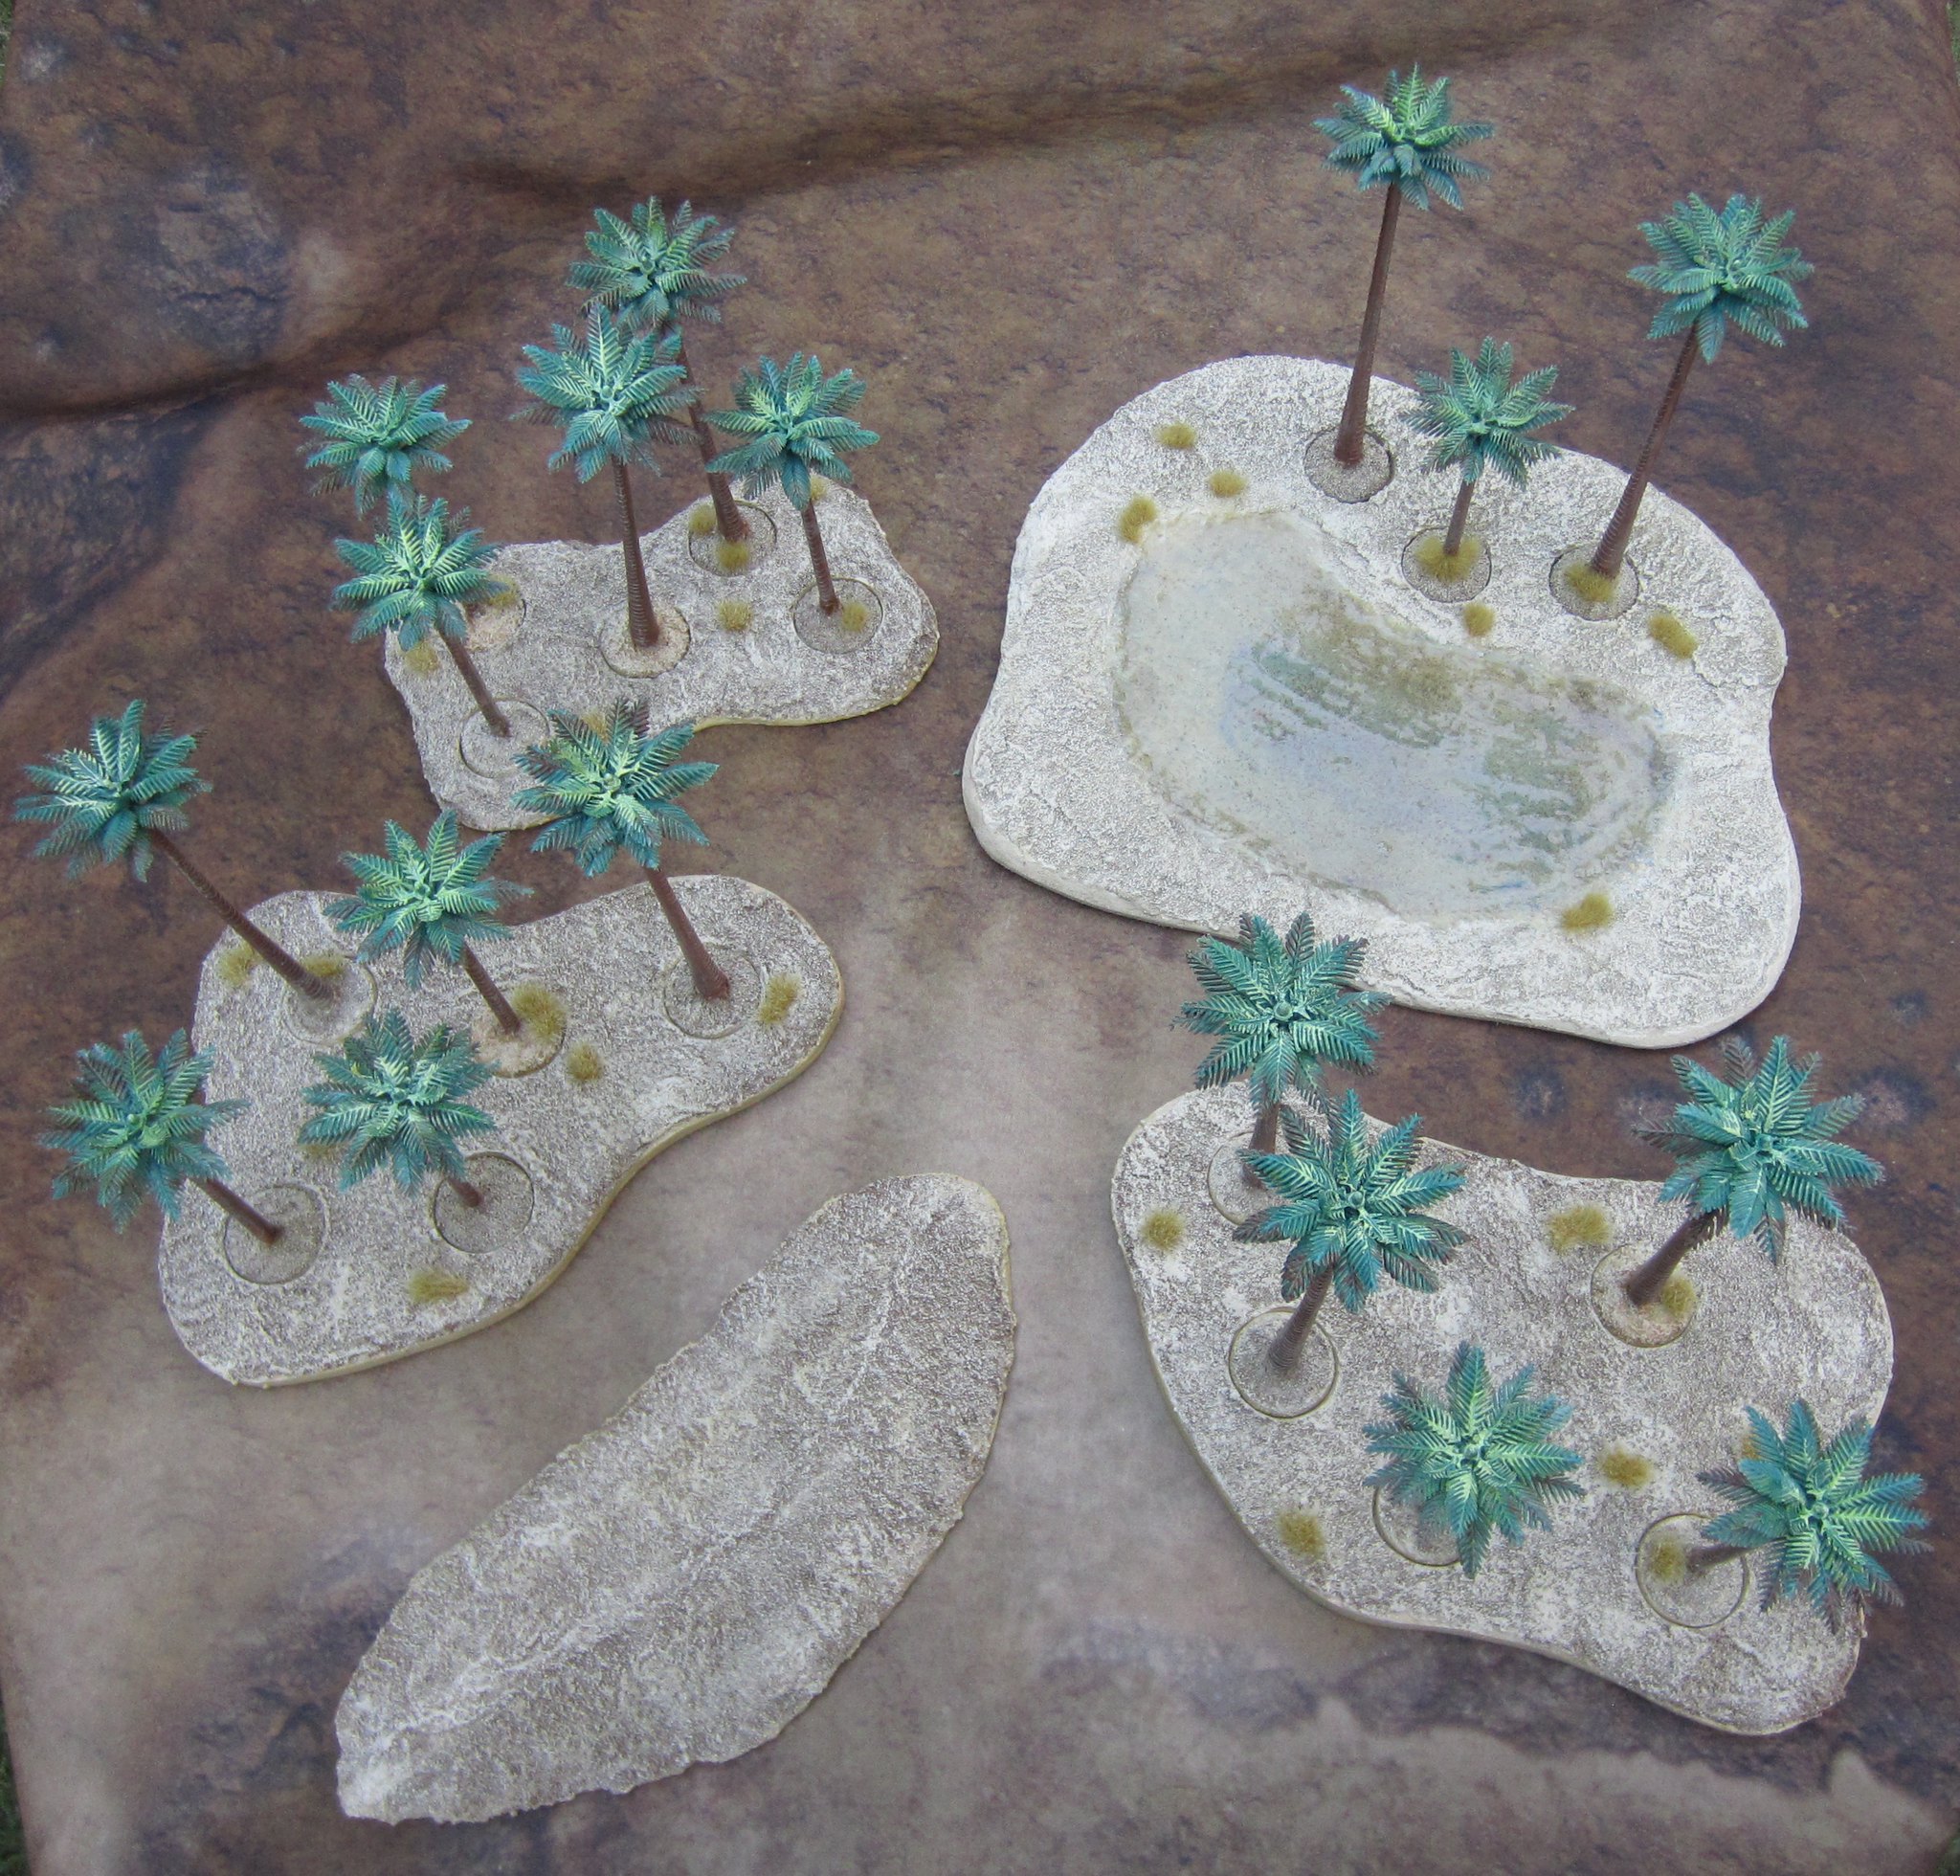
Here's a group shot of the all the various desert terrain pieces I've completed:

Group shot
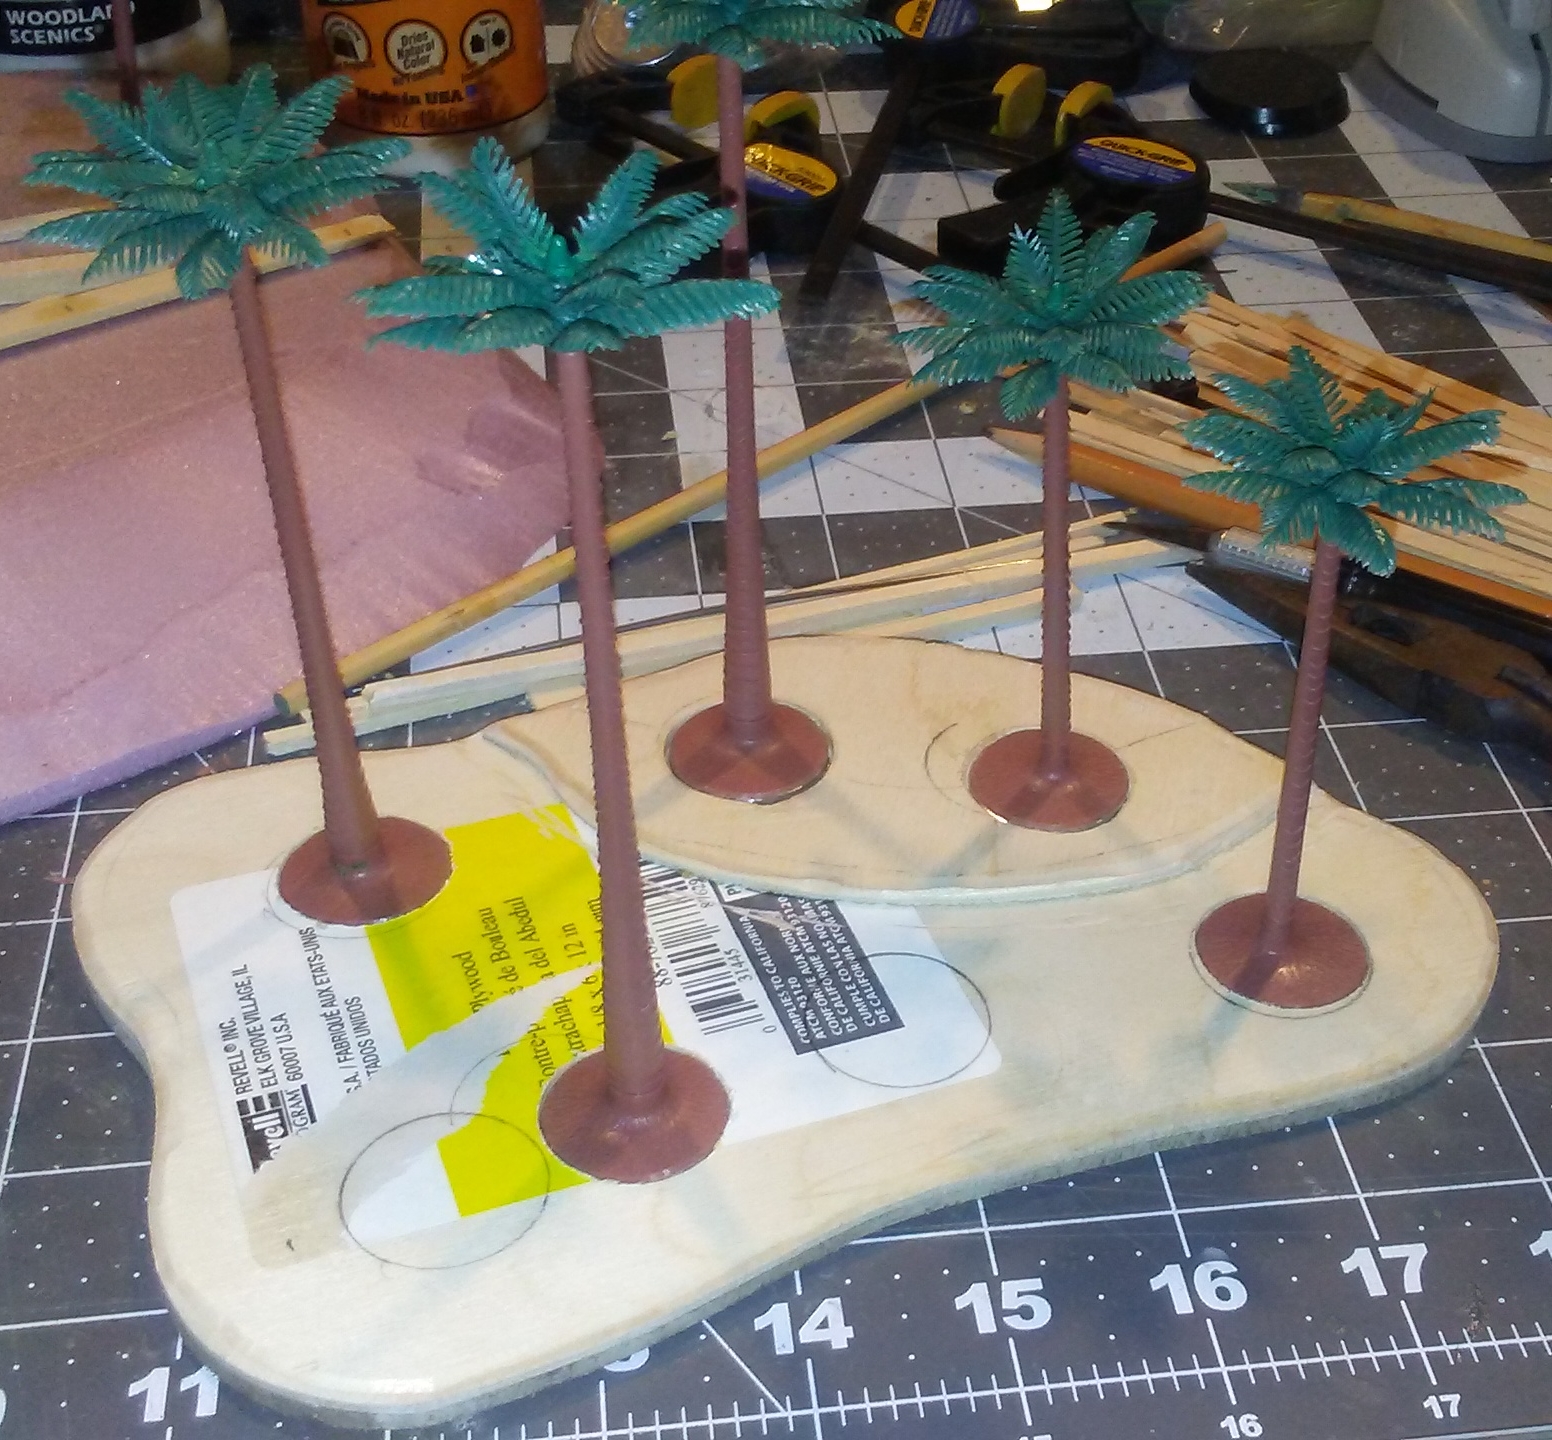
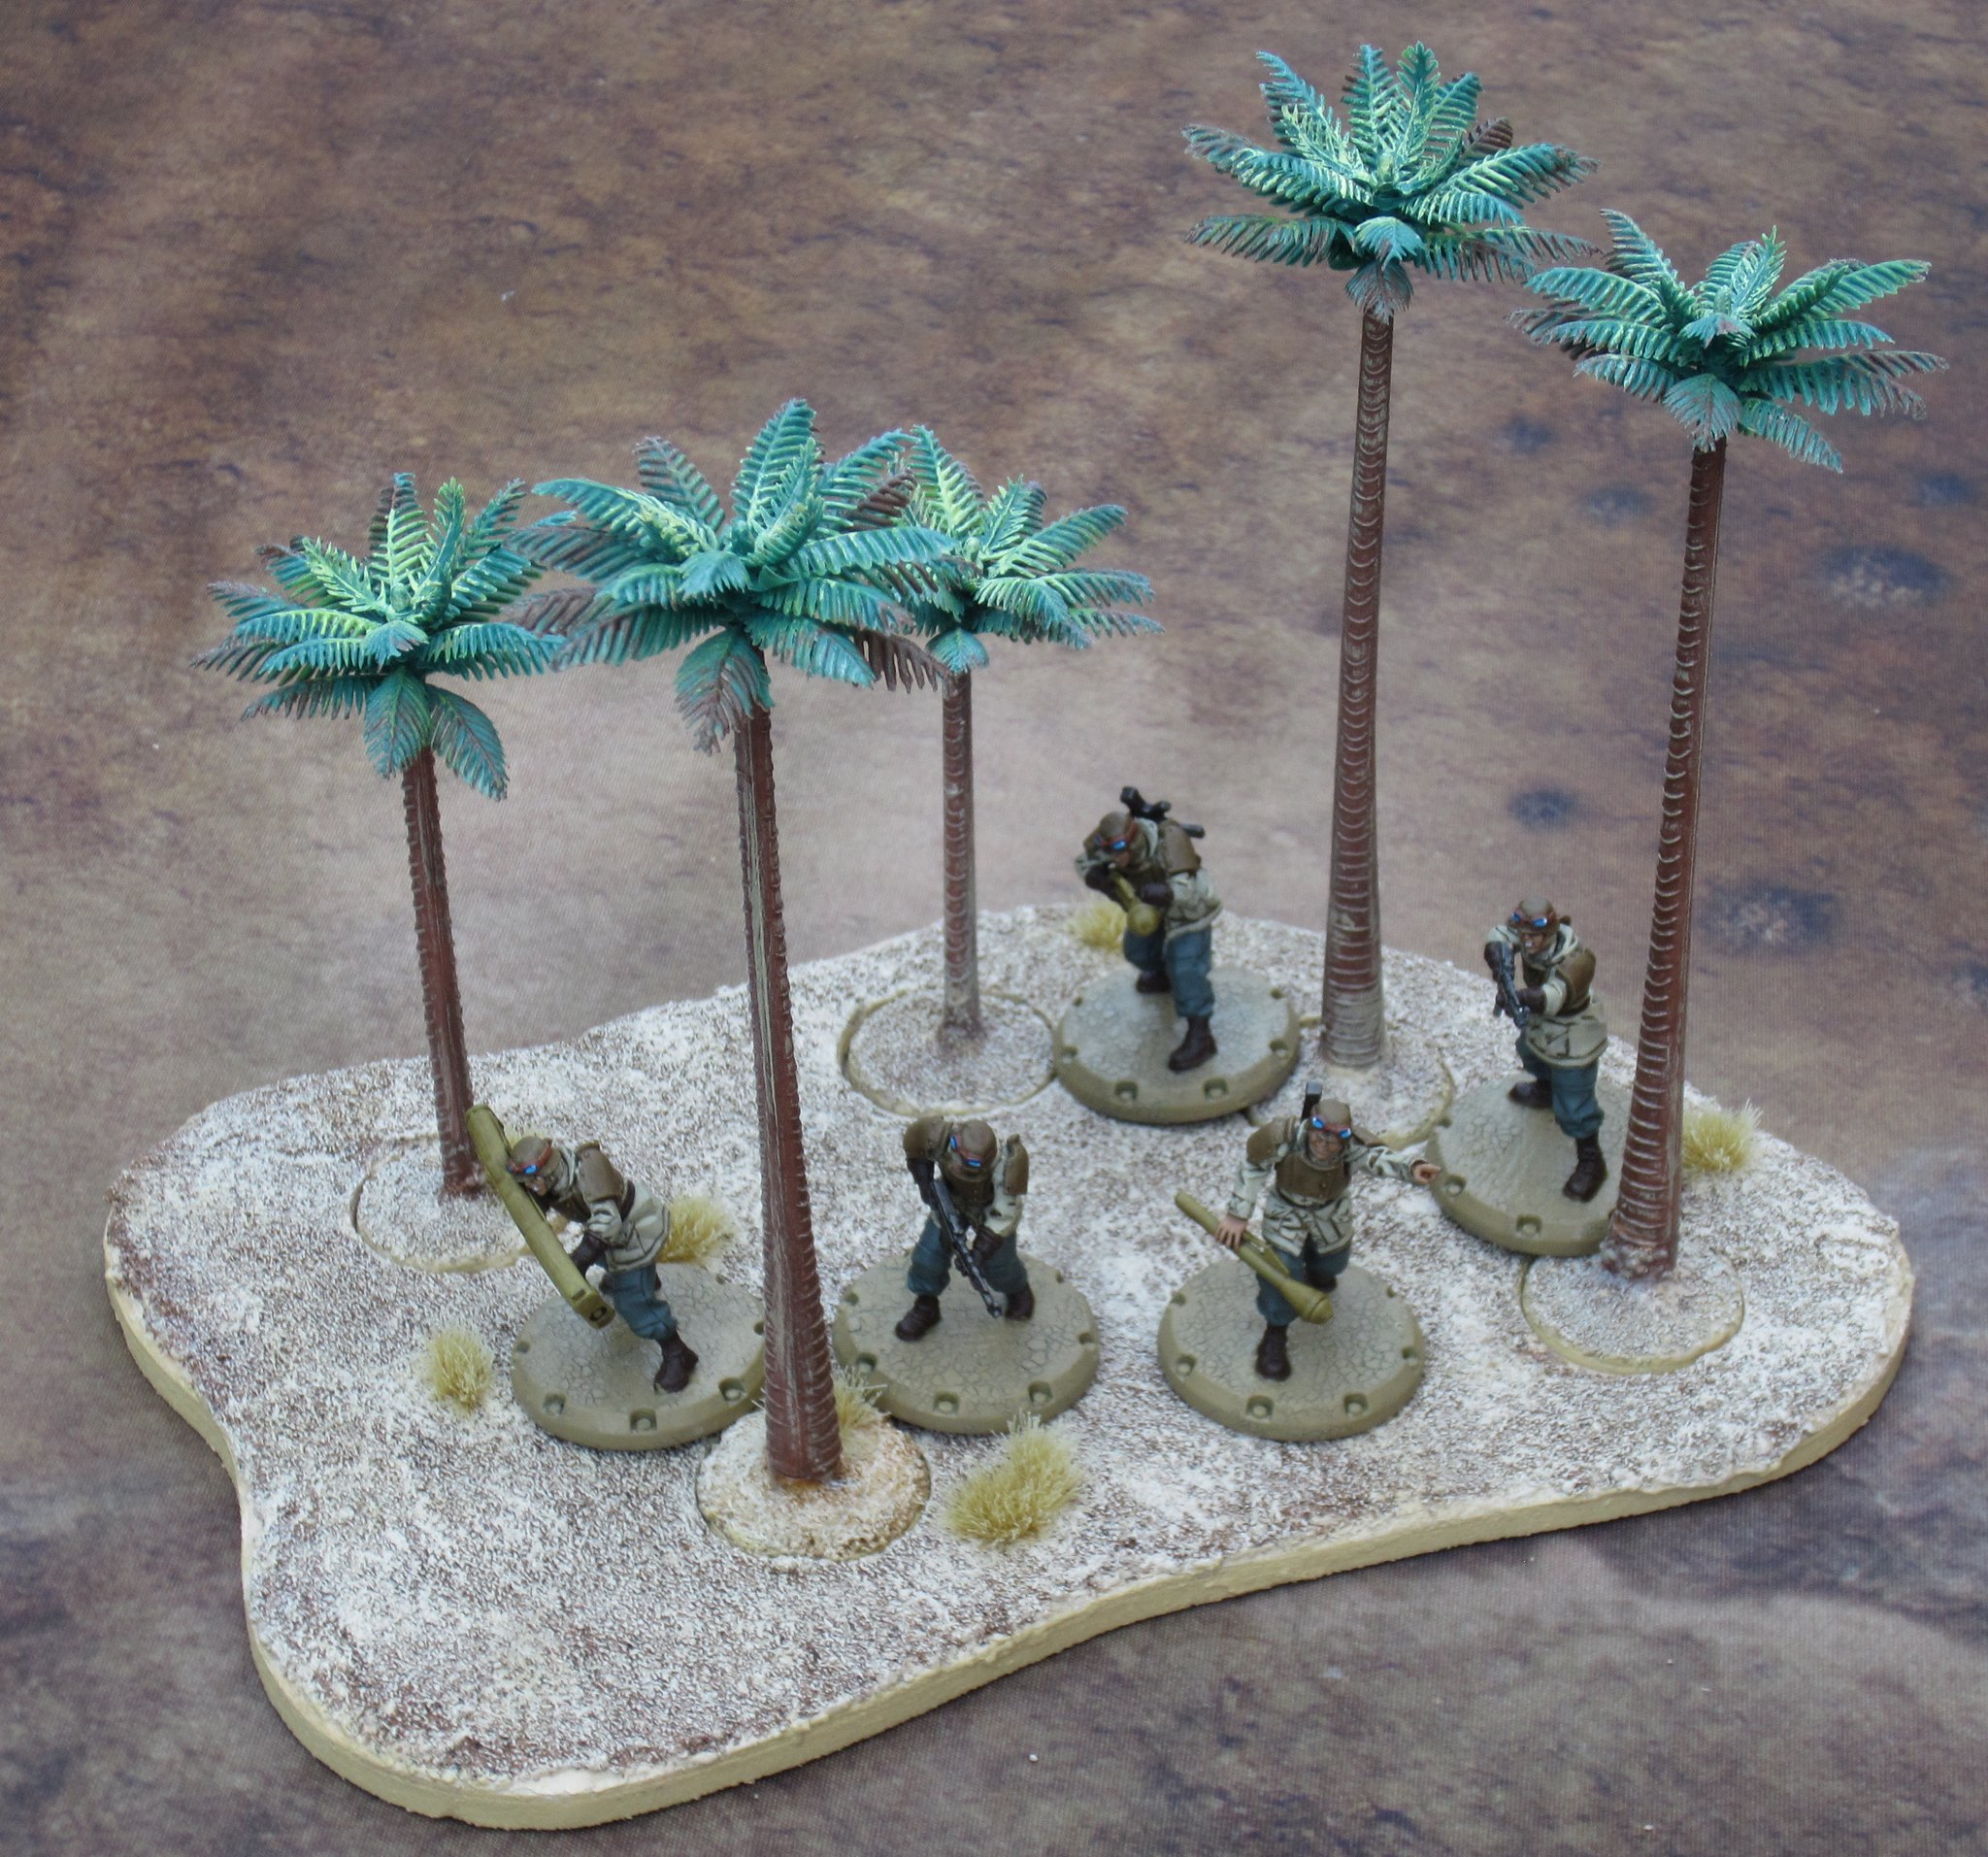
This stand of trees was made using MDF for the base layer, and a sheet of craft wood for the top layers. I added an extra, smaller level of wood at the rear to give the piece added relief.

Before adding any texture or paint.
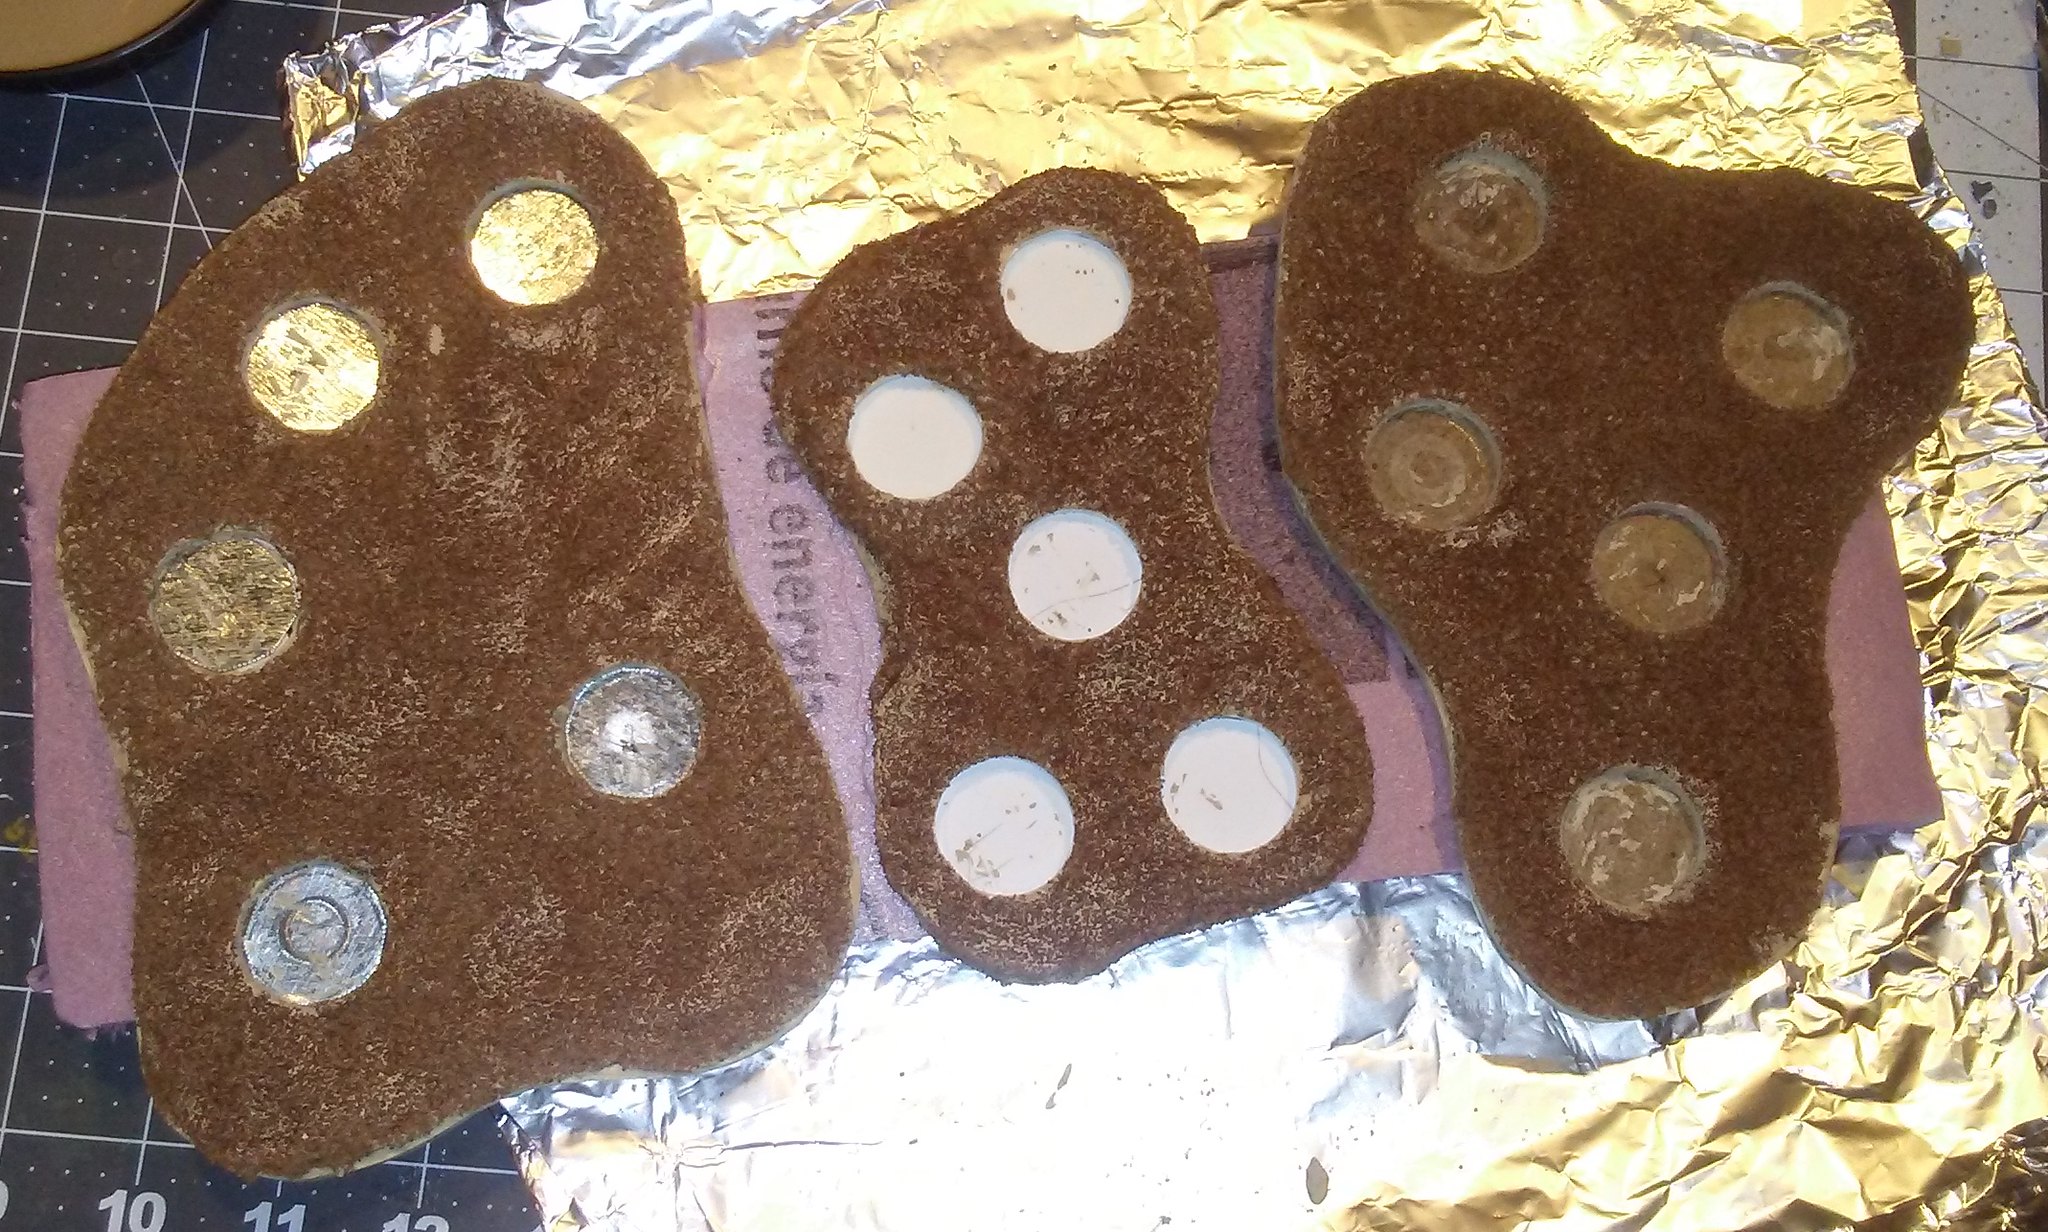
Palm tree stands, textured and flocked.
Here is the completed stand of trees. I am using DUST figures (1:48 scale) to show the size.

Completed and ready for use.
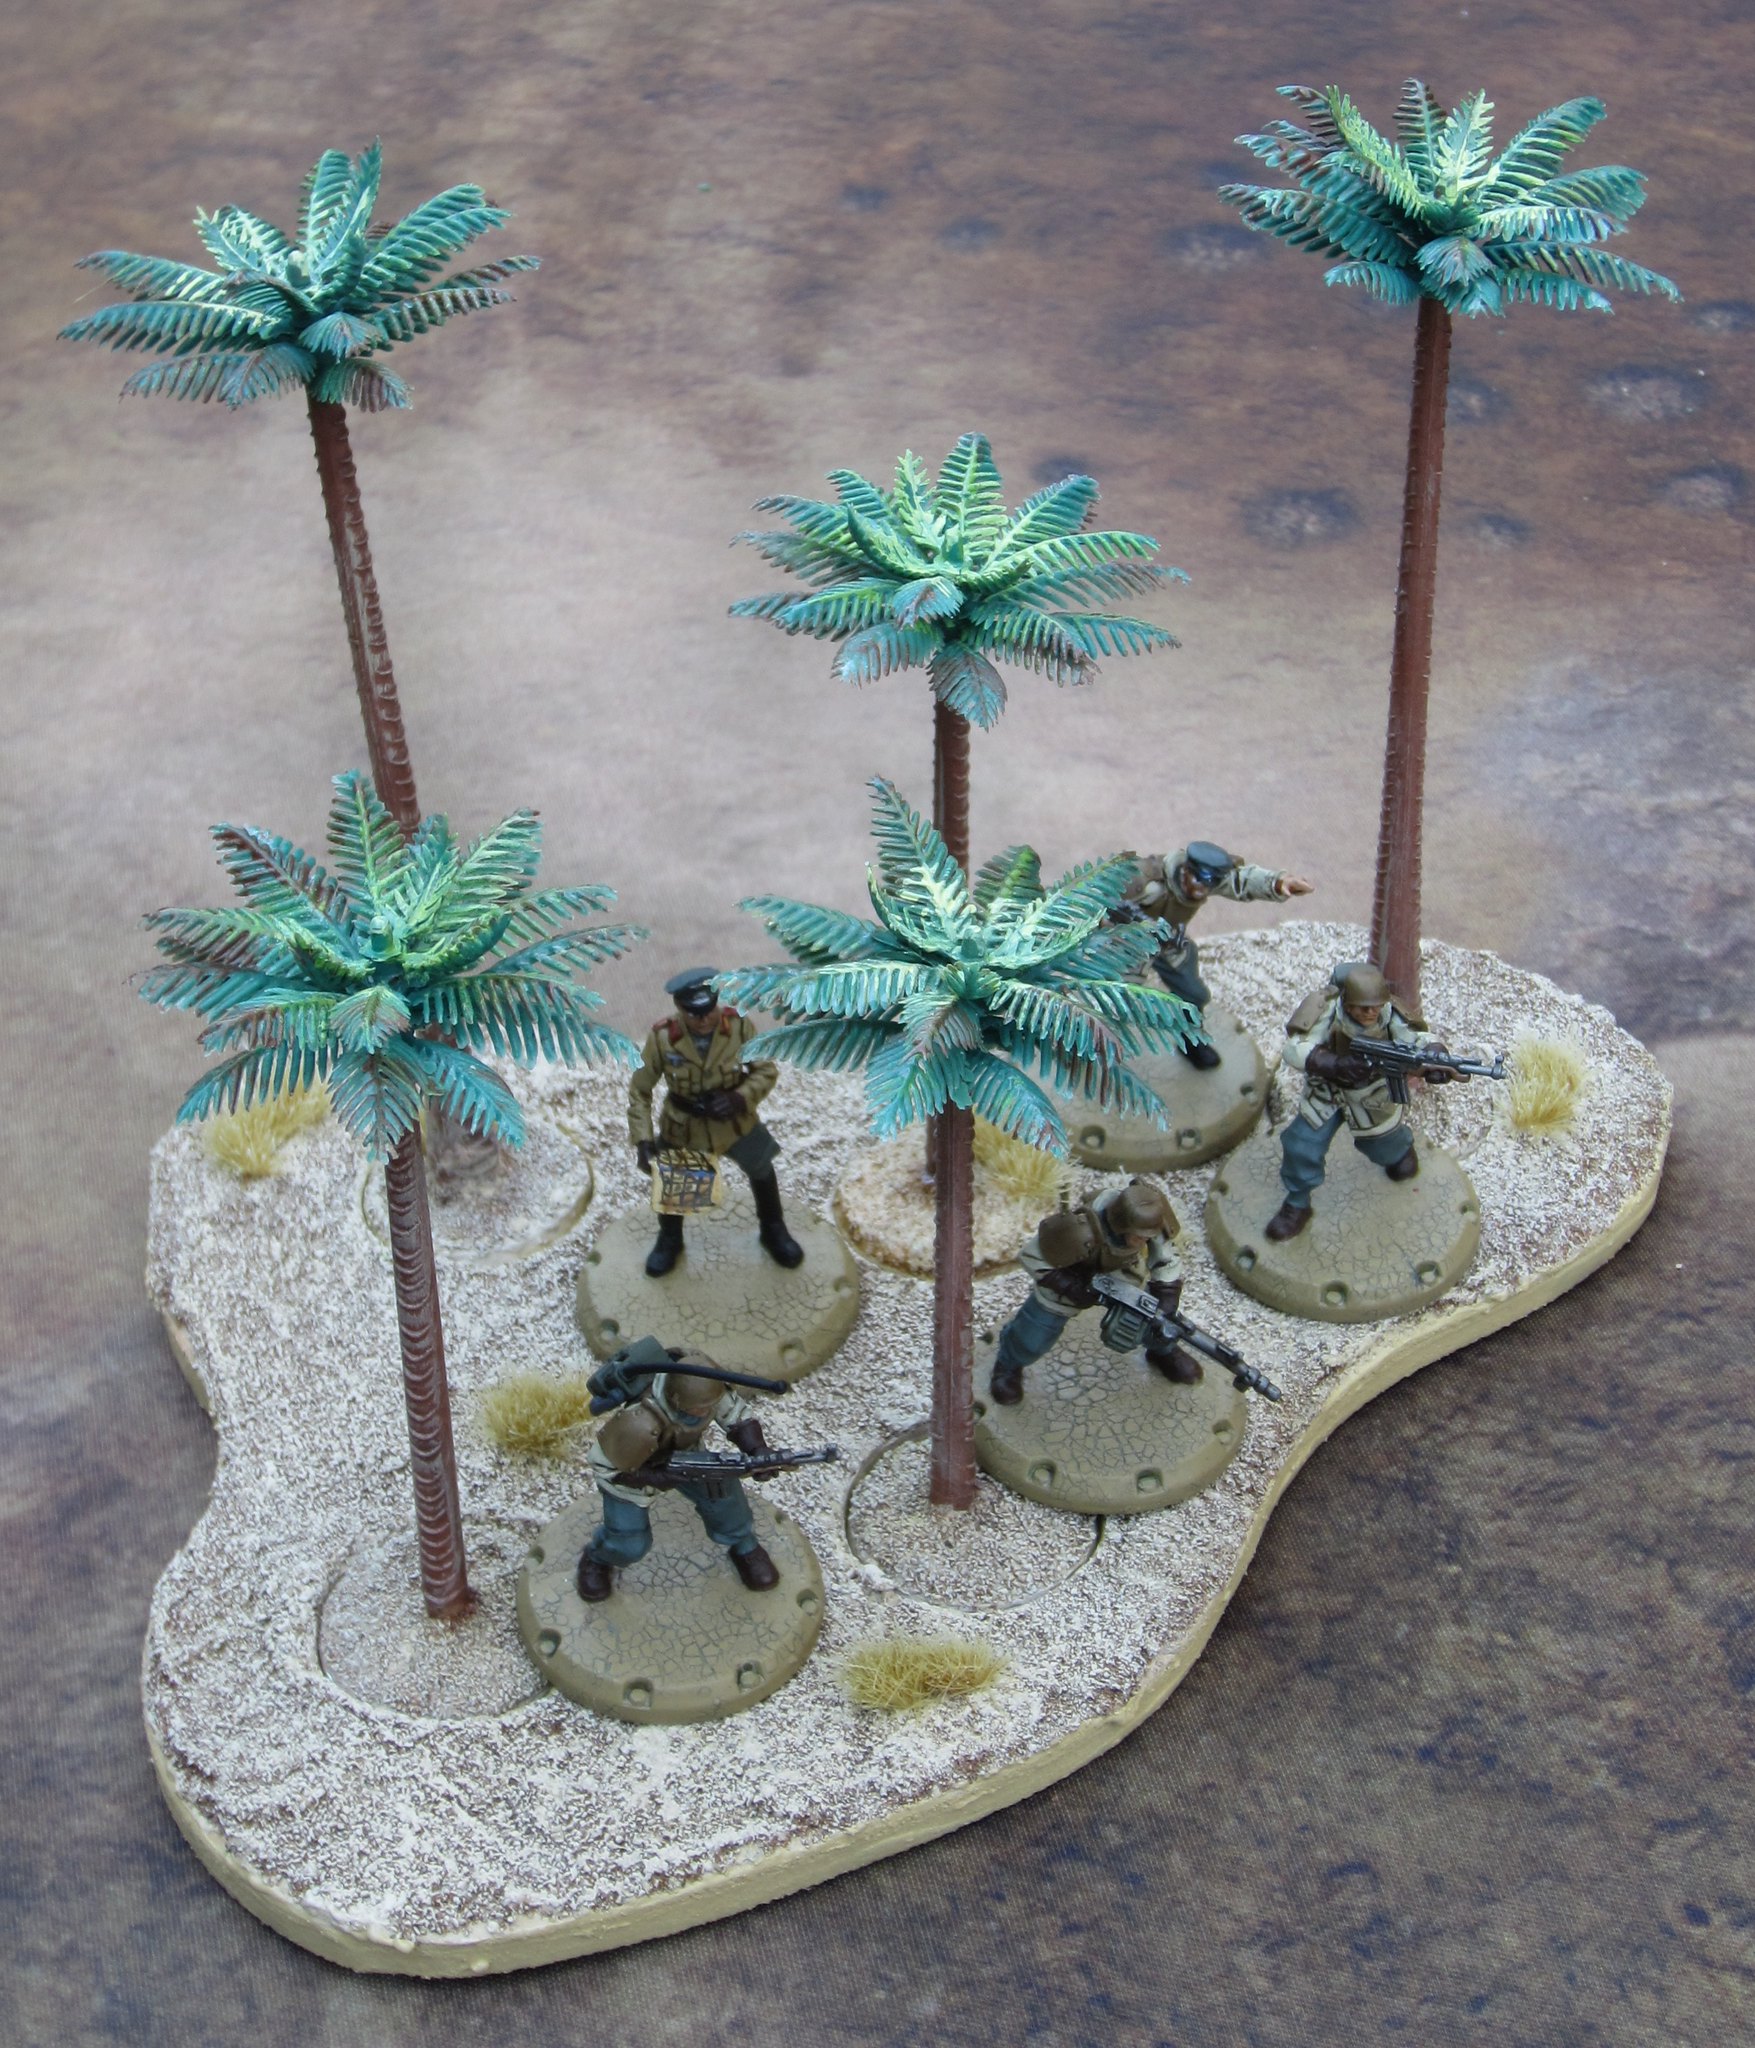
I made another large stand of palm trees to complement this one:

Yes, that's the Desert Fox himself hiding in the trees...
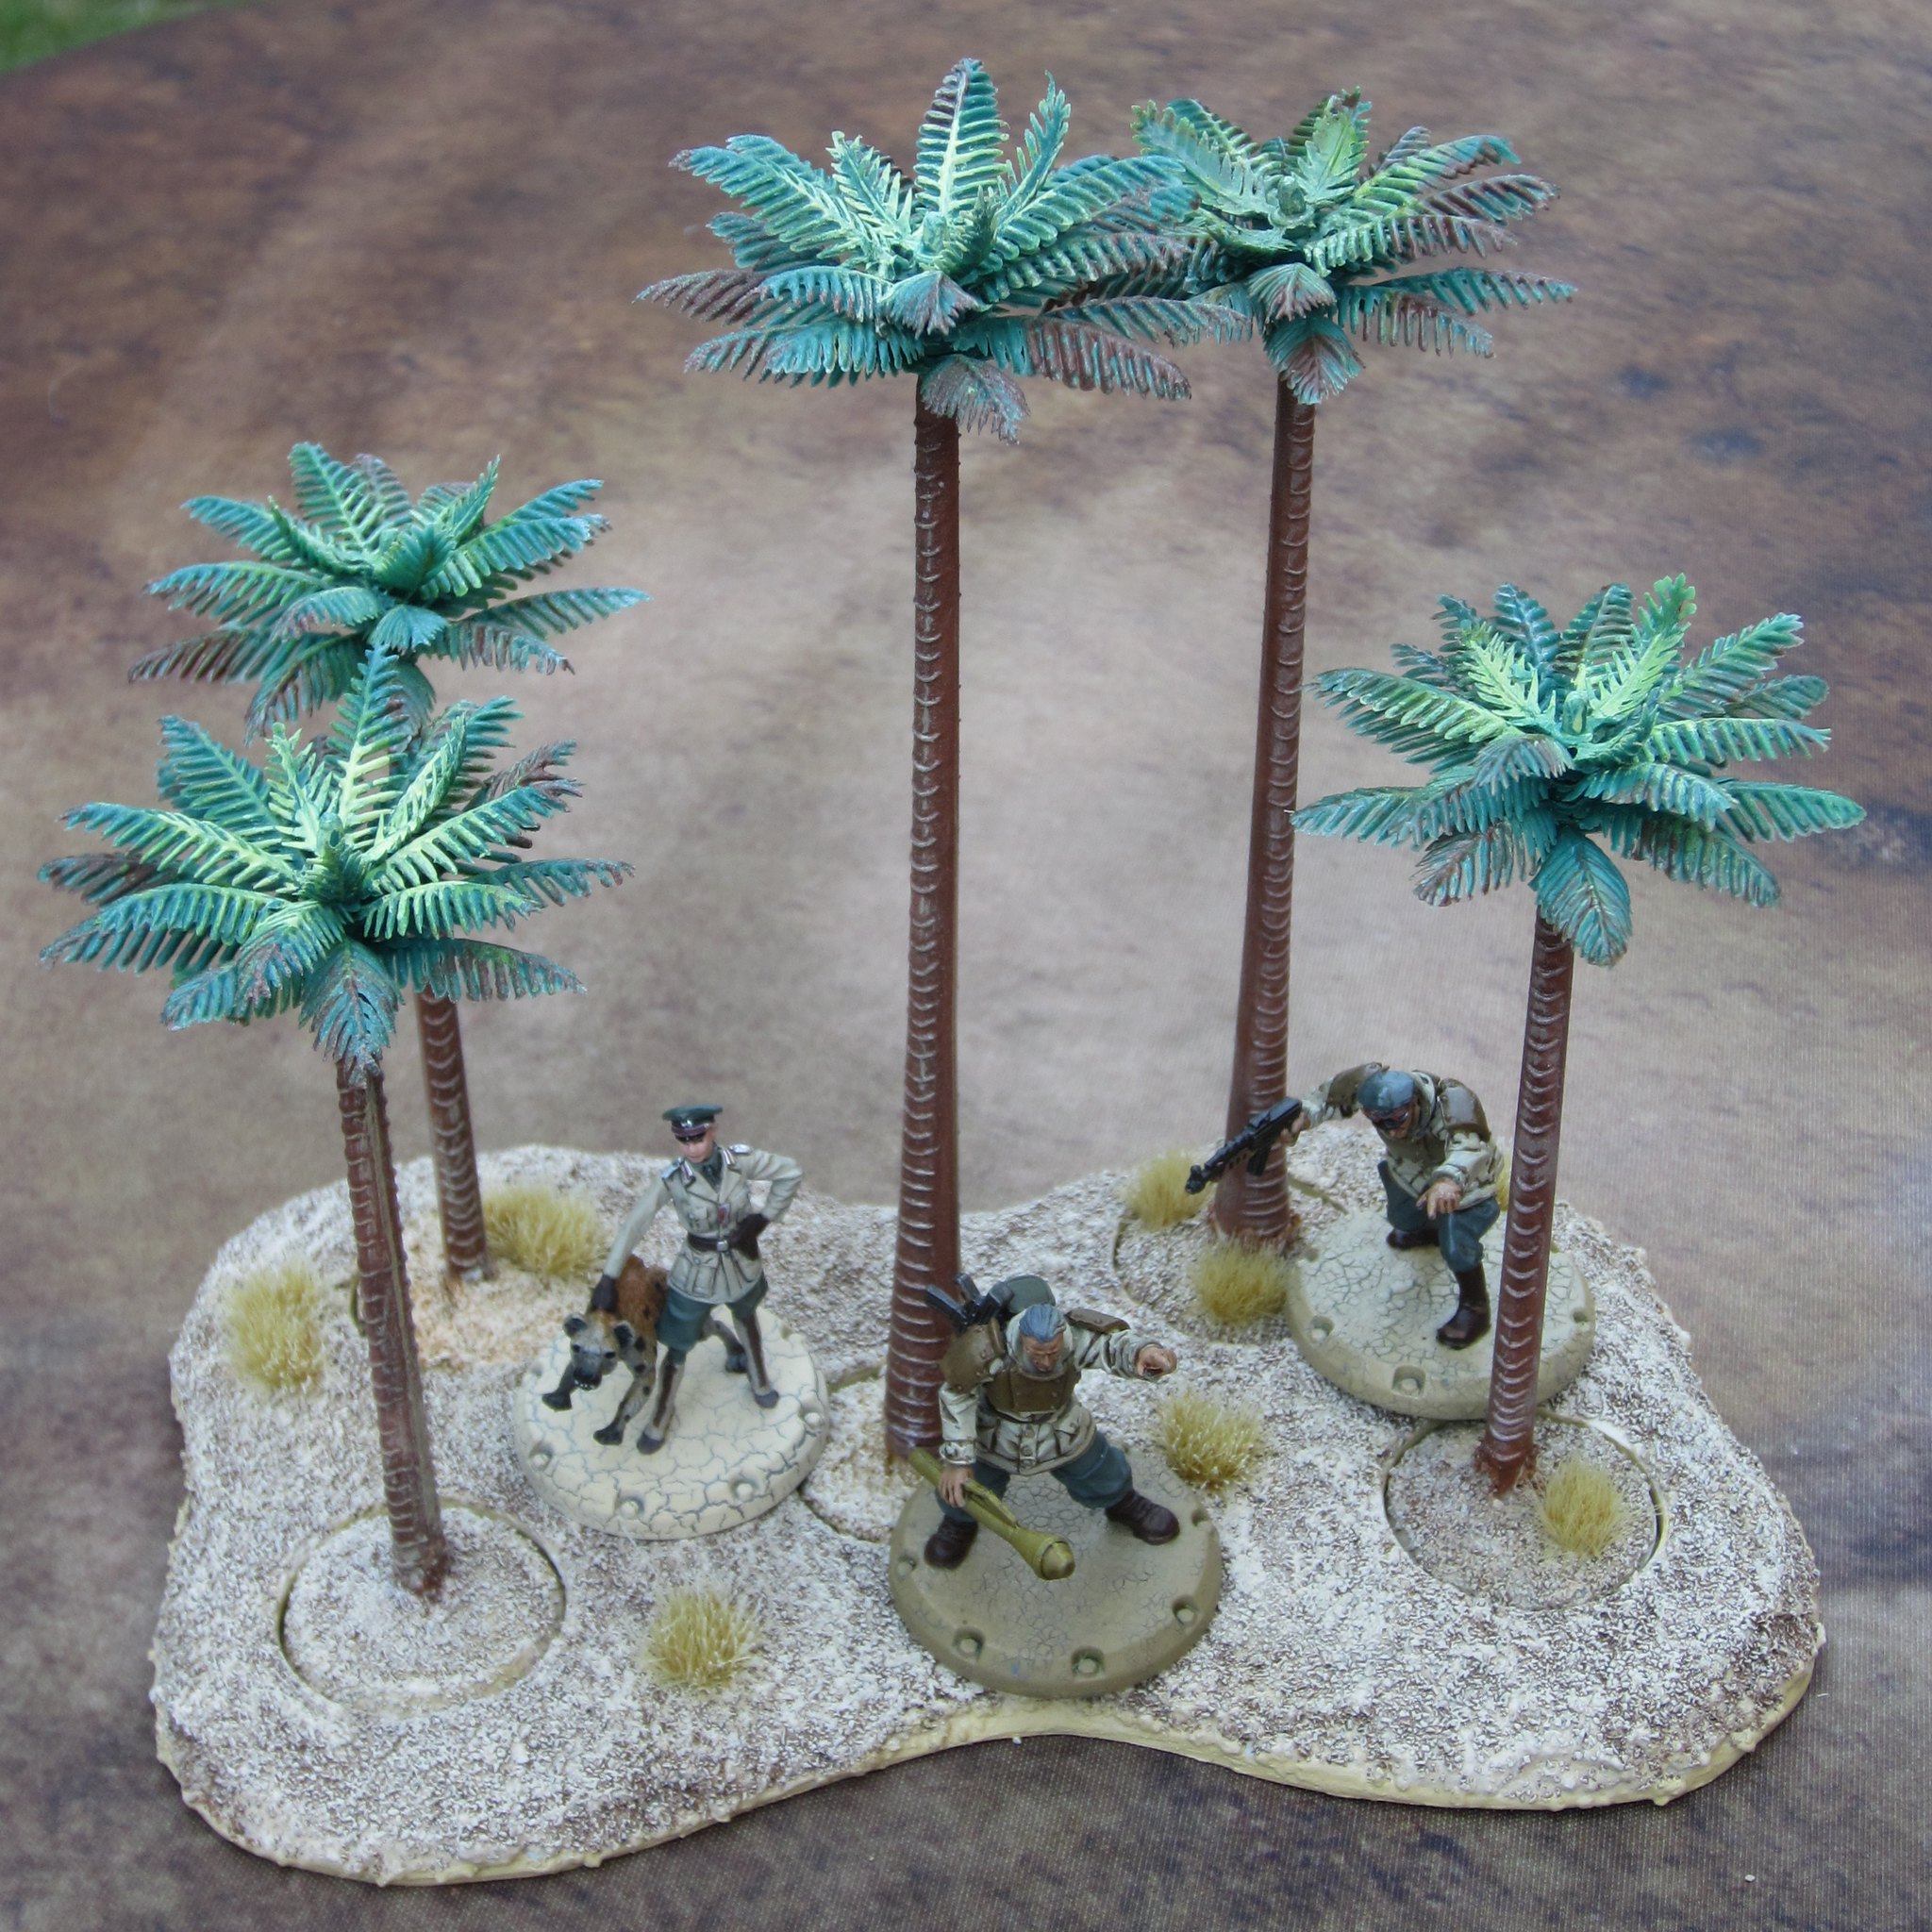
The smallest stand of trees is made from some scrap pieces of thick sheet styrene I had lying about the work area.

Tina and Hyane patrol the palms.
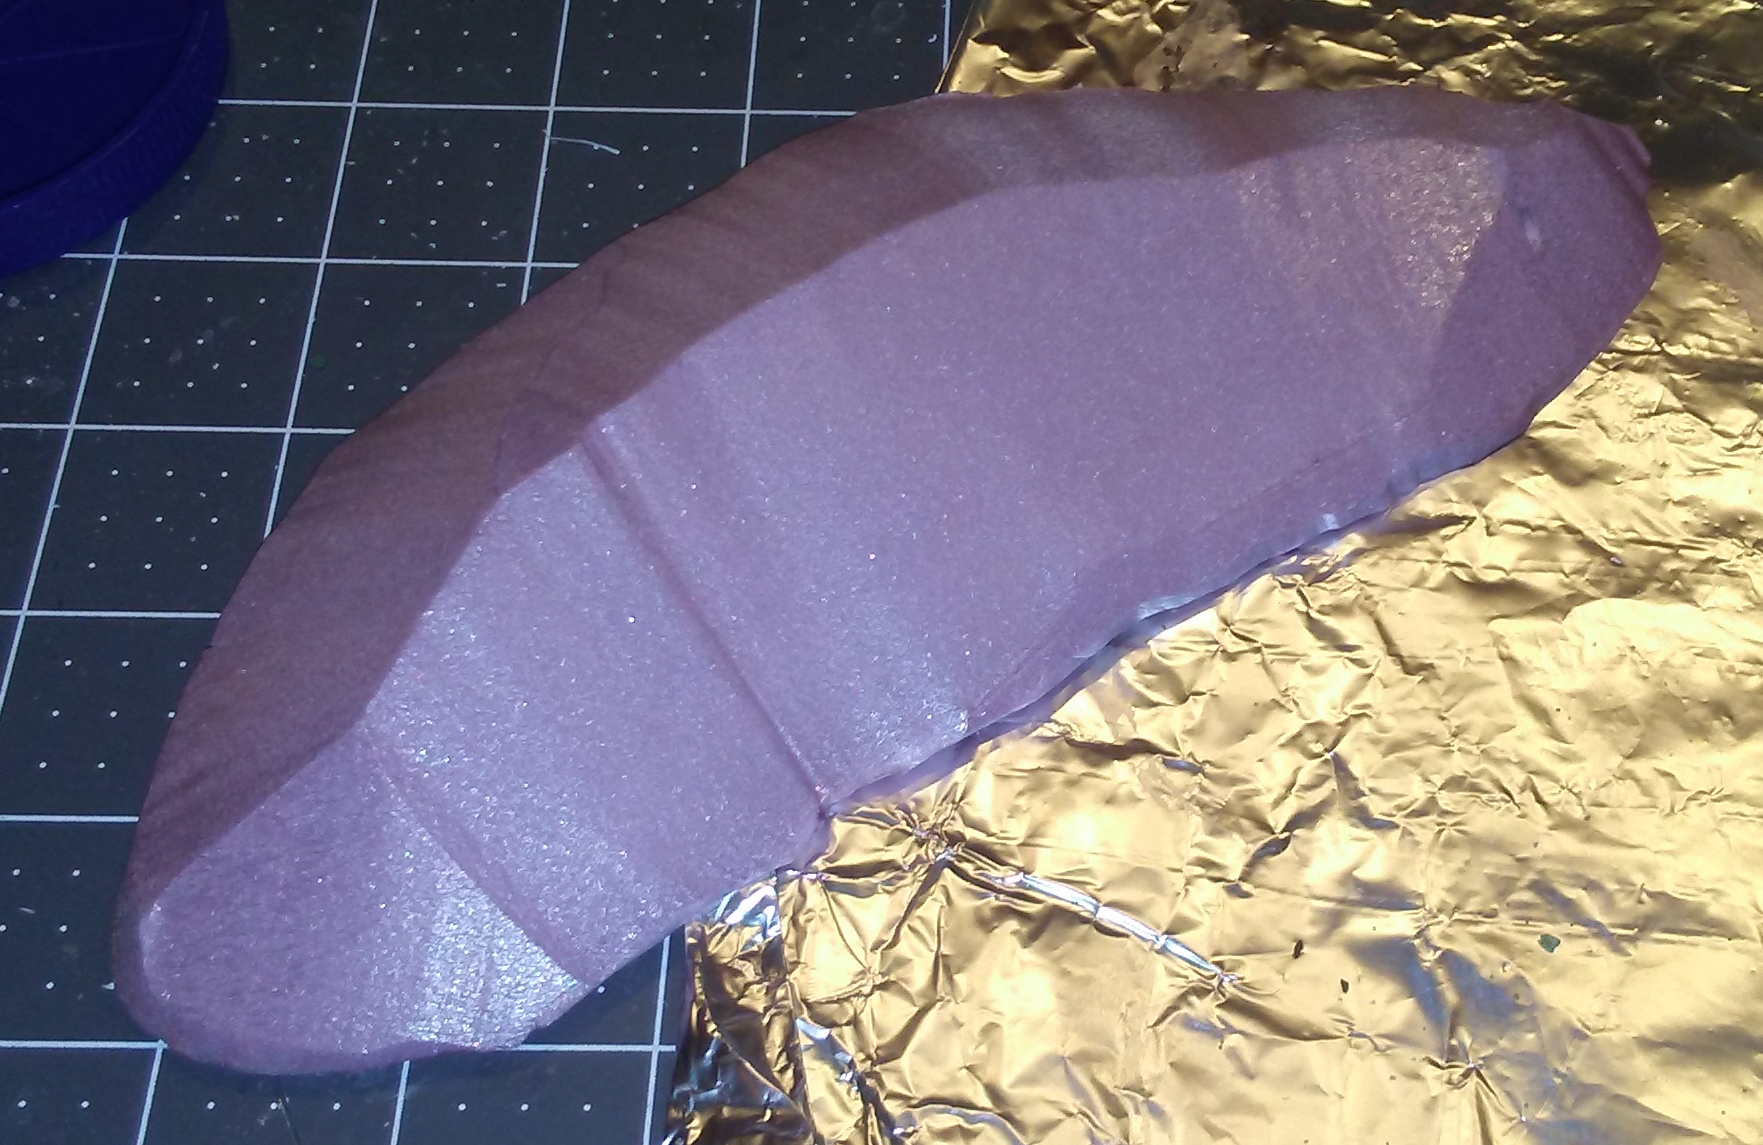
After I got done adding texture to the palm tree stands, I still had quite a bit of my texturing material left. Working quickly so as not to let it dry, I cut a piece of pink insulation foam into shape as a dune/sand ridge. I used a hot wire foam cutter to shape it. I use a cheap one, very similar to this one, that I bought at Michael's.

Pink foam, ready for flocking.
The completed ridge will provide some small amount of cover for advancing troops.

Axis troops led by Red Yana.
Now I need to make some larger dunes or sand formations. That's easy - the hard part will be not getting sidetracked!

Lastly, a friend asked me how well the trees would scale with 15mm figures. I sent him a photo, but thought to share it here as well in case anyone is interested. Here you can see some Flames of War 15mm US infantry troops among the trees. I hope you find it helpful.


'Til next time.