Showing posts with label Bolt Action. Show all posts

Friday, June 3, 2016

Desert terrain - more palms and a sand ridge

Following up on the desert theme from my last post, I've been able to get a lot of work done on making terrain in the past few days - better progress than I've ever been able to maintain consistently! I don't know about you, but with me it seems that almost every time I get up a good head of steam and enthusiasm for a new game, era, theatre, etc., life comes at me and quickly interrupts my progress. Or, I get in my own way by fixating on a new shiny before I complete work on --- SQUIRREL! You get the picture.

I finished the oasis piece, with the addition of some small beige tufts from Gamer's Grass.

Photo of Beige 6mm Tufts from Gamer's Grass website.
I'd never used pre-made tufts before, and I must say - I am sold. I will definitely be picking up a wider variety of these to use in all my various terrain-making and figure-basing projects. They look terrific, and they are very easy to apply. The tufts just peel off the backing paper, and they have a slight adhesive already on them. The instructions suggest using a dab of glue for a better bond. I used Aleene's Clear Gel Tacky Glue. Peel, dab and stick. It really is as easy as that, and improves the look of the terrain tremendously, in my opinion.

Here's a group shot of the all the various desert terrain pieces I've completed:

Group shot
This stand of trees was made using MDF for the base layer, and a sheet of craft wood for the top layers. I added an extra, smaller level of wood at the rear to give the piece added relief.

Before adding any texture or paint.
Palm tree stands, textured and flocked.
Here is the completed stand of trees. I am using DUST figures (1:48 scale) to show the size.

Completed and ready for use.
I made another large stand of palm trees to complement this one:

Yes, that's the Desert Fox himself hiding in the trees...
The smallest stand of trees is made from some scrap pieces of thick sheet styrene I had lying about the work area.

Tina and Hyane patrol the palms.
After I got done adding texture to the palm tree stands, I still had quite a bit of my texturing material left. Working quickly so as not to let it dry, I cut a piece of pink insulation foam into shape as a dune/sand ridge. I used a hot wire foam cutter to shape it. I use a cheap one, very similar to this one, that I bought at Michael's.

Pink foam, ready for flocking.
The completed ridge will provide some small amount of cover for advancing troops.

Axis troops led by Red Yana.
Now I need to make some larger dunes or sand formations. That's easy - the hard part will be not getting sidetracked!

Lastly, a friend asked me how well the trees would scale with 15mm figures. I sent him a photo, but thought to share it here as well in case anyone is interested. Here you can see some Flames of War 15mm US infantry troops among the trees. I hope you find it helpful.


'Til next time.

Wednesday, June 1, 2016

Desert terrain - palm trees and an oasis

Lately, my gaming has taken a turn for warmer climes... requiring desert and tropical terrain. I can use the same terrain for quite a number of gaming systems - Crusader battles for Saga: The Crescent and the Cross, Operation Babylon combat for Dust 1947, North African World War II combat for Bolt Action or Chain of Command (progress on my DAK force began last week. and can be seen here), or island terrain for pirate battles for Blood and Plunder.

To start, I decided I needed an oasis and several stands of palm trees.

I began by cutting out the basic shapes, using MDF, craft plywood, and plasticard. Each shape consists of two layers (or more if I wanted it to have a bit of relief). I then cut, in the case of the oasis, or drilled, in the case of the holes for the trees, into the top layer of the material.

Once that was done, I glued the layers together, clamped them, and allowed them to dry completely. On the oasis piece, I used filler to smooth out some of the edges, and to seal the area where I would pour the water.

Stand of palm trees

Oasis

After adding filler to smooth edges and seal oasis

I mixed up a batch of textured filler to spread over the terrain. I used a wood filler (but sometimes I use regular filler or spackle), added a dollop of craft paint, and cheap sand I bought at the dollar store. I mix thoroughly, then start applying it to the base. Once the bottom layer is on, I sprinkle a finer sand over the top, dab Woodland Scenics Scenic Cement on it and let it dry completely.

Paint, sand and filler used to make terrain texture

Batch of texture ready to apply with spatula

Fine sand sprinkled over coarse texture

Then the painting - successive drybrushes of craft paint leading to a very light sand color.

Craft paints used to drybrush texture

Looking good so far, once trees are placed
The oasis itself was made using Woodland Scenics' Realistic Water. I poured it as instructed, to a depth of about 1/8 inch, and allowed it to dry for two days until the cloudiness was gone and the water was clear.

Realistic water, still a little cloudy

For the trees, I bought inexpensive plastic palm trees in a pack of six from Woodland Scenics. Using the 40% off coupon at Hobby Lobby makes them even more affordable. They also sell pre-painted trees, in a pack of five. But these are much more expensive, in my opinion, and a quick dab with some paint will make the cheaper trees look just as good.

I used the same technique  as before on the bases of the trees. This was after I glued a washer to the base, and trimmed it so it would fit in a one inch diameter hole. I added steel sheet inserts into these holes, and added magnets to the bases of the palm trees, to keep them more secure. I am not sure they need it, as the palm trees fit rather snugly...

Once that was done, I drybrushed the bases as I did before. I also applied paint to the trunks and leaves, then coated everything with matte sealer.

Bases trimmed to one inch

Texture applied to bases

First batch of tree bases all done

Colors used to drybrush bases

Colors used on trunk and branches of palms

And that's it, project done.


The only difficulty I've encountered is that the MDF board tends to warp a small amount as the filler and paint dry. I am not really sure how to fix this. I am experimenting with painting the bottom of the boards and letting them dry first, but we'll see how that works. I am also making a stand of trees using thick styrene rather than MDF or craft plywood. I will report the results, but in any case the warping is minor and does not affect the usability of the terrain.

'Til next time!

Sunday, May 29, 2016

World War II Afrika Korps

I've neglected this blog for far too long. Part of my problem is that I like to write very complete, detailed posts, and frankly, it takes a lot of time. So I am going to take a new approach, and see how it goes. Shorter, more frequent updates. I've thought about doing this before, but my compulsiveness is my enemy and I find myself going back to long posts. Since my attention span tends to waver, we'll see how it goes with the new effort...

I recently picked up copy of the Chain of Command rules for World War II battles from Two Fat Lardies. I've long toyed with the idea of getting into 28mm World War II gaming, and I had a copy of Warlord Games' Bolt Action as well as a box of Perry Miniatures plastic Afrika Korps figures (which I bought at Giga-Bites over a year ago!) in the house. Getting the Chain of Command rules has inspired me to get cracking, and assemble a DAK force.

I began with some of the command models from the Perry set. These are wonderful figures with a lot of character and detail. I love the fact that you can choose whether to equip your troops with sun helmets (which I chose not to use), field caps or Stahlhelme. I did find that the figures are a bit on the fiddly side in terms of assembling, in particular the models where both arms are holding one weapon.

Platoon commander with radio operator and a pair of NCOs.

One of the huge advantages of working with plastic figures is the ability to customize them. With just some glue and an X-acto knife, and some patience, you can create unique poses. I converted one LMG gunner to use his loader as a support.

Converted LMG gunner.

I assembled the entire box, and ran into a slight problem. Because of the distribution of weapons, it was not possible for me to assemble a complete, legal platoon using the Chain of Command DAK force list. No matter, as I will be getting another box of these figures anyway in order to assemble additional crewmen for weapons (Chain of Command support weapons usually come with a crew of five plus an NCO, whereas Bolt Action uses three-man crews for the most part).

Once assembly was complete, they were ready for the first step of painting.

Ready for the basecoat.

I used Army Painter Desert Yellow for the basecoat, as some of the uniforms will be that color, and it will save me a bit of brush painting later. The Army Painter sprays are very good, and go on smoothly and cover completely.

Army Painter primer coat - done!

Before taking the next steps in painting, I need to decide on some of the details. I've been researching Afrika Korps painting guides on the interwebs, and found some quite good ones. I hope to begin painting and have an update for you all in the coming week.

I did pick up the first vehicle for my force - a Kubelwagen. I bought an inexpensive diecast Corgi model (CS90080). I'd seen it advertised as both 1:50 and 1:72 scale. It measures 2.96 inches, so using 147 inches as the length of a real Kubelwagen, the model scales at almost exactly 1:50. Even though it is a tad oversized, I think it looks great beside my troops, and requires no assembly or painting. Bonus!

Corgi Kubelwagen

So, a new army is started. Hopefully I will have the discipline, desire and determination to bring this one to completion. Stay tuned...

'Til next time!

Thursday, August 7, 2014

What do I listen to? (and gaming progress)

With the Saga tournament date set for Sept. 13, I now have a deadline to works towards for finishing my Viking warband. Since my arm is now (almost) fully healed, I can make good progress. I have full range of motion back, and just need to keep up the exercises to get full strength back in my left arm.

Currently, I have 5 points painted up, with three more and the Warlord in progress. I think an 8-point band will be plenty:

Warlord
Berserkers (x4) - 1 point
Hearthguard (x12) - 3 points
Warriors (x24) - 3 points
Levy (x12) - 1 point

After that's complete, I will begin my second band. Right now I am leaning towards Irish or Welsh.

I've got a mounted Welsh warlord and four mounted Tealu (Hearthguards) from Gripping Beast, and can use some plastic Wargames Factory cavalry for mounted Priodaur (Warriors).

Welsh mounted warlord stock photo (from Gripping Beast).
Welsh mounted Teulu stock photo (from Gripping Beast).

For the Irish, I have the 4-point starter box set from Gripping Beast:

This is the stock photo of the set (from Gripping Beast).

I do not want to get too far ahead of myself (that way lies madness, and I do not know what other shiny may grab my eye), but I am hoping to have the three bands completed by the end of the year. That will give me a choice when I go to play at Giga-Bites, and if the kids want to play as well, we'd each have a warband to use.

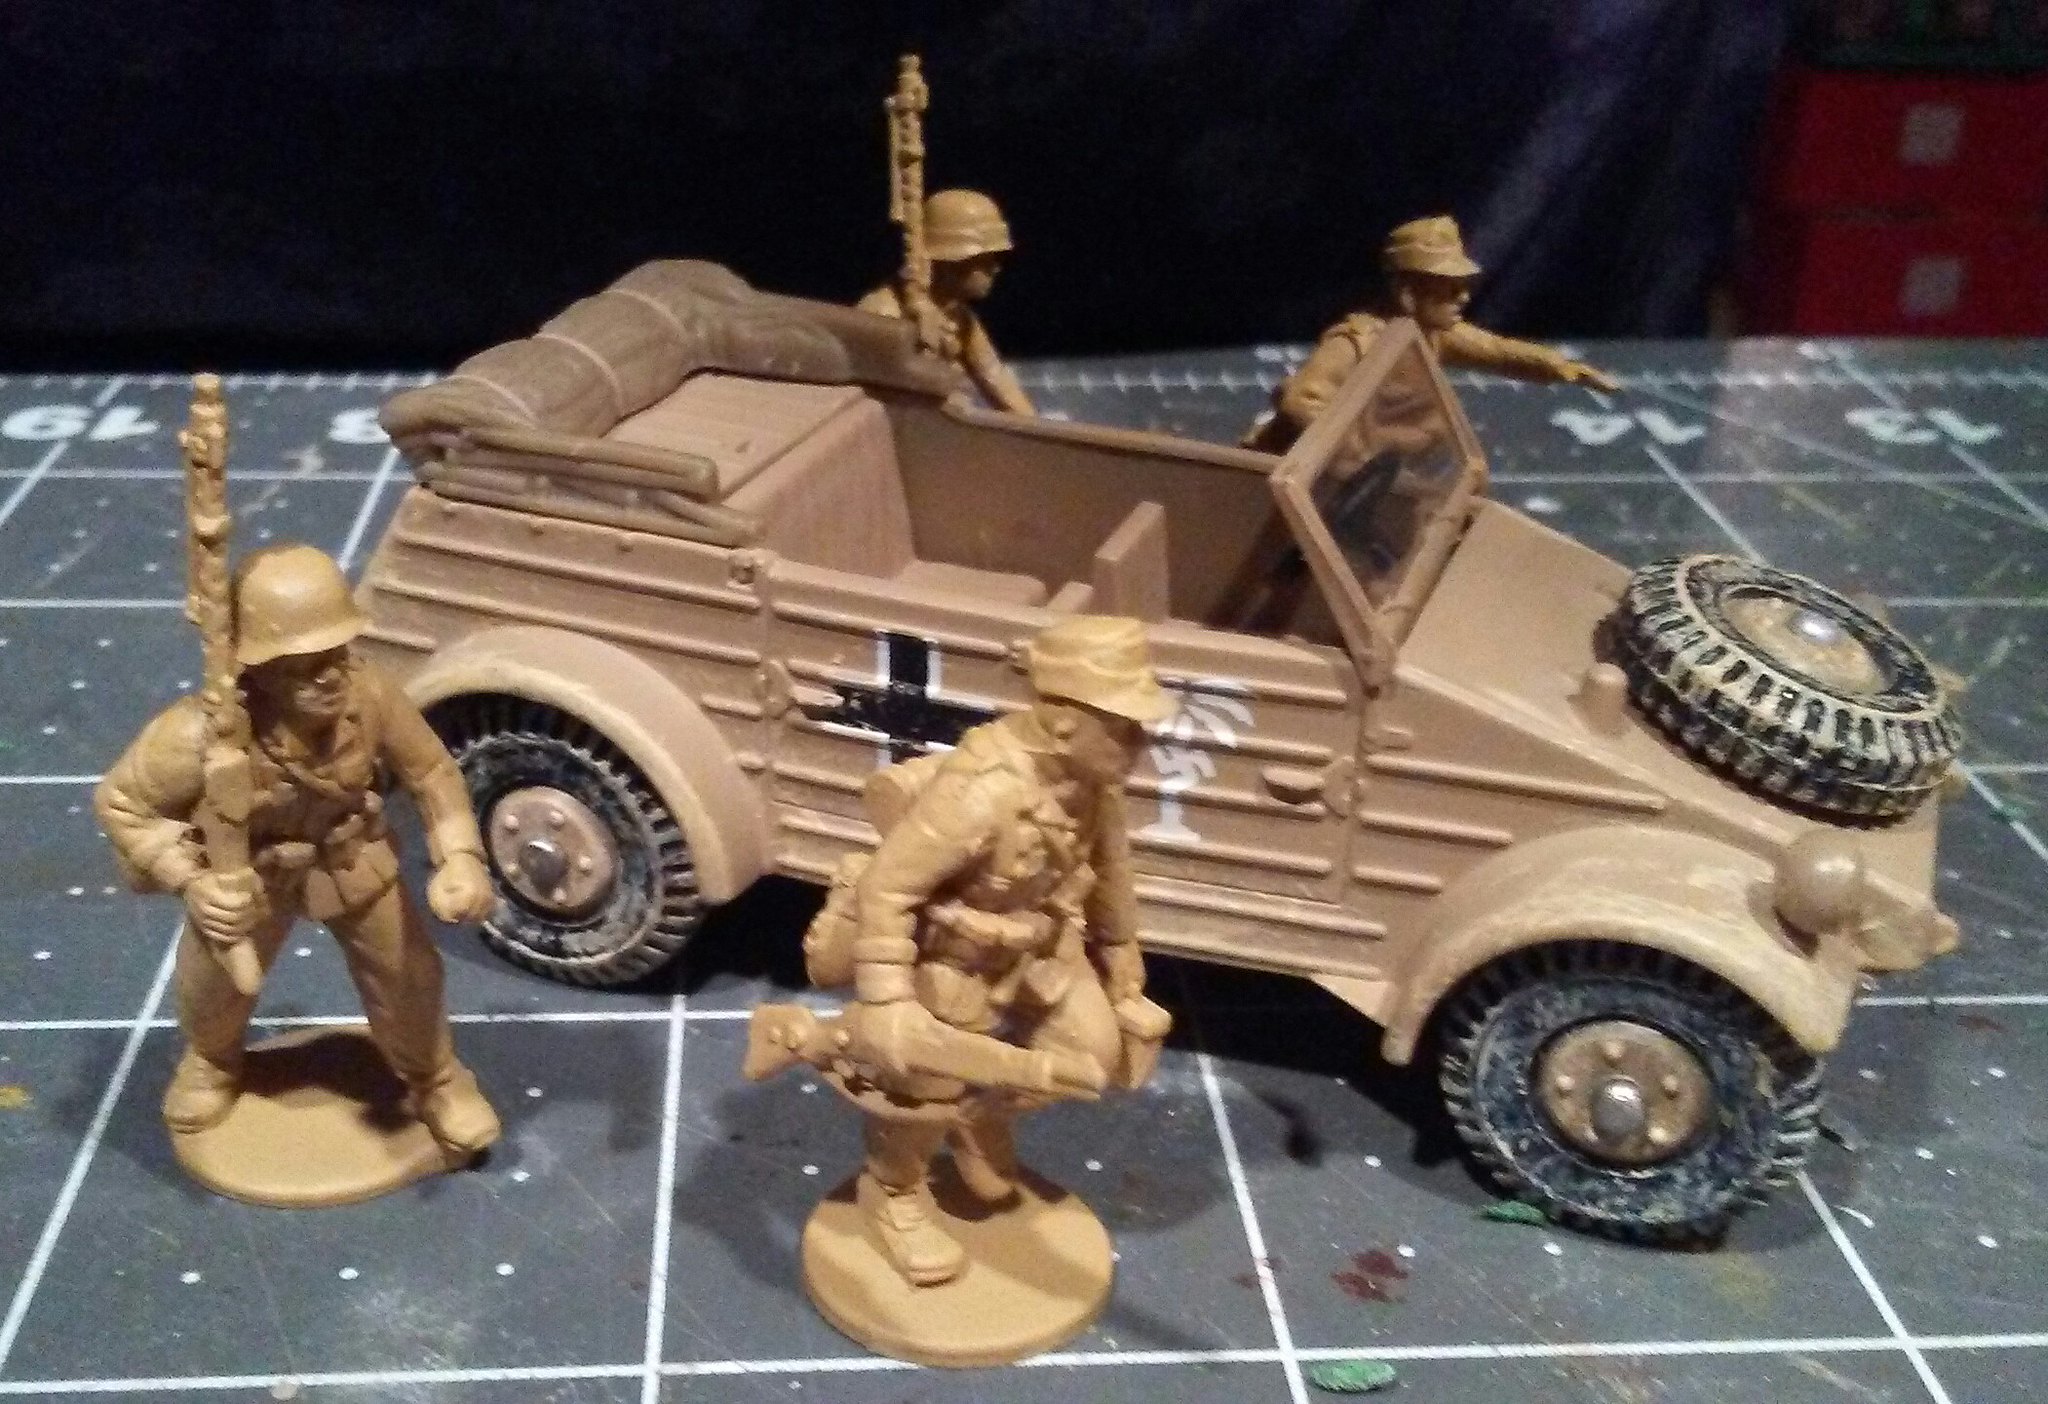
After that, I will likely move on to World War II, using Bolt Action from Warlord Games. I have the rules and some army books (Germany, USA, Japan), and have started to research forces and make some initial purchases (the Perry Miniatures boxed set of plastic Afrika Korps).


I also pledged for the Axis forces on the Dust: Operation Babylon Kickstarter - now I have some Dust Afrika Korps figures en route that I can use to supplement as well. And I have to figure out how to incorporate walkers into Bolt Action!

I am now looking forward to nice long afternoons of Viking painting. One thing I find that helps me relax while painting, is listening to music or podcasts. I know that some people watch movies or videos, but I cannot concentrate on painting if I am visually distracted. Additionally, I have a 45-minute to an hour drive to work, each way, which gives me plenty of time to dedicate to my favorite gaming and history podcasts.

What do I listen to? I'm glad you asked!

There are several very good gaming and history podcasts out there, and I am sure I am missing some. If your particular favorite is not listed, let me know. I am always looking for more listening material.

These are grouped by type (gaming/history) but are in no particular order:

Gaming Podcasts:

Meeples & Miniatures (Neil Schuck)
I've been a fan and a listener of this podcast for years. In fact, this is where I first heard about Saga. I thought at the time that the game seemed interesting, but I was not in a position to get into it right away. Now, years later, that I have finally caught the Saga bug, I realize that Neil's review way back then was spot on - it's a terrific game!

Neil's topics are almost always of interest to me. For example, the last episode discusses the Victorian sci-fi/steampunk ruleset In Her Majesty's Name published by Osprey. I picked these up last year, but due to a variety of circumstances, I was never able to really get into the game. I throughly enjoyed the discussion on M&M, which included talk about the game mechanics, background and expansions (Heroes, Villains and Fiends & Sleeping Dragon, Rising Sun). A very thorough analysis of the game, and one that re-kindled my interest in it. I am looking forward to giving these a go, and add them to my gaming rotation.

In addition, I have stumbled across several quite good podcasts out there for fans of Bolt Action.

Bolt Action Radio and the LRDG
These are two separate podcasts - the BAR is hosted by gamers in the US, while the LRDG is an Australian production - but I am listing them together because (a) they are both hosted on BoltAction.Net, (b) they are rather similar in their approach, and (c) they often cross-reference each other, so that listening to one without the other is not as beneficial. I enjoy both of these quite a bit.  The hosts are engaging, and seem like real characters that I'd love to sit and have a game and a beer with.

They are very much nuts-and-bolts type podcasts, that often digress into long discussions of very specific game mechanics, in addition to the theory of list building. One of the most helpful parts, to me, is when the cast takes an army list and then discusses the pros and cons.

The last episode of the LRDG was different from the regular format, in that it focused on one specific faction (the Hungarians) for Bolt Action. The discussion begin with the history of Hungary's participation in the war, before moving on to a detailed look at the Hungarian army book choices. I really enjoyed this episode - the mixing of history and gaming was brilliant!

One very important caveat: The language used is at times not safe for younger audiences. This is a shame, because I am trying to interest the kids in other miniatures game and expand their gaming horizons. I sometimes listen to podcasts with the kids in the car, and I cannot do that with the BAR and the LRDG. And, in all honesty, the language does not add to the discussion - it would be just as relevant and interesting without the cuss words. Oh well.

Down Order
I just recently began listening to this podcast, and it is relatively new. I am currently on episode three (of five). Like the BAR and LRDG, this podcast takes a detailed look at mechanics and rules. The hosts do mix in some history as well, but it is usually in the context of explaining why the rules reflect the reality. The sound quality on this podcast is not as good as the others, though I am hoping this improves as I listen to more of the series.


History Podcasts:

The first two are by the same author, and are wonderful background for Saga in particular. I very much enjoyed both of these, and would love to hear more from him. 

Norman Centuries (by Lars Brownworth)
This is one of my favorite podcasts. Brownworth takes us through Norman history, beginning with Rollo's arrival in Normandy, through William the Conquerer, and into Italy and the Levant. What I really enjoyed about this was the conversational tone of the 'cast. Brownworth delivers edcuational content, but in an informal manner. Additionally, I learned a lot about the Norman impact on Sicily - an aspect of their history of which I was totally unaware prior to the podcast.

12 Byzantine Rulers (by Lars Brownworth)
This is Brownworth's first podcast series. It focuses on 12 rulers from different eras of Byzantine history. Brownworth purposefully selected some some of the more obscure emperors, and explains their historical significance and importance.

In Our Time with Melvyn Bragg, BBC
This is a very interesting podcast series. Each episode focuses on a completely new topic, though they all follow the same format. Bragg has three guests each week to discuss subject du jour, expressing different sides of whatever that topic may be. The link above takes you to the casts that discuss Dark Ages subjects, since I am currently in Saga mode. There were a couple if particular that appealed to me. The episode on Athelstan was particularly timely, given our re-fight of the historical Battle of Brunanburh at Giga-Bites. And, since I am painting Vikings and have become interested in all aspects of their history and culture, the episode on the Volga Vikings (known in Saga as the Pagan Rus) was very informative. There's also a very good episode on the Sino-Japanese War that sets the stage for Japanese aggression into World War II and talks about the political and cultural backdrop to the Pacific War.

The History of World War II (Ray Harris Jr.)
Speaking of World War II, I have been on the lookout for history podcasts about the war. I came across this one, though to be honest I have not had a chance to listen to any episodes yet. Once I do, I will post an update on what I think.

'Til next time, happy listening!