Lately, my gaming has taken a turn for warmer climes... requiring desert and tropical terrain. I can use the same terrain for quite a number of gaming systems - Crusader battles for
Saga: The Crescent and the Cross, Operation Babylon combat for
Dust 1947, North African World War II combat for
Bolt Action or
Chain of Command (progress on my DAK force began last week. and can be seen
here), or island terrain for pirate battles for
Blood and Plunder.
To start, I decided I needed an oasis and several stands of palm trees.
I began by cutting out the basic shapes, using MDF, craft plywood, and plasticard. Each shape consists of two layers (or more if I wanted it to have a bit of relief). I then cut, in the case of the oasis, or drilled, in the case of the holes for the trees, into the top layer of the material.
Once that was done, I glued the layers together, clamped them, and allowed them to dry completely. On the oasis piece, I used filler to smooth out some of the edges, and to seal the area where I would pour the water.
 |
| Stand of palm trees |
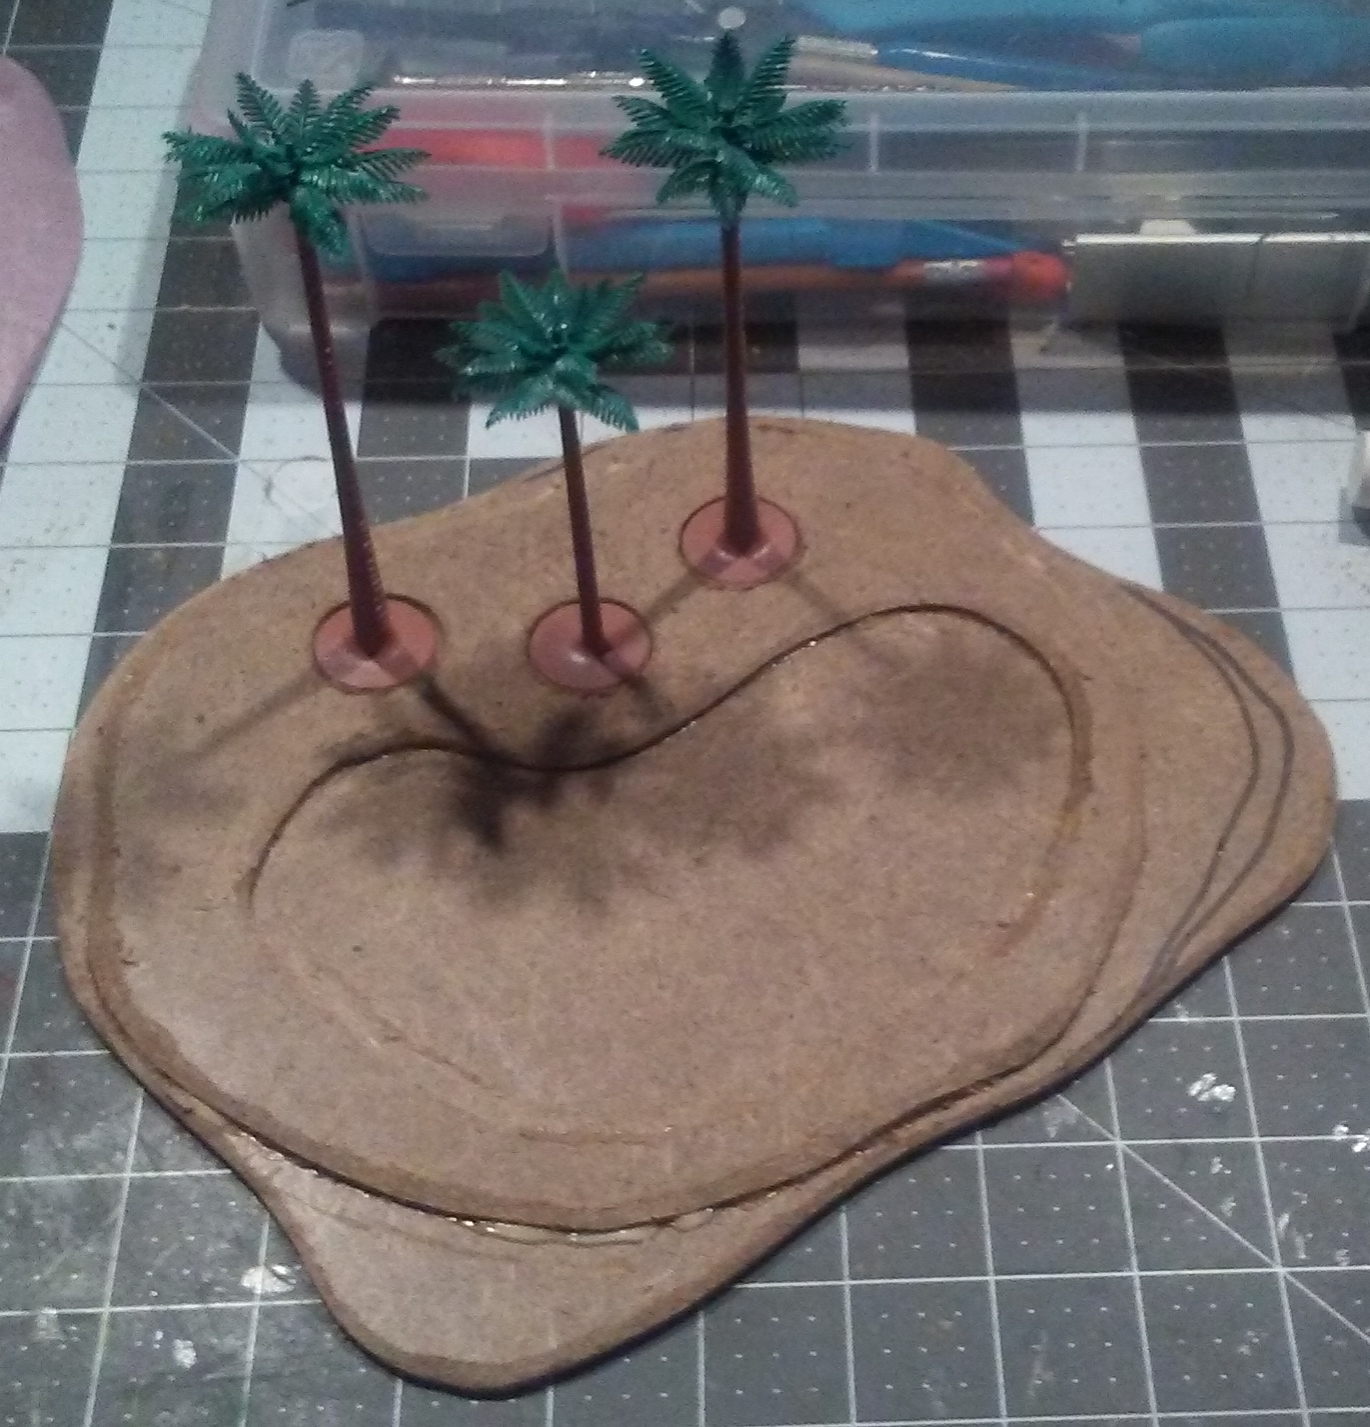 |
| Oasis |
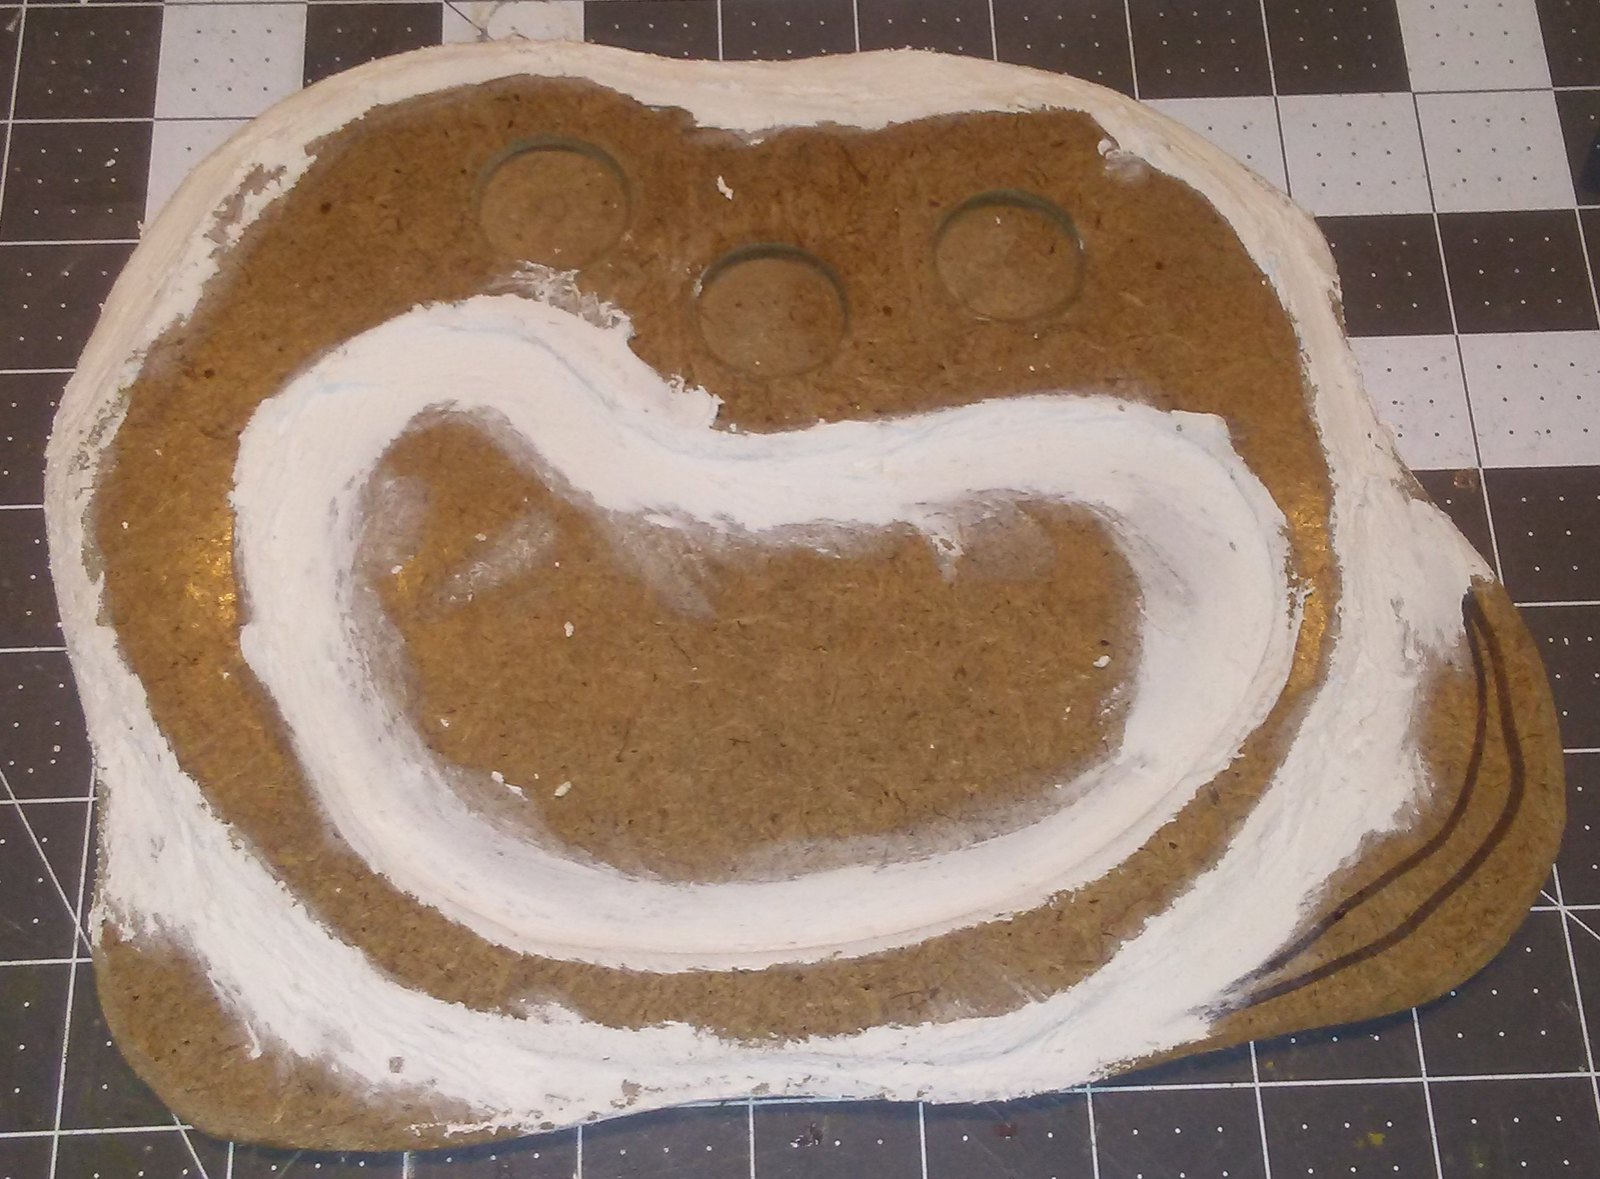 |
| After adding filler to smooth edges and seal oasis |
I mixed up a batch of textured filler to spread over the terrain. I used a wood filler (but sometimes I use regular filler or spackle), added a dollop of craft paint, and cheap sand I bought at the dollar store. I mix thoroughly, then start applying it to the base. Once the bottom layer is on, I sprinkle a finer sand over the top, dab Woodland Scenics Scenic Cement on it and let it dry completely.
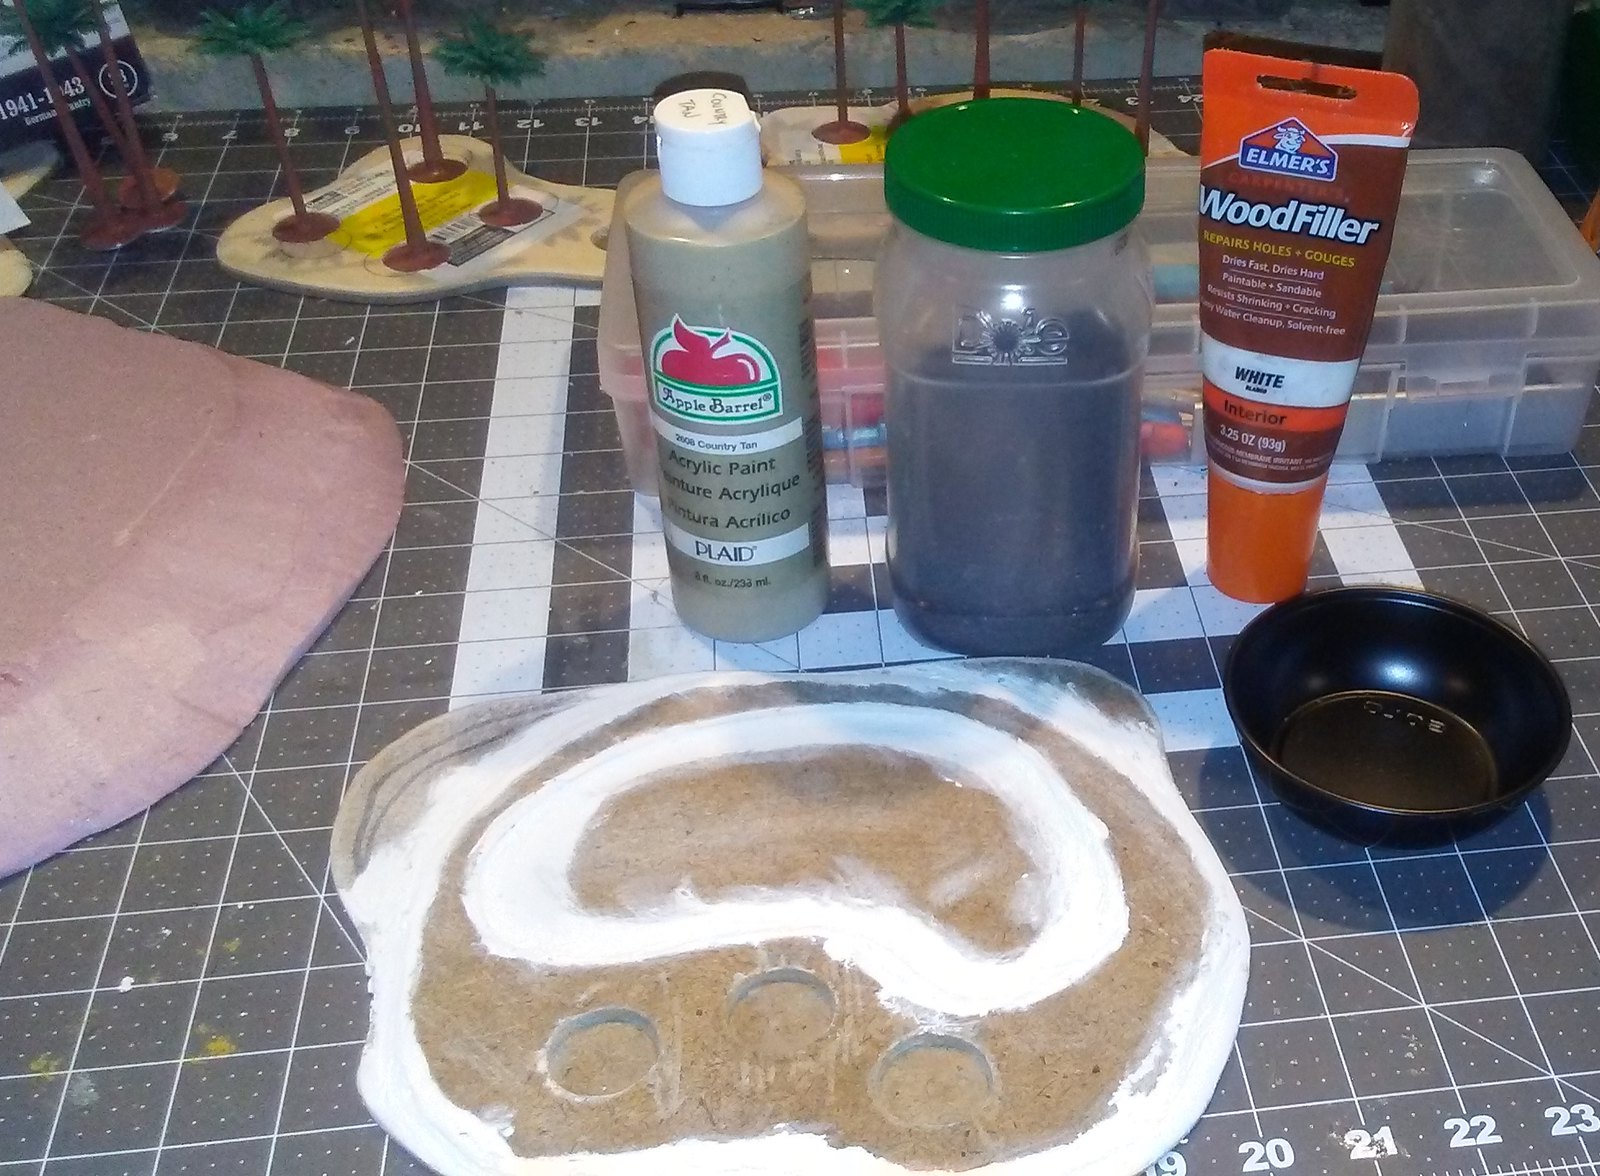 |
| Paint, sand and filler used to make terrain texture |
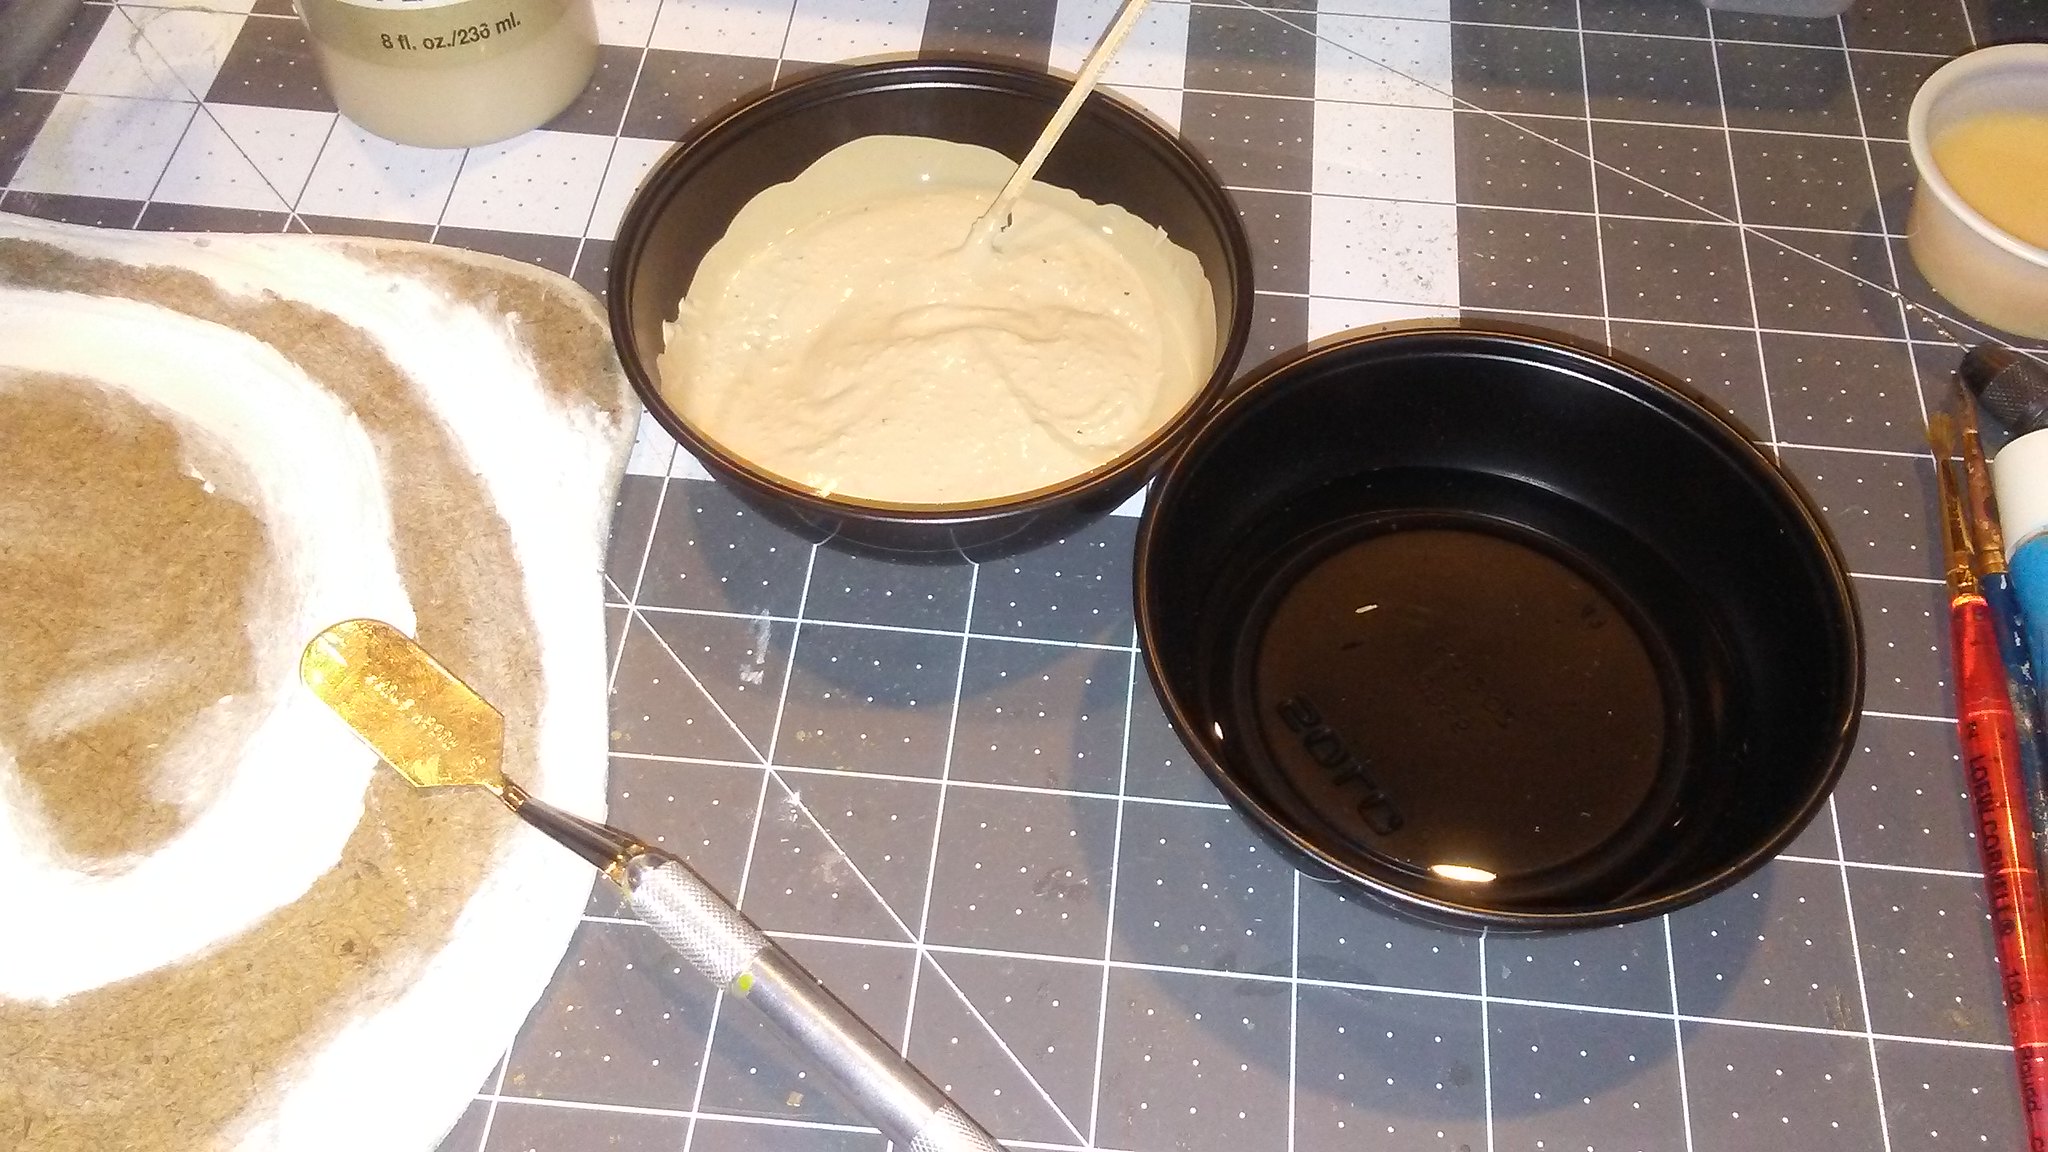 |
| Batch of texture ready to apply with spatula |
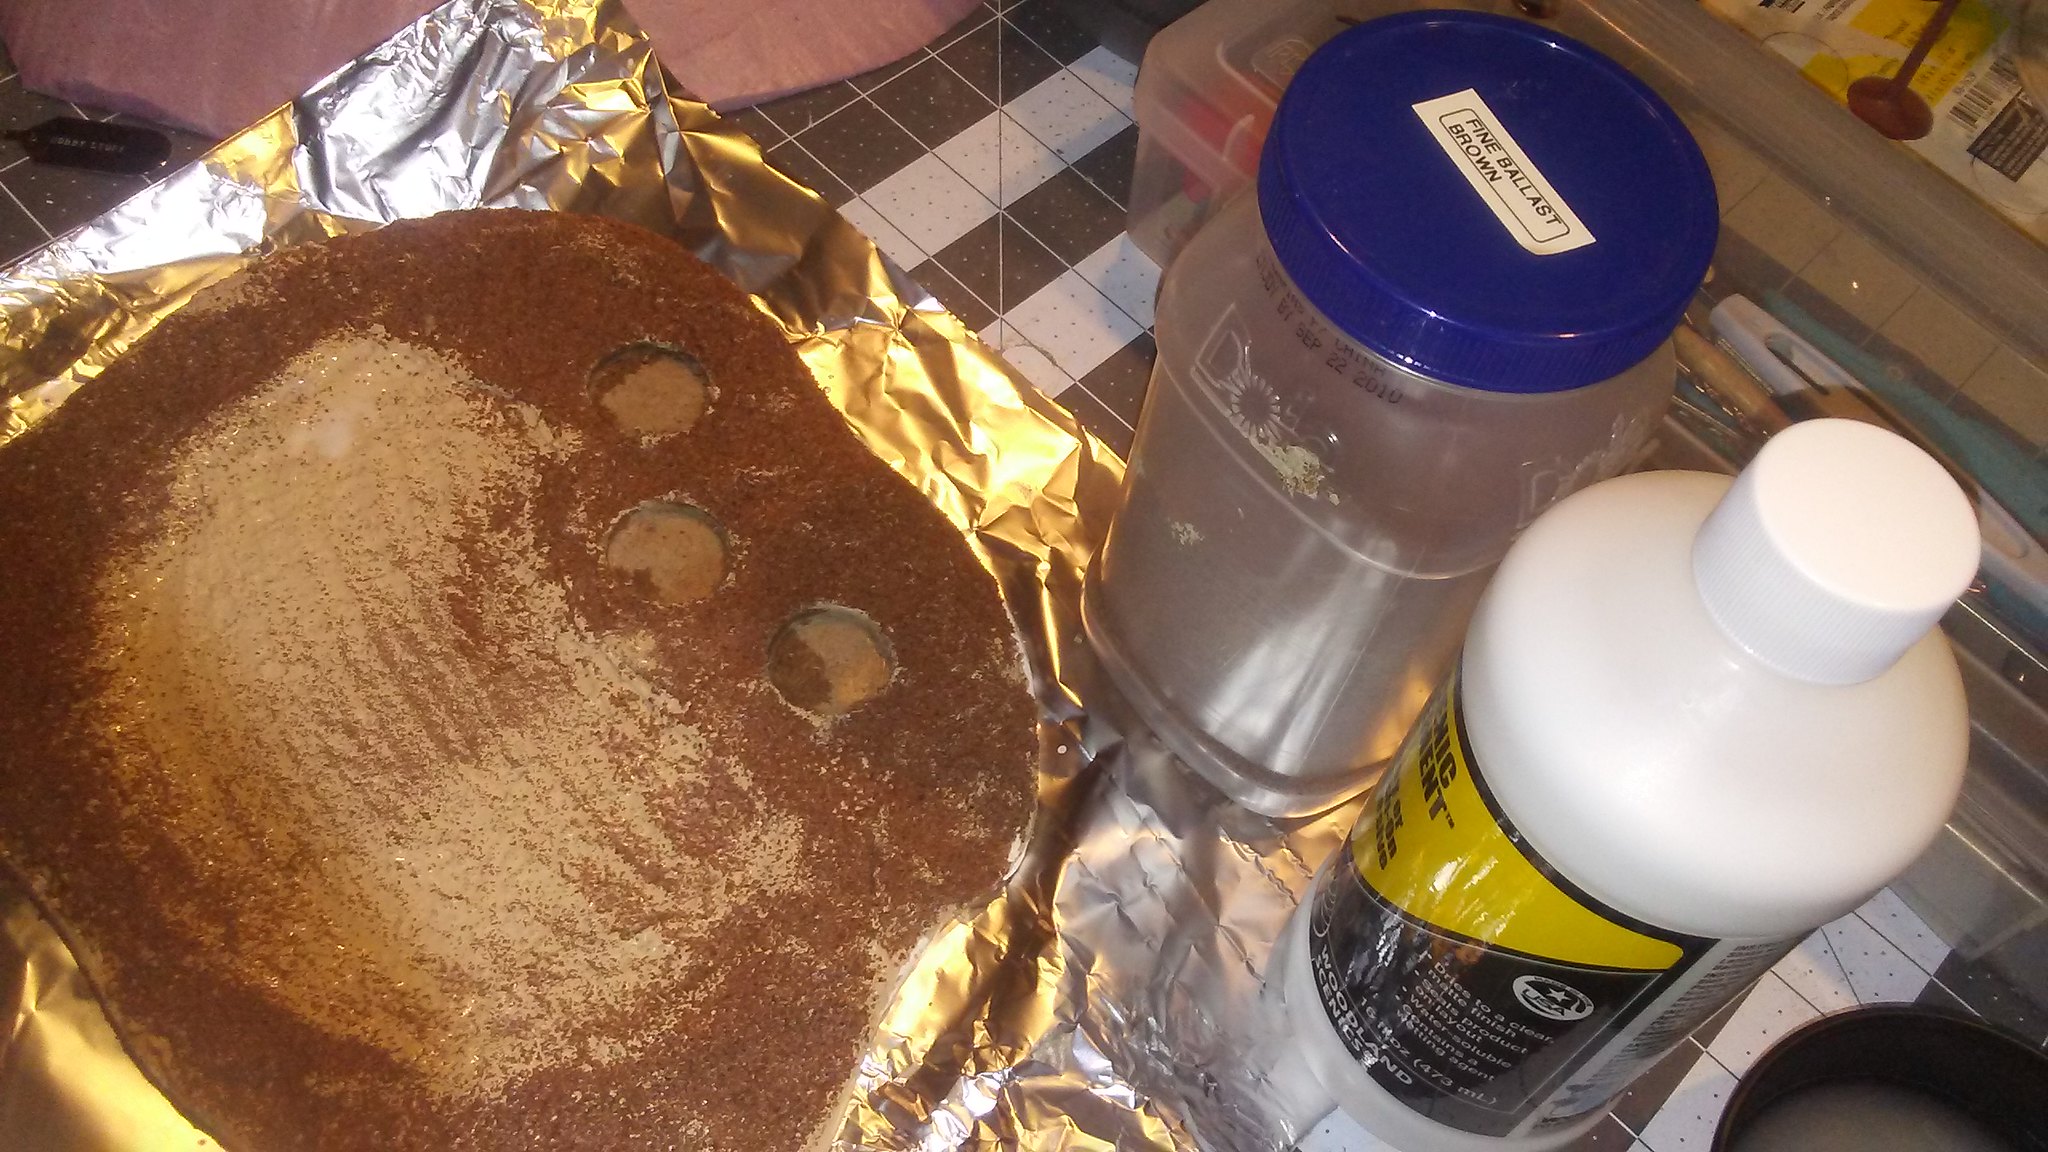 |
| Fine sand sprinkled over coarse texture |
Then the painting - successive drybrushes of craft paint leading to a very light sand color.
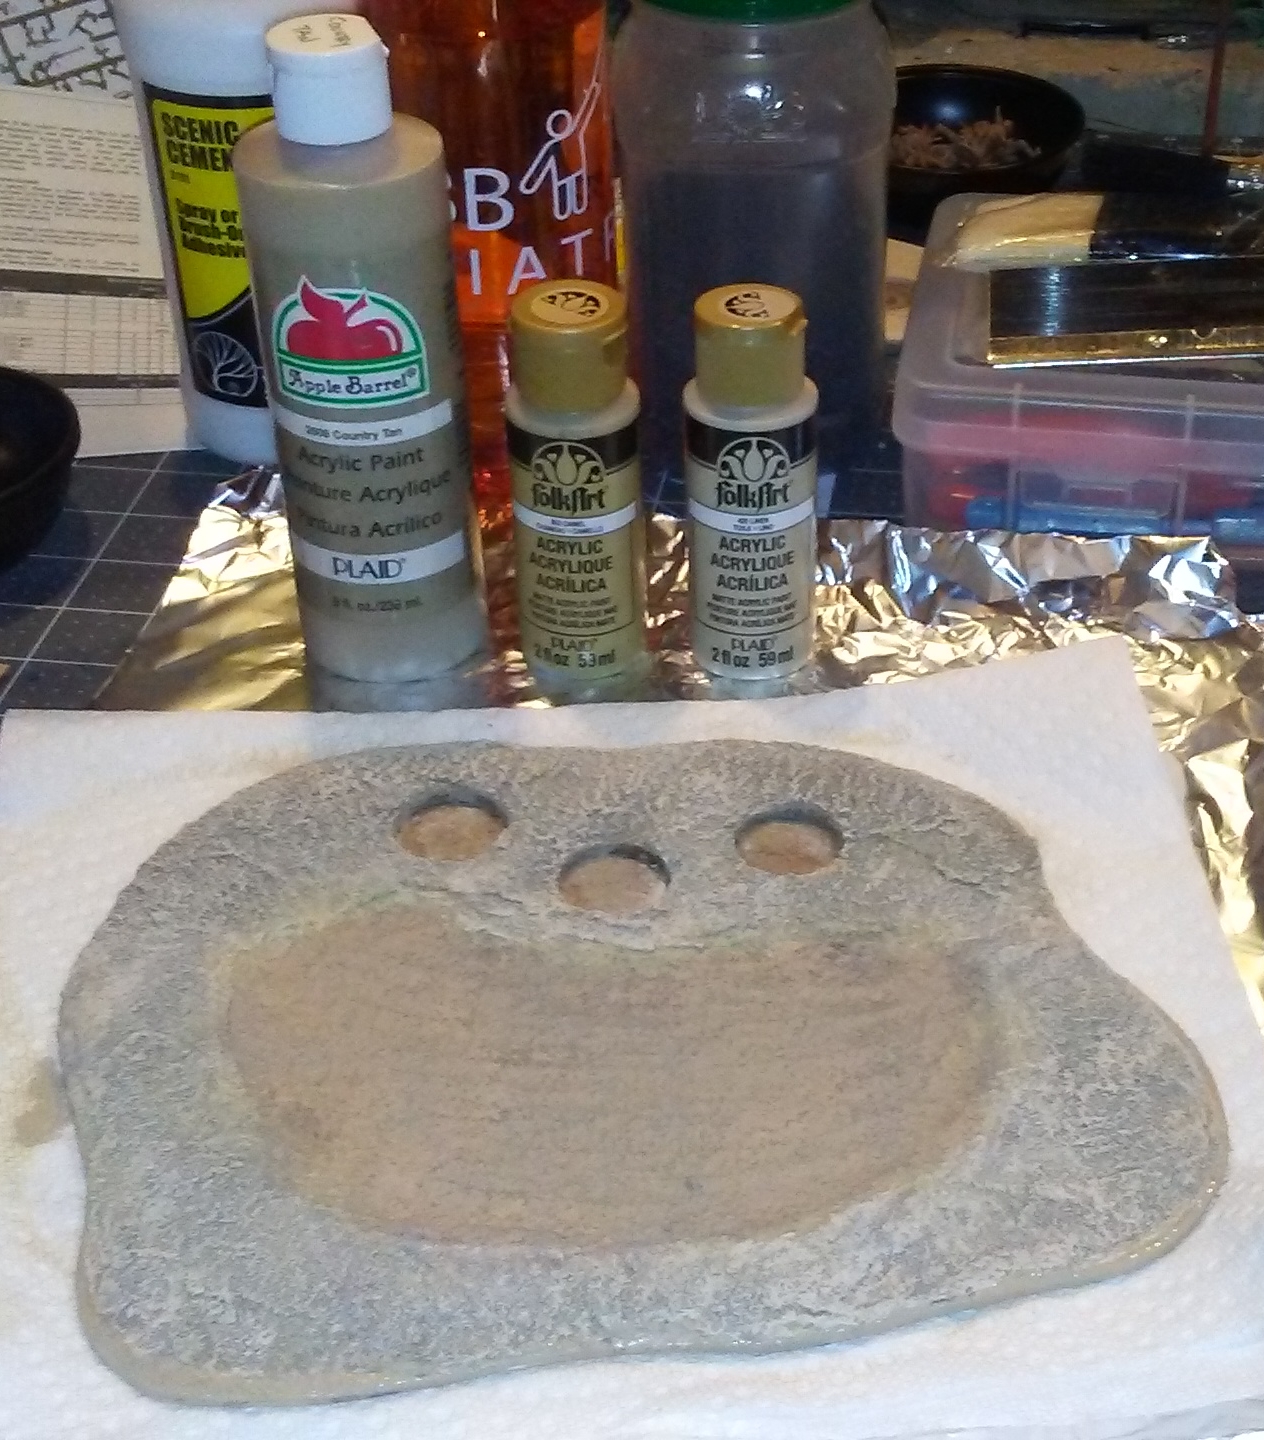 |
| Craft paints used to drybrush texture |
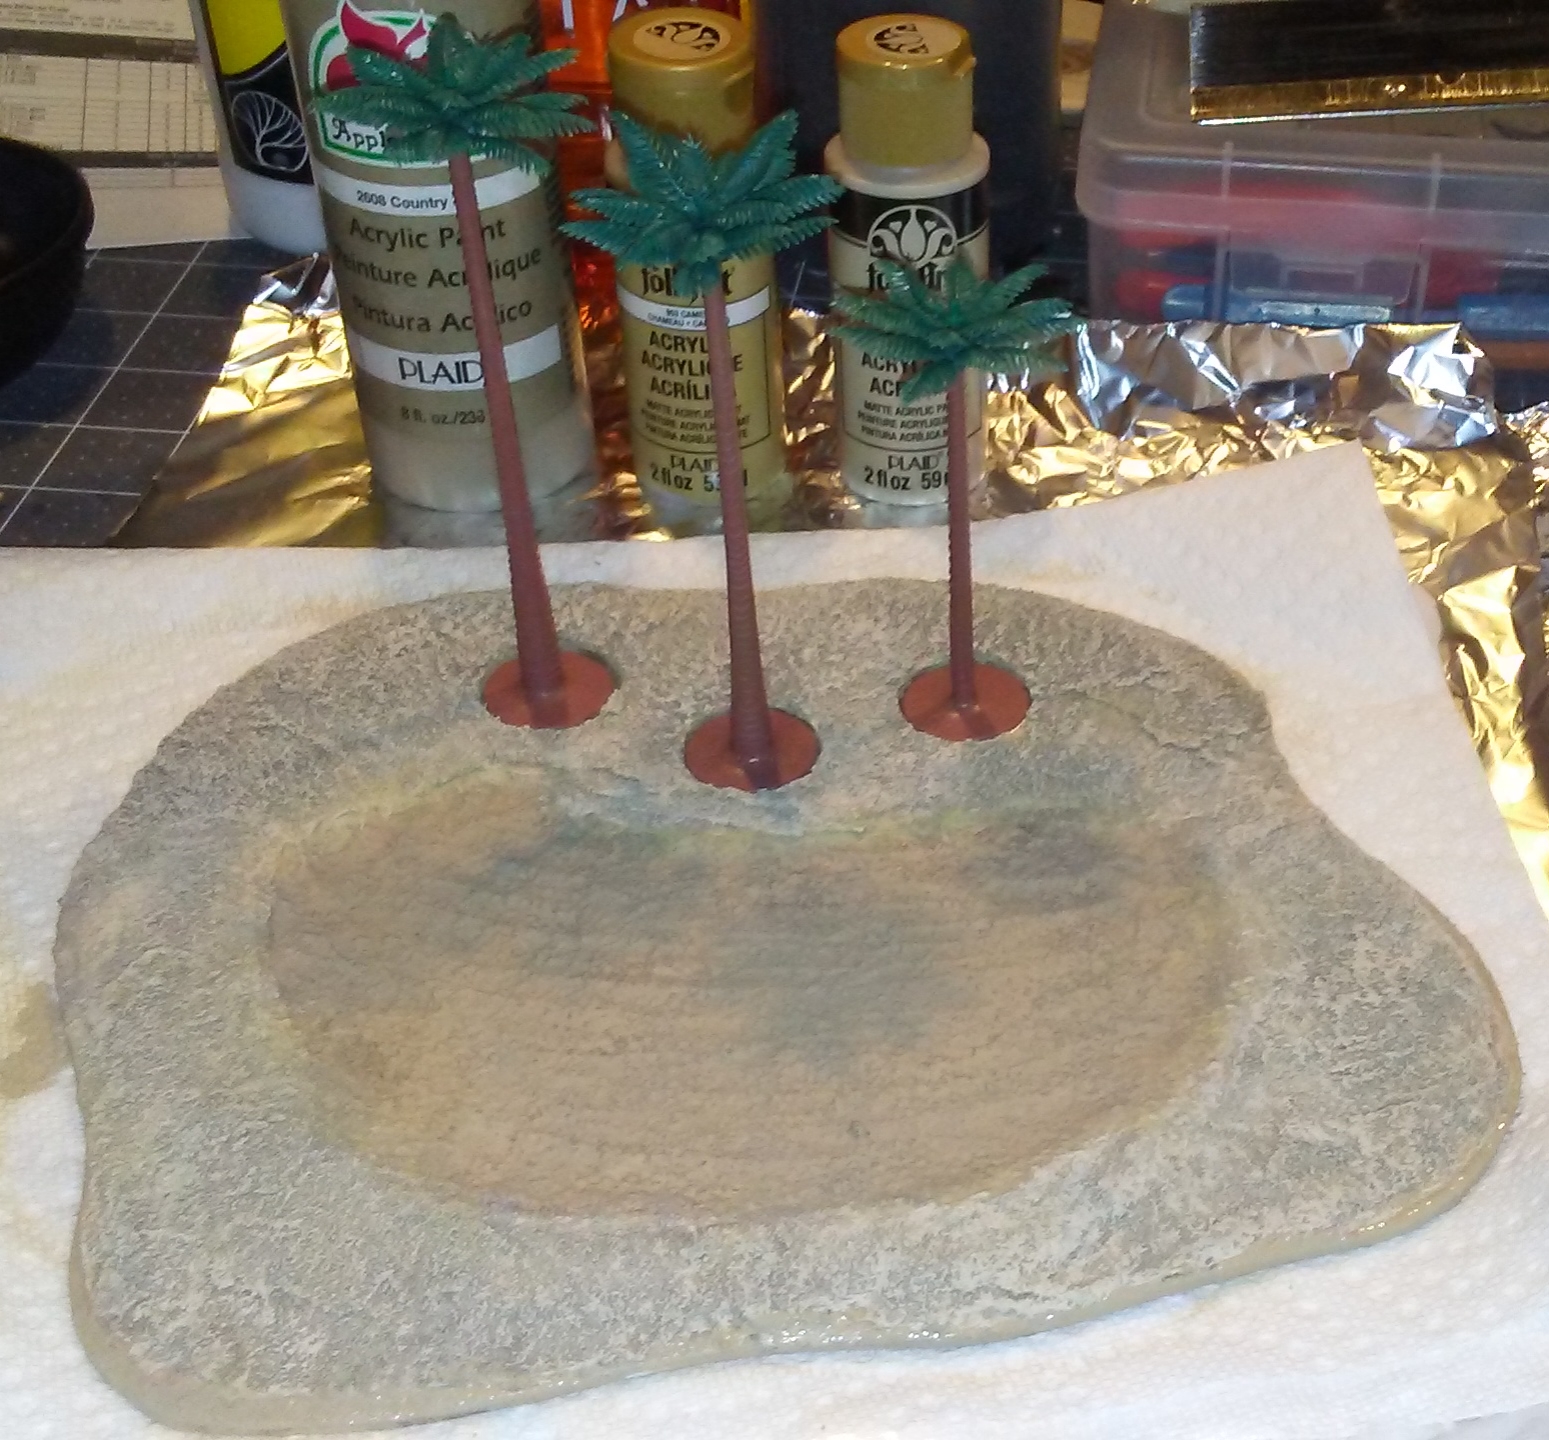 |
| Looking good so far, once trees are placed |
The oasis itself was made using Woodland Scenics'
Realistic Water. I poured it as instructed, to a depth of about 1/8 inch, and allowed it to dry for two days until the cloudiness was gone and the water was clear.
 |
| Realistic water, still a little cloudy |
For the trees, I bought inexpensive plastic palm trees in a pack of six from Woodland Scenics. Using the 40% off coupon at Hobby Lobby makes them even more affordable. They also sell pre-painted trees, in a pack of five. But these are much more expensive, in my opinion, and a quick dab with some paint will make the cheaper trees look just as good.
I used the same technique as before on the bases of the trees. This was after I glued a washer to the base, and trimmed it so it would fit in a one inch diameter hole. I added steel sheet inserts into these holes, and added magnets to the bases of the palm trees, to keep them more secure. I am not sure they need it, as the palm trees fit rather snugly...
Once that was done, I drybrushed the bases as I did before. I also applied paint to the trunks and leaves, then coated everything with matte sealer.
 |
| Bases trimmed to one inch |
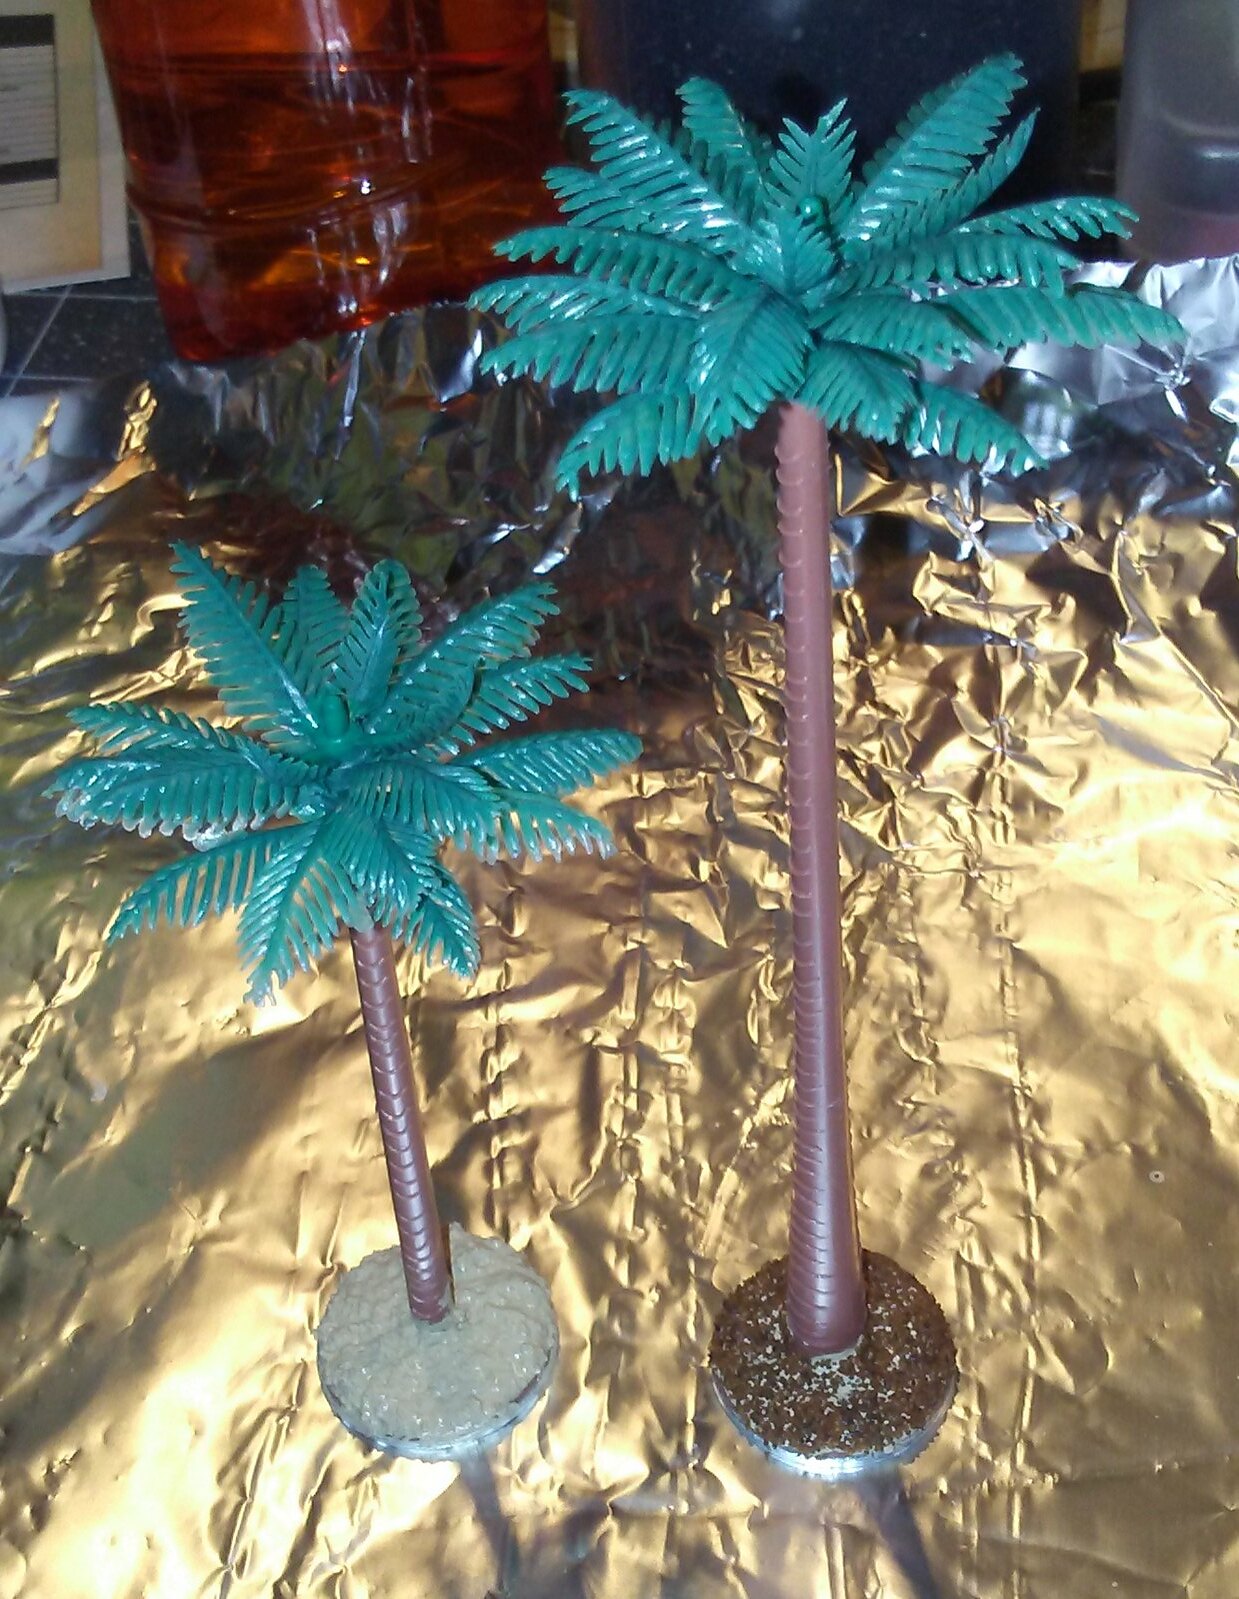 |
| Texture applied to bases |
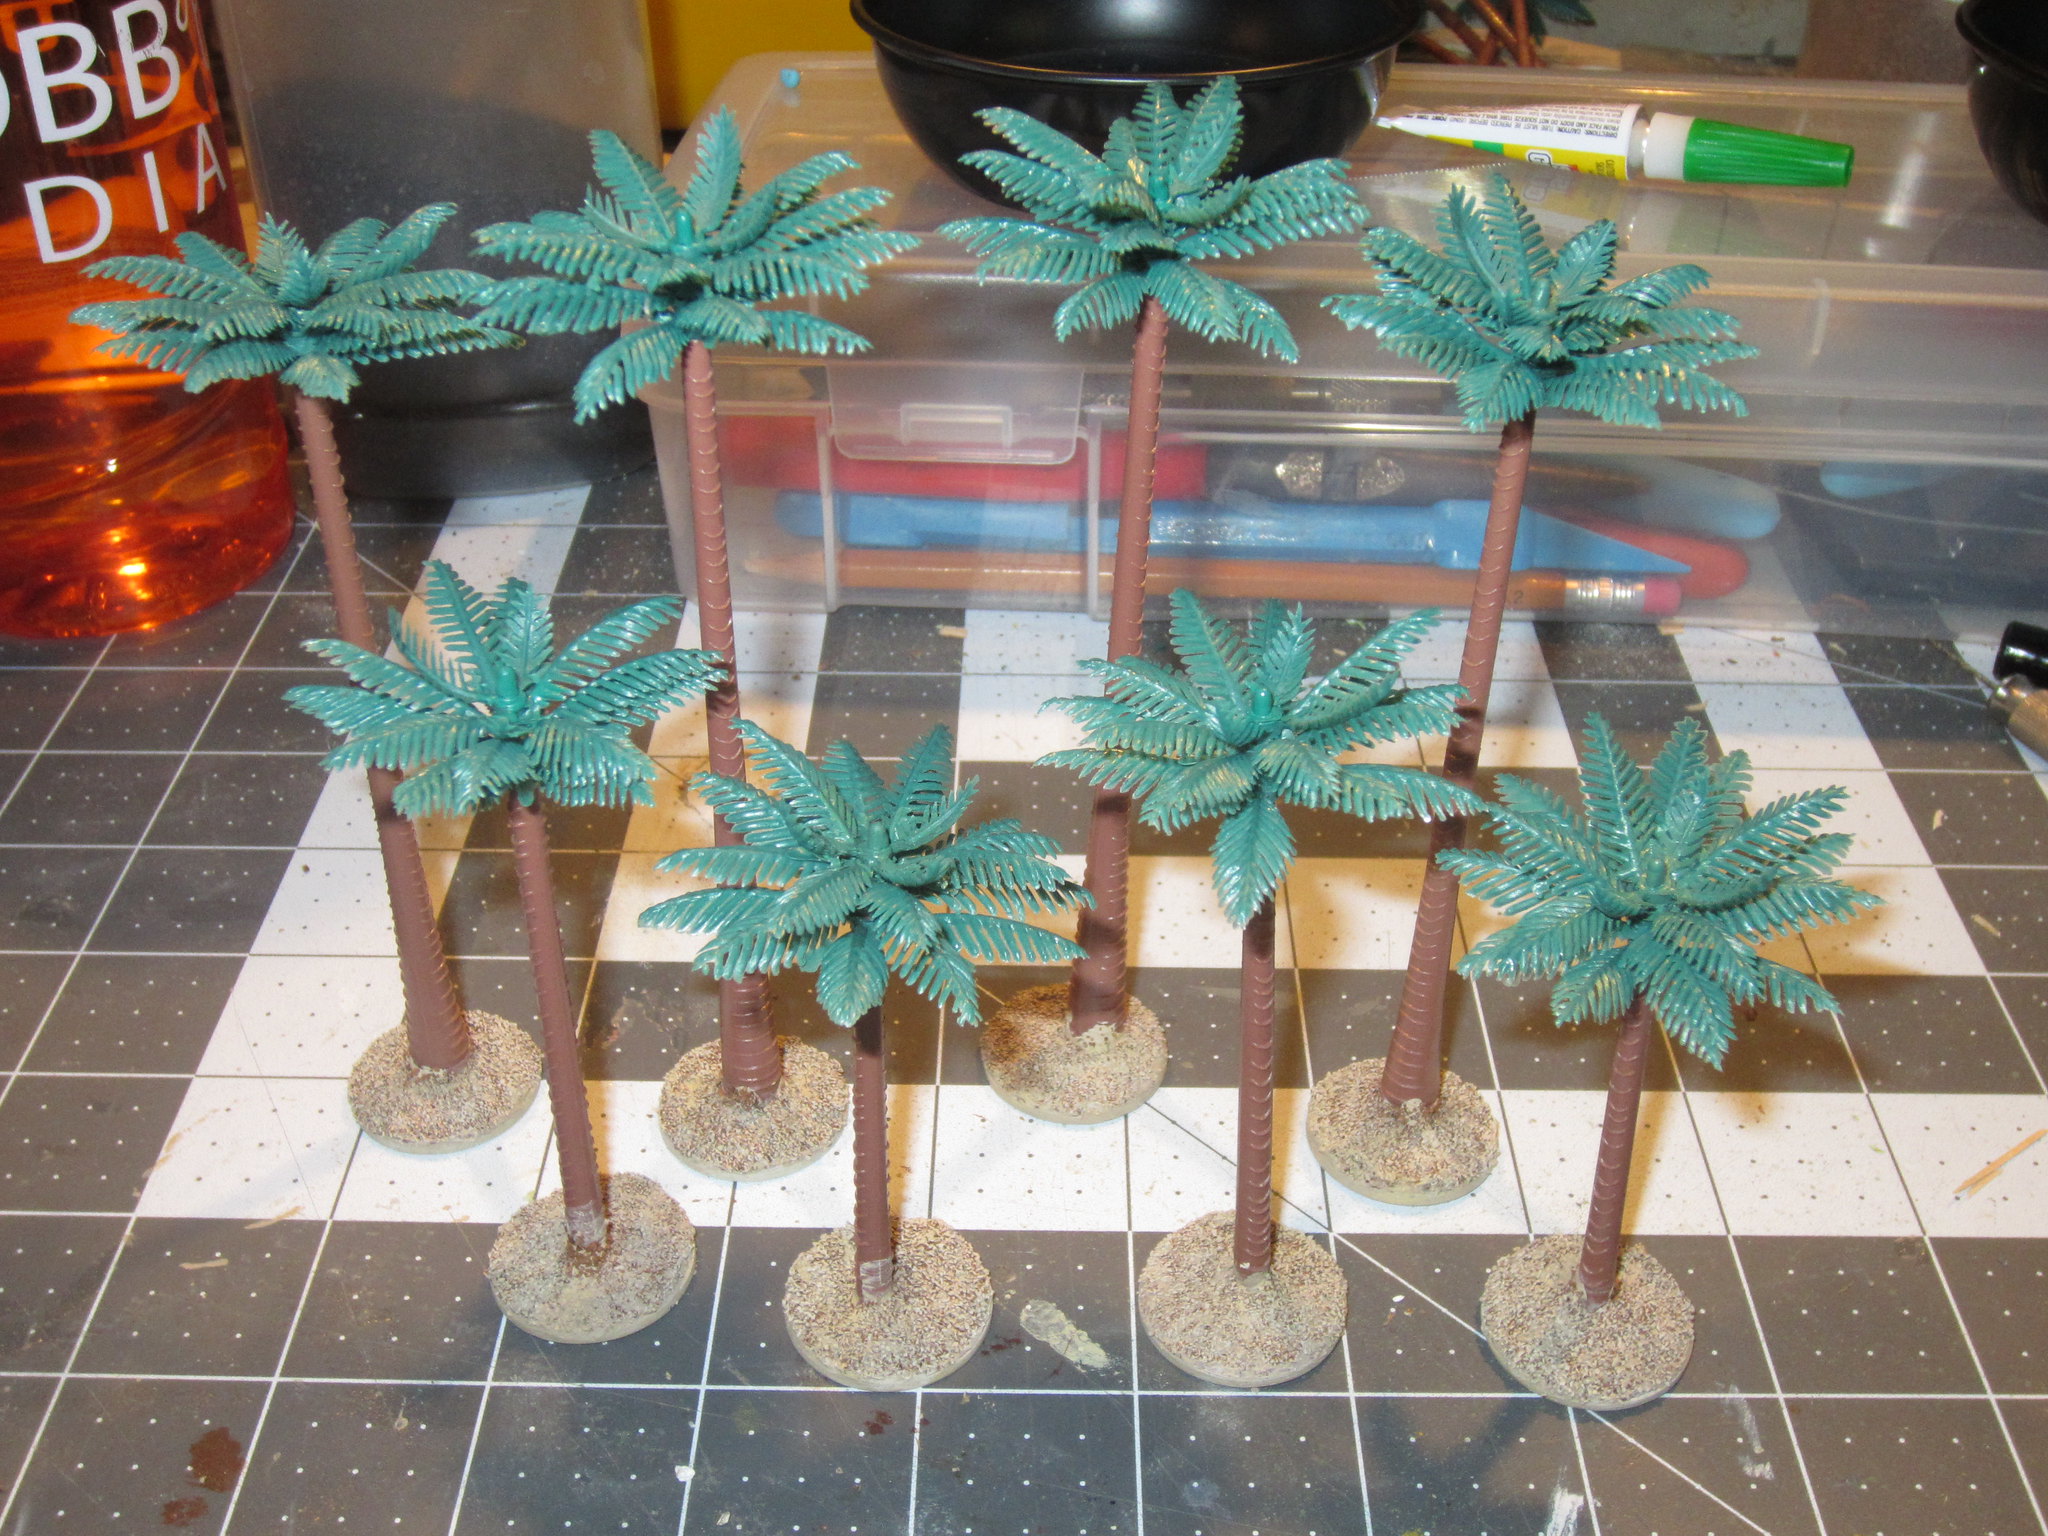 |
| First batch of tree bases all done |
 |
| Colors used to drybrush bases |
 |
| Colors used on trunk and branches of palms |
And that's it, project done.
The only difficulty I've encountered is that the MDF board tends to warp a small amount as the filler and paint dry. I am not really sure how to fix this. I am experimenting with painting the bottom of the boards and letting them dry first, but we'll see how that works. I am also making a stand of trees using thick styrene rather than MDF or craft plywood. I will report the results, but in any case the warping is minor and does not affect the usability of the terrain.
'Til next time!




1 comment:
Good tutorial! I've linked your work in my article - https://alkony.enerla.net/english/the-nexus/miniatures-nexus/miniature-hobby/miniatures-miniature-terrain-scenery-resources
Post a Comment