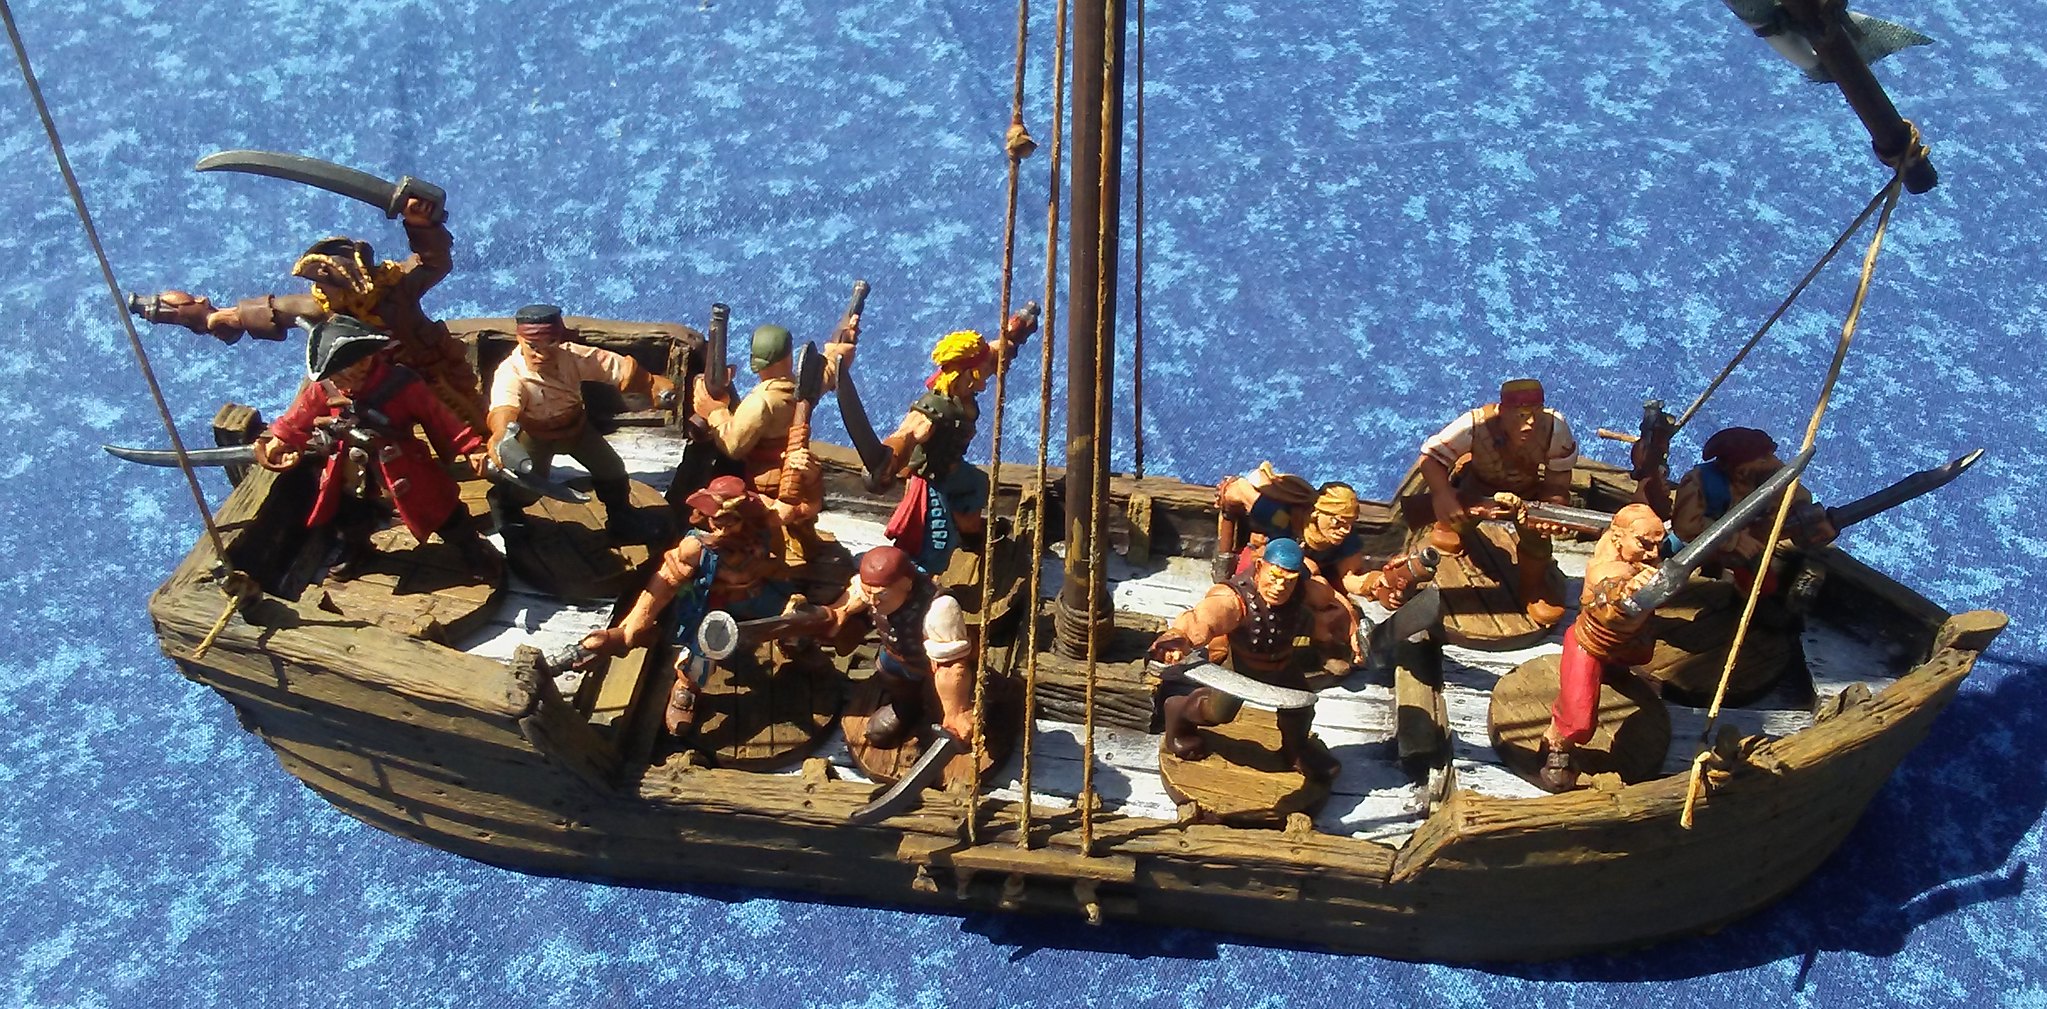
 |
| Arrrr! Where be the booty? |
I needed a change of pace from Spanish colonial buildings, so for my next project I turned to a small sailing ship. I ordered the Thomarillion Shore Sailboat from an ebay seller in the US, along with several other small resin terrain pieces (many of which will be used for Frostgrave).
After opening the package, the first thing I did was wash the resin ship model in warm water and dishwashing detergent and set it aside to dry. I do not often work with resin models, and I know that many people suggest doing this in order to remove any mold release chemicals, which can cause paint not to adhere to the surface. I'm not sure if it was necessary, but I felt it better to be safe than sorry.
 |
| Ship (and a weapons cabinet) drying after wash. |
I looked online at various pages to help me decide how to build the rigging for the ship. In the end, I decided to make it a lateen rigged ship. I sketched some ideas for different parts of the rigging, to have some sort of plan when it was time to tackle that part of the build.
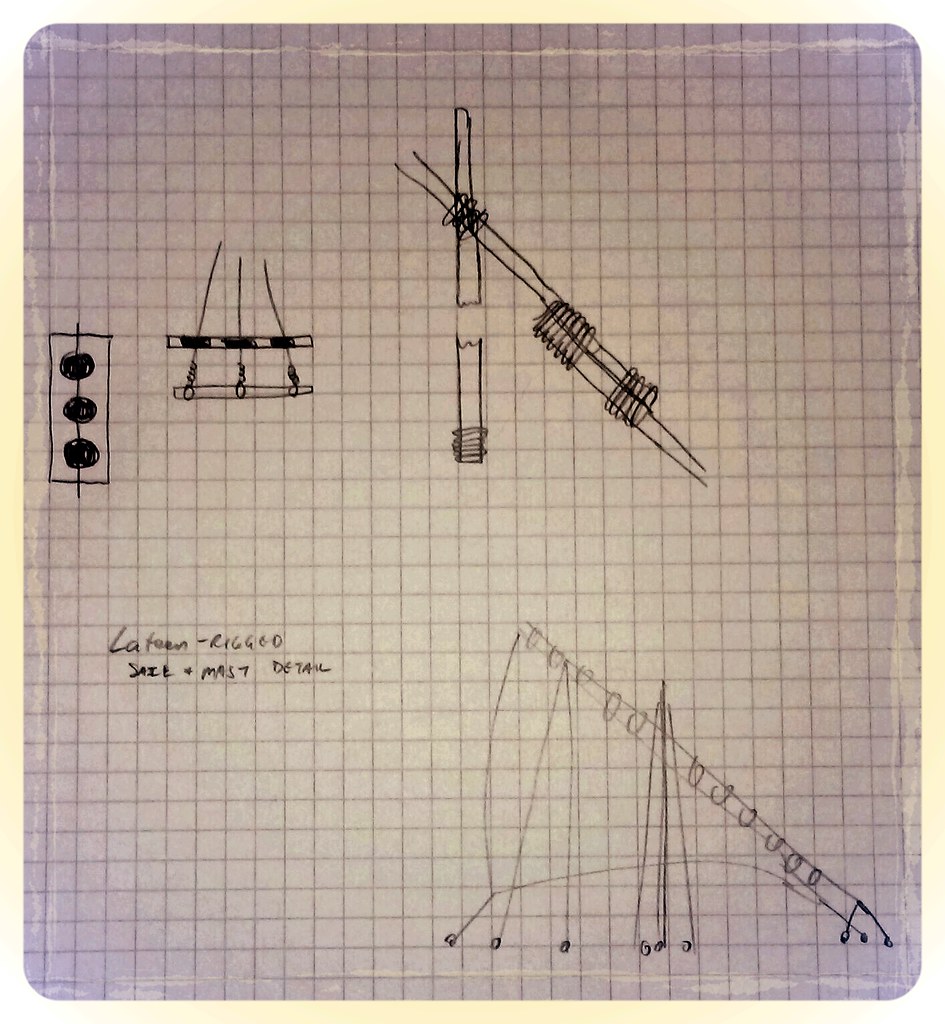 |
| Sketch of rigging elements. |
When designing the rigging, I tried to balance detail and playability. I wanted this to be a usable wargaming ship, not a model of a sailing ship. The rigging may not be completely realistic, but I think the end result give a good feel and look while not strictly accurate. (Along those lines, please excuse any mistakes in the naming of the various parts of the rigging - I am not a sailor, and what little I know I've learned from the internet, which as we all know can be very dangerous!)
To make the shrouds, I began by drilling three holes into a rectangular plank of balsa wood.
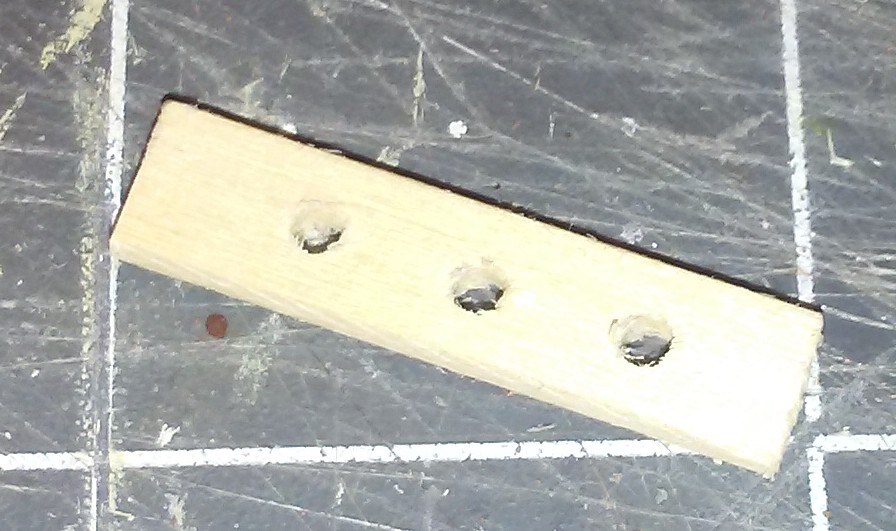 |
| Plank to secure the bottoms of the shrouds. |
After drilling the holes, I cut the piece lengthwise to get two equal pieces, each with three semicircles drilled out of it.
 |
| Two boards to secure the shrouds. |
I took a section of toothpick equal in length to the planks, and tied three ropes to it equally spaced apart. I glued the toothpick to the side of the ship, just below the gunwale, and then glued the cut plank in place just above it. Then I repeated the process on the other side of the ship.
 |
| Shrouds secured! |
I found a wooden dowel of the right diameter to fit the hole for the mast in the ship. I cut it to what looked like a decent length, and drilled a hole through the top. I knotted the three shrouds from wach side and passed them through the hole. (Note: Every knot in the rigging was secured with a drop of superglue. This locks them in place and keeps the string from slipping and the knots from loosening Additionally, supergluing the loose ends will keep them from fraying when cut.)
 |
| Mast in place. |
For the spar, I took two pieces of dowel of a smaller diameter than the mast. I cut them to length based on what I felt looked good, not with any sort of definite measurement. One piece was cut shorter than the other. Once I had the two spars, I glued them together, then wrapped rope around the ends to make them look tied.
 |
| Spars glued and tied together. |
I drilled another hole in the mast, and fed a loop of rope through it. I slid the spar through the loop, pulled it tight and superglued everything in place. When it was dried, I looped rope around the spar, again to make it look tied, and glued it down.
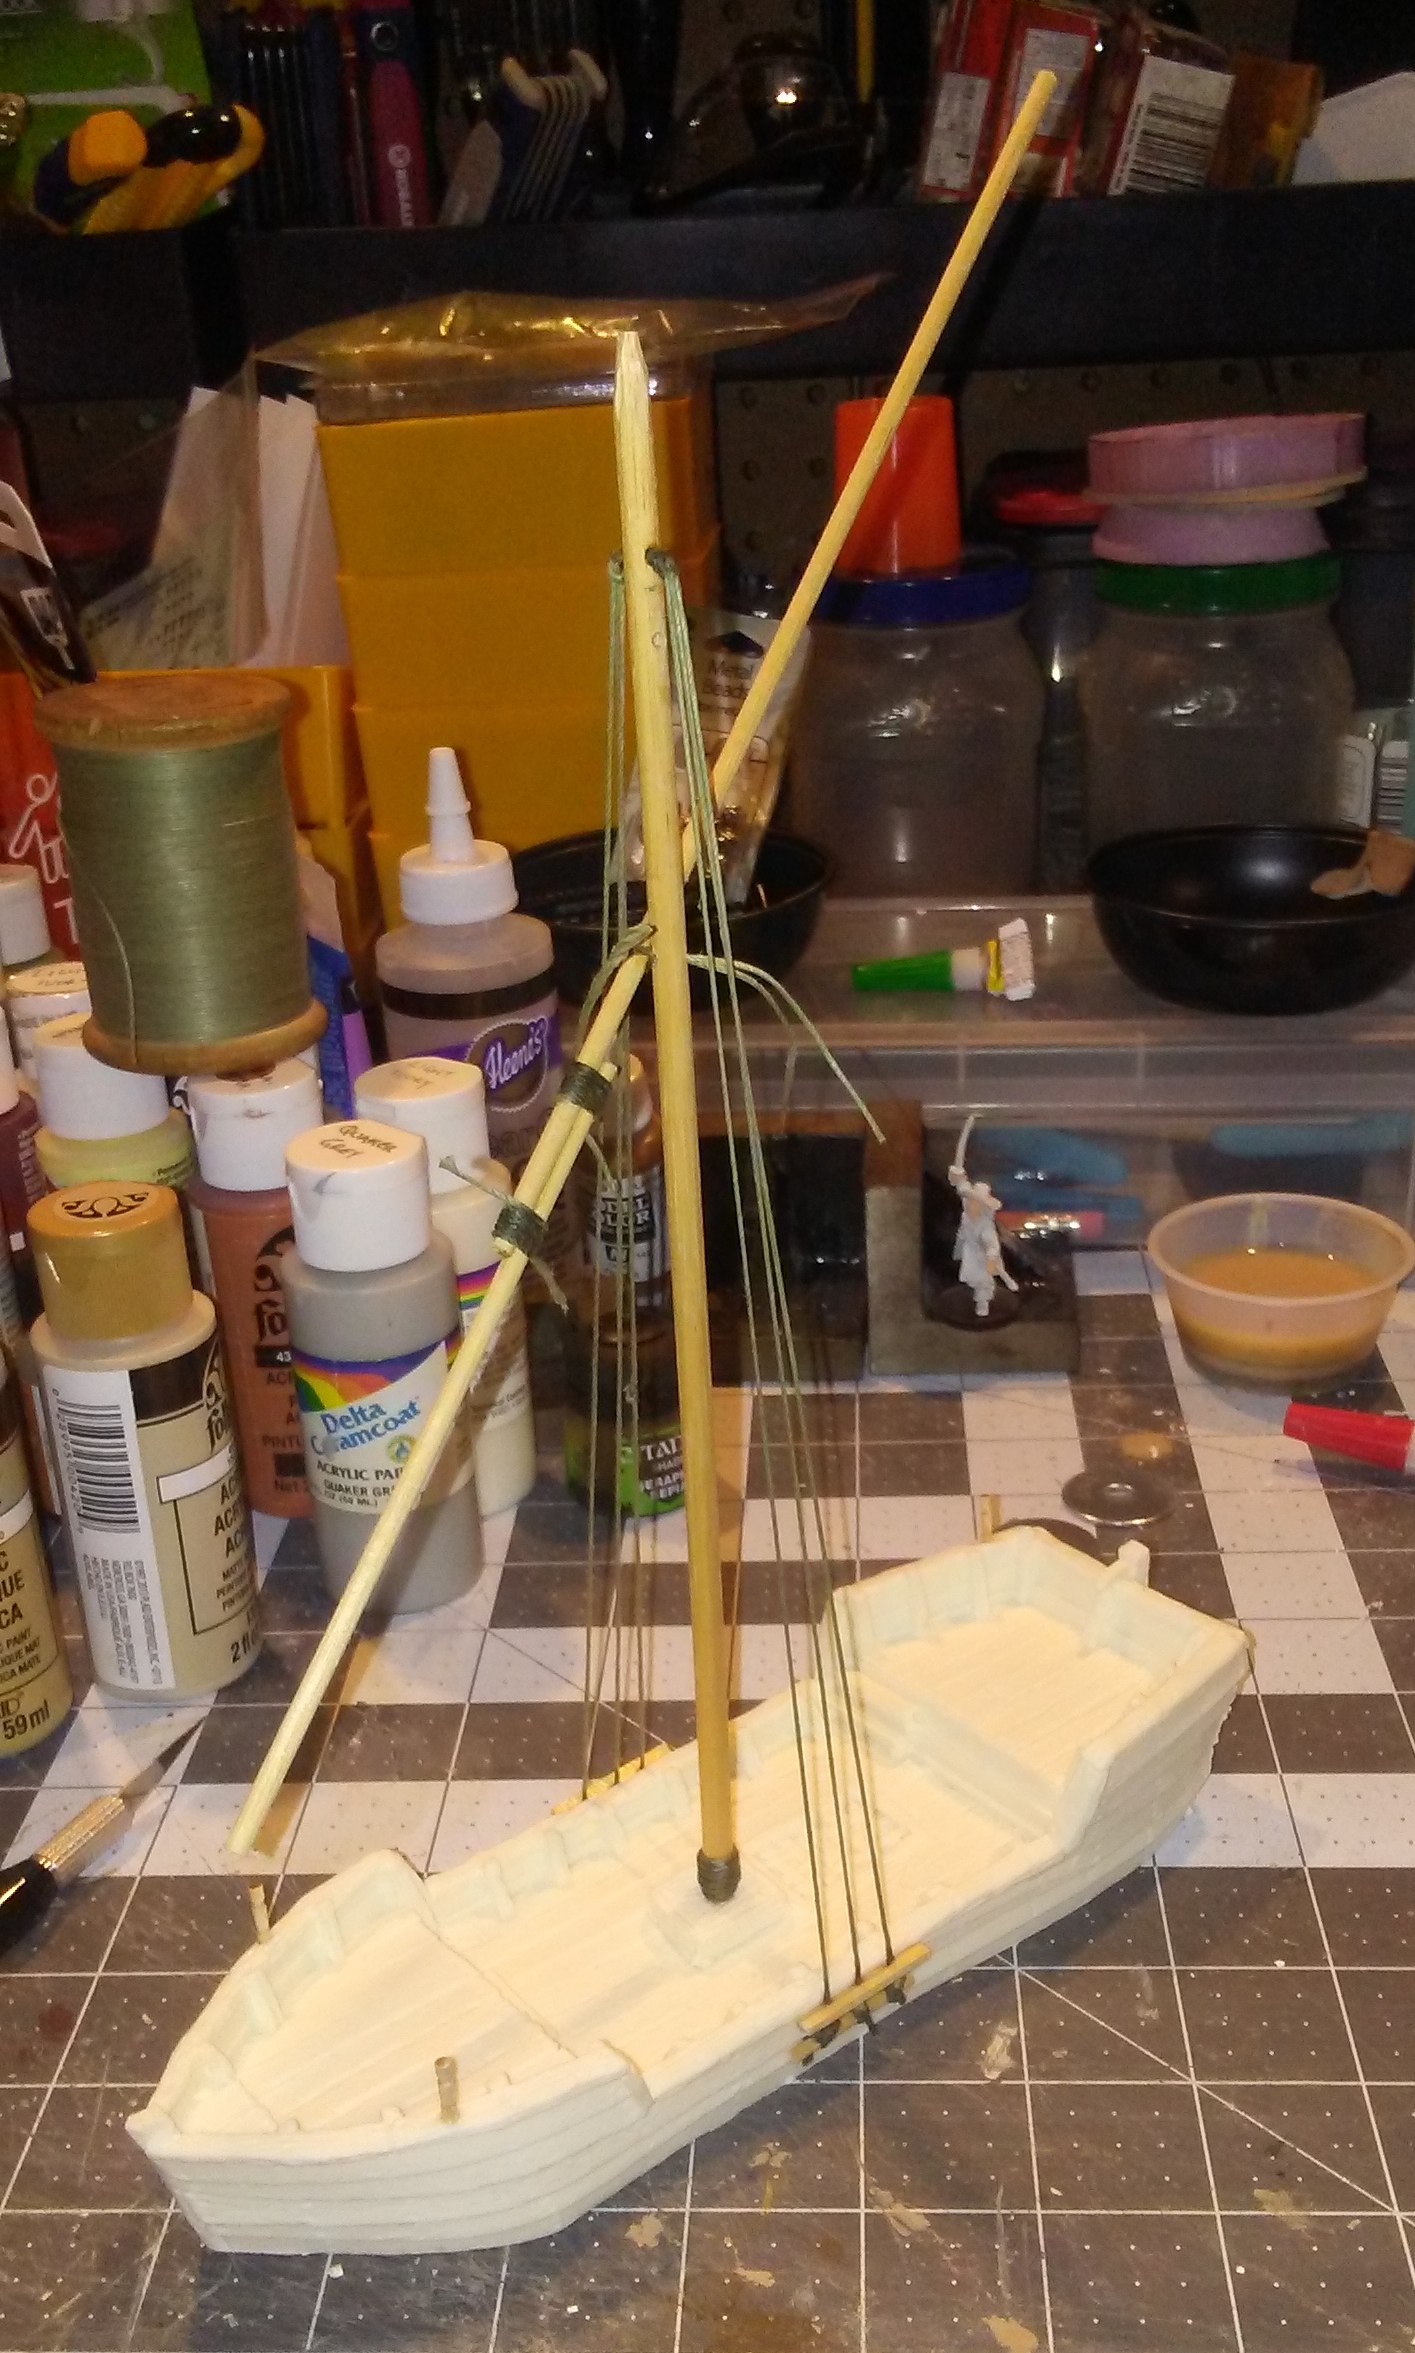 |
| Spar in place. |
It ship looks dark brown in the photo, but in person it's so dark it is almost black. I find the Krylon Camouflage paints to be very useful - they dry completely matte (flat) and go on smoothly. The color selection is great for gamers, and they can be found easily in any Walmart, Lowe's, etc.
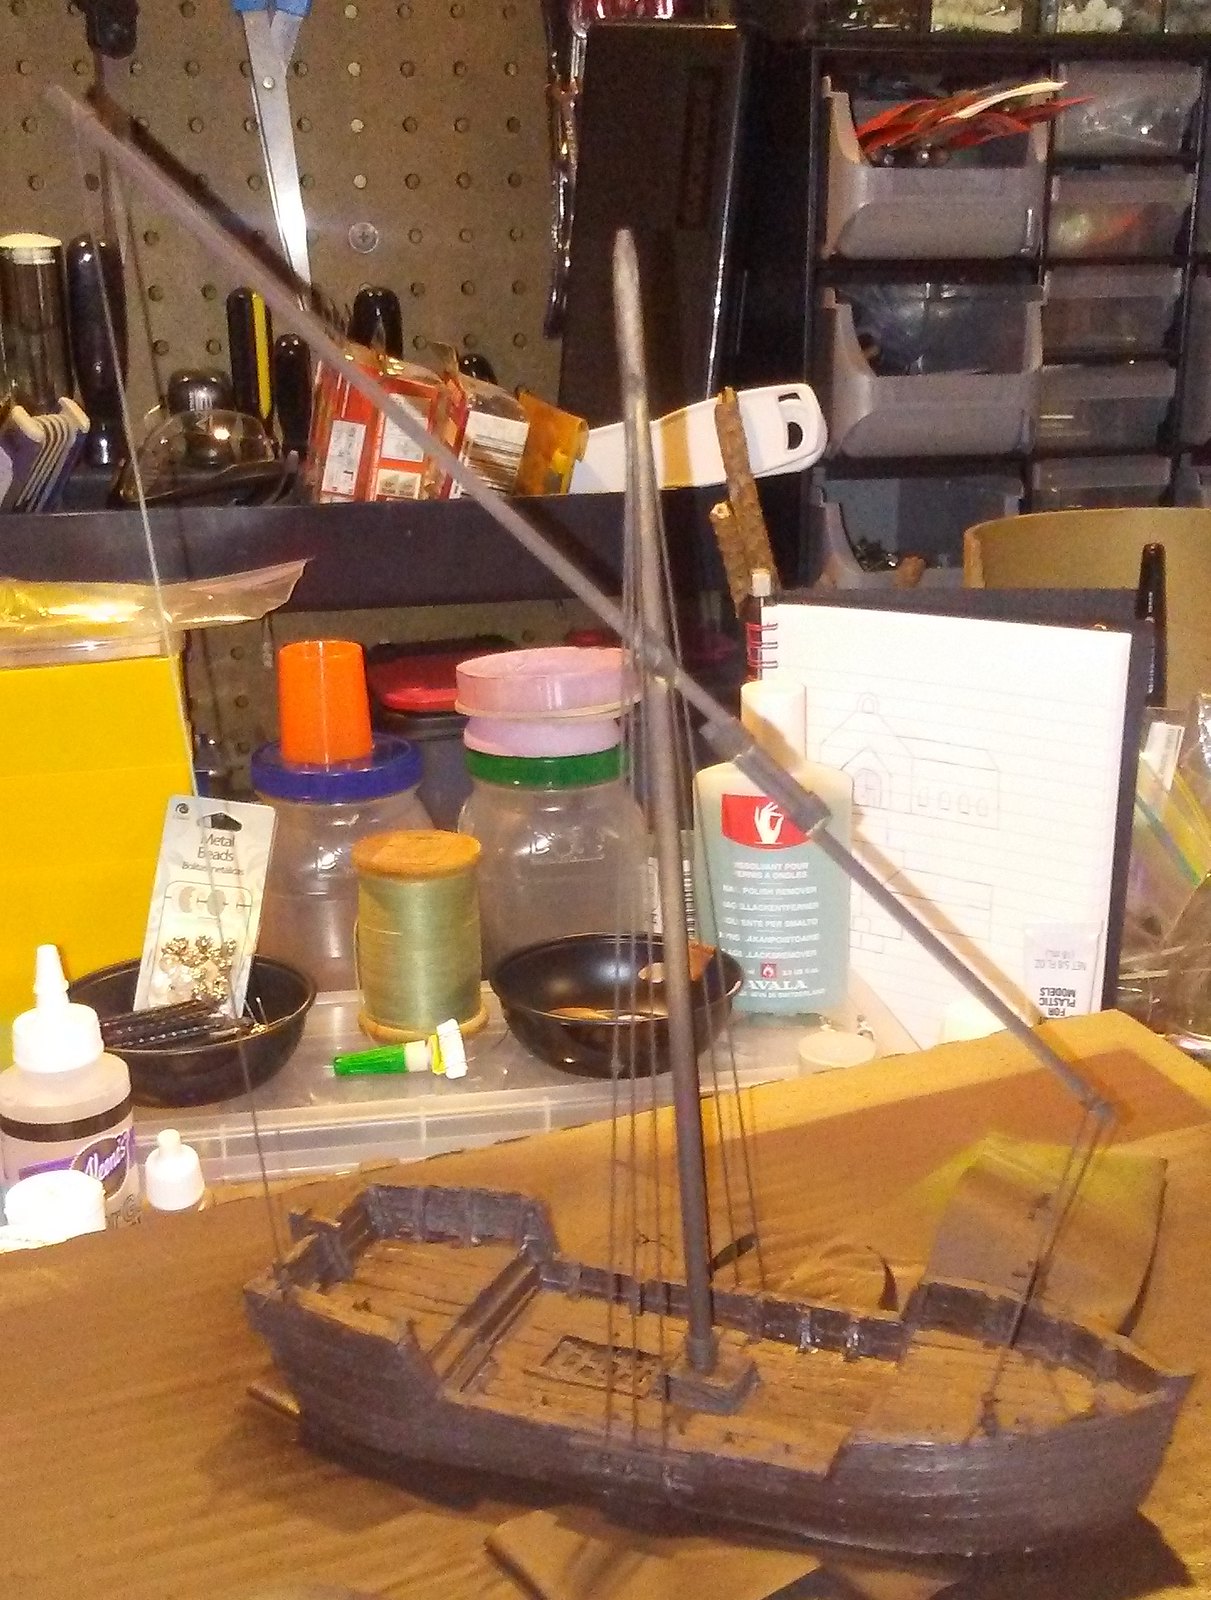 |
| Earth Brown spray applied. |
After letting the ship dry overnight, it was time to start layering on paint. First I covered the entire ship with a medium brown drybrush.
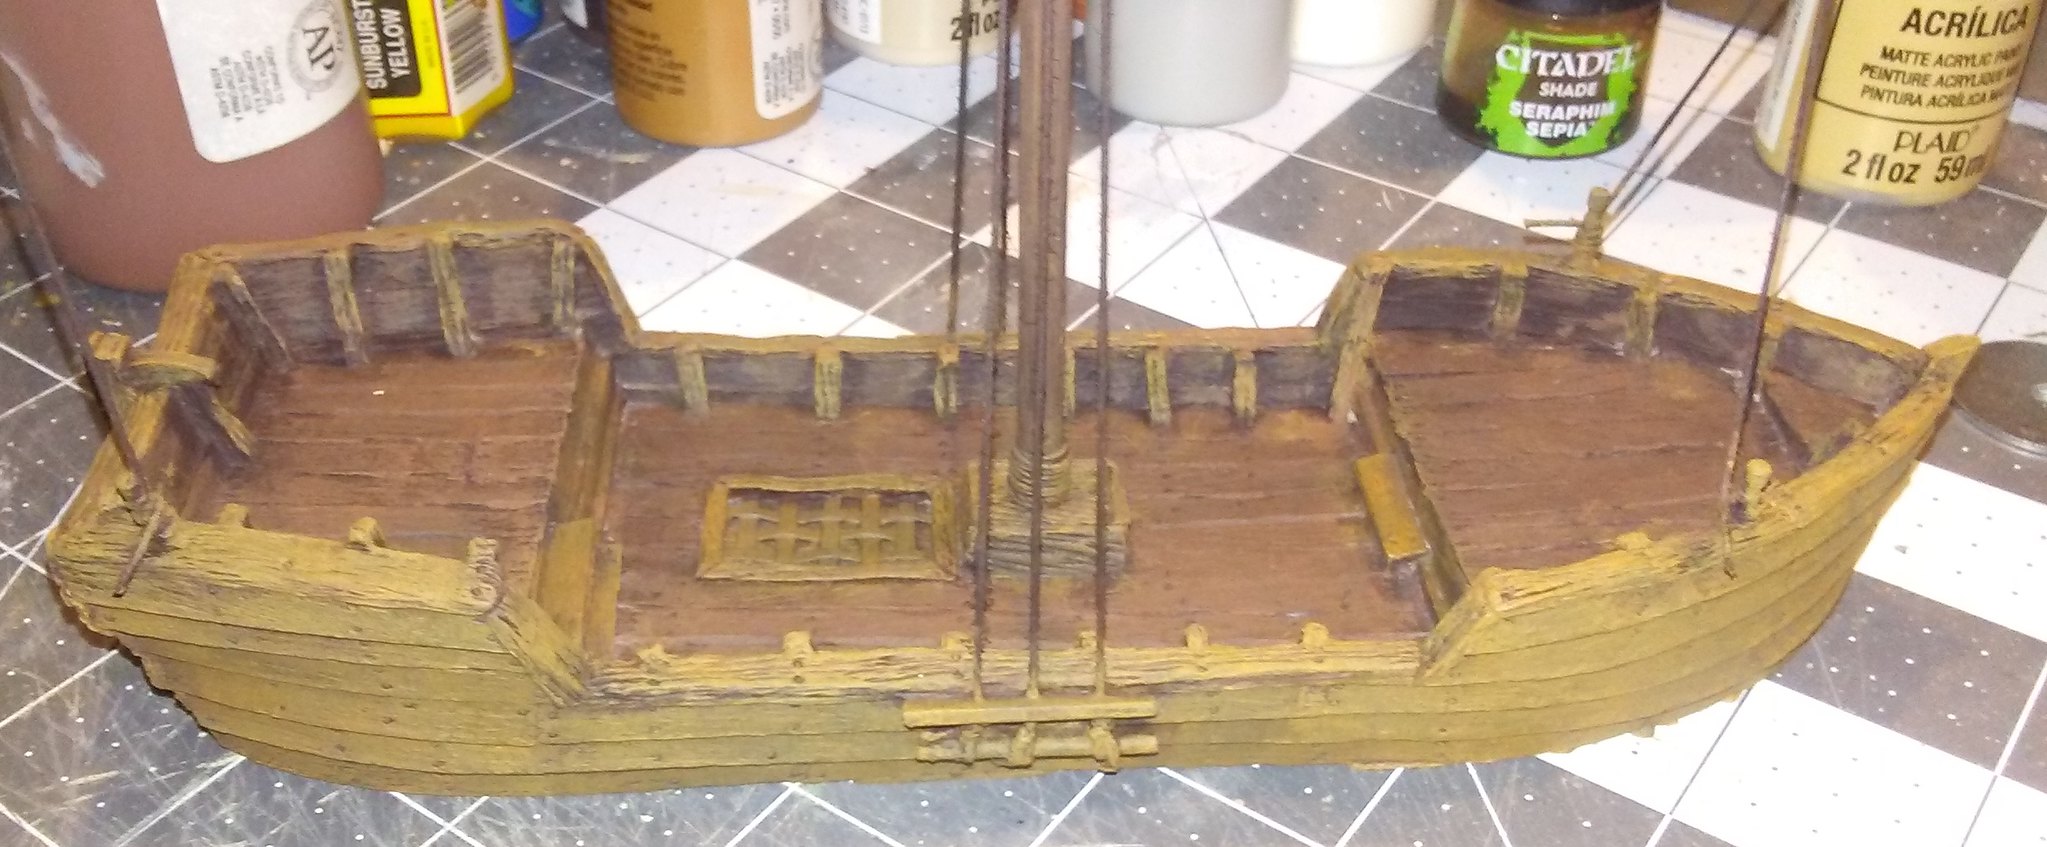 |
| First drybrush applied. |
I then gave the deck of the ship a much lighter drybrush to add contrast.
 |
| Deck drybrushed a light tan. |
The drybrushing really brings out all the wonderful detail in the Thomarillion cast - the texture of the planks, the nail holes, etc. It was a pleasure to see the detail accentuated with each pass of the brush.
There's a small band of metal that goes around the rudder, and I painted this with a dark silver (Games Workshop Boltgun Metal).
I painted all the ropes in the rigging using a very light brown, and later washed them with a dark brown Citadel/GW wash. Now it was time to add the sail. I cut the sail from a triangular piece of fabric with a pattern that I thought was appropriate. Now I had to make a decision, whether to have the sail furled or unfurled.
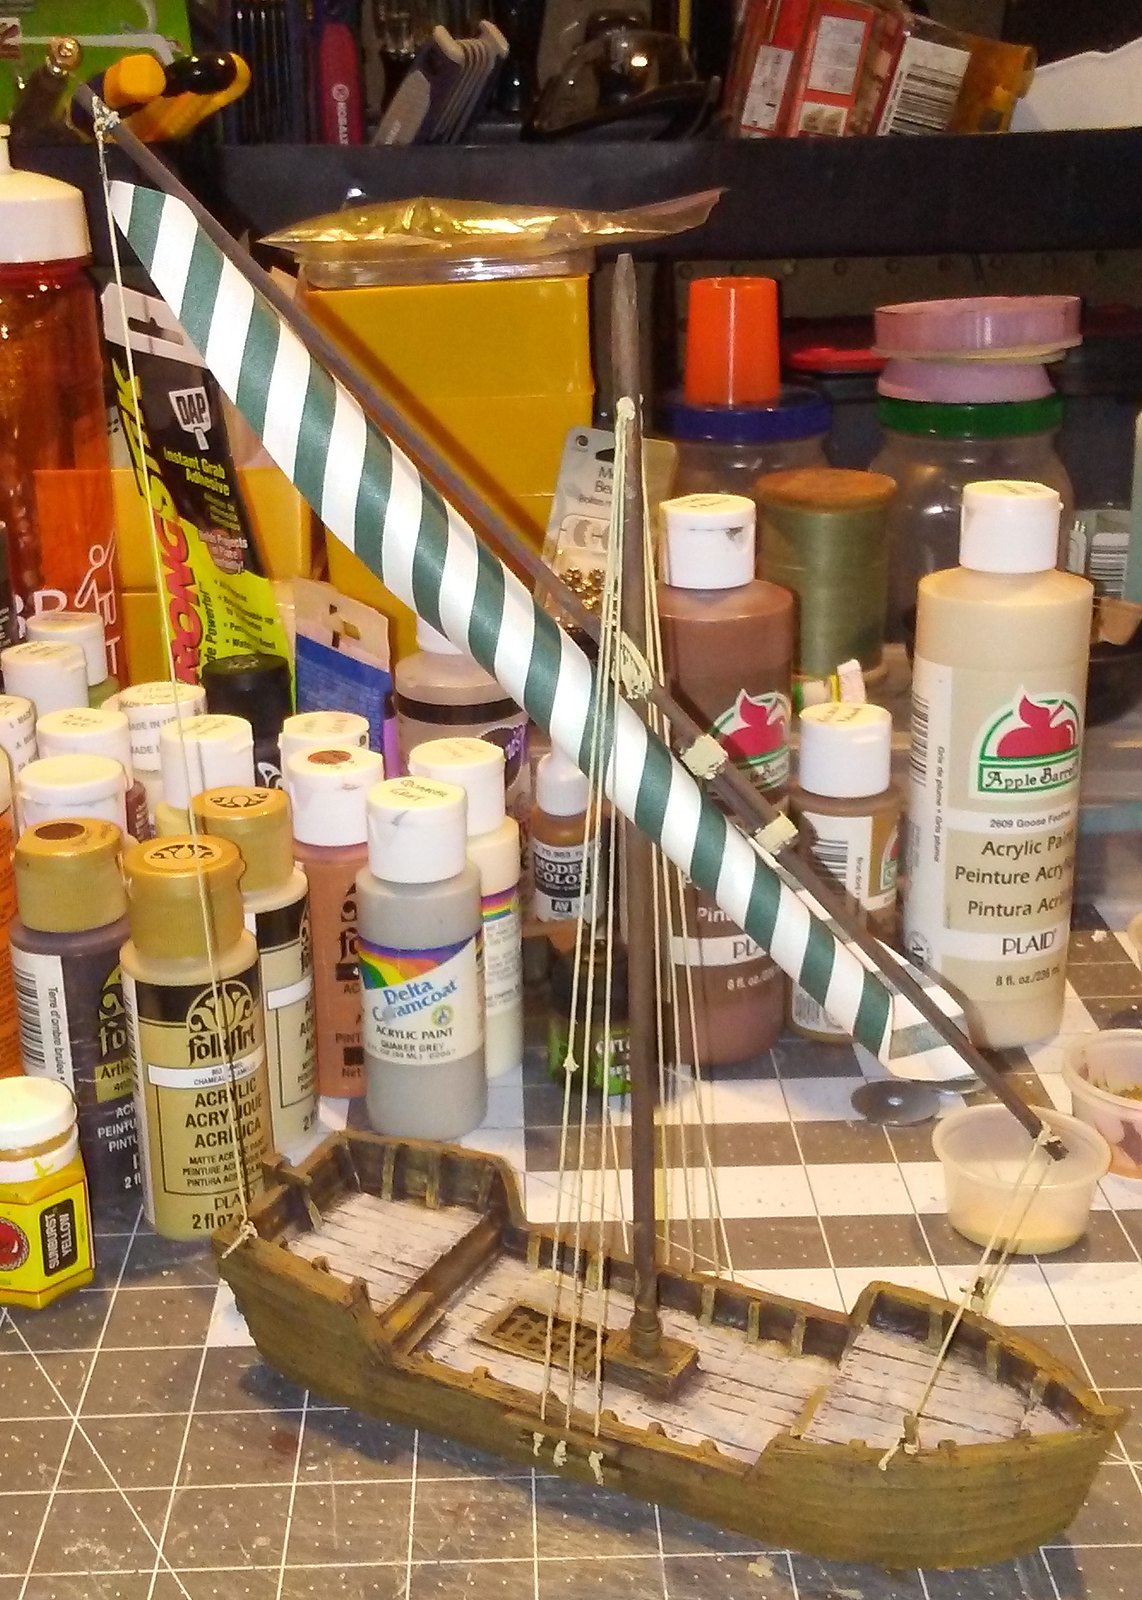 |
| Would the sail be furled... |
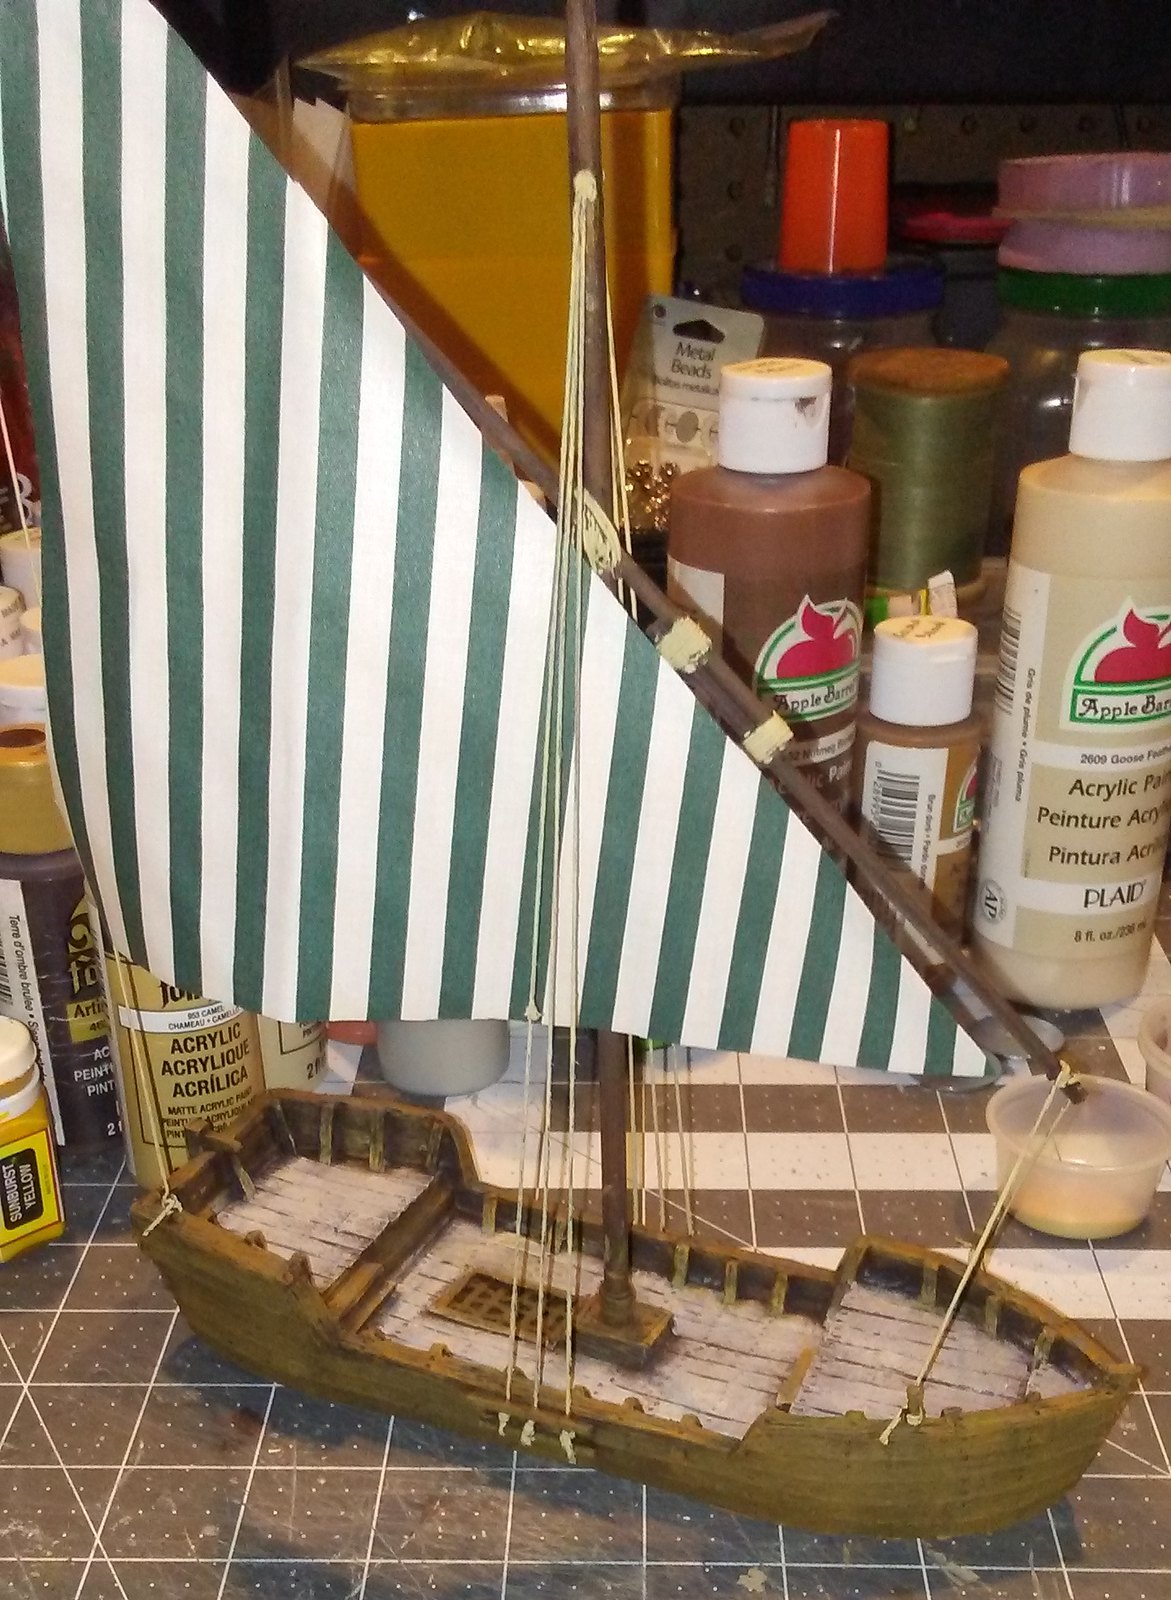 |
| ... or unfurled? |
I decided to have the sail furled. This would make it a lot easier to move figures around on the deck, especially with this being a small ship.
I took the sail and folded it up the way I imagine it would be when furled, then I tied off small pieces of string at regular intervals. I left enough extra string to later tie the sail to the spar.
 |
| Sail furled and ready to go on the spar. |
I positioned the sail in place, and tied each string around the mast. Again, a drop of superglue locks each knot in place and keeps it from slipping.
 |
| Furled sail on spar. |
When dried, I trimmed the excess string, and the ship was pretty much done, needing only an overall spray of clear matte to seal it..
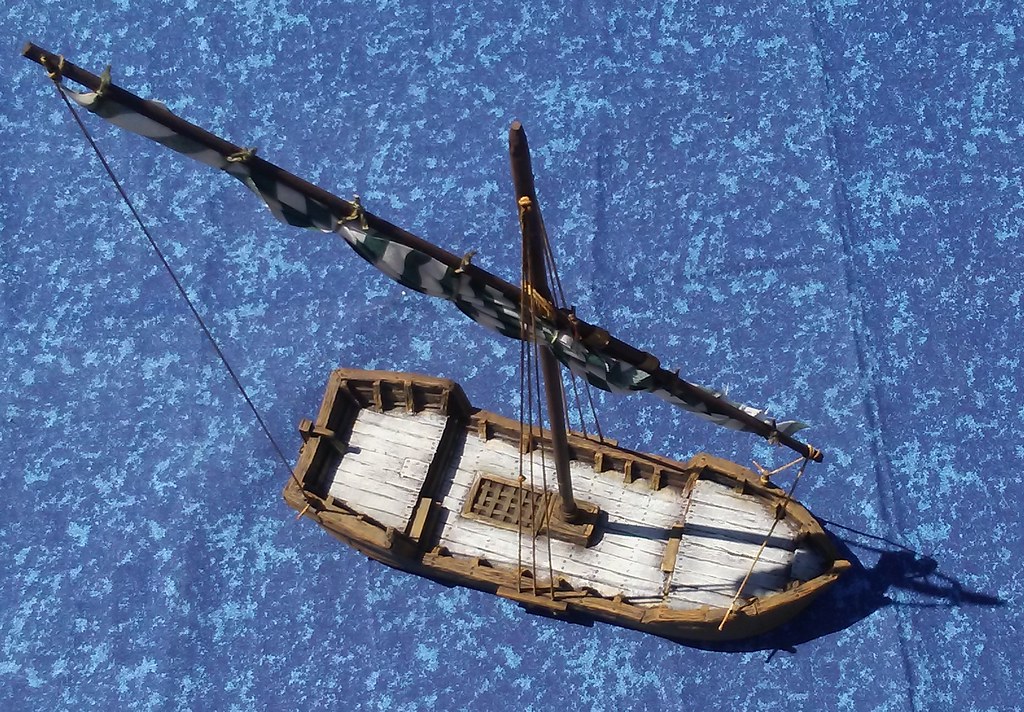
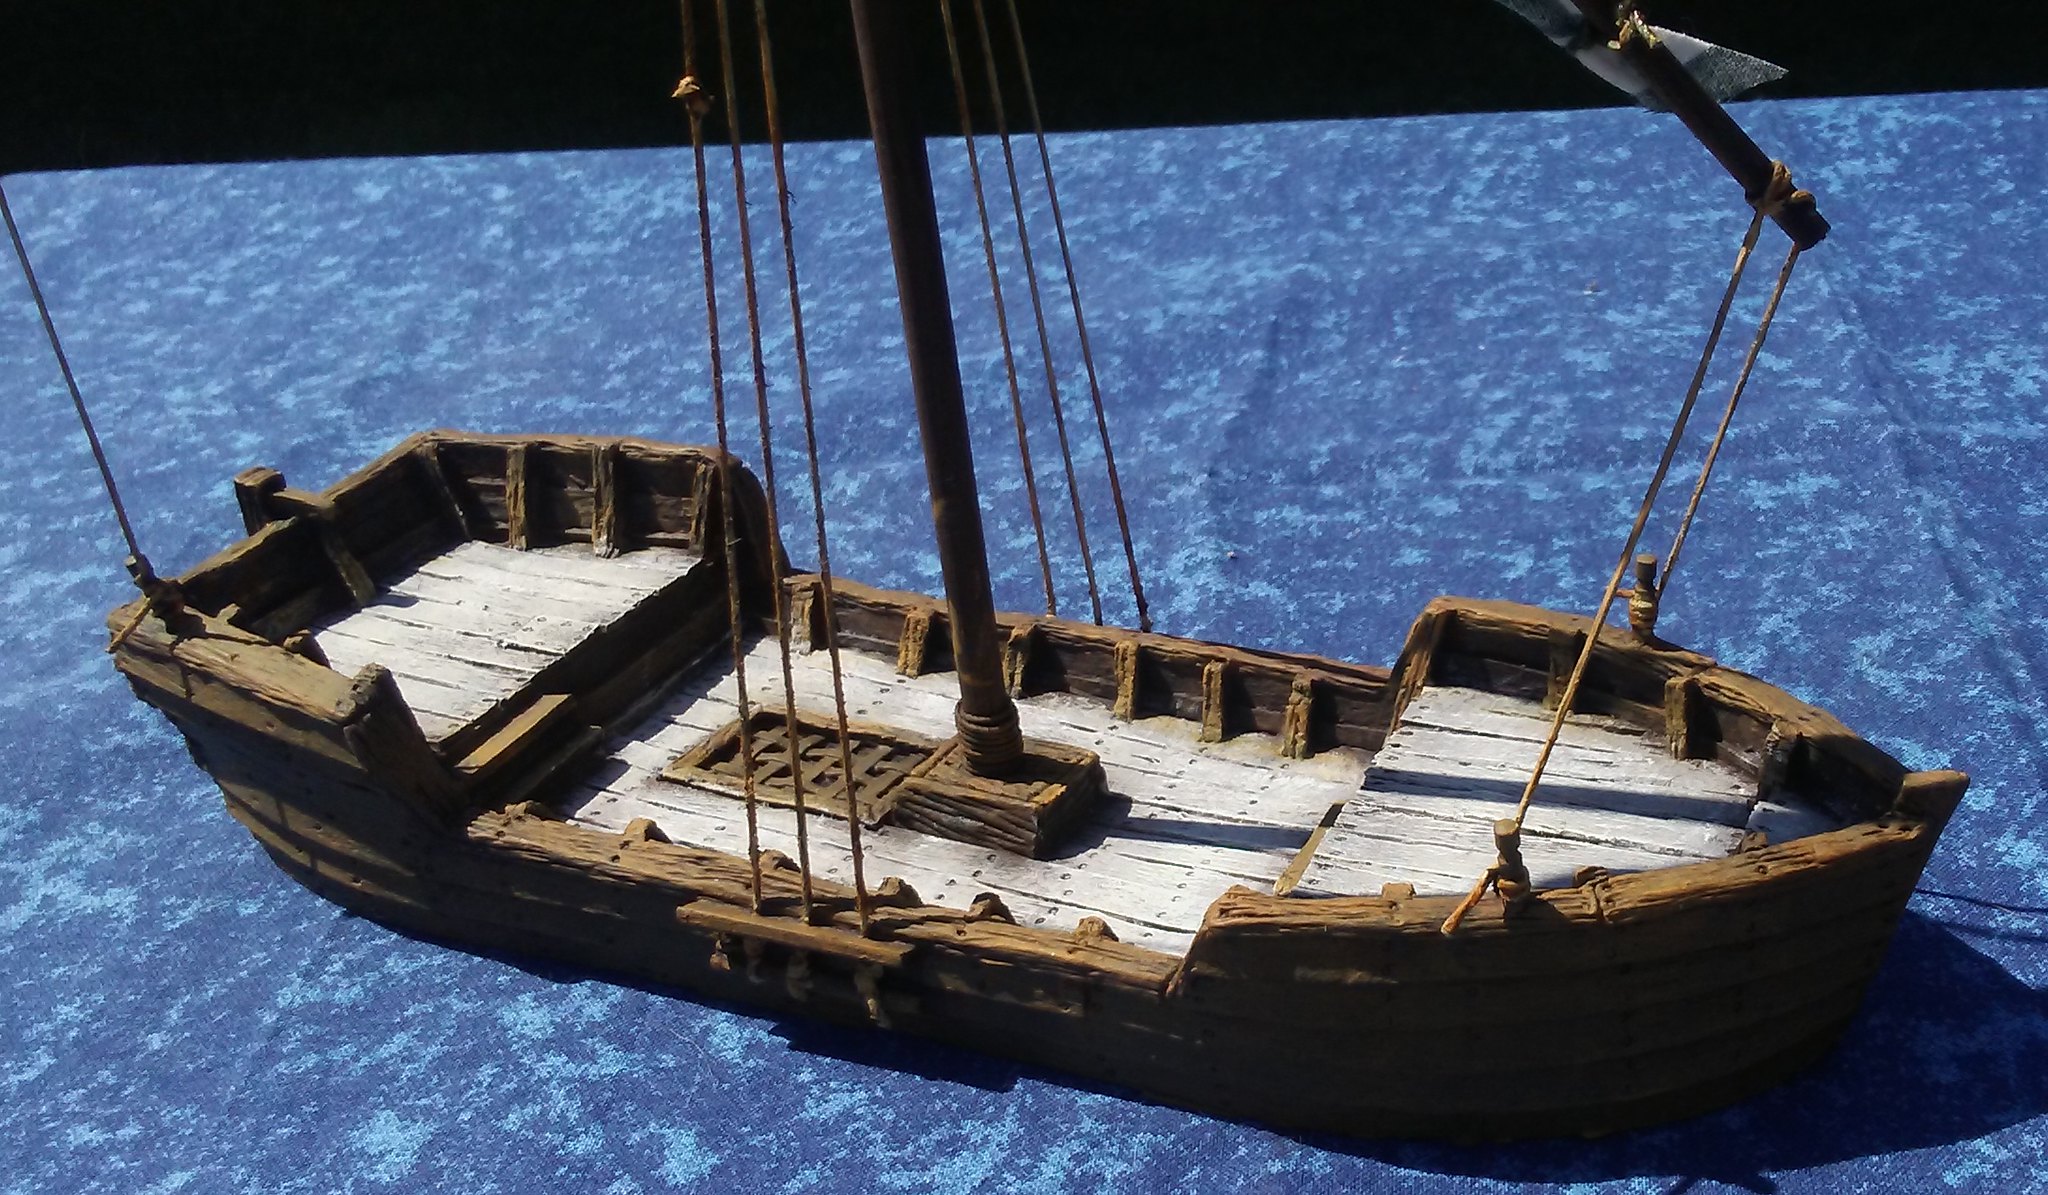
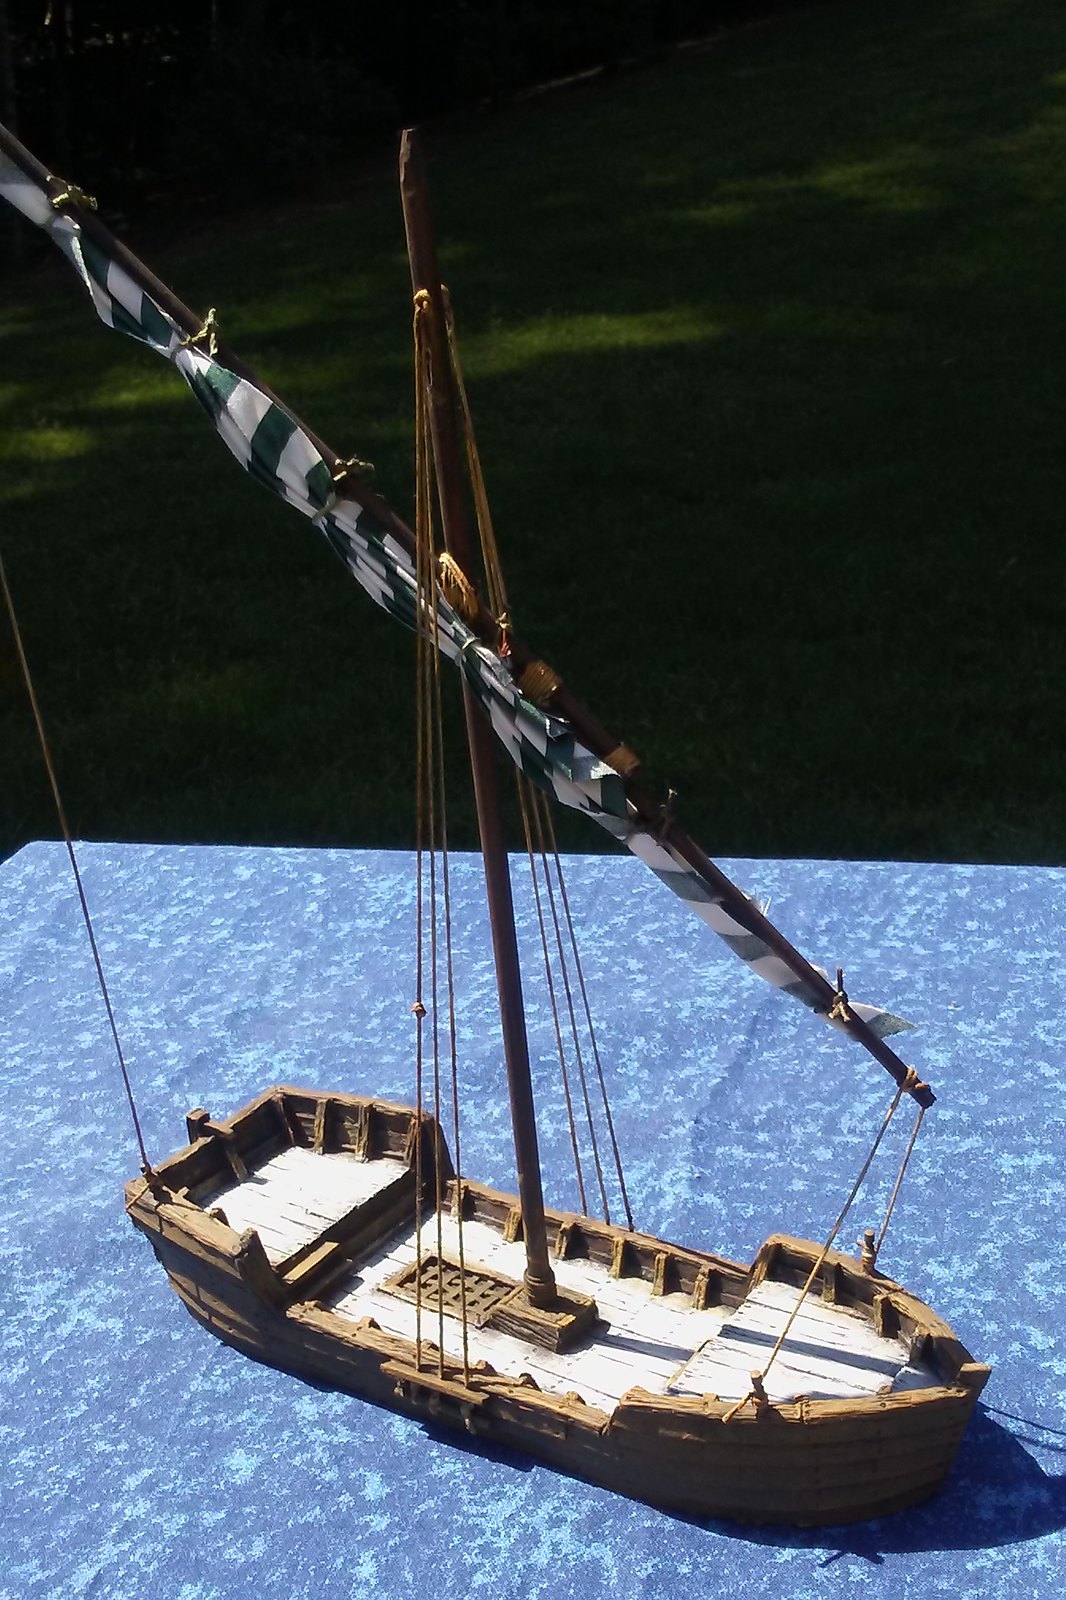
Now it was time to see what the ship could carry! As a cargo ship, there's room for quite a bit of crates, bags and barrels, with a crew of five or six to man the ship.
 |
| Cargo on deck. |
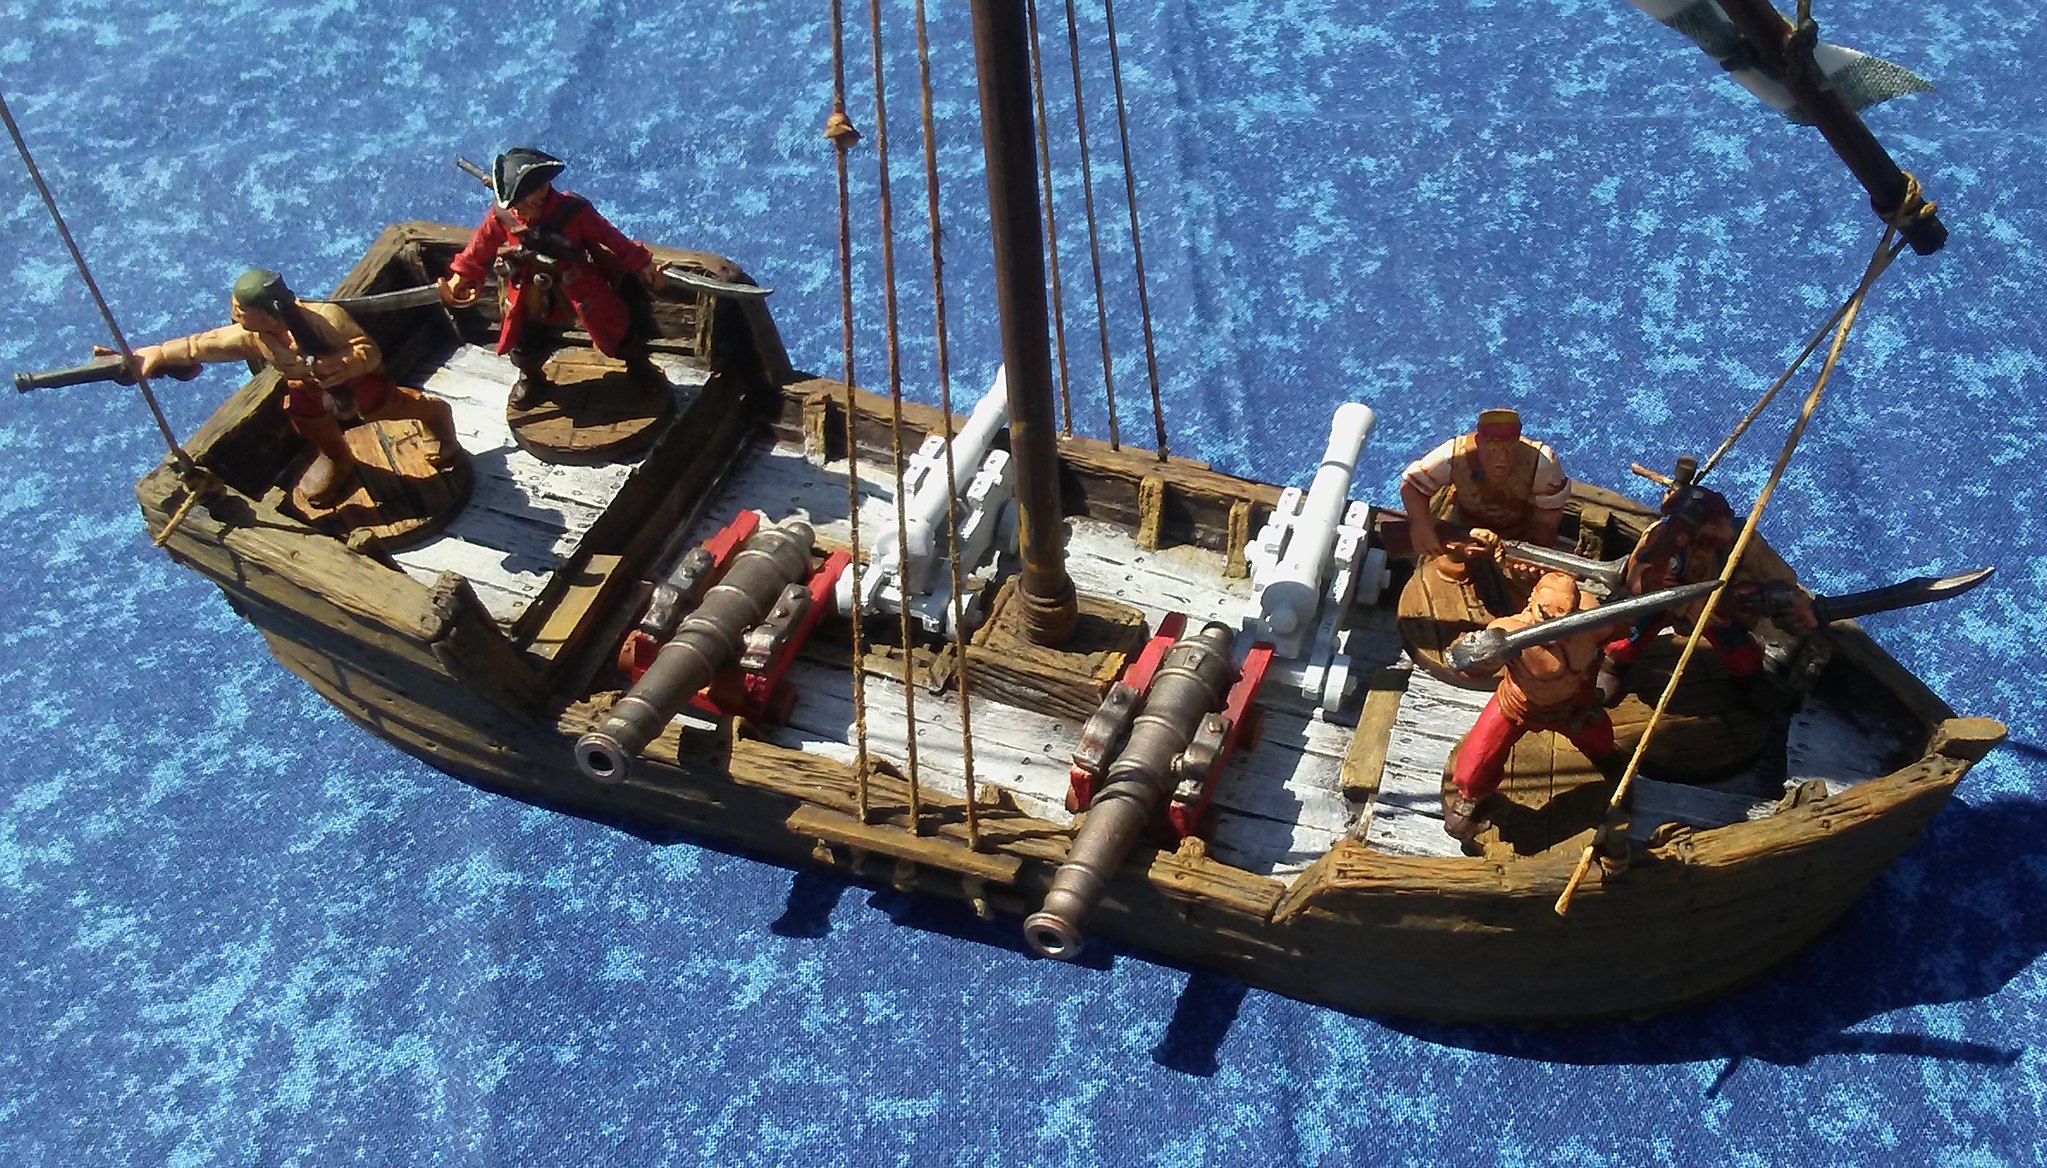 |
| Overgunned? |
So, since this a review, here are my ratings for the Thomarillion Shore Sailboat:
Quality: 10 out of 10 (the cast I received was perfect)
Detail: 8 out of 10 (I took off a point because you have to improvise your own rigging)
Scale: 9 out of 10 (it's a nice looking small ship, I just wish it were a tiny bit bigger)
Value: 10 out of 10 (this is one of the least expensive resin boats I've seen for its size)
Overall rating: 9 out of 10! All in all, I was exceptionally pleased with this ship. Crafting a unique rigging for it was a fun project, and I learned about lateen sails along the way. Painting it was a dream, with the drybrushing bringing out all the wonderful carved detail in the cast. About four hours of work went into this, and I think the results are fantastic!
I will definitely be getting another in the future, and trying a different rigging style (perhaps fore-and-aft?).
'Til next time!
Links to previous Plastic Pirates posts.





 . All I did to them was rebase them on 25mm round bases as the original Heroscape bases are oversized.




 Posts
Posts

