 |
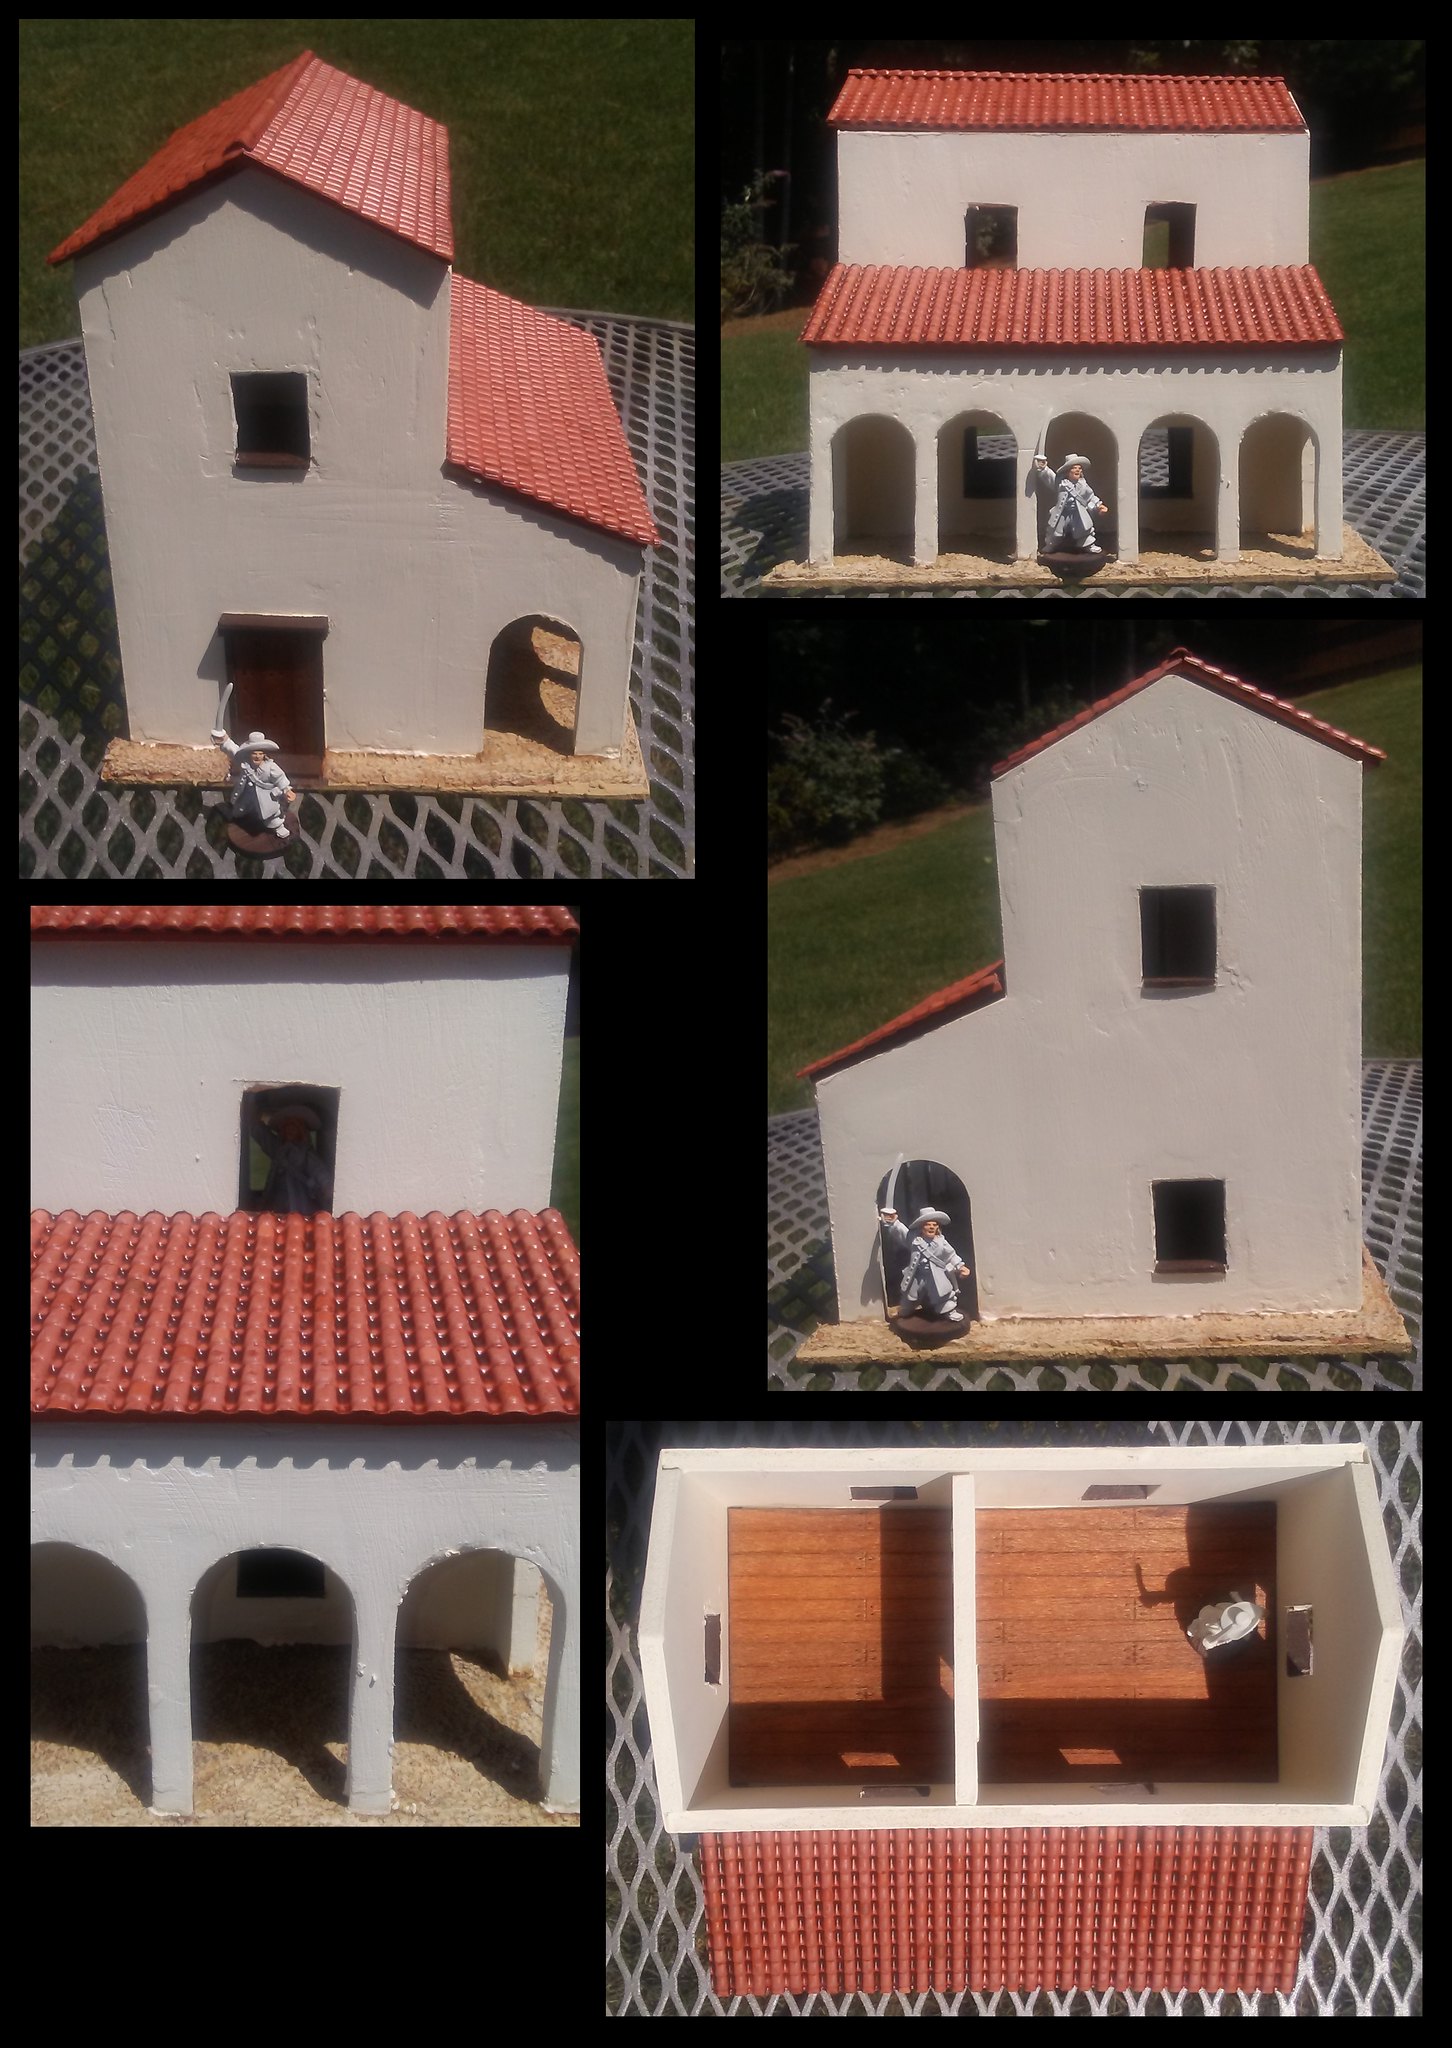
| First building complete! |
I decided to completely knock out the smaller building with the colonnade first, before tackling the finish work on the church. (In the last post, I detailed the beginning stages of construction.)
First, the walls need a little touching up with spackle. This serves two purposes. First, it covers any seams that may be visible. Second, it gives the walls a little texture so they are not so smooth.
These are the tools of the trade, sort of. A pot of DAP DryDex spackling. I am sure any filler will do, this just happens to be what I had on hand. And a tool for smoothing and spreading the spackle.
 |
| Spackle ready to be applied |
 |
| Before (left) and after applying spackle |
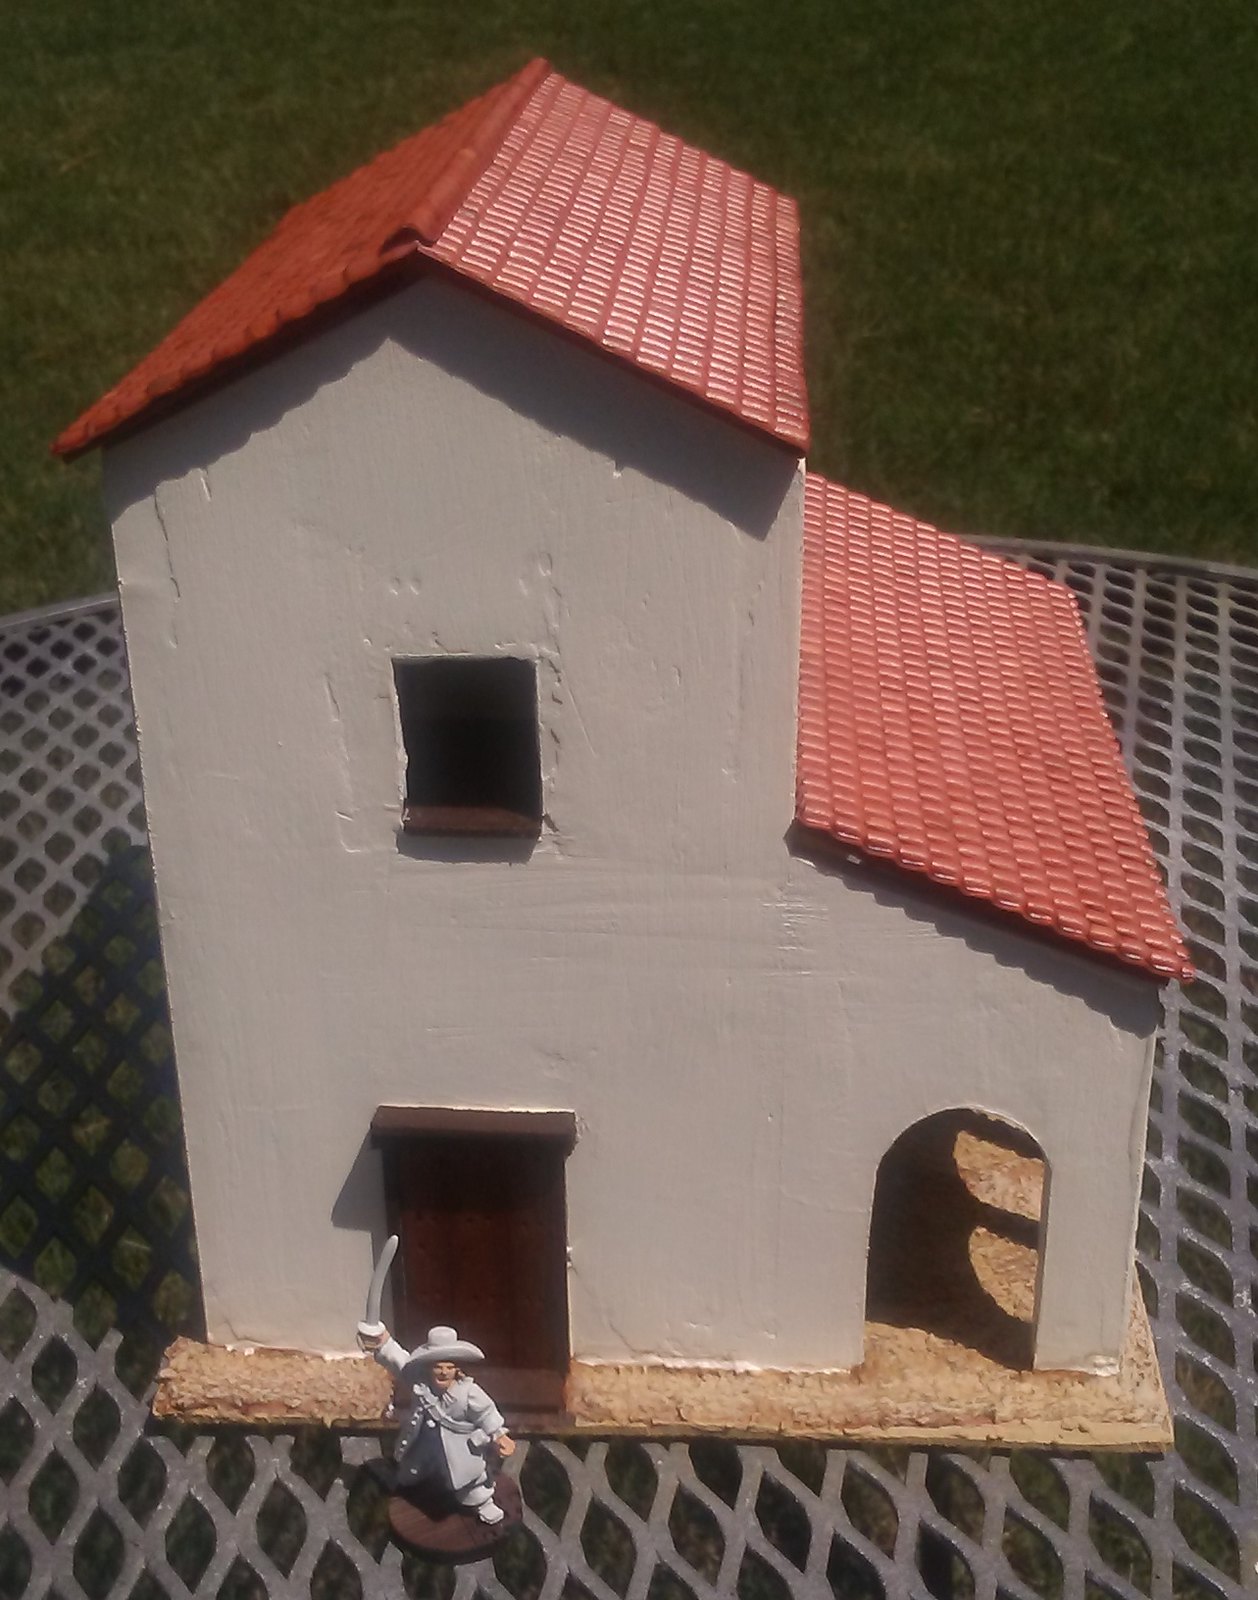
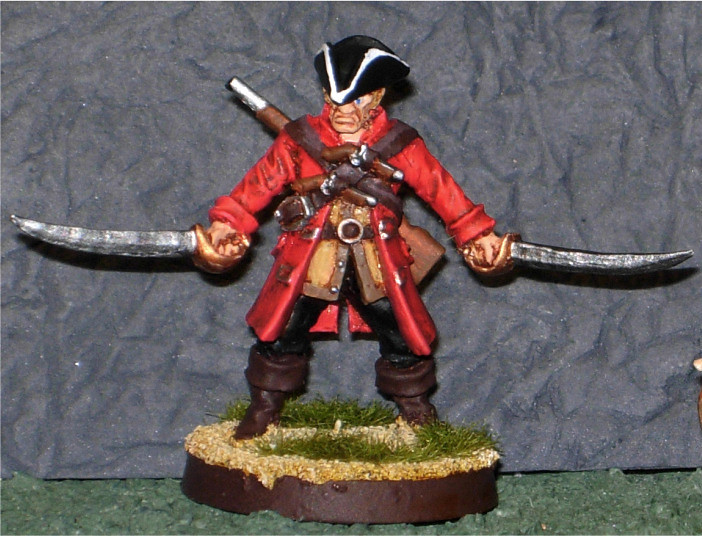
Once that's done, it's time for the painting. I used an ivory craft paint on the building, with a lighter and darker brown for the wood trim. I try to keep in mind this is a piece of wargaming terrain, and not a museum piece. I do not spend as much time or effort when painting this as I do, for example, on the troops that are going to fight over it!
 |
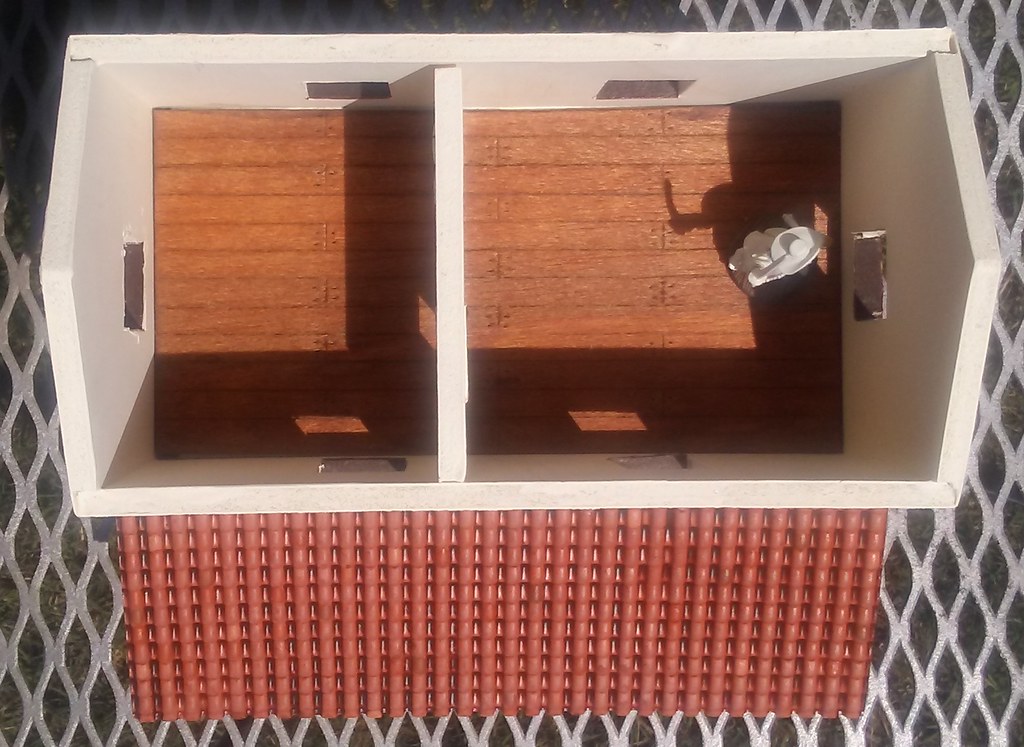
| Painted, ready for the landscaping |
After that, all that was left was to add the surface texture to the base. As mentioned in my post on making desert terrain, I mix filler, paint and sand to create a mud-like like mixture that I spread over the base. Once that's completely dry, I just drybrush a couple of lighter colors over it to add some relief. And that's it - one terrain piece down, many more to go.


'Til next time!


No comments:
Post a Comment