Showing posts with label Afrika Korps. Show all posts

Friday, June 3, 2016

Desert terrain - more palms and a sand ridge

Following up on the desert theme from my last post, I've been able to get a lot of work done on making terrain in the past few days - better progress than I've ever been able to maintain consistently! I don't know about you, but with me it seems that almost every time I get up a good head of steam and enthusiasm for a new game, era, theatre, etc., life comes at me and quickly interrupts my progress. Or, I get in my own way by fixating on a new shiny before I complete work on --- SQUIRREL! You get the picture.

I finished the oasis piece, with the addition of some small beige tufts from Gamer's Grass.

Photo of Beige 6mm Tufts from Gamer's Grass website.
I'd never used pre-made tufts before, and I must say - I am sold. I will definitely be picking up a wider variety of these to use in all my various terrain-making and figure-basing projects. They look terrific, and they are very easy to apply. The tufts just peel off the backing paper, and they have a slight adhesive already on them. The instructions suggest using a dab of glue for a better bond. I used Aleene's Clear Gel Tacky Glue. Peel, dab and stick. It really is as easy as that, and improves the look of the terrain tremendously, in my opinion.

Here's a group shot of the all the various desert terrain pieces I've completed:

Group shot
This stand of trees was made using MDF for the base layer, and a sheet of craft wood for the top layers. I added an extra, smaller level of wood at the rear to give the piece added relief.

Before adding any texture or paint.
Palm tree stands, textured and flocked.
Here is the completed stand of trees. I am using DUST figures (1:48 scale) to show the size.

Completed and ready for use.
I made another large stand of palm trees to complement this one:

Yes, that's the Desert Fox himself hiding in the trees...
The smallest stand of trees is made from some scrap pieces of thick sheet styrene I had lying about the work area.

Tina and Hyane patrol the palms.
After I got done adding texture to the palm tree stands, I still had quite a bit of my texturing material left. Working quickly so as not to let it dry, I cut a piece of pink insulation foam into shape as a dune/sand ridge. I used a hot wire foam cutter to shape it. I use a cheap one, very similar to this one, that I bought at Michael's.

Pink foam, ready for flocking.
The completed ridge will provide some small amount of cover for advancing troops.

Axis troops led by Red Yana.
Now I need to make some larger dunes or sand formations. That's easy - the hard part will be not getting sidetracked!

Lastly, a friend asked me how well the trees would scale with 15mm figures. I sent him a photo, but thought to share it here as well in case anyone is interested. Here you can see some Flames of War 15mm US infantry troops among the trees. I hope you find it helpful.


'Til next time.

Wednesday, June 1, 2016

Desert terrain - palm trees and an oasis

Lately, my gaming has taken a turn for warmer climes... requiring desert and tropical terrain. I can use the same terrain for quite a number of gaming systems - Crusader battles for Saga: The Crescent and the Cross, Operation Babylon combat for Dust 1947, North African World War II combat for Bolt Action or Chain of Command (progress on my DAK force began last week. and can be seen 
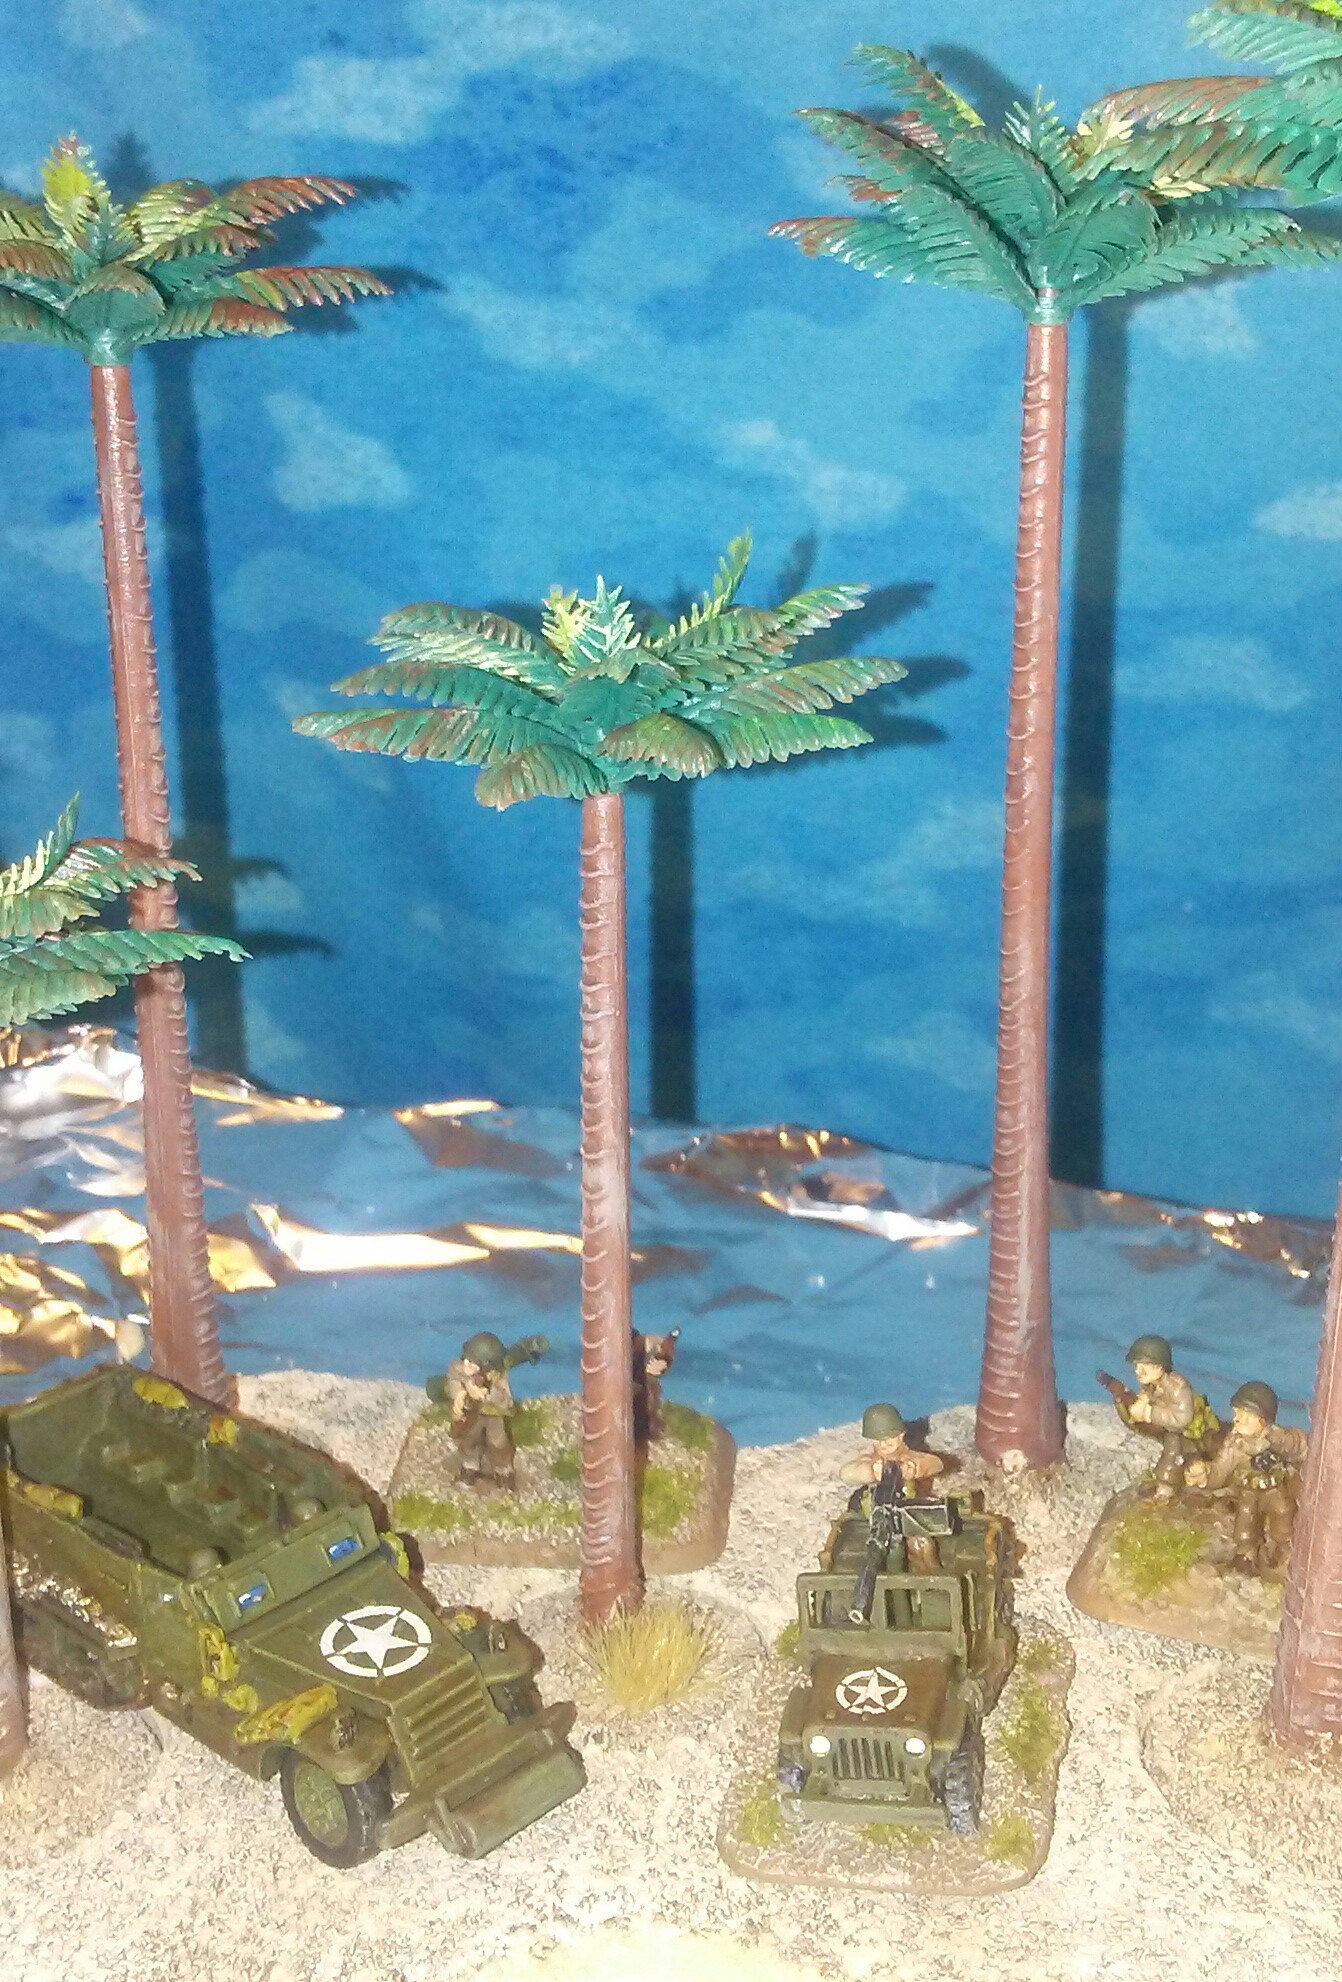
here), or island terrain for pirate battles for Blood and Plunder.

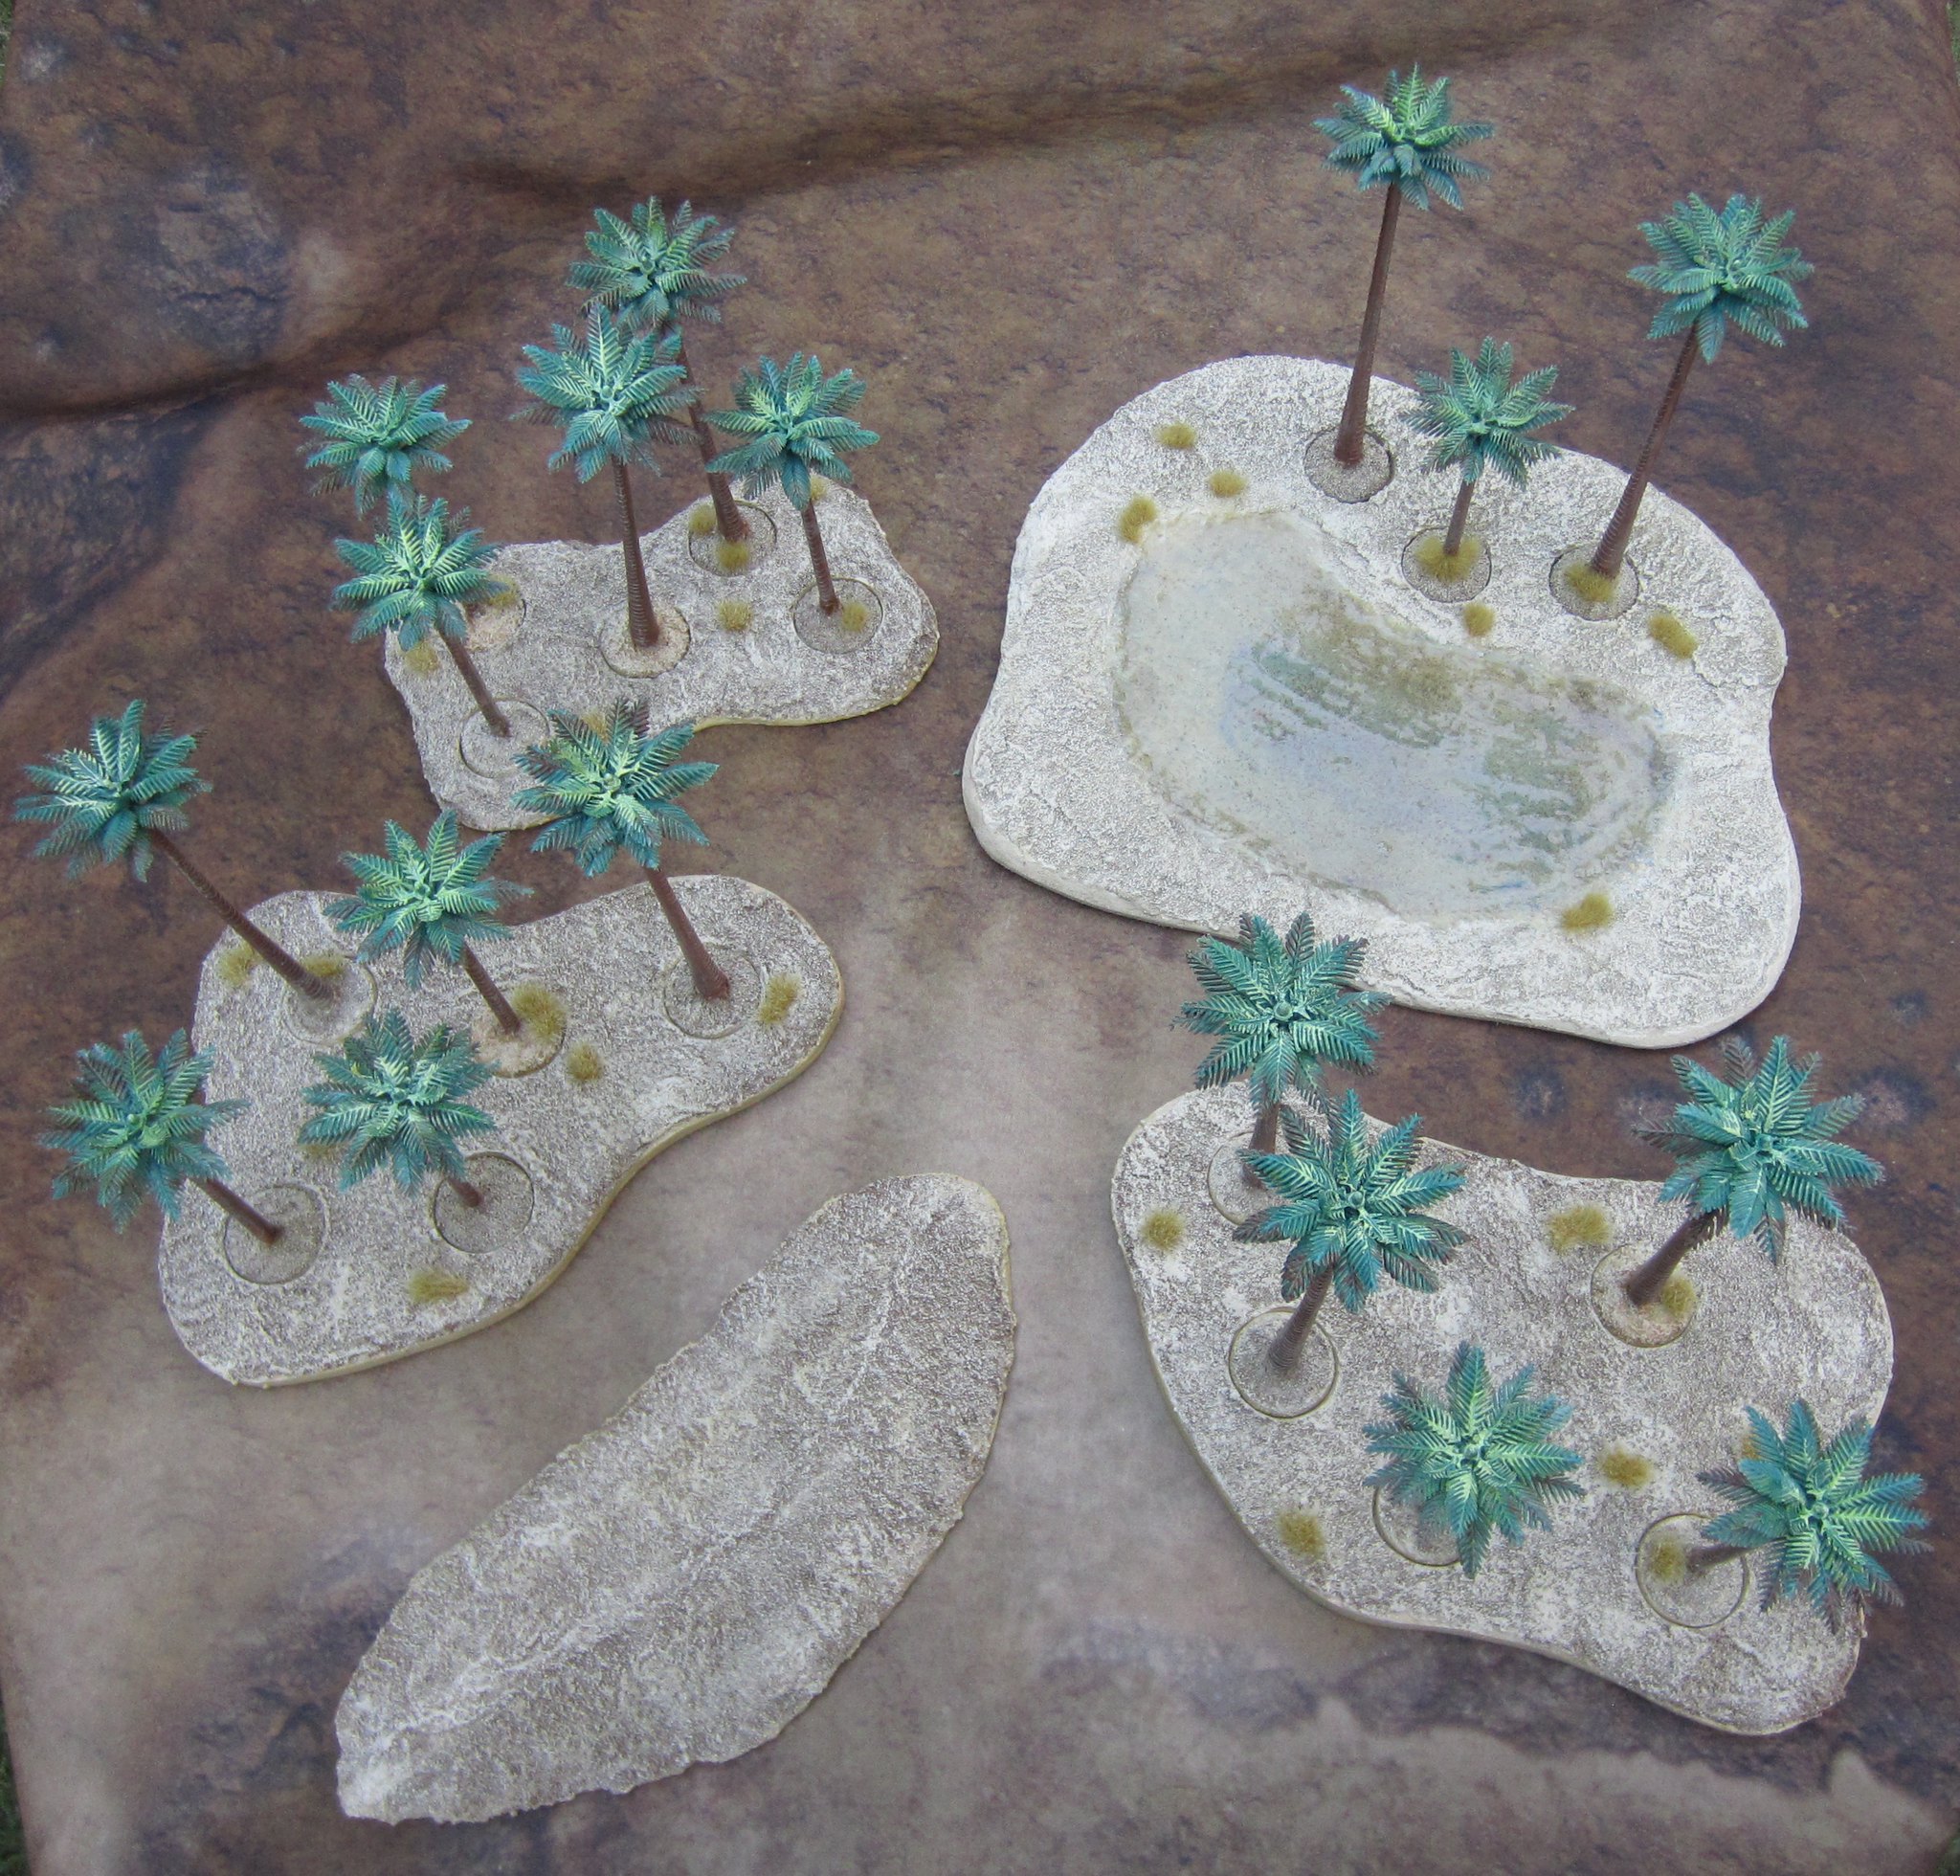
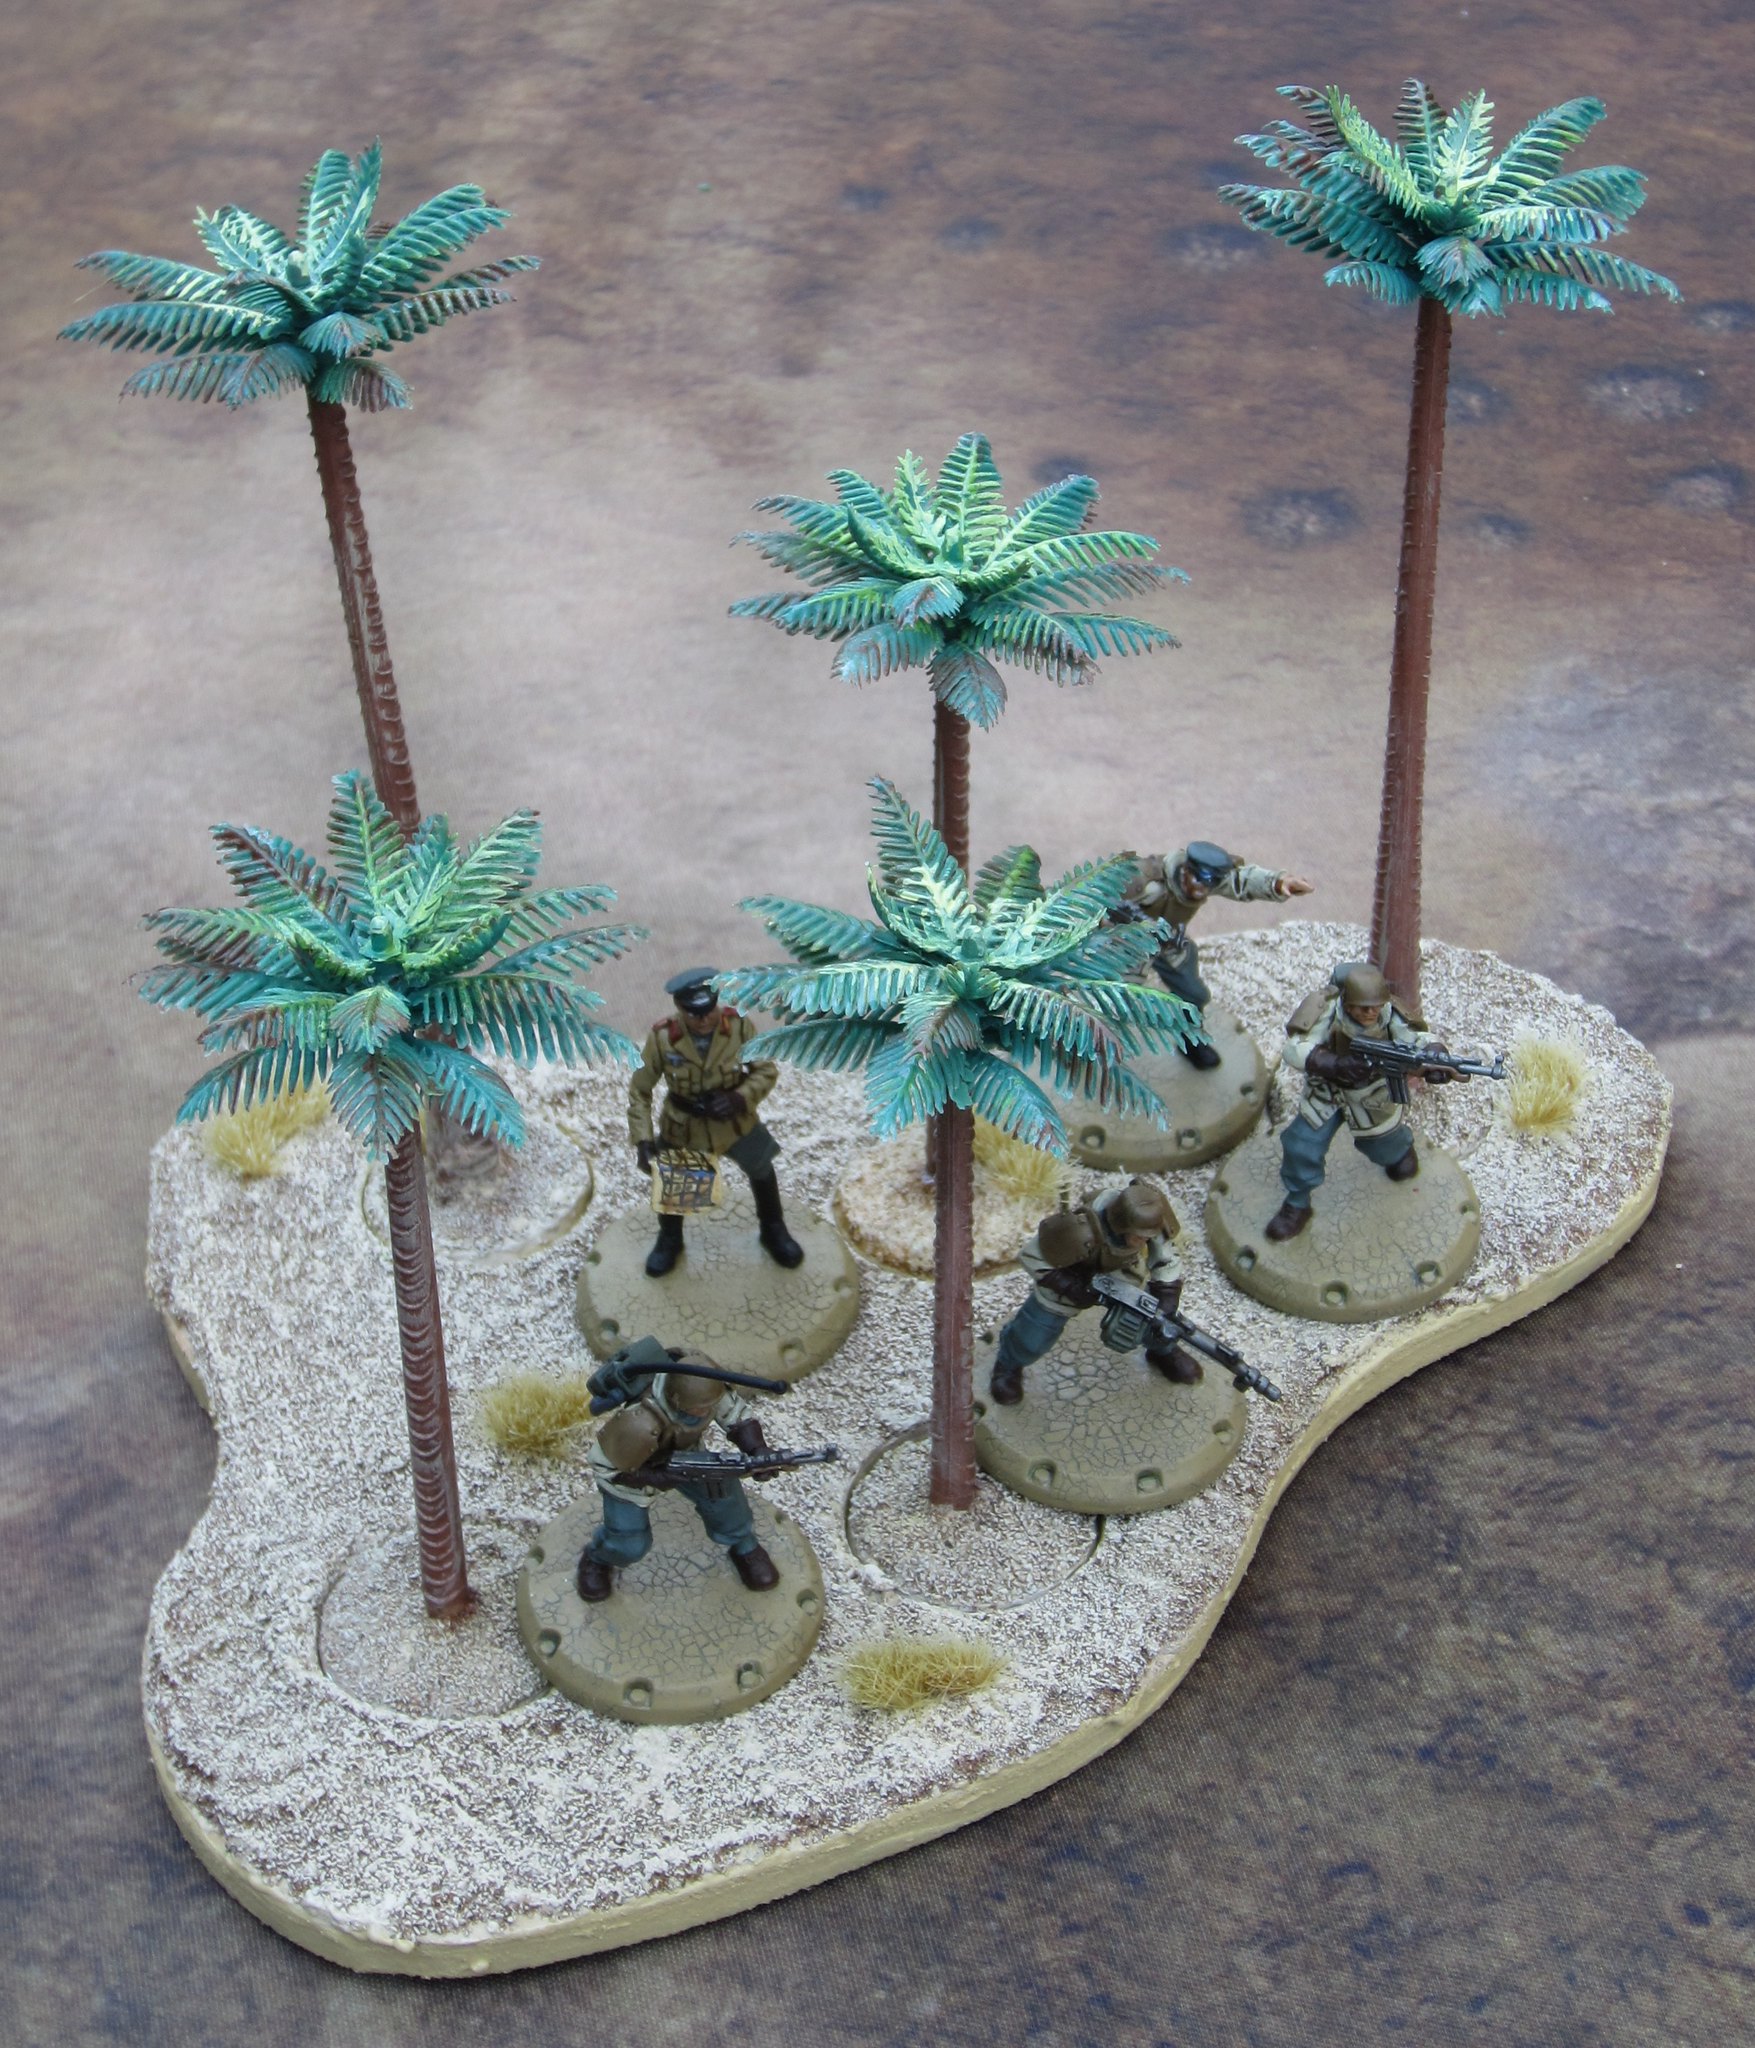
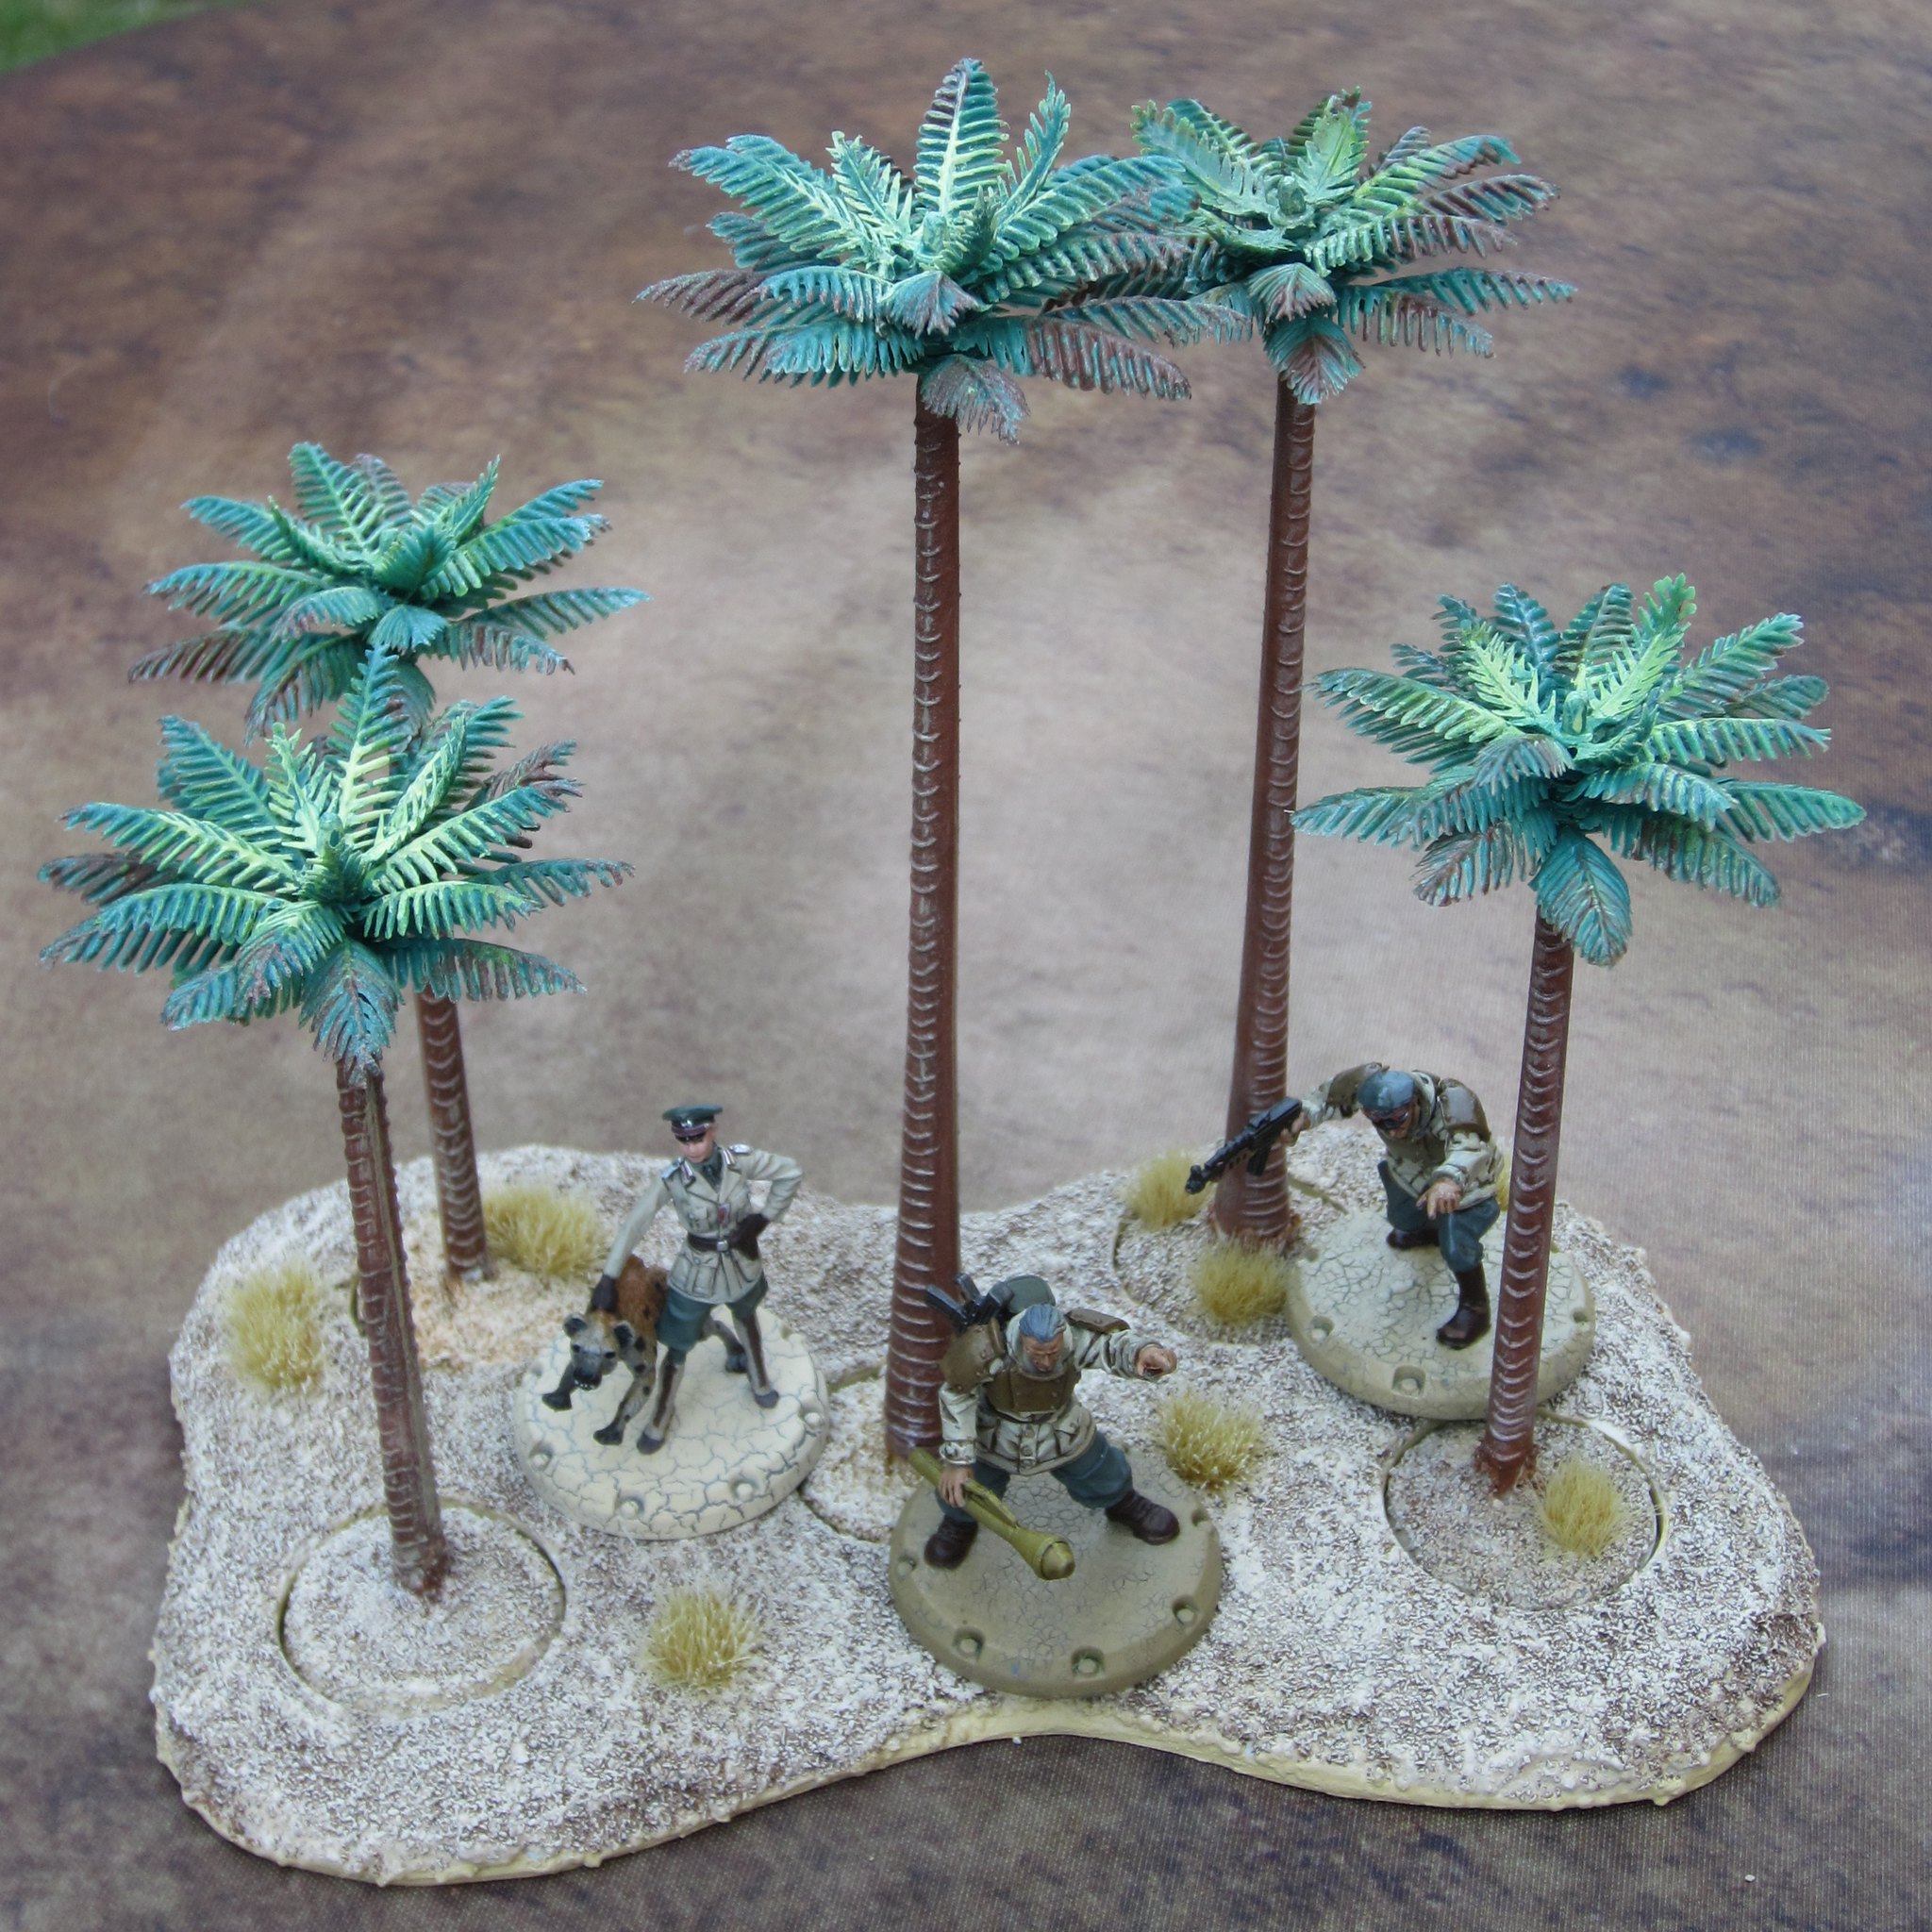
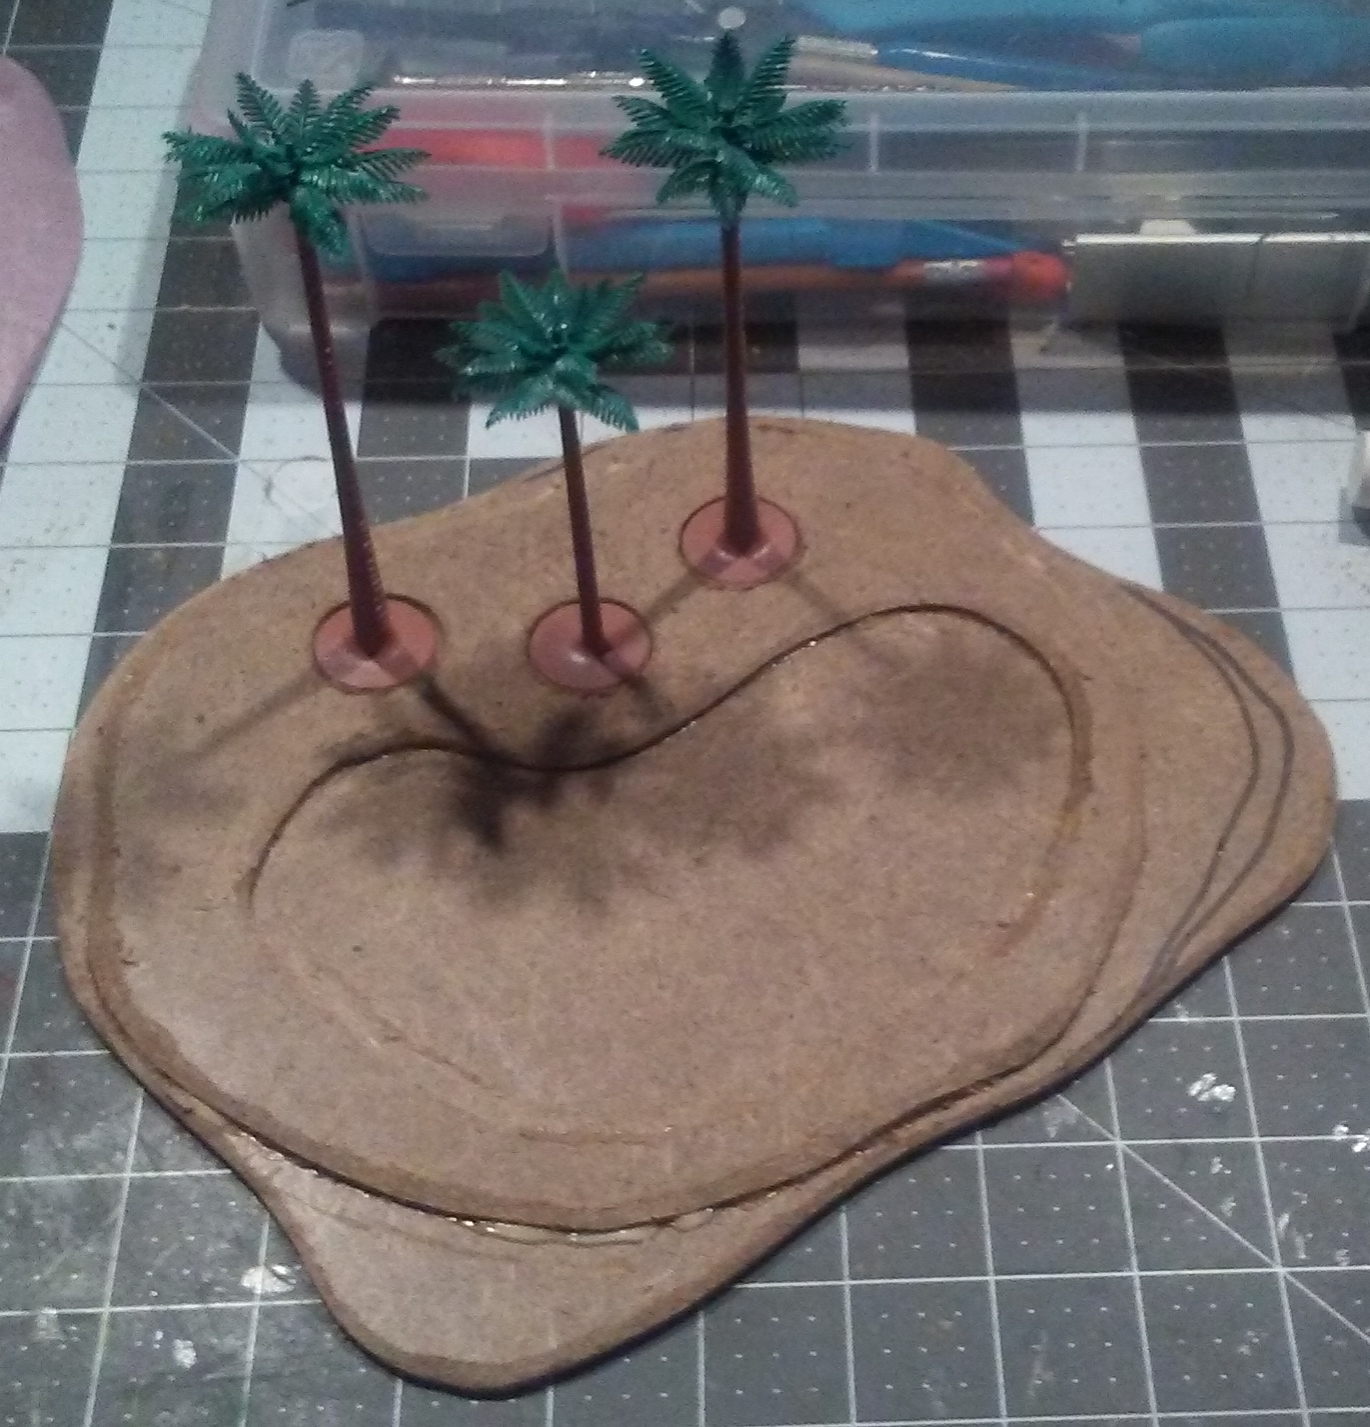
To start, I decided I needed an oasis and several stands of palm trees.

I began by cutting out the basic shapes, using MDF, craft plywood, and plasticard. Each shape consists of two layers (or more if I wanted it to have a bit of relief). I then cut, in the case of the oasis, or drilled, in the case of the holes for the trees, into the top layer of the material.

Once that was done, I glued the layers together, clamped them, and allowed them to dry completely. On the oasis piece, I used filler to smooth out some of the edges, and to seal the area where I would pour the water.

Stand of palm trees

Oasis

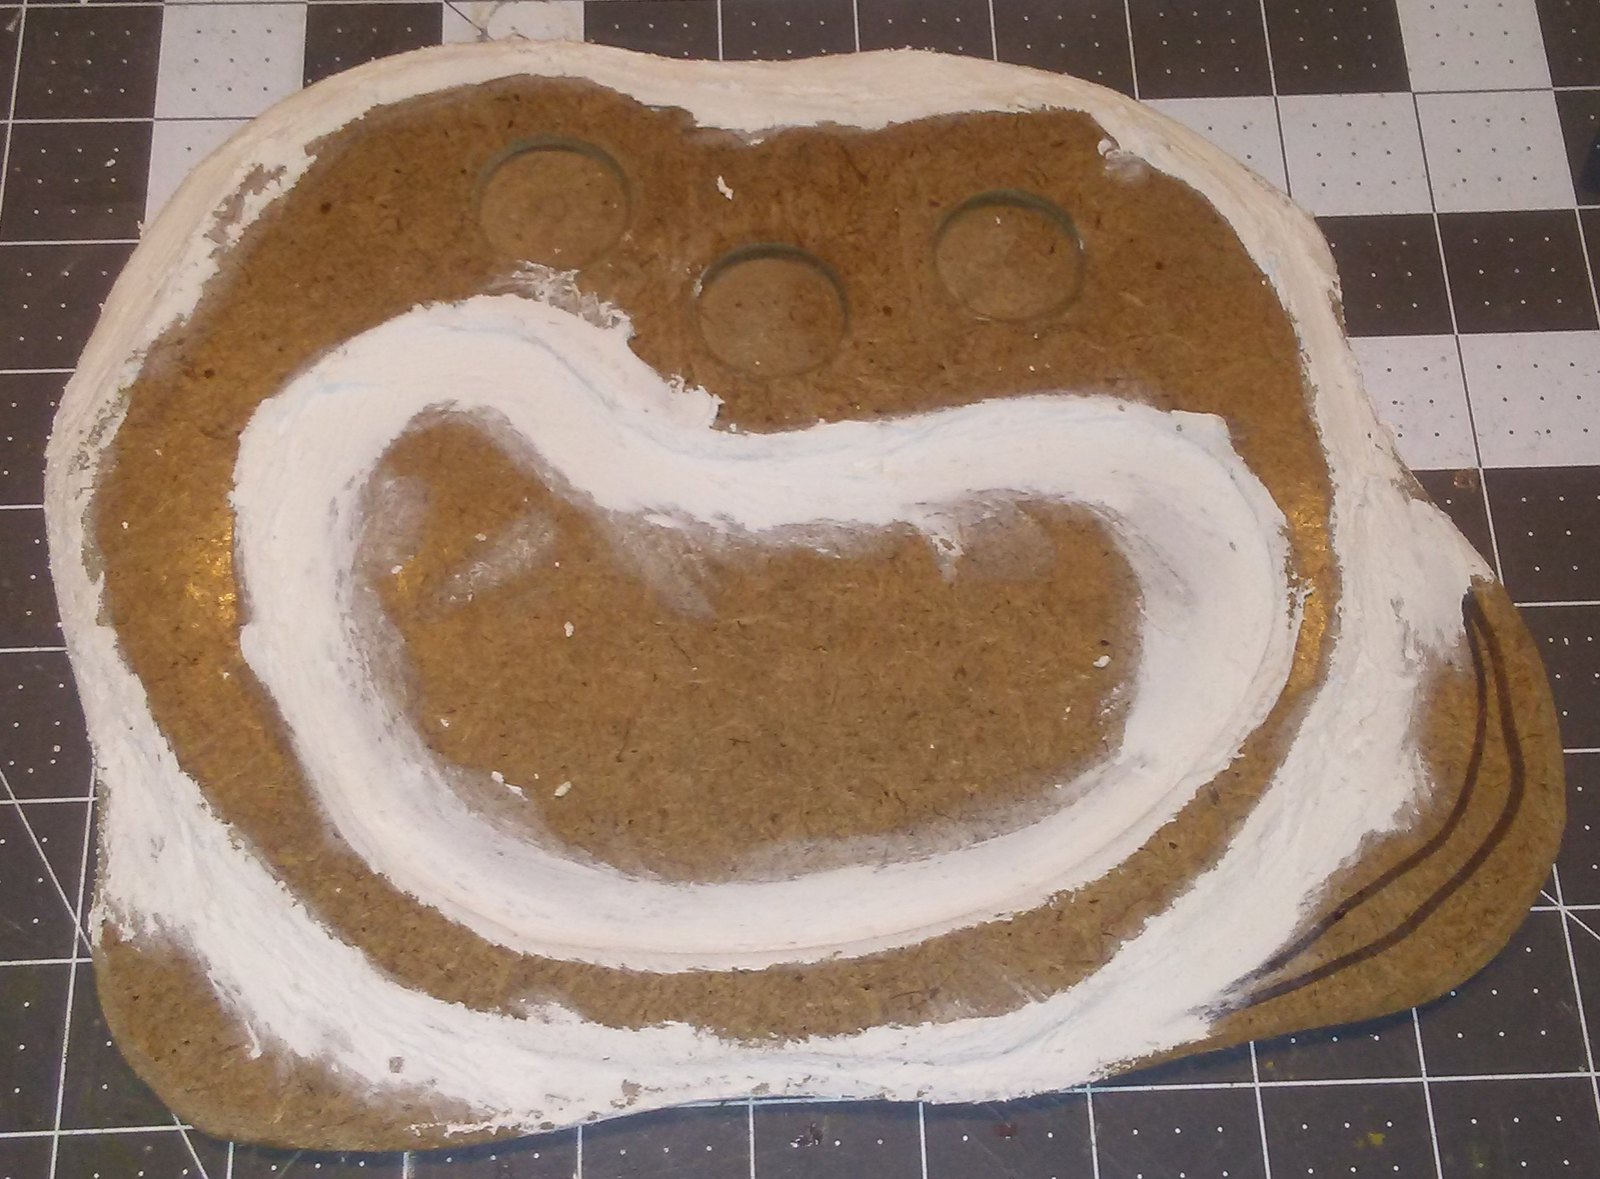
After adding filler to smooth edges and seal oasis

I mixed up a batch of textured filler to spread over the terrain. I used a wood filler (but sometimes I use regular filler or spackle), added a dollop of craft paint, and cheap sand I bought at the dollar store. I mix thoroughly, then start applying it to the base. Once the bottom layer is on, I sprinkle a finer sand over the top, dab Woodland Scenics Scenic Cement on it and let it dry completely.

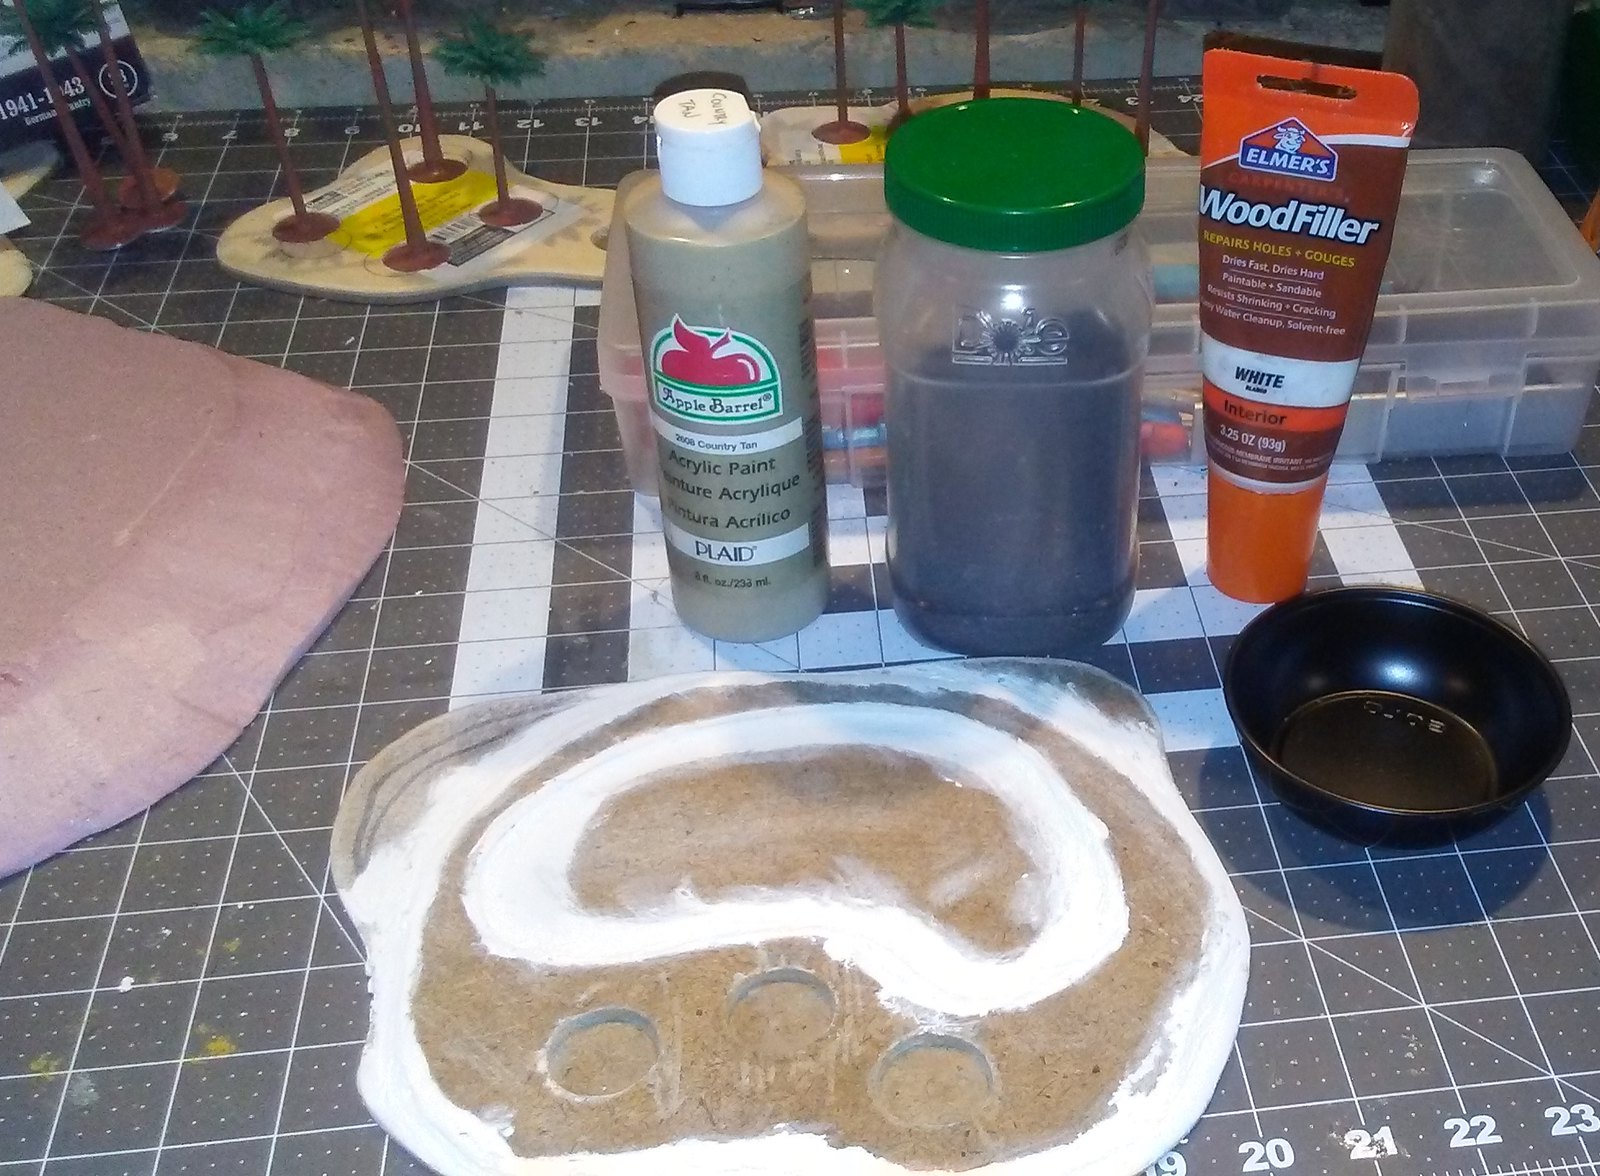
Paint, sand and filler used to make terrain texture

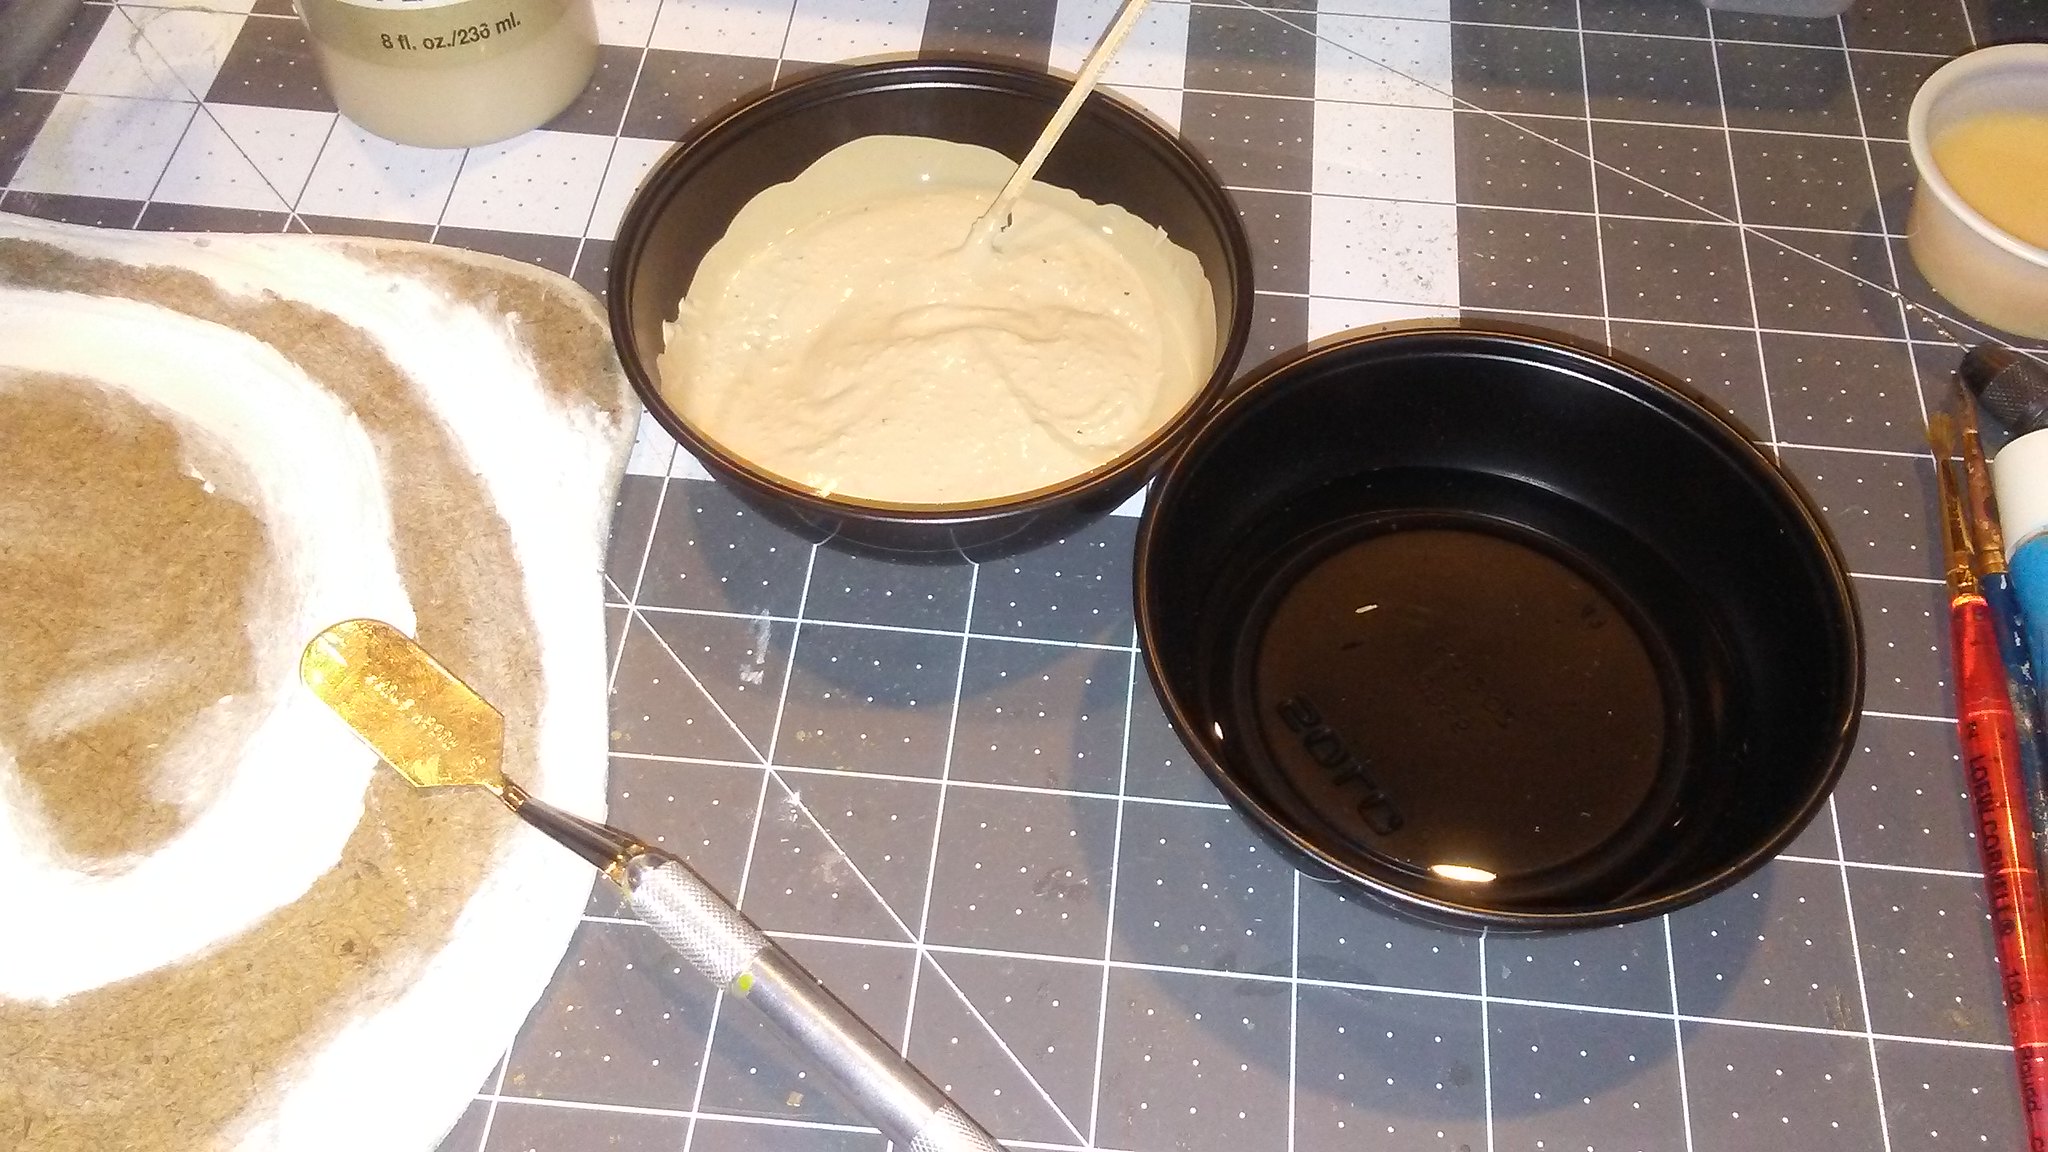
Batch of texture ready to apply with spatula

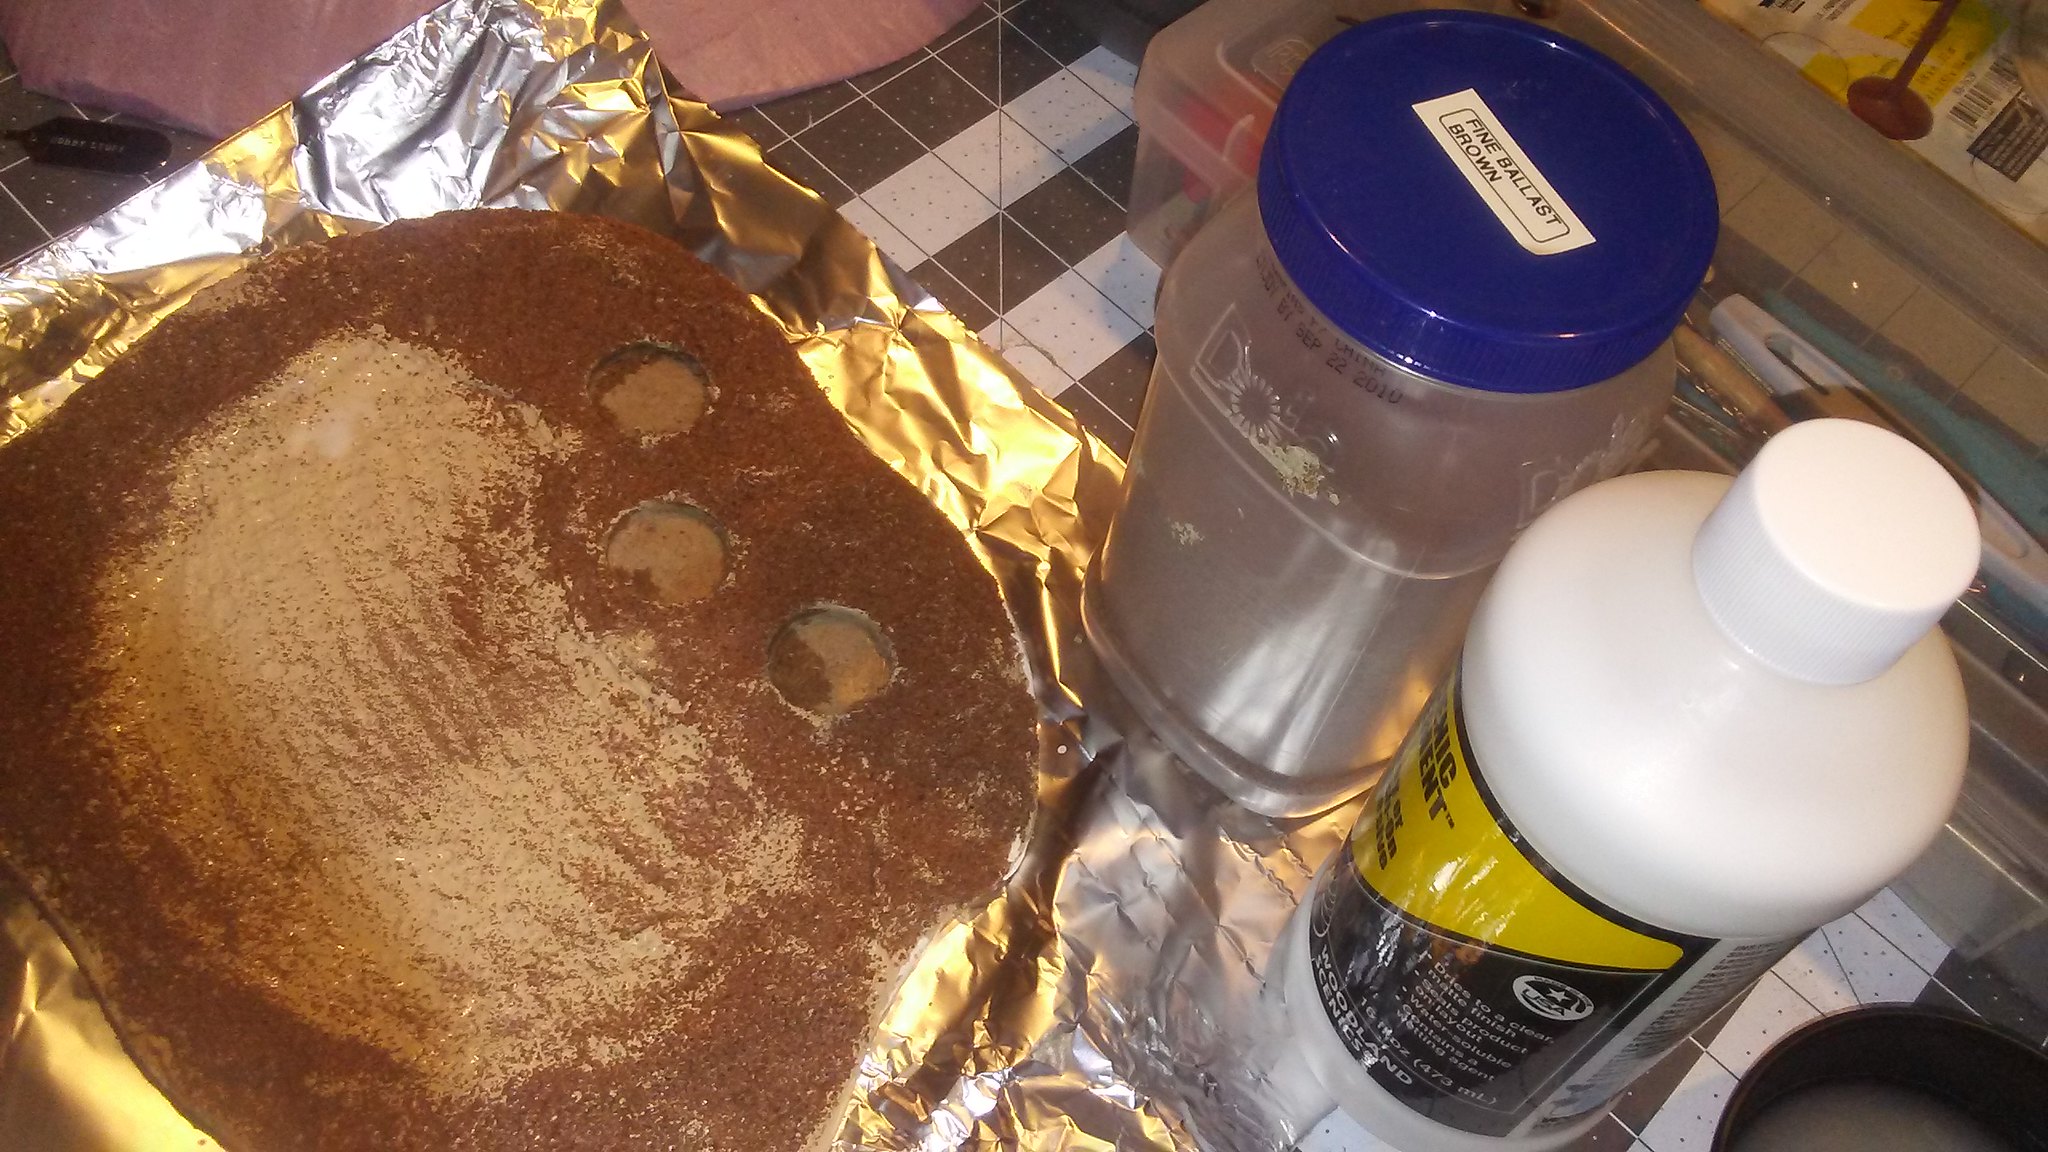
Fine sand sprinkled over coarse texture

Then the painting - successive drybrushes of craft paint leading to a very light sand color.

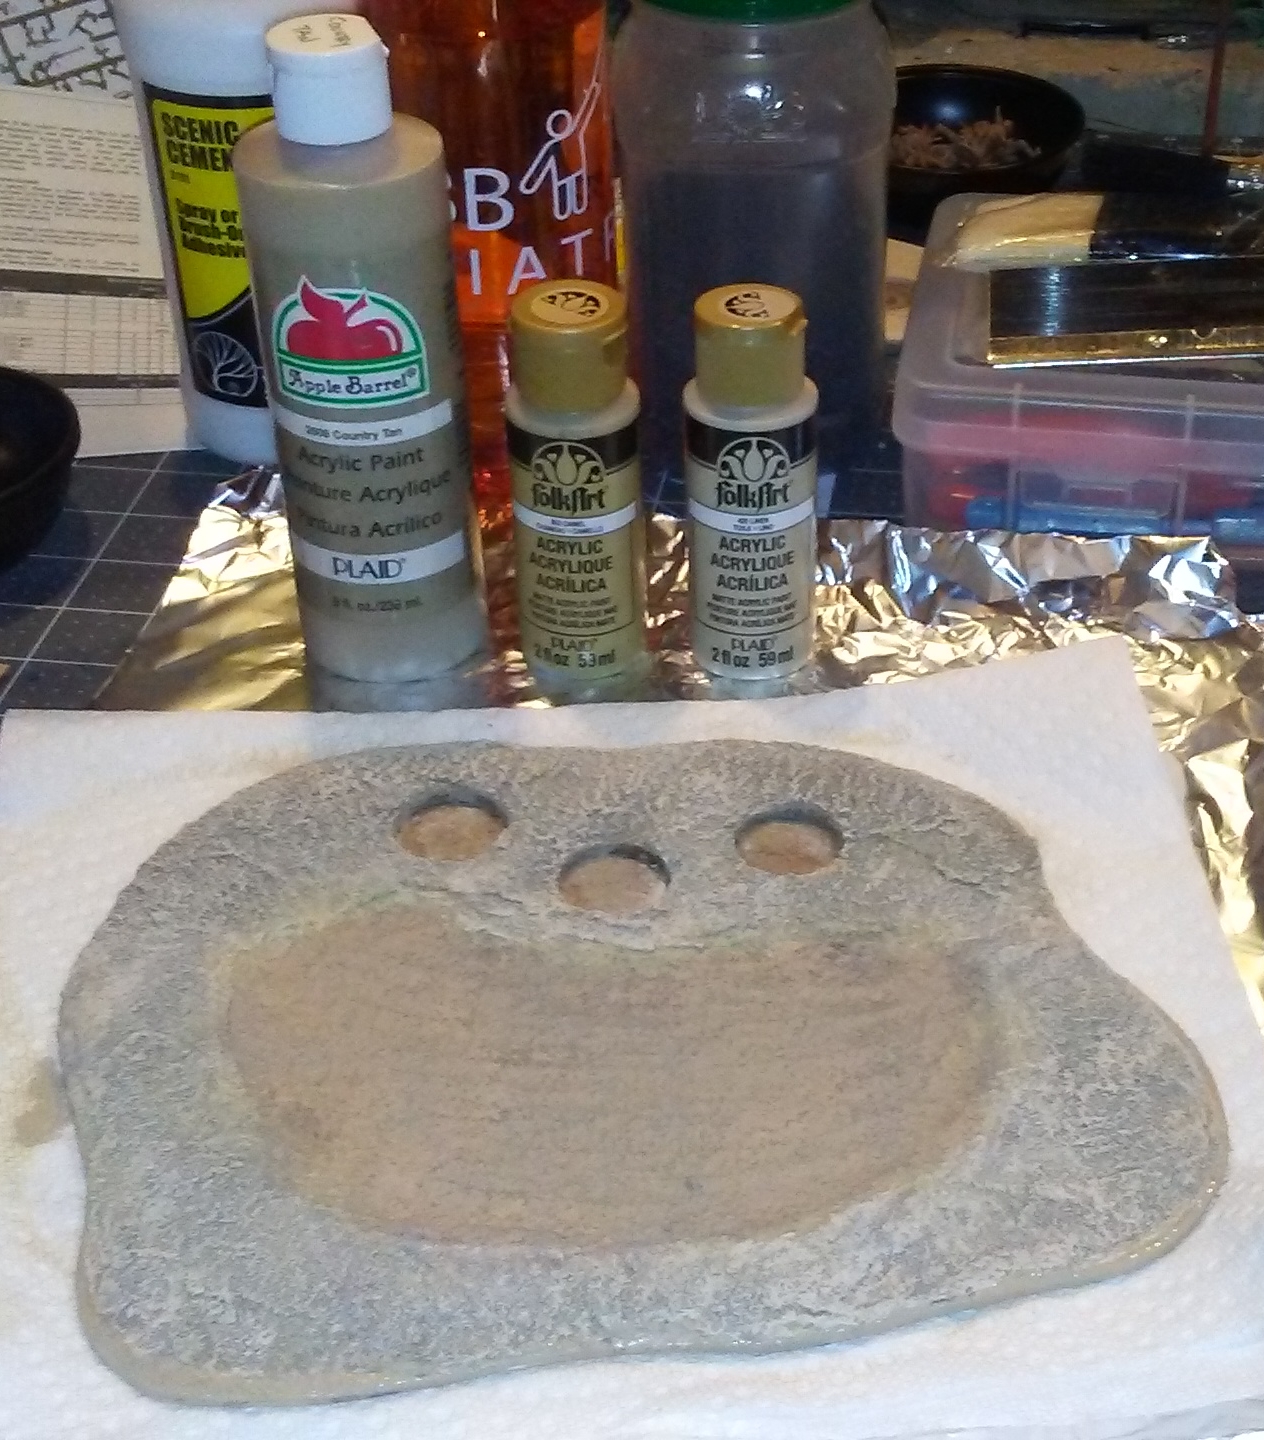
Craft paints used to drybrush texture

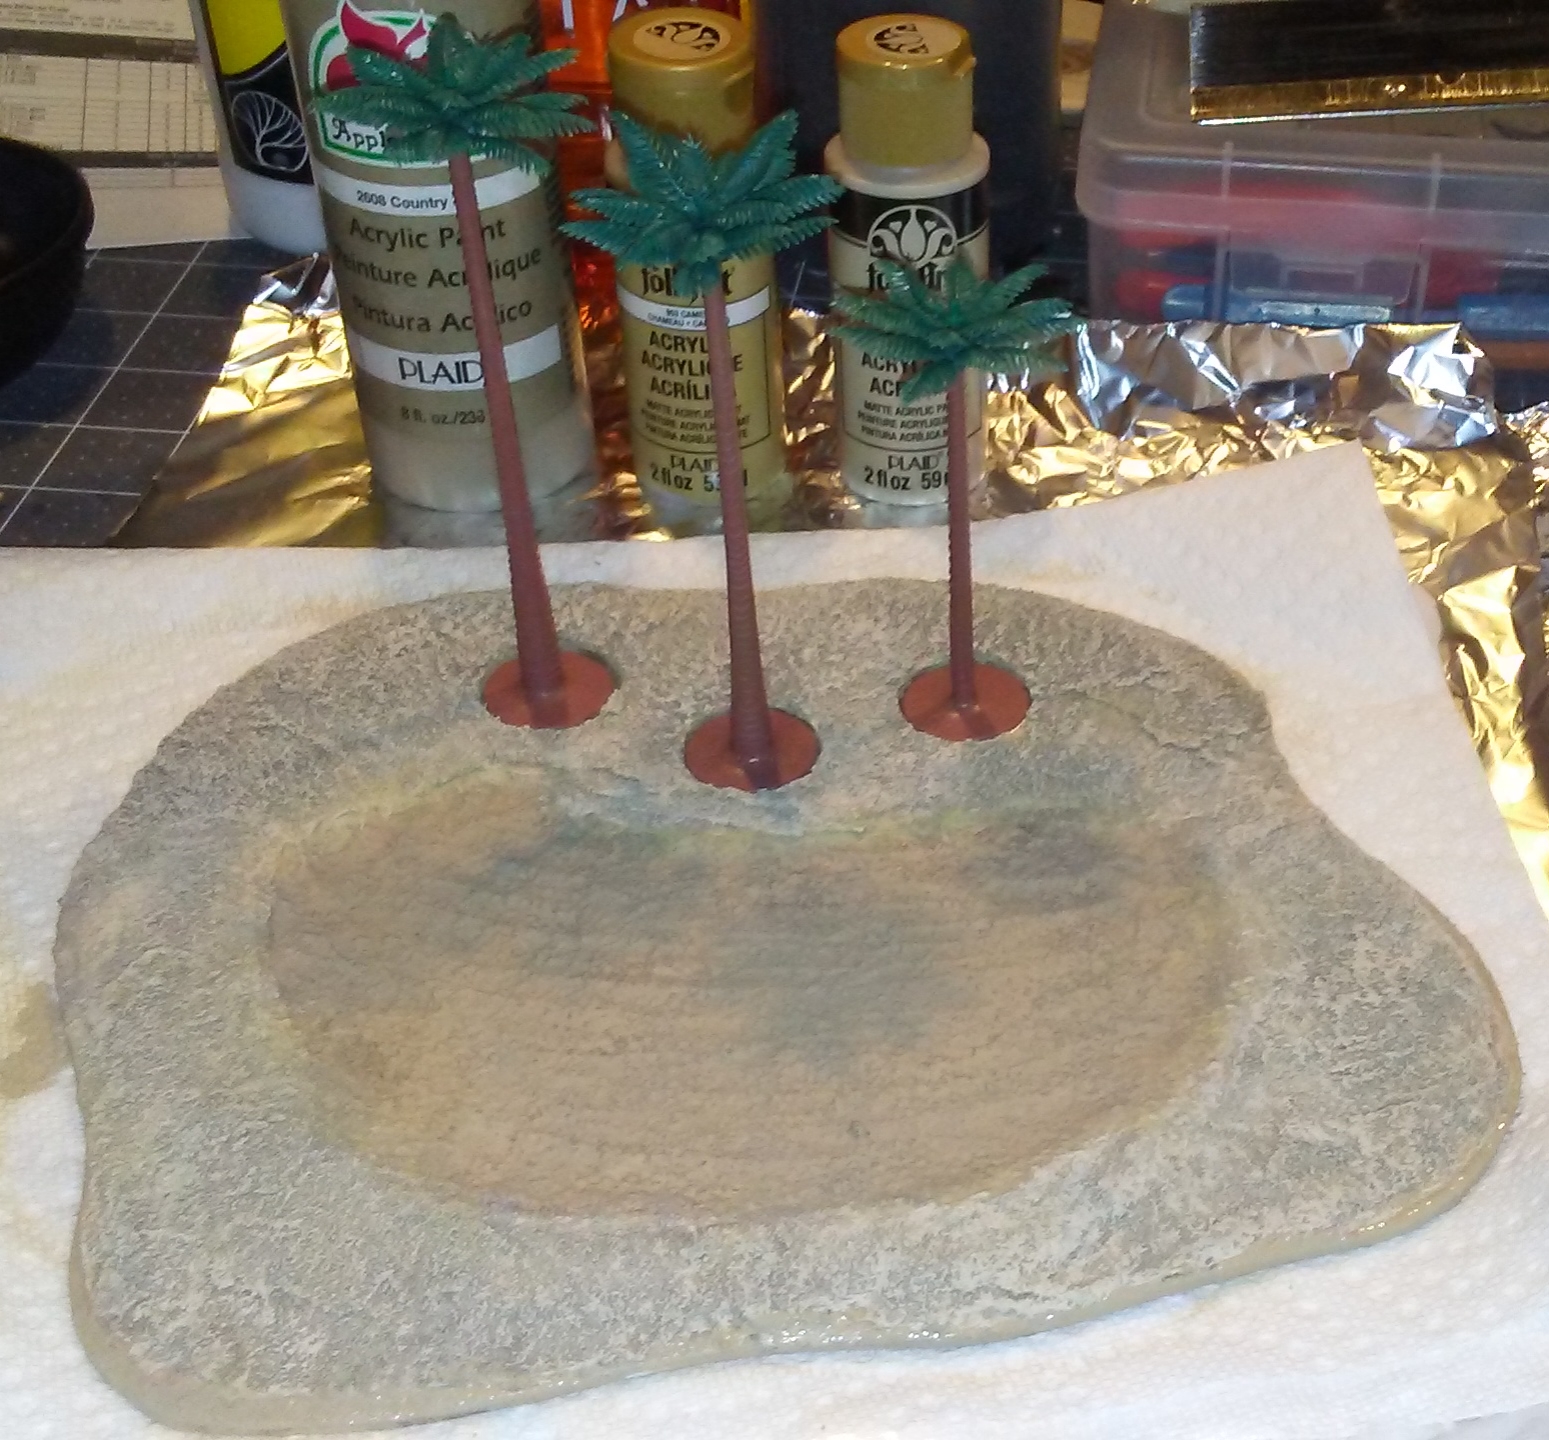
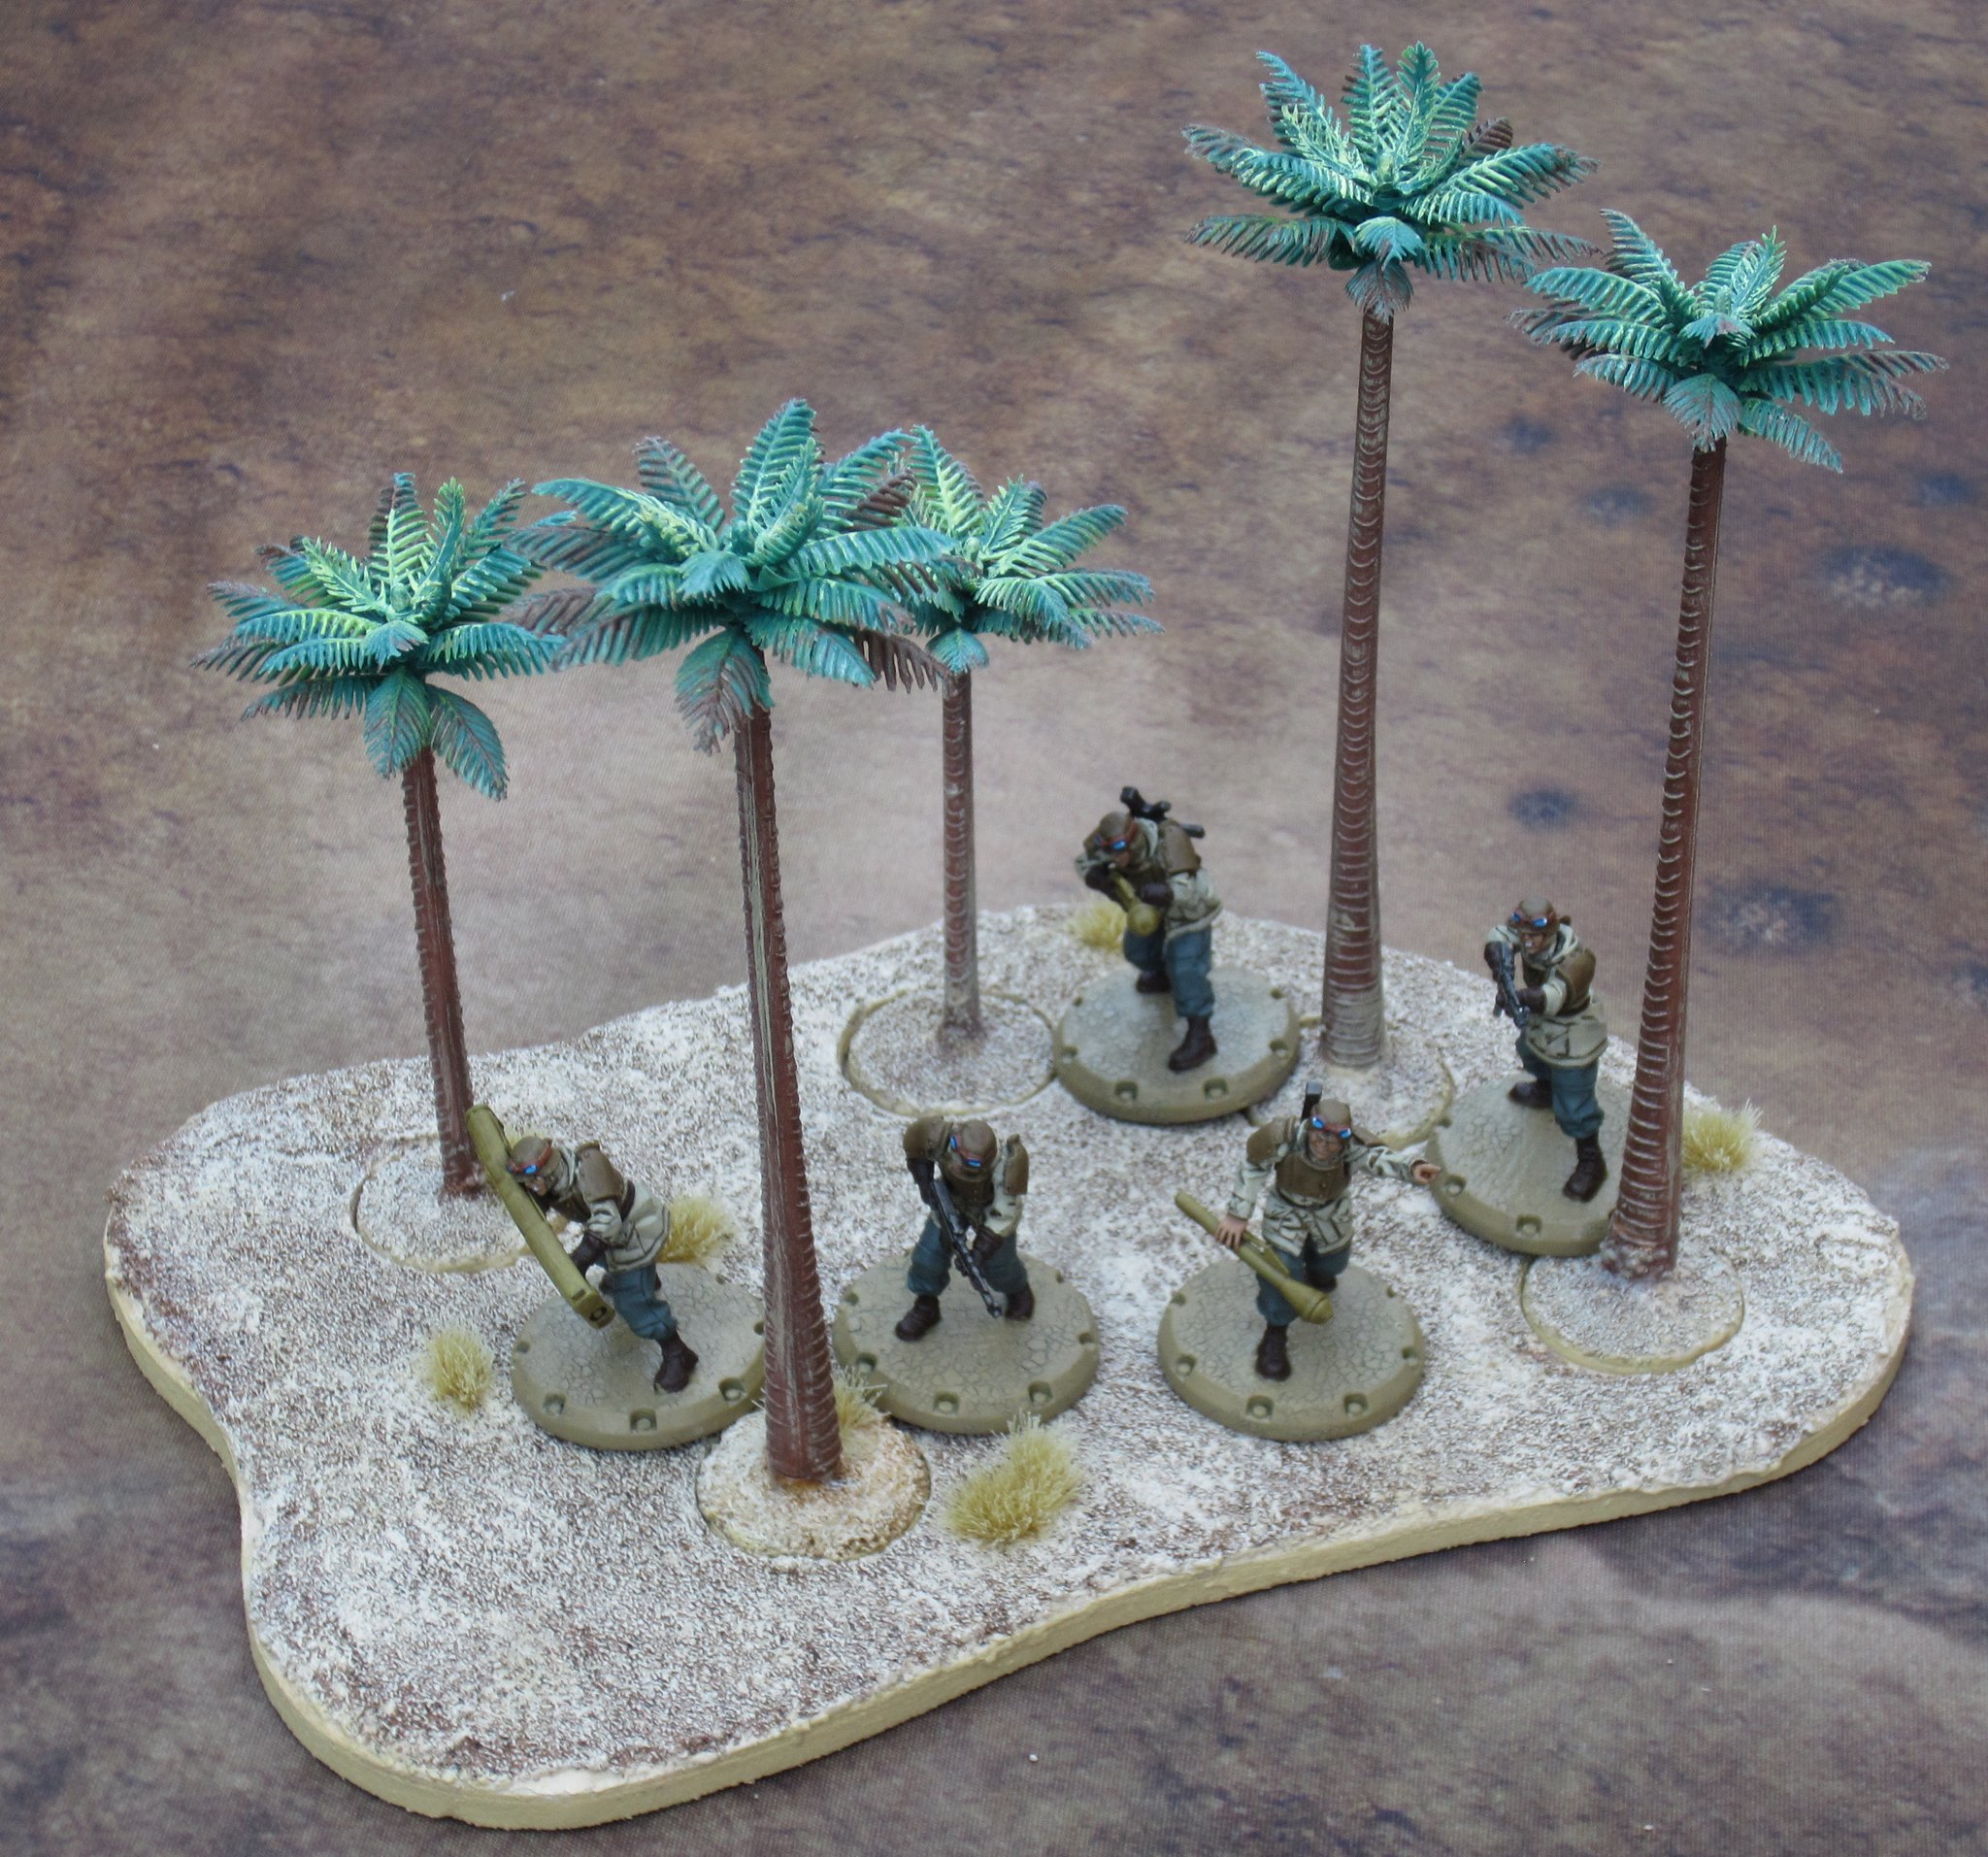
Looking good so far, once trees are placed
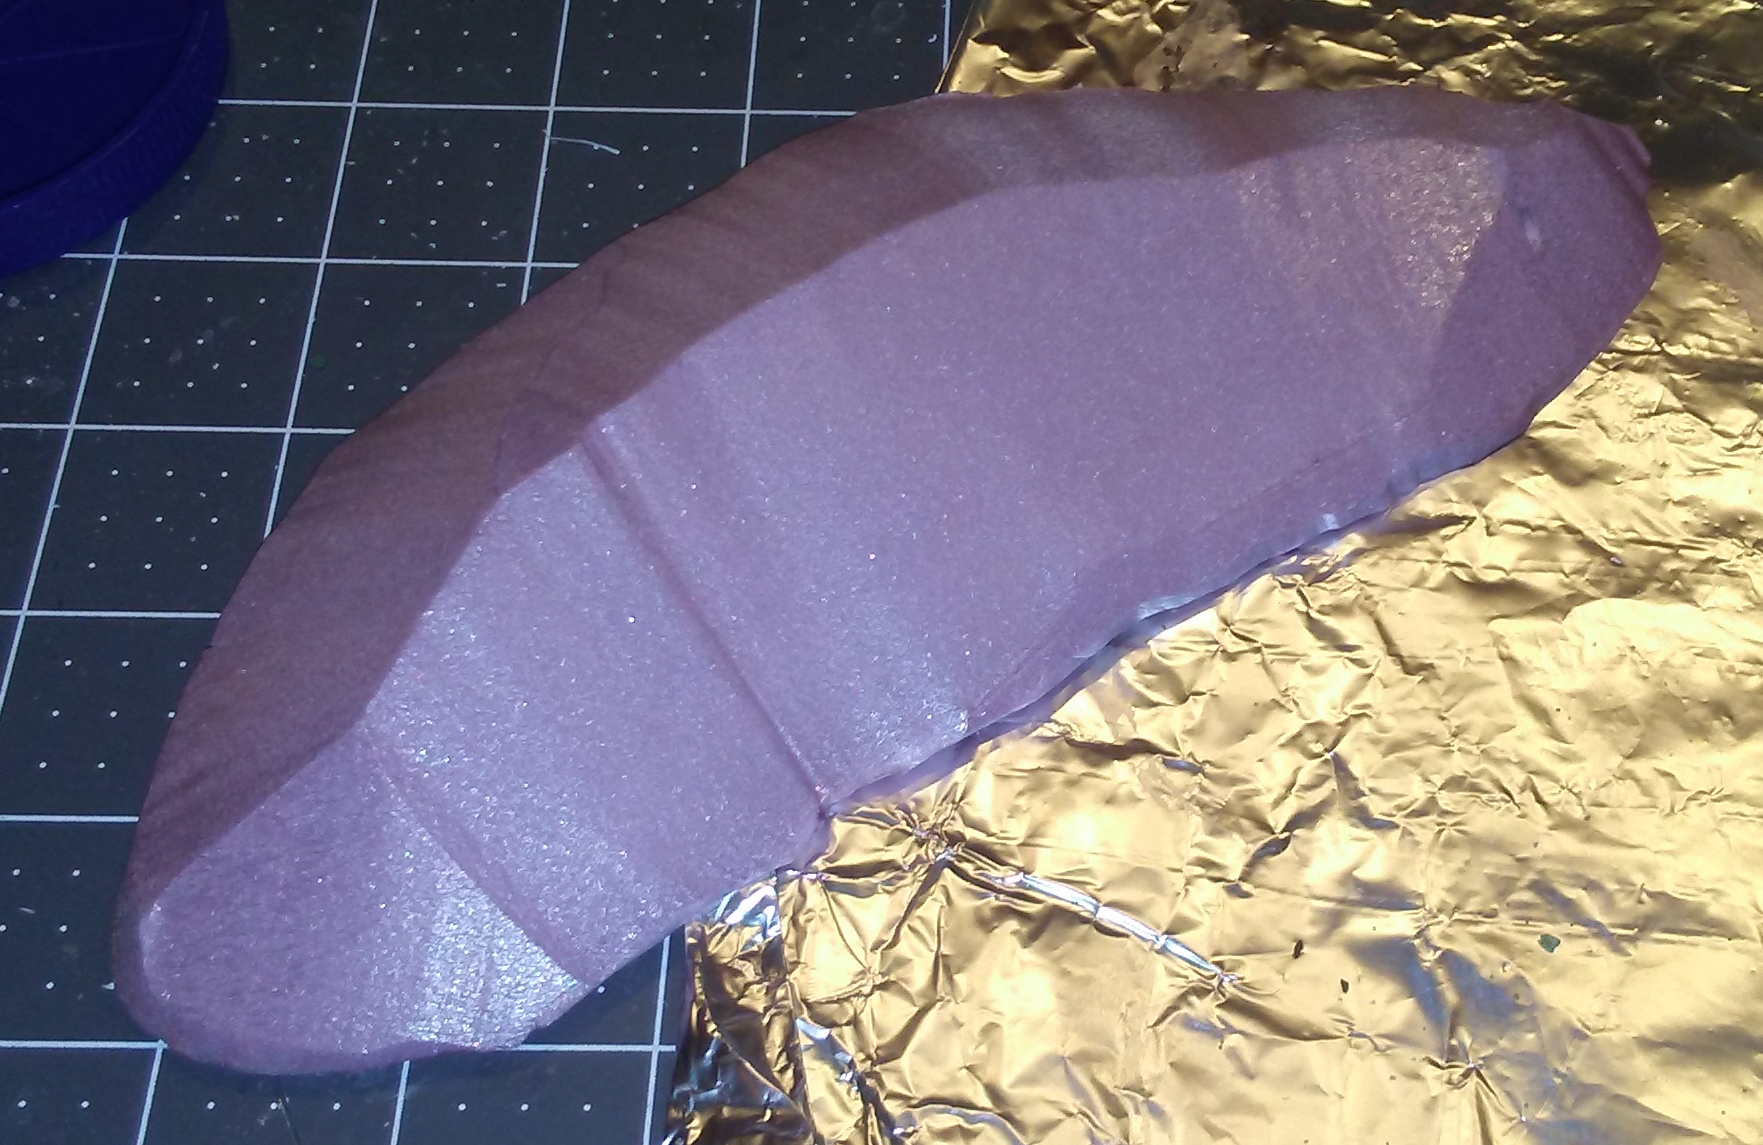
The oasis itself was made using Woodland Scenics' Realistic Water. I poured it as instructed, to a depth of about 1/8 inch, and allowed it to dry for two days until the cloudiness was gone and the water was clear.

Realistic water, still a little cloudy

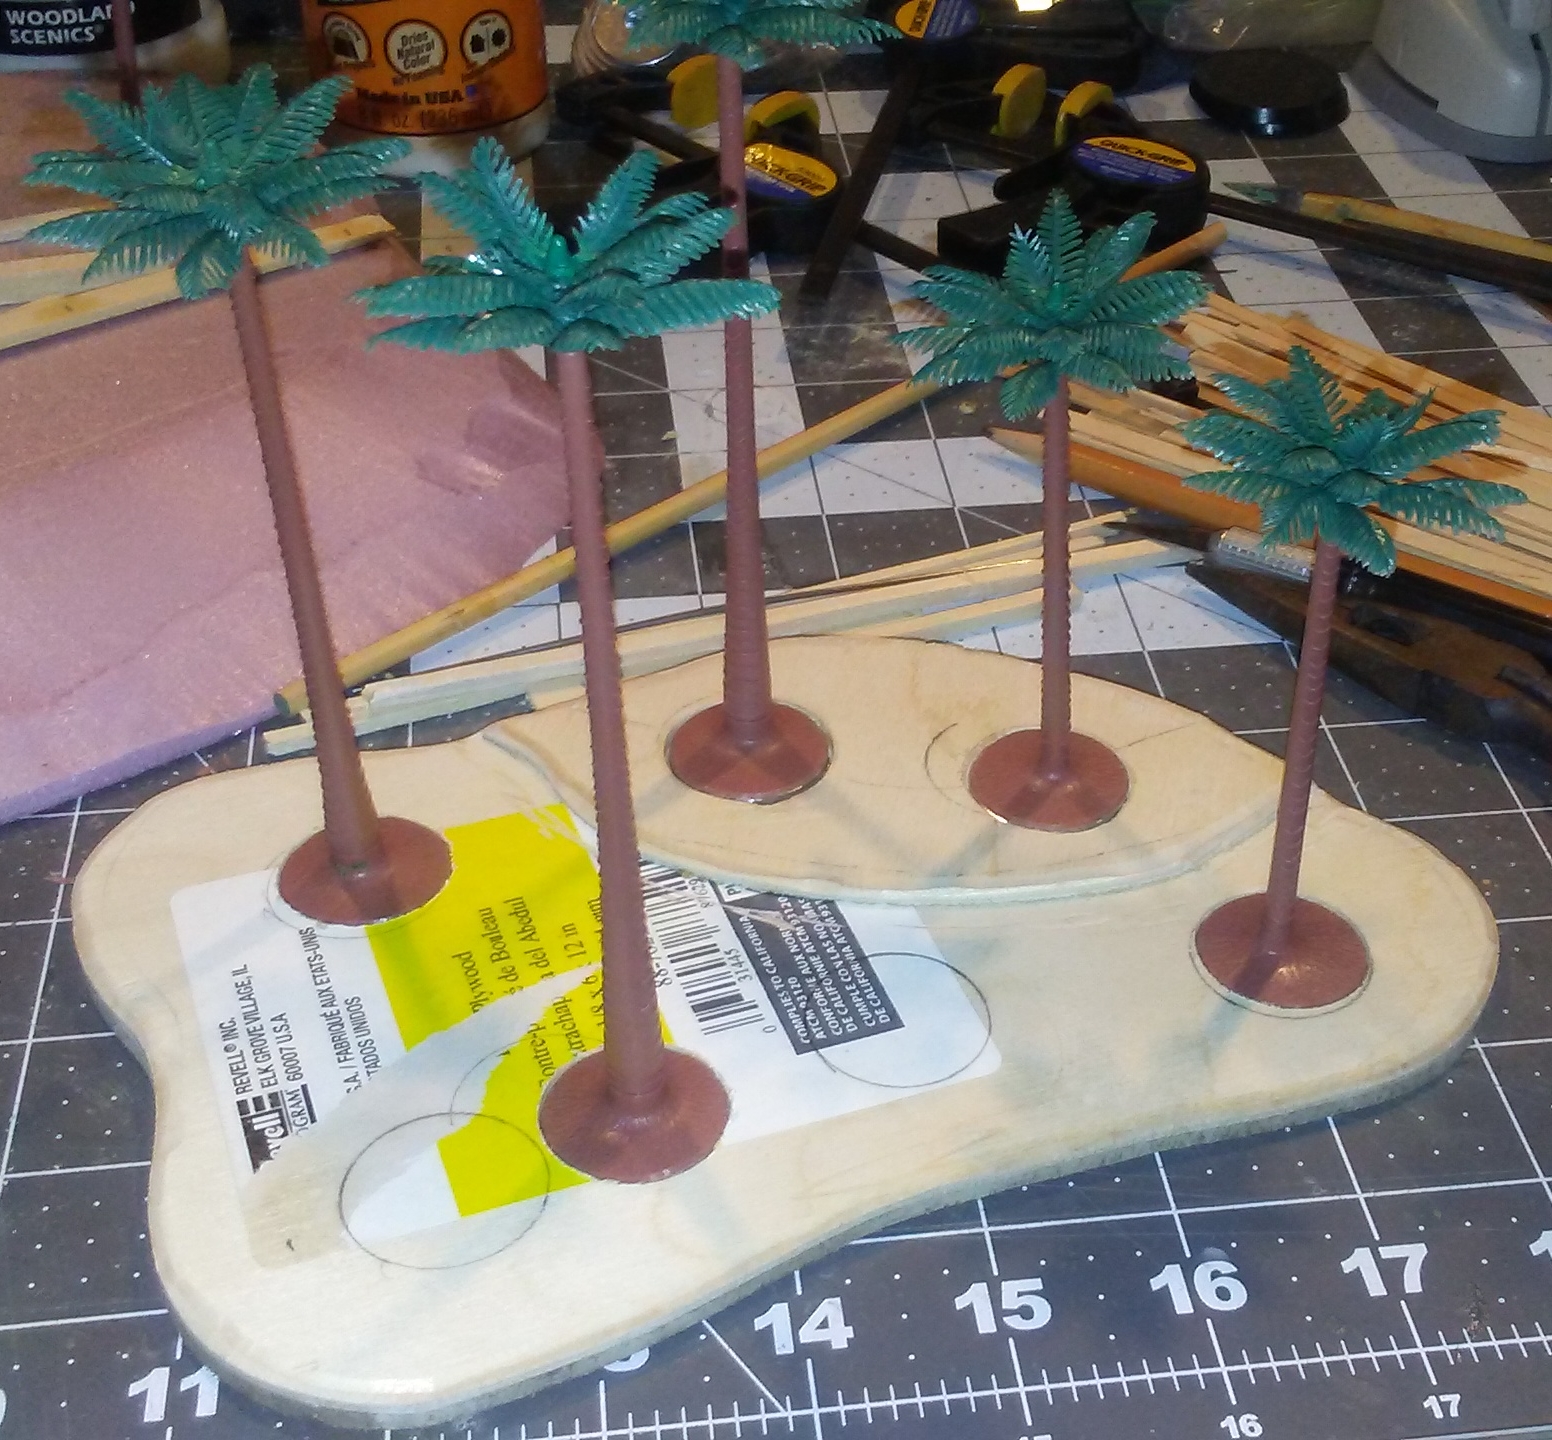
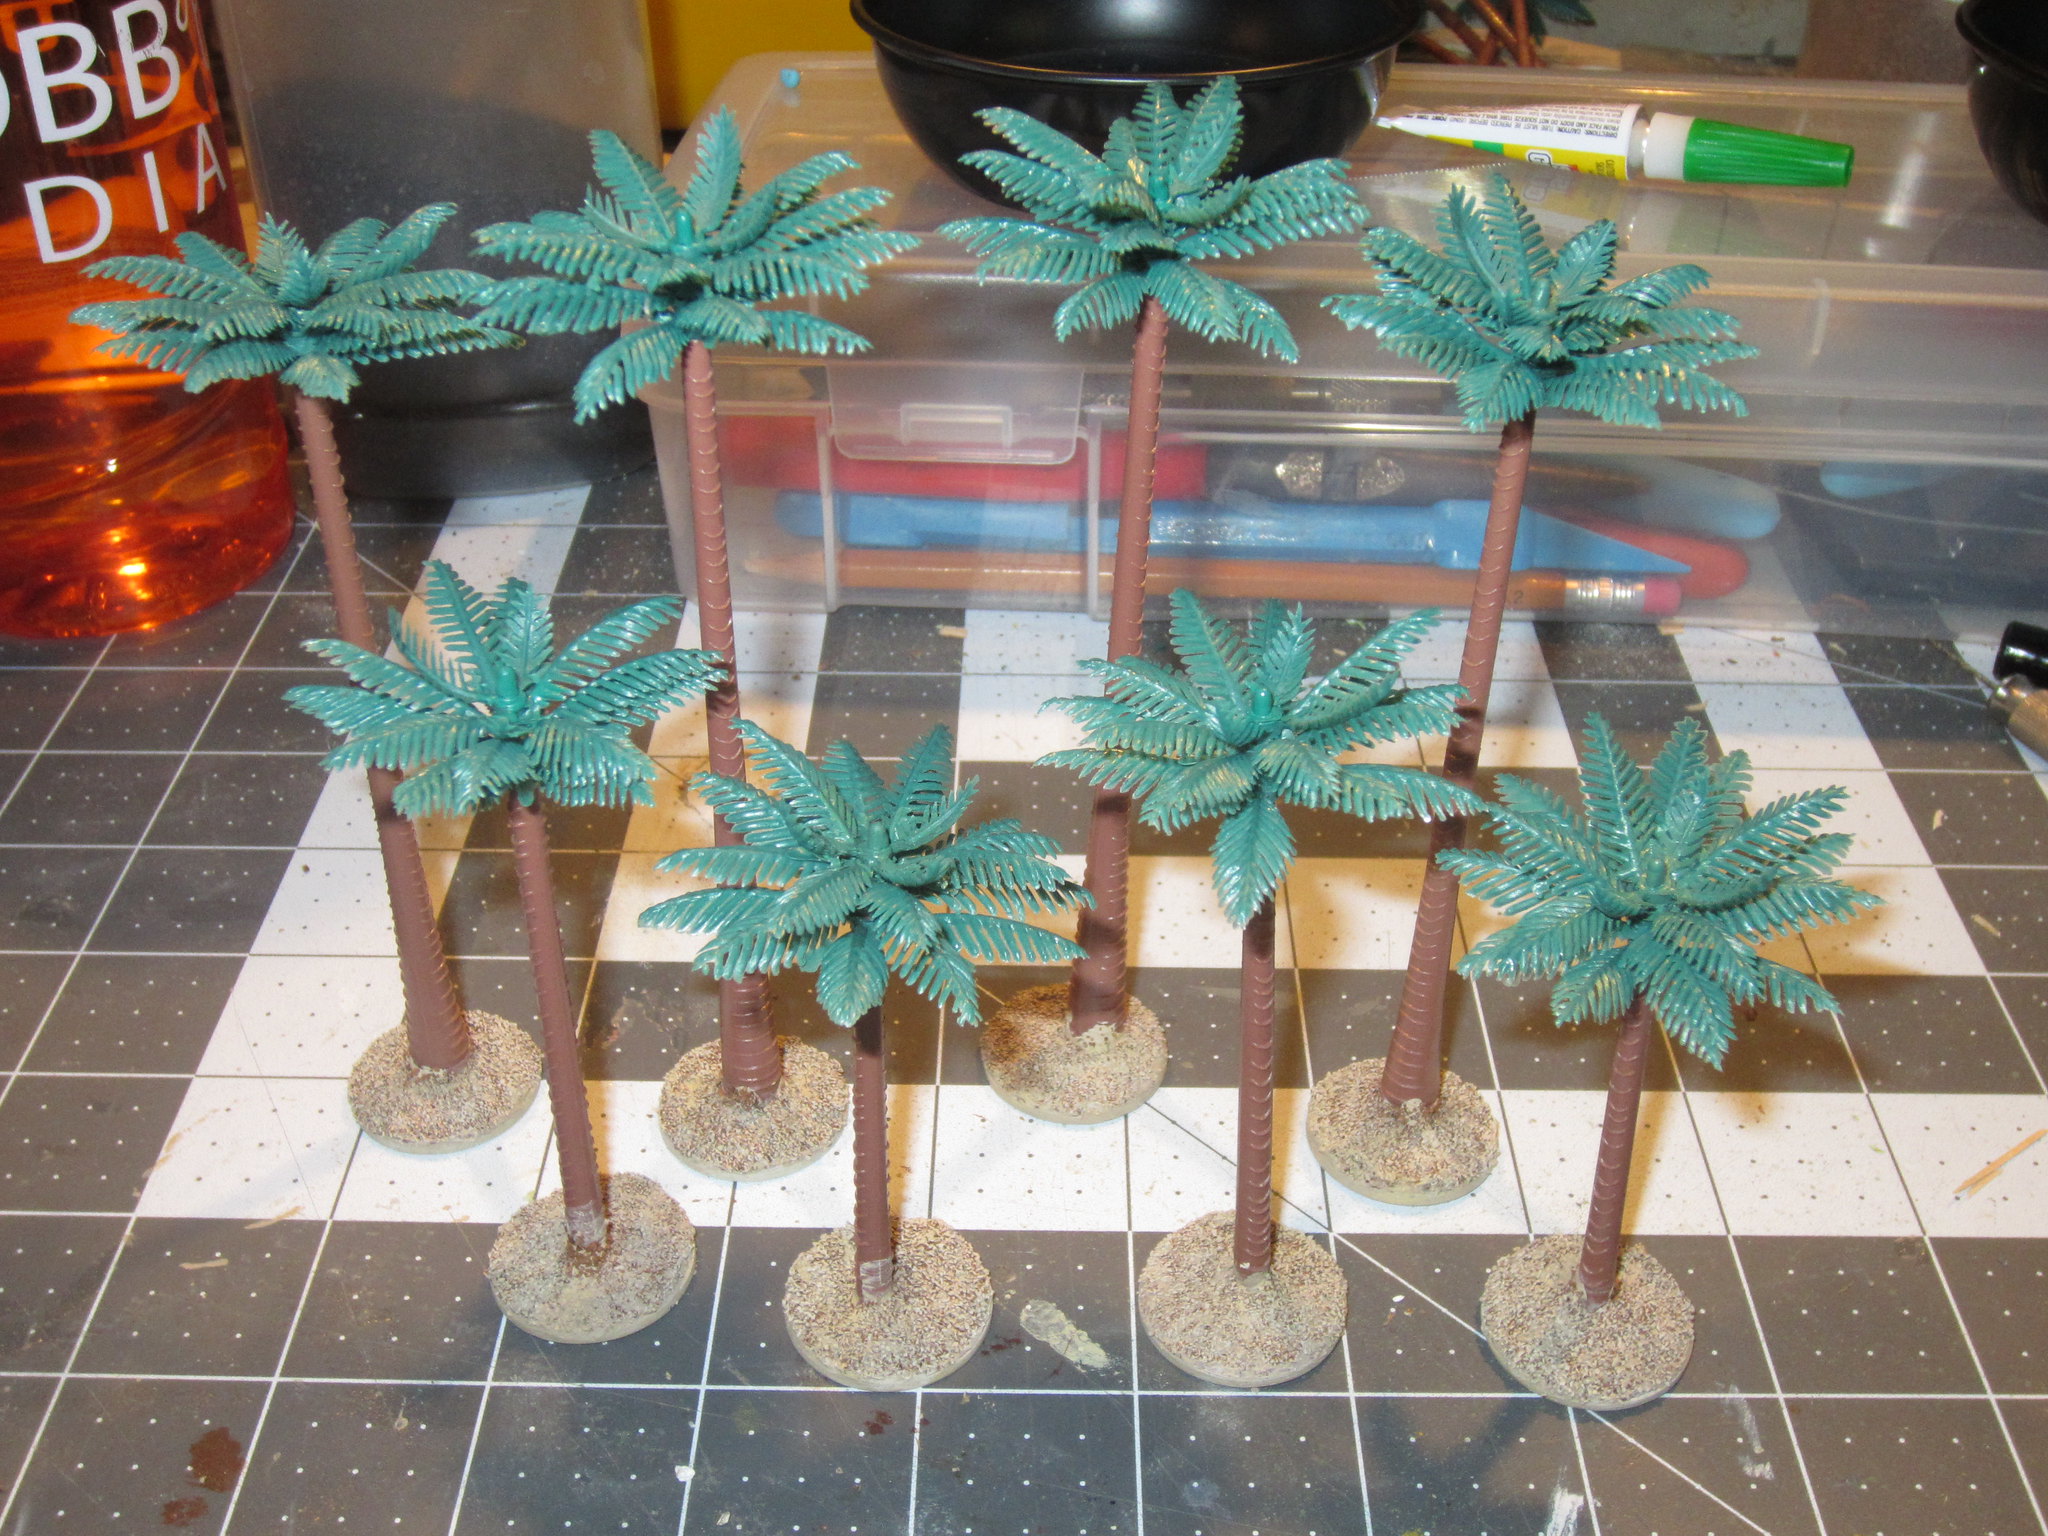
For the trees, I bought inexpensive plastic palm trees in a pack of six from Woodland Scenics. Using the 40% off coupon at Hobby Lobby makes them even more affordable. They also sell pre-painted trees, in a pack of five. But these are much more expensive, in my opinion, and a quick dab with some paint will make the cheaper trees look just as good.

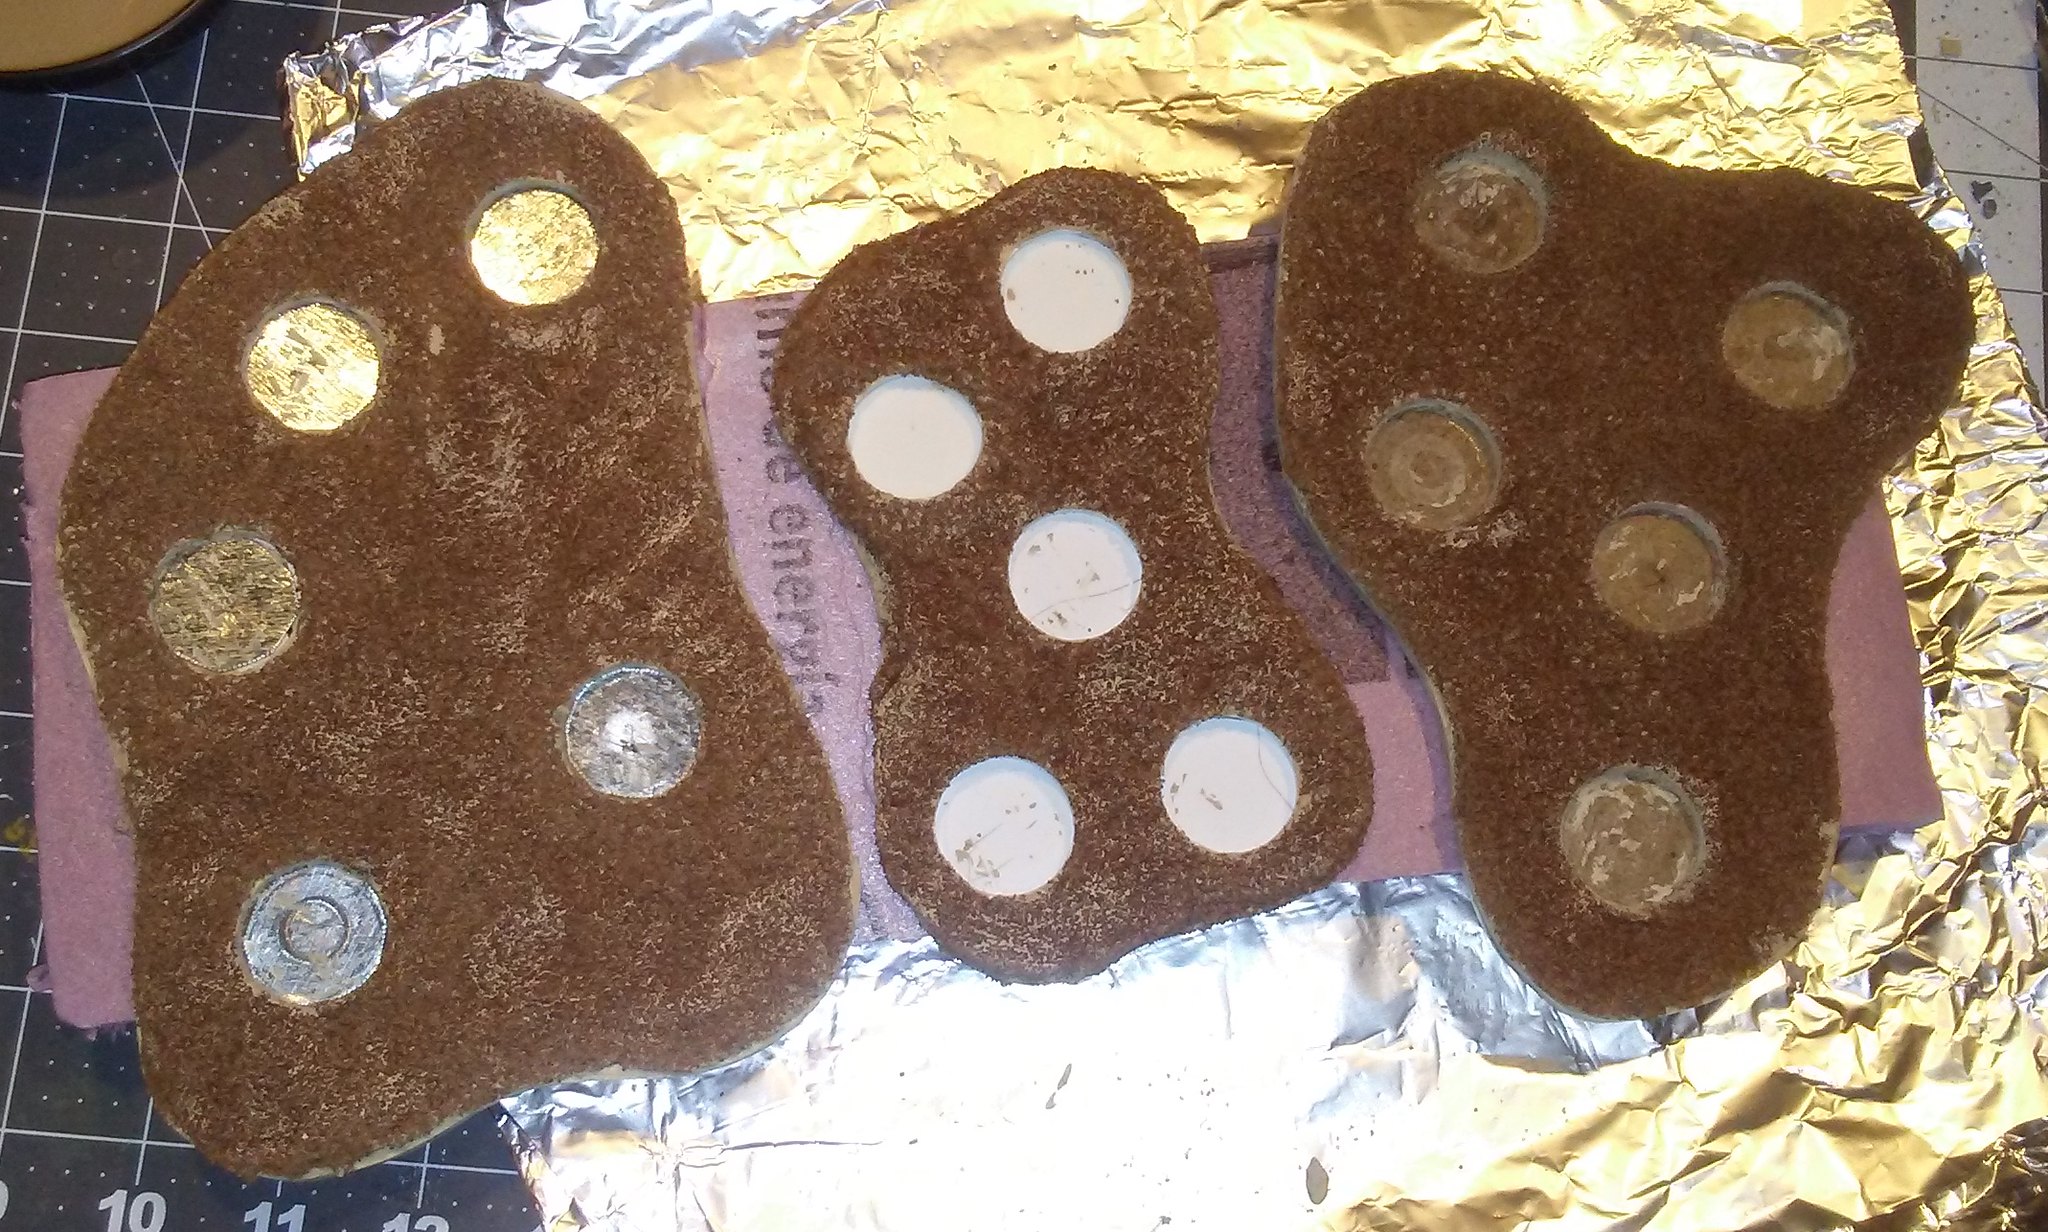
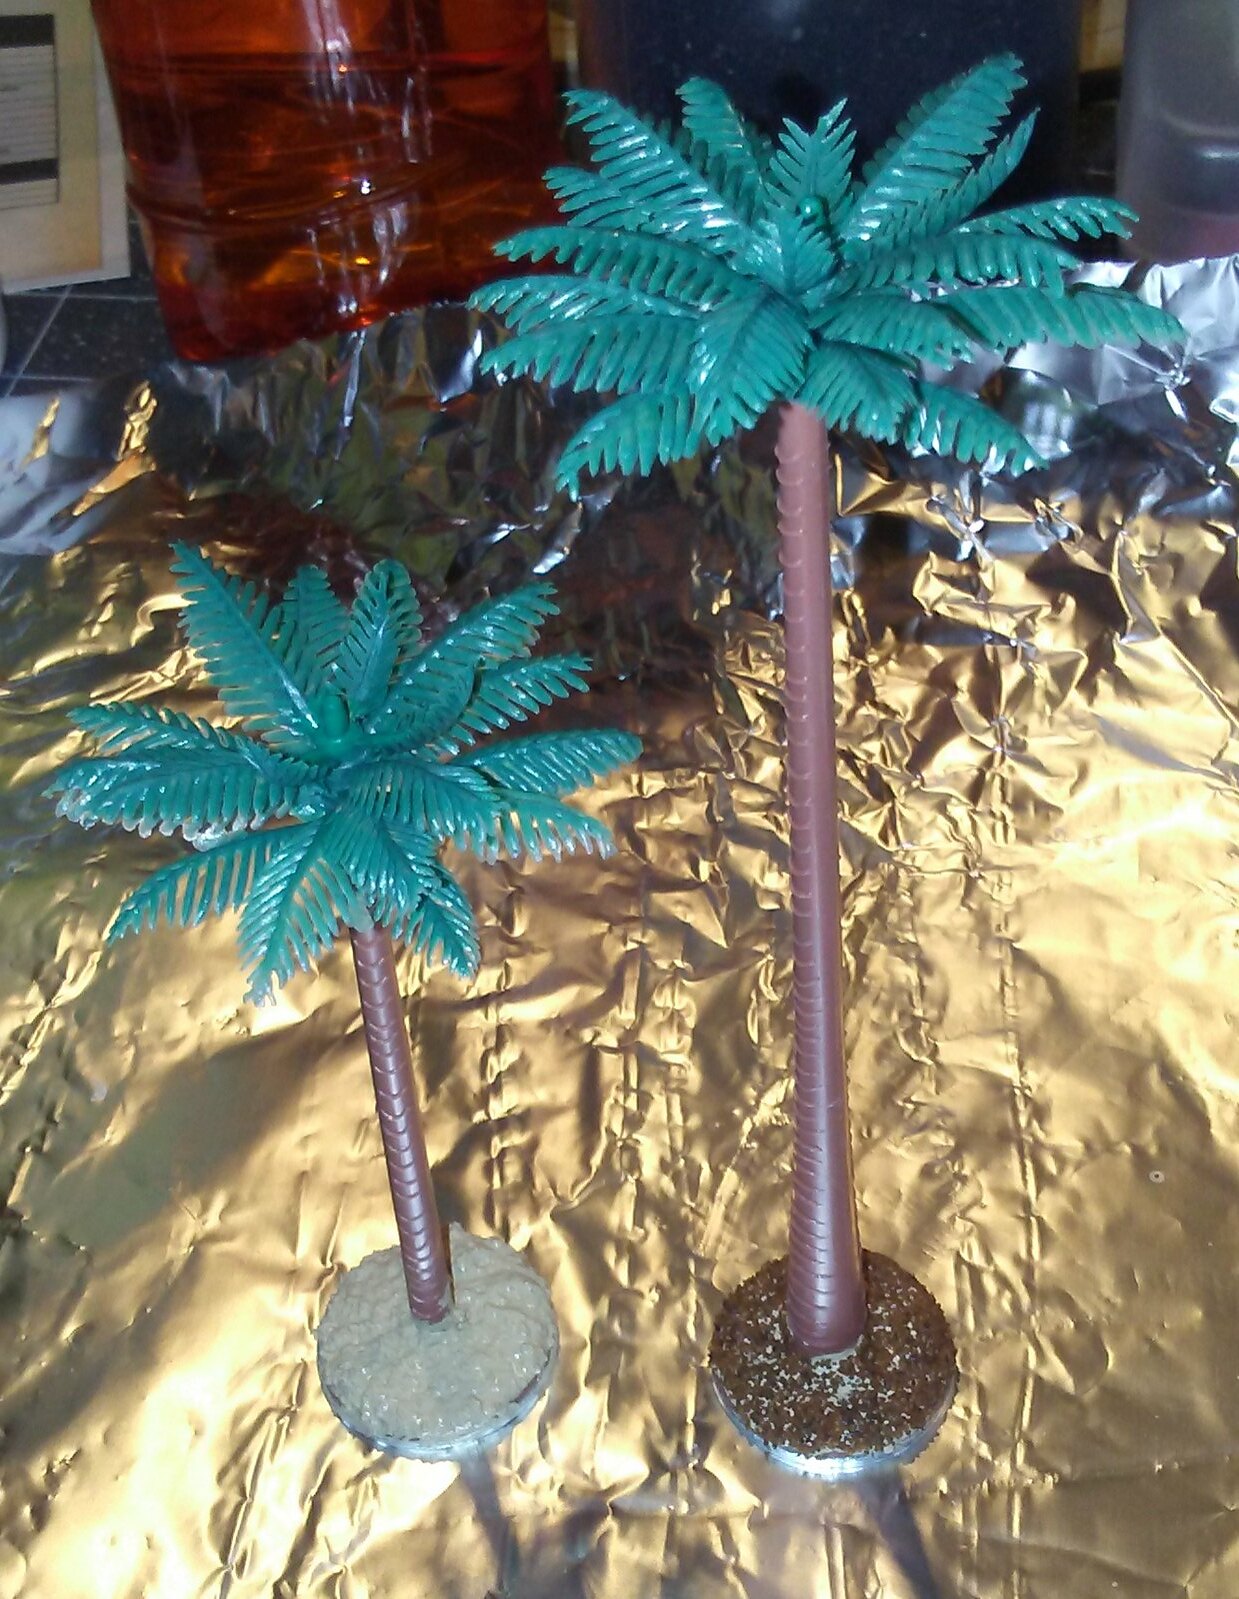
I used the same technique  as before on the bases of the trees. This was after I glued a washer to the base, and trimmed it so it would fit in a one inch diameter hole. I added steel sheet inserts into these holes, and added magnets to the bases of the palm trees, to keep them more secure. I am not sure they need it, as the palm trees fit rather snugly...

Once that was done, I drybrushed the bases as I did before. I also applied paint to the trunks and leaves, then coated everything with matte sealer.

Bases trimmed to one inch

Texture applied to bases

First batch of tree bases all done

Colors used to drybrush bases

Colors used on trunk and branches of palms

And that's it, project done.


The only difficulty I've encountered is that the MDF board tends to warp a small amount as the filler and paint dry. I am not really sure how to fix this. I am experimenting with painting the bottom of the boards and letting them dry first, but we'll see how that works. I am also making a stand of trees using thick styrene rather than MDF or craft plywood. I will report the results, but in any case the warping is minor and does not affect the usability of the terrain.

'Til next time!

Sunday, May 29, 2016

World War II Afrika Korps

I've neglected this blog for far too long. Part of my problem is that I like to write very complete, detailed posts, and frankly, it takes a lot of time. So I am going to take a new approach, and see how it goes. Shorter, more frequent updates. I've thought about doing this before, but my compulsiveness is my enemy and I find myself going back to long posts. Since my attention span tends to waver, we'll see how it goes with the new effort...

I recently picked up copy of the Chain of Command rules for World War II battles from Two Fat Lardies. I've long toyed with the idea of getting into 28mm World War II gaming, and I had a copy of Warlord Games' Bolt Action as well as a box of Perry Miniatures plastic Afrika Korps figures (which I bought at Giga-Bites over a year ago!) in the house. Getting the Chain of Command rules has inspired me to get cracking, and assemble a DAK force.

I began with some of the command models from the Perry set. These are wonderful figures with a lot of character and detail. I love the fact that you can choose whether to equip your troops with sun helmets (which I chose not to use), field caps or Stahlhelme. I did find that the figures are a bit on the fiddly side in terms of assembling, in particular the models where both arms are holding one weapon.

Platoon commander with radio operator and a pair of NCOs.

One of the huge advantages of working with plastic figures is the ability to customize them. With just some glue and an X-acto knife, and some patience, you can create unique poses. I converted one LMG gunner to use his loader as a support.

Converted LMG gunner.

I assembled the entire box, and ran into a slight problem. Because of the distribution of weapons, it was not possible for me to assemble a complete, legal platoon using the Chain of Command DAK force list. No matter, as I will be getting another box of these figures anyway in order to assemble additional crewmen for weapons (Chain of Command support weapons usually come with a crew of five plus an NCO, whereas Bolt Action uses three-man crews for the most part).

Once assembly was complete, they were ready for the first step of painting.

Ready for the basecoat.

I used Army Painter Desert Yellow for the basecoat, as some of the uniforms will be that color, and it will save me a bit of brush painting later. The Army Painter sprays are very good, and go on smoothly and cover completely.

Army Painter primer coat - done!

Before taking the next steps in painting, I need to decide on some of the details. I've been researching Afrika Korps painting guides on the interwebs, and found some quite good ones. I hope to begin painting and have an update for you all in the coming week.

I did pick up the first vehicle for my force - a Kubelwagen. I bought an inexpensive diecast Corgi model (CS90080). I'd seen it advertised as both 1:50 and 1:72 scale. It measures 2.96 inches, so using 147 inches as the length of a real Kubelwagen, the model scales at almost exactly 1:50. Even though it is a tad oversized, I think it looks great beside my troops, and requires no assembly or painting. Bonus!

Corgi Kubelwagen

So, a new army is started. Hopefully I will have the discipline, desire and determination to bring this one to completion. Stay tuned...

'Til next time!