Showing posts with label Painting. Show all posts

Sunday, February 4, 2018

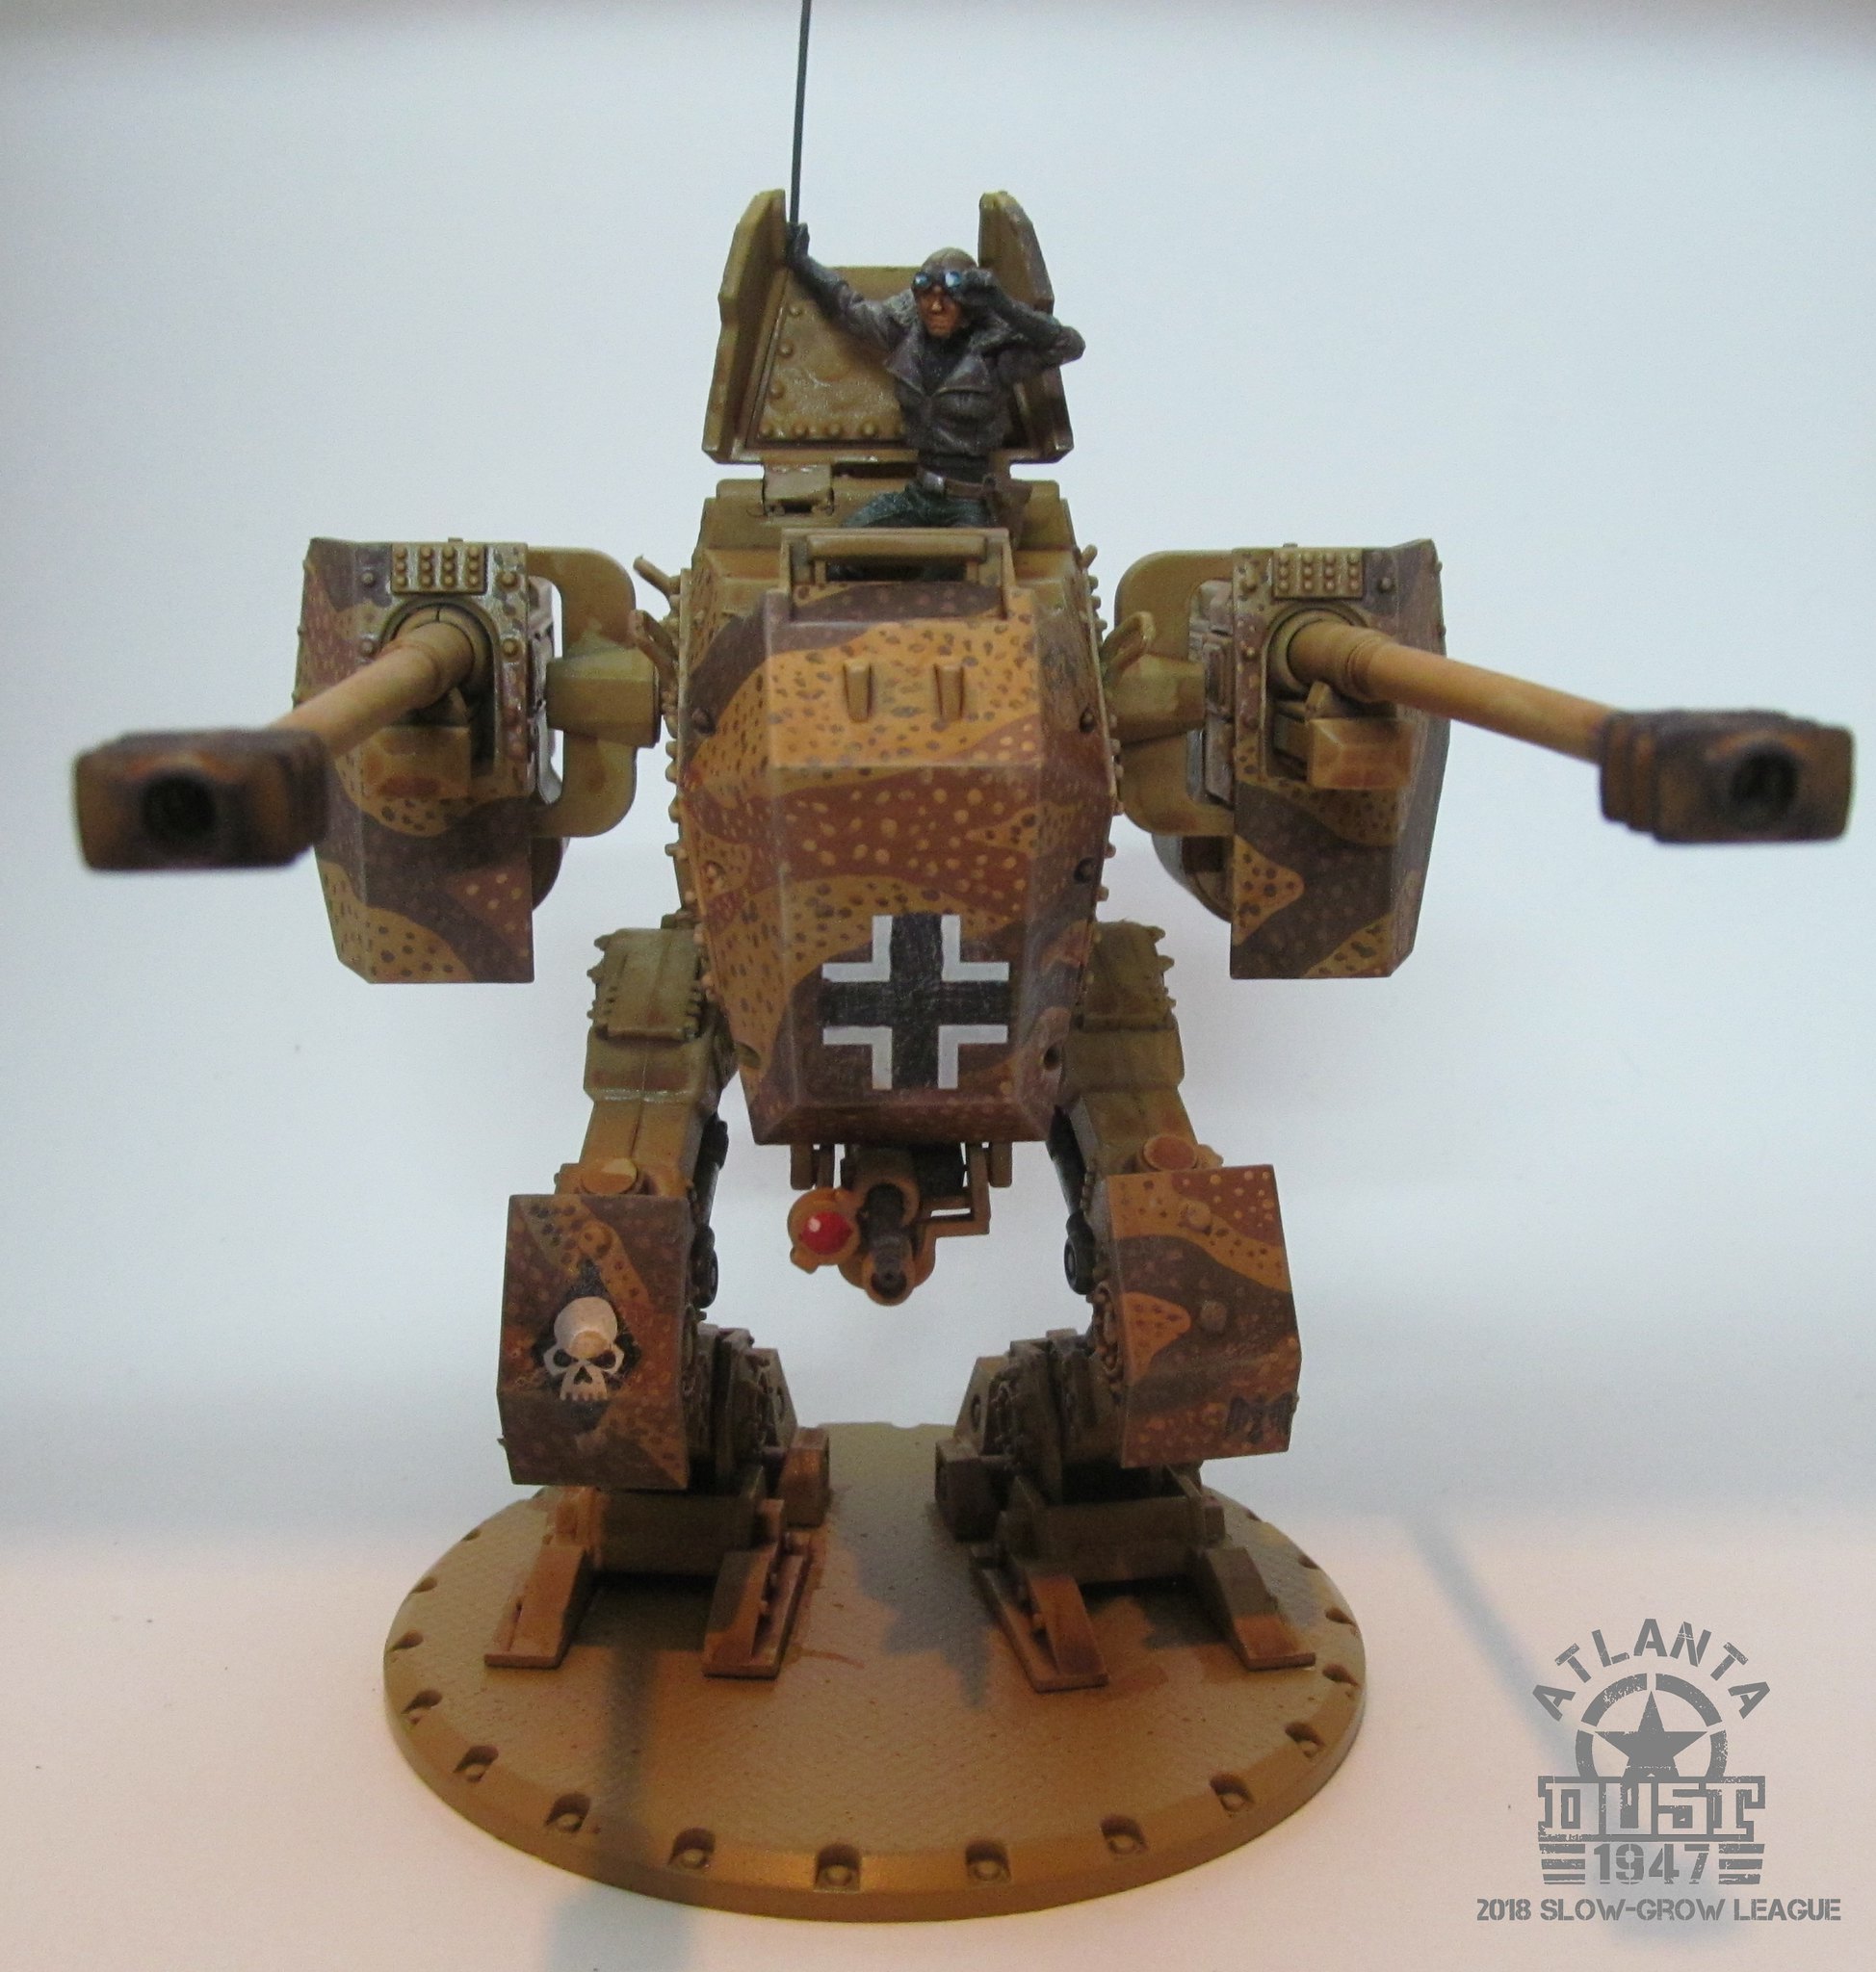
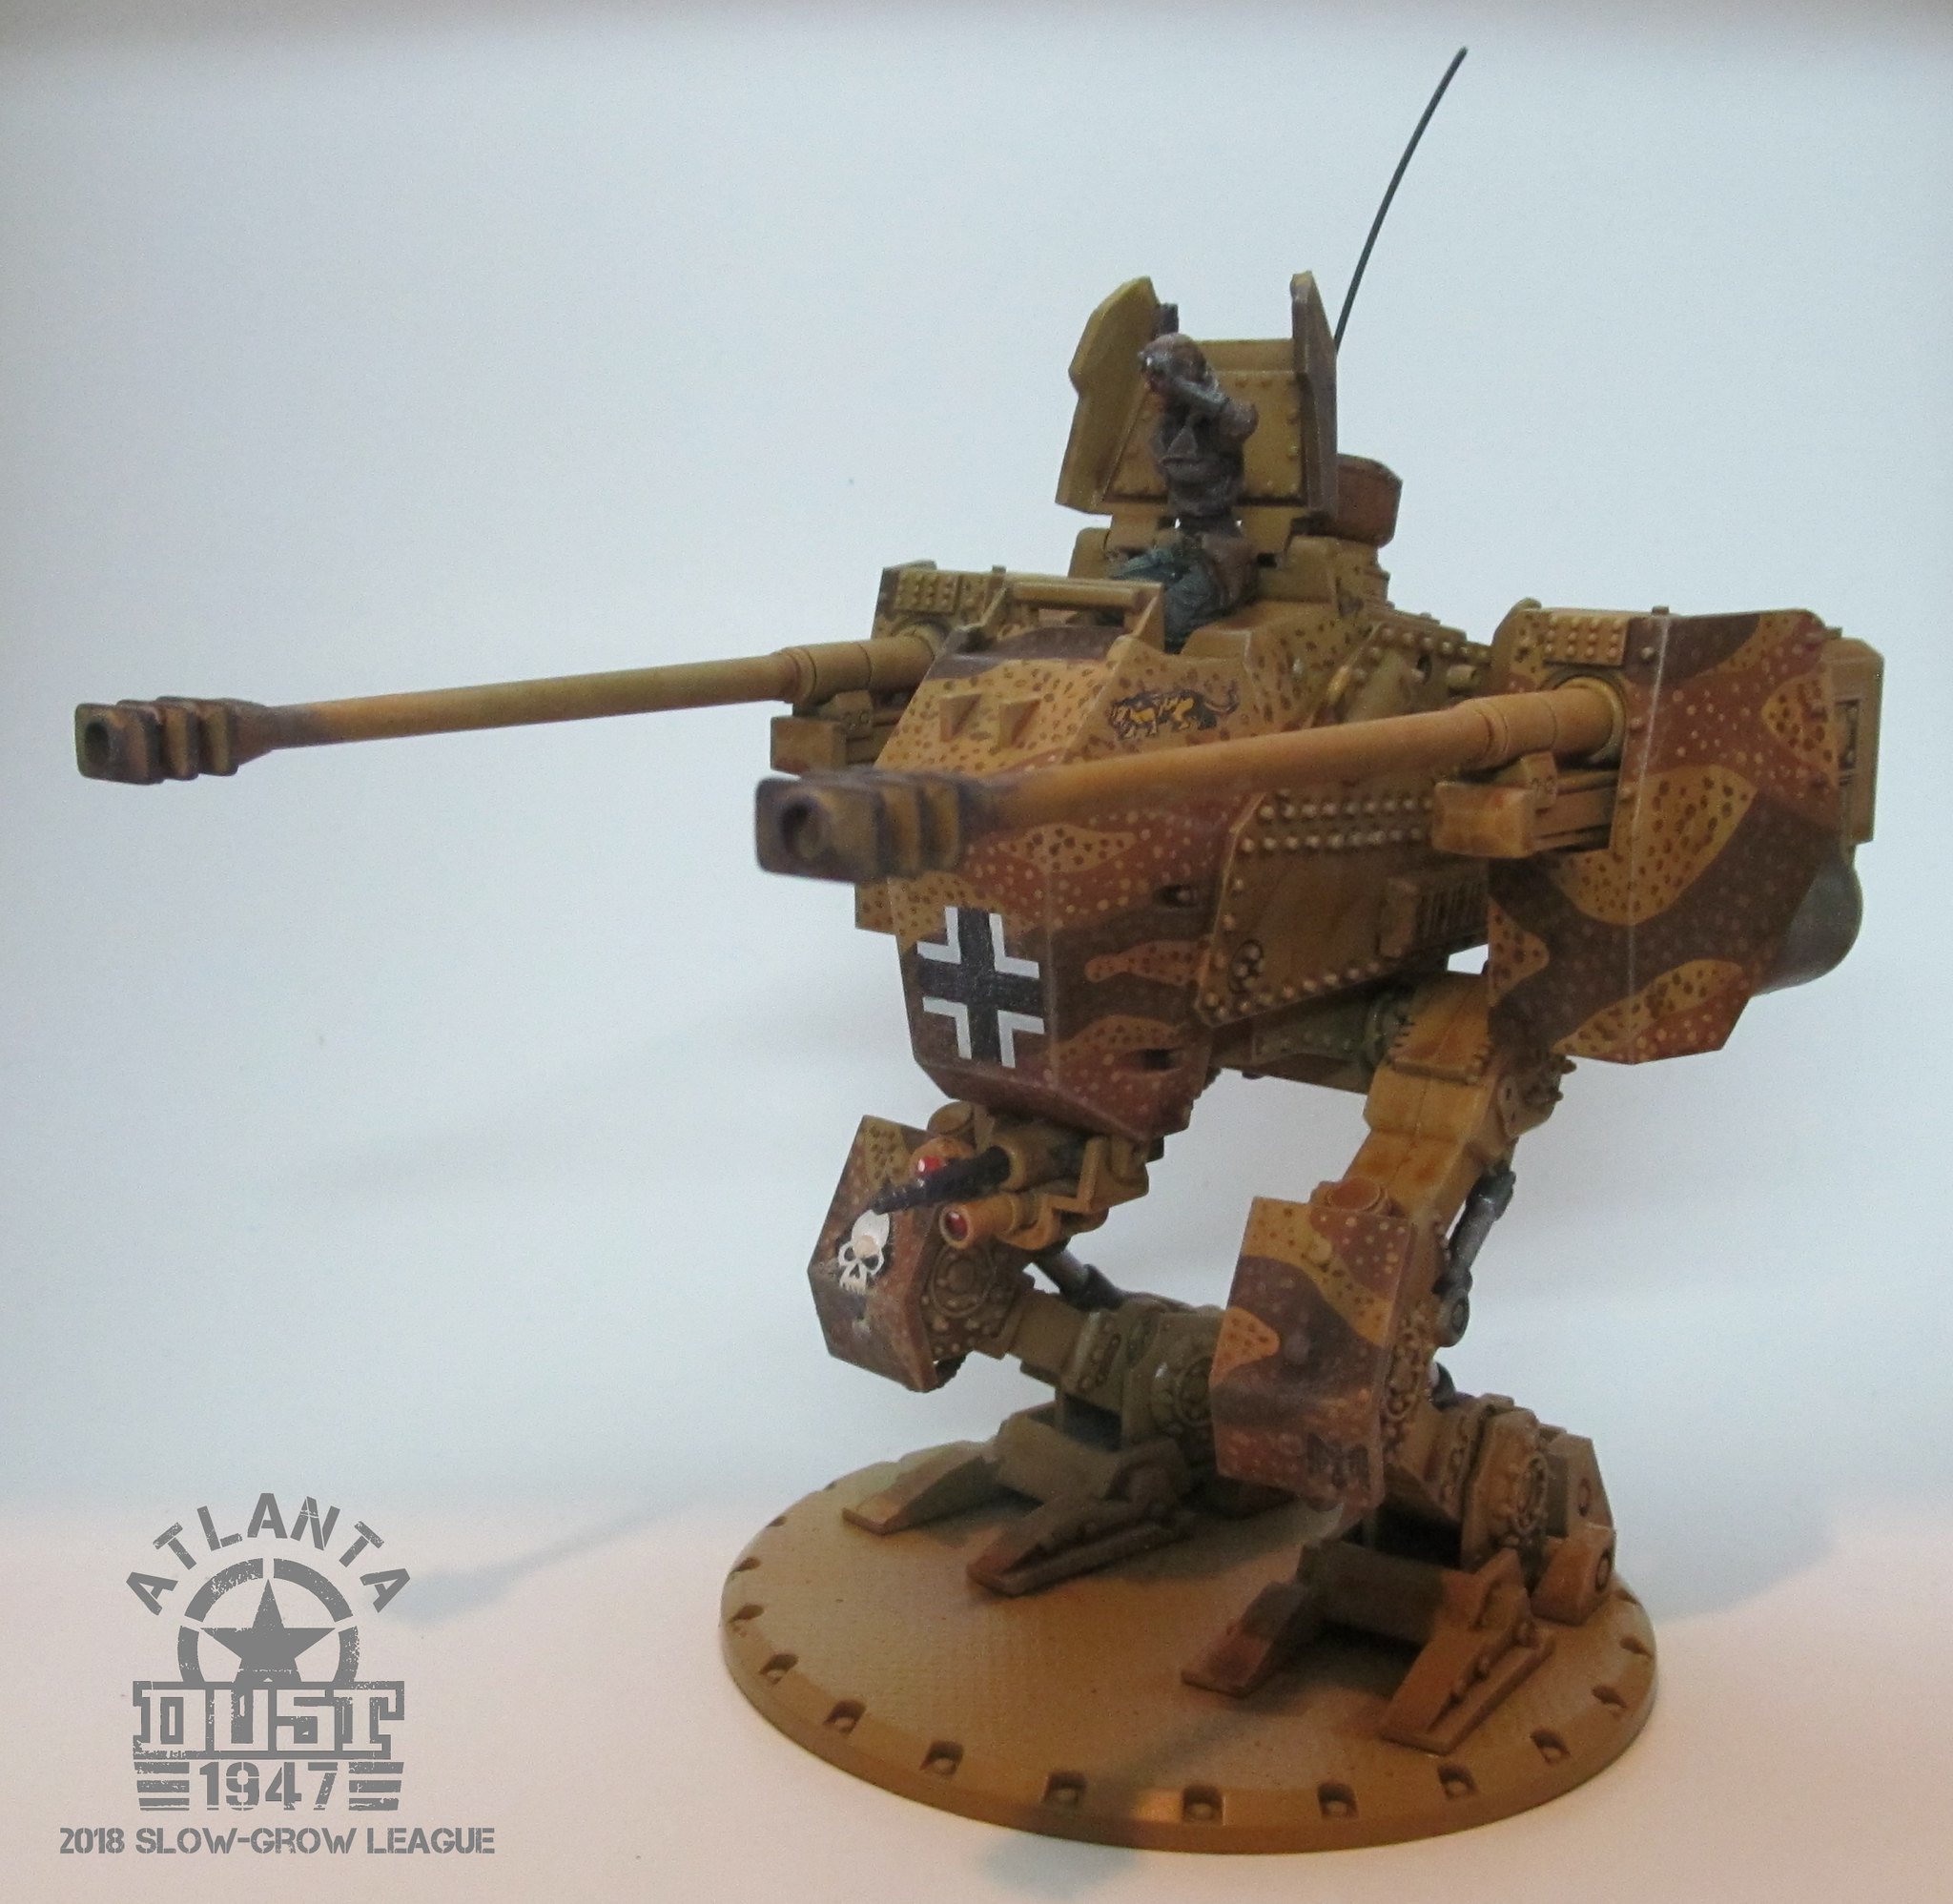
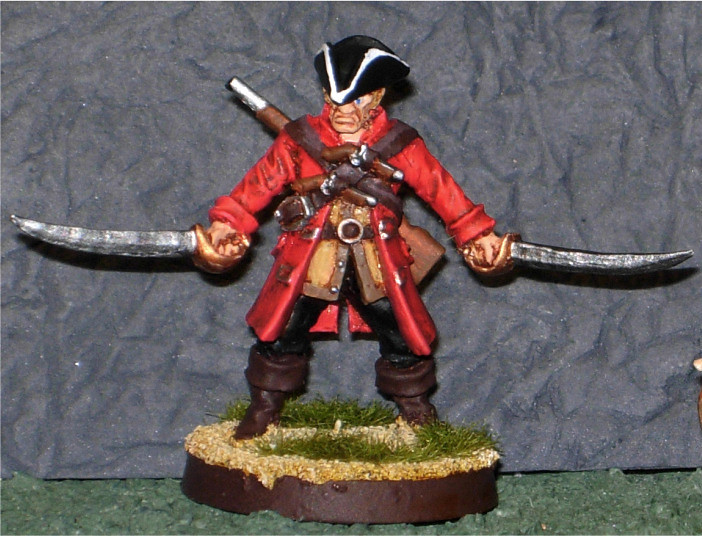
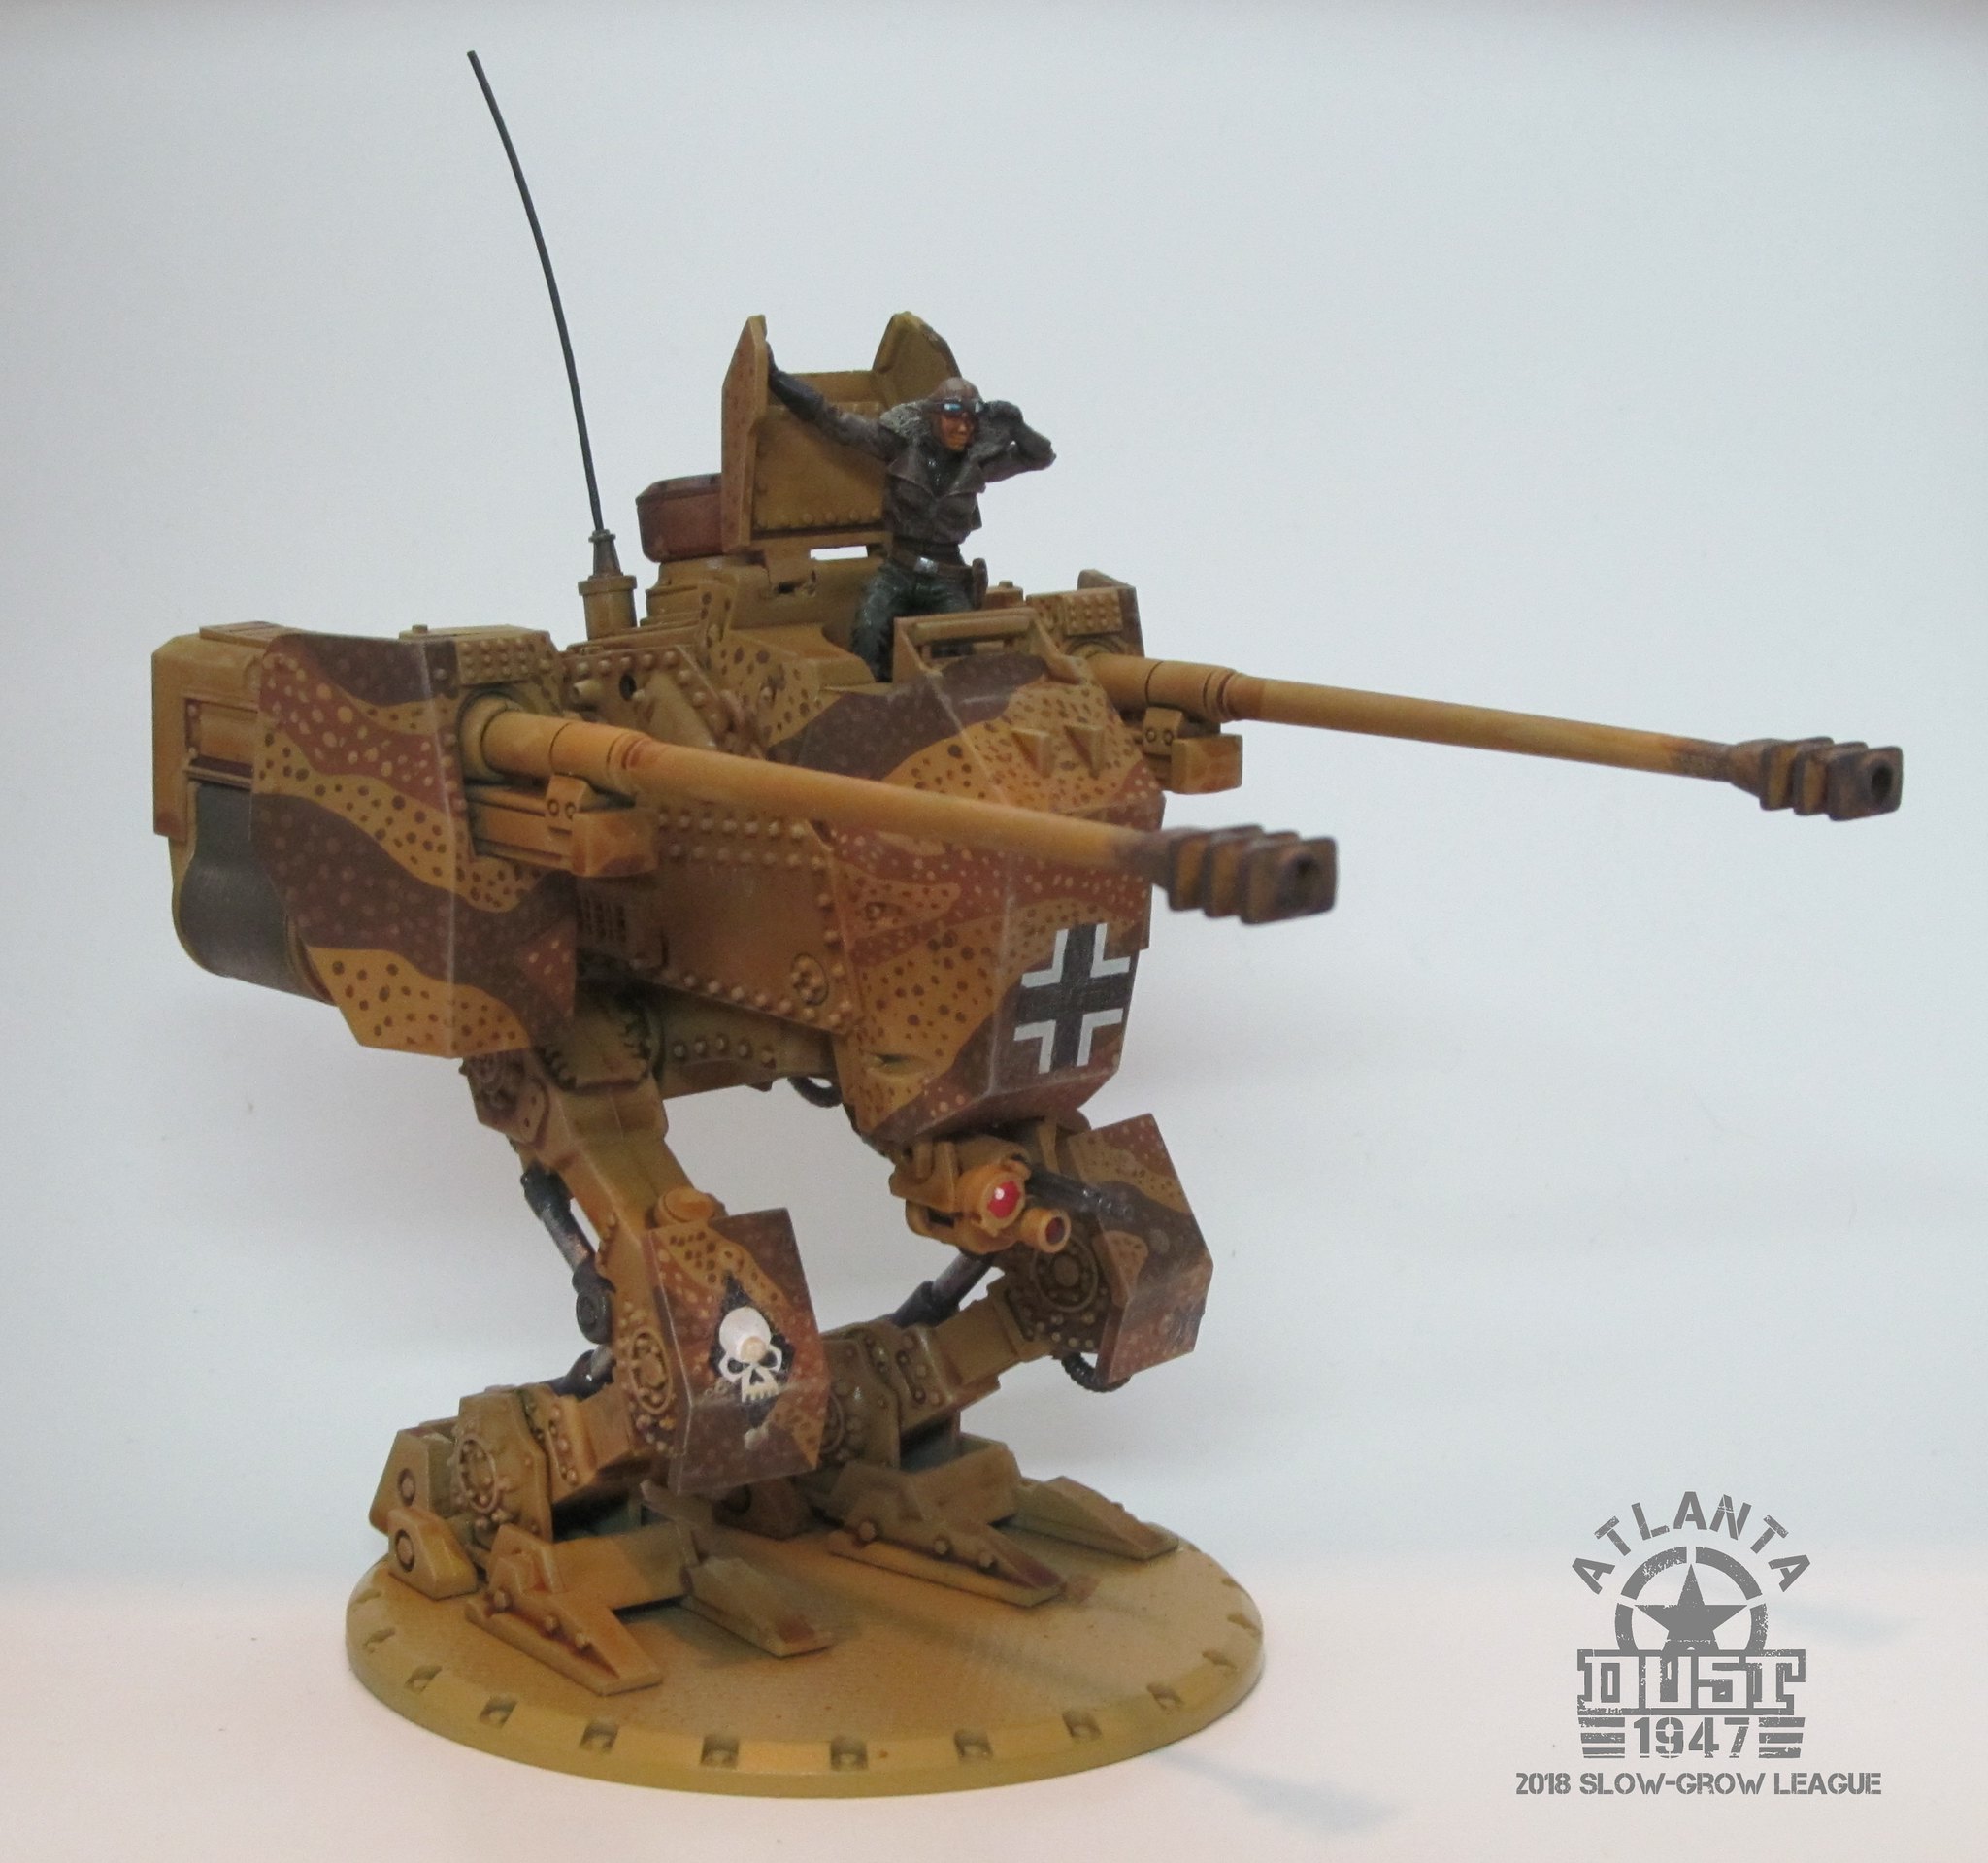
Sigrid and her walker for Dust 1947

So far this year, I've managed to paint more models than in the past two years combined. This is due to a couple of factors.

First, my son Lucas and I are participating in a slow-grow league for Dust 1947 at Giga-Bites. In addition to scoring points for games played and victories, you can earn them for painting your force. Second, since Lucas is in the league and has begun to paint figures for the first time, I am teaching and encouraging him as he learns.

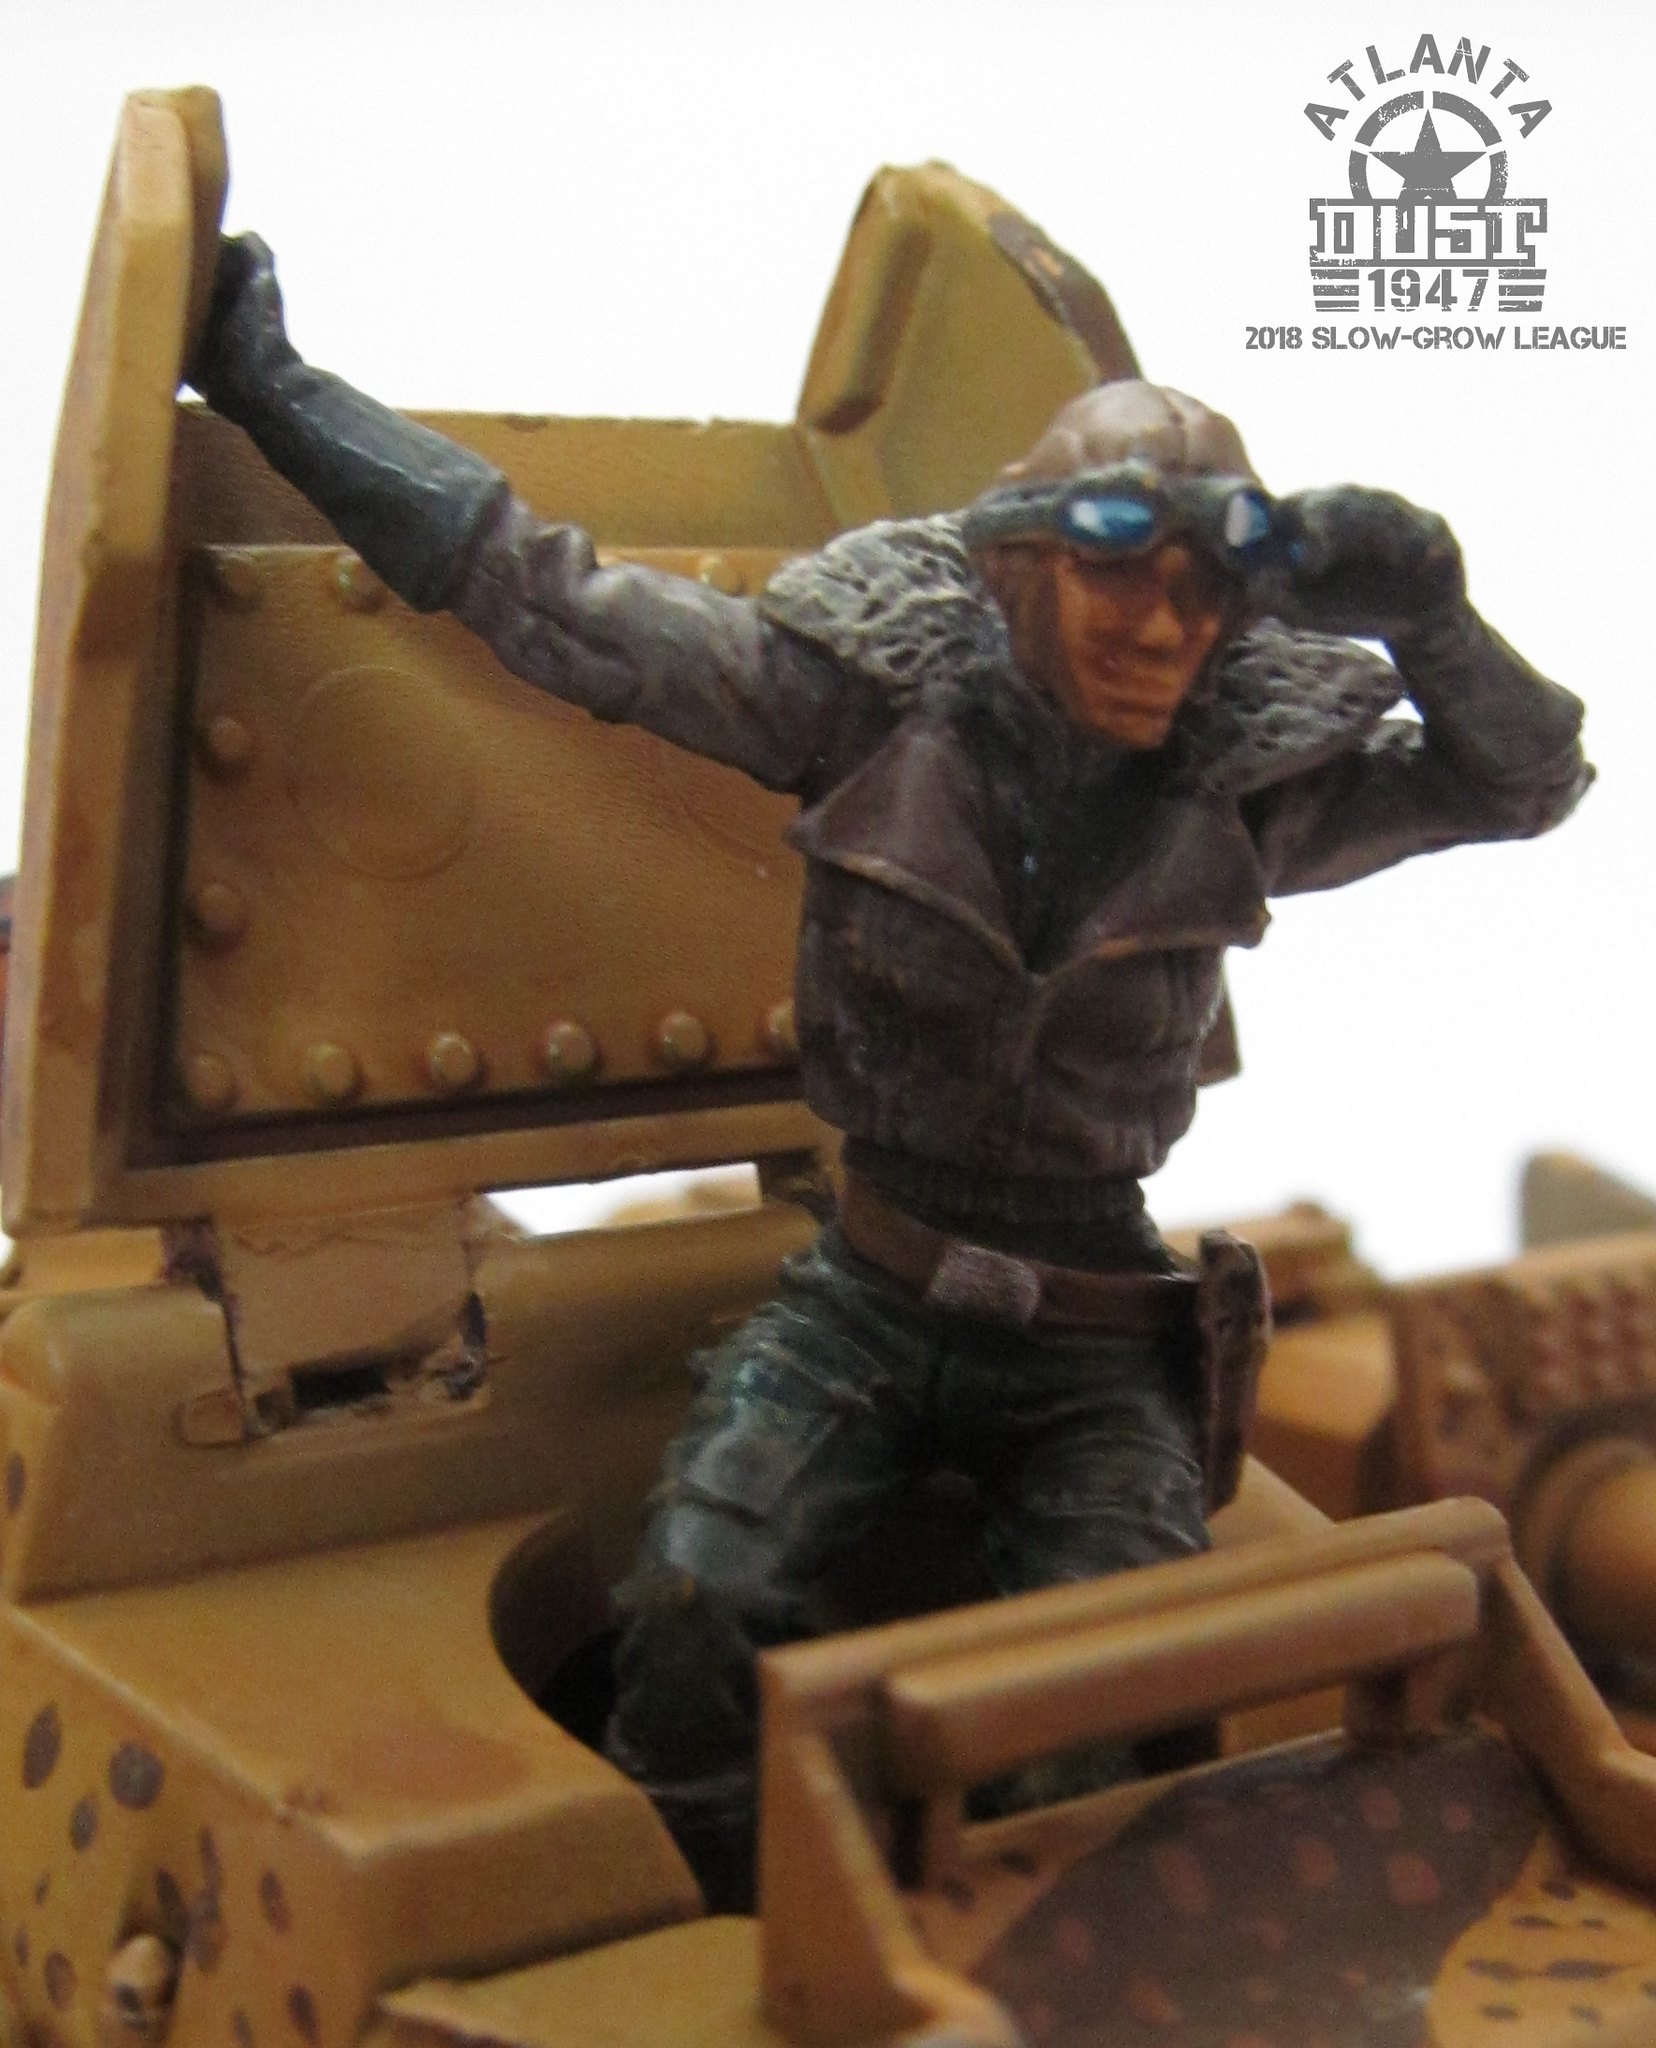
One of the units I really wanted to get painted is Sigrid and her walker, the Snow Lynx. Sigrid is a hero for the Axis, and the leader of the Blutkreuz faction which I play. She can pilot her personal walker, a Jagdluther named the Snow Lynx. Since I am painting my figures for a desert battlefield, I chose to rename the walker the Wüste Luchs (or Desert Lynx).

The Sigrid figure is a resin model that I won several years ago at a Dust tournament, and which has been in storage since then. I thought it high time to pull her out and get her painted.

The walker is a standard Jagdluther, with two modifications. I removed the rear compartment (I am using that for another project that I'll share as soon as it is finished), and I added an antenna.


I've painted a couple of light walkers and some squads of zombie troops as well, and I'll be sharing those here in future posts.

'Til next time!

Saturday, January 13, 2018

Using Northstar's Oathmark Dwarves for Lord of the Rings Battle Companies

"I wish I could muster an army of Dwarves, fully armed and filthy" - Gimli, son of Gloin
Boom! Boom! BOOM! BOOM! Boom! Boom! BOOM! BOOM!”

The rhythmic sound of the goblin war drums carried up from the burning dwarven settlement and reverberated among the crags above. The goblins were too entranced by the dancing flames to look up, but even had they bothered they would not have noticed anything amiss among the boulders and outcroppings overlooking the settlement. A dwarf, tucked partly behind a large gray rock, his stony features almost indistinguishable from the granite beside him, looked down on the victory celebration, gnashing his teeth and weeping in frustration.

Skirfir, son of Nifir, and his small band of dwarf warriors had been away from Khâr Zagâl at the time of the attack, tracking a party of goblin marauders through the mountains surrounding the dwarven town. After nearly three days of following the raiders, they had caught them in a small pass. The fight was vicious, but short, and soon all the goblins but one lay dead. Skirfir's force had not escaped unscathed, suffering three dead and two wounded in the skirmish. As his men tended to their wounded comrades, Skirfir had interrogated the still living goblin. And what he learned chilled him.

The goblin raiding party, though wiped out, had achieved its purpose: to draw the defending scouts away from Khâr Zagâl. At first, Skirfir just stared at the goblin in stunned disbelief. Then the realization that it was the truth hit him like a punch in the gut. During the pursuit, he had wondered what the invaders had hoped to accomplish, raiding so late into the fall. And at times he had felt that tracking the marauders had been too simple, that they were not even making an attempt at covering their tracks. But he had dismissed it, assuming that the goblins had simply grown overconfident and careless, or even plain stupid. In reality, it had been Skirfir himself that had been guilty of overconfidence, and he had underestimated his foe.

As soon as the truth had dawned on him, Skirfir had ordered his dwarves to make ready to return to Khâr Zagâl. Fortunately, both of the wounded were able to walk, although two other warriors were detailed to keep to their slower pace. Skirfir and the remaining Dwarf, Lofar, had made the best possible time back to the outpost. But they had arrived too late to warn their brethren.

From the rocky ledge, Skirfir could see the savages crawling over the structures below. Occasional fights would break out among the goblins over a particularly valuable piece of plunder, or even the remains of one of Skirfir's folk. He could hear the goblins singing, and chanting to the beat of the drumming, as they searched from building to building, with the howls increasing in volume whenever they found a survivor of the attack. Though the pain of helplessness burned deep within him, Skirfir knew that he could do nothing to help his kin. Any rash action would certainly lead only to his death, and the deaths of the dwarves accompanying him, leaving no one to avenge the fallen.

But, he vowed to himself, one day he would return at the head of a great company of dwarves. He would hunt down the rakhâs, and exterminate them. Aye, by Aulë, he would track down this marauding band of goblins and slay every last one. Yes, there would be a day for celebrating, and for singing remembrances to those slain this day. But for that to happen, he and his companions needed to survive, and grow wealthy and strong.

An idea began to form in Skirfir's mind. Recently, tales had begun to be told of a dwarf kingdom that had been retaken, first from a monstrous drake and then from a goblin army. Travelers had spoken of the great war, describing the victory of an alliance of dwarves, men and elves. In this newly restored kingdom, a brave warrior could rise in rank and influence, if he dared. And with that influence, he could draw strong fighters to himself.

After what seemed like hours, Skirfir turned his back on Khâr Zagâl for the last time. He climbed back down from the edge of the cliff and faced the remaining members of his scouting party. “Remember this day, my brothers,” he muttered grimly to his barely visible companions, their grey cloaks pulled low over their faces. “Remember it long, for one day we will have our vengeance. One day the rakhâs will hear 'Baruk Khazâd! Khazâd ai-mênu!' But that day will not be soon.”

Skirfir began to walk, away from Khâr Zagâl, away from his former life, into a breeze that dried the tears on his face. As one, his men followed, turning their backs on the smoke rising from Khâr Zagâl into the bright, clear sky.

They headed west. To Erebor.

______________________________________________________

Some of the players at the local game shop are getting together a group to play the Middle Earth Strategy Battle Game by Games Workshop, specifically Battle Companies (which requires only a handful of models to start).

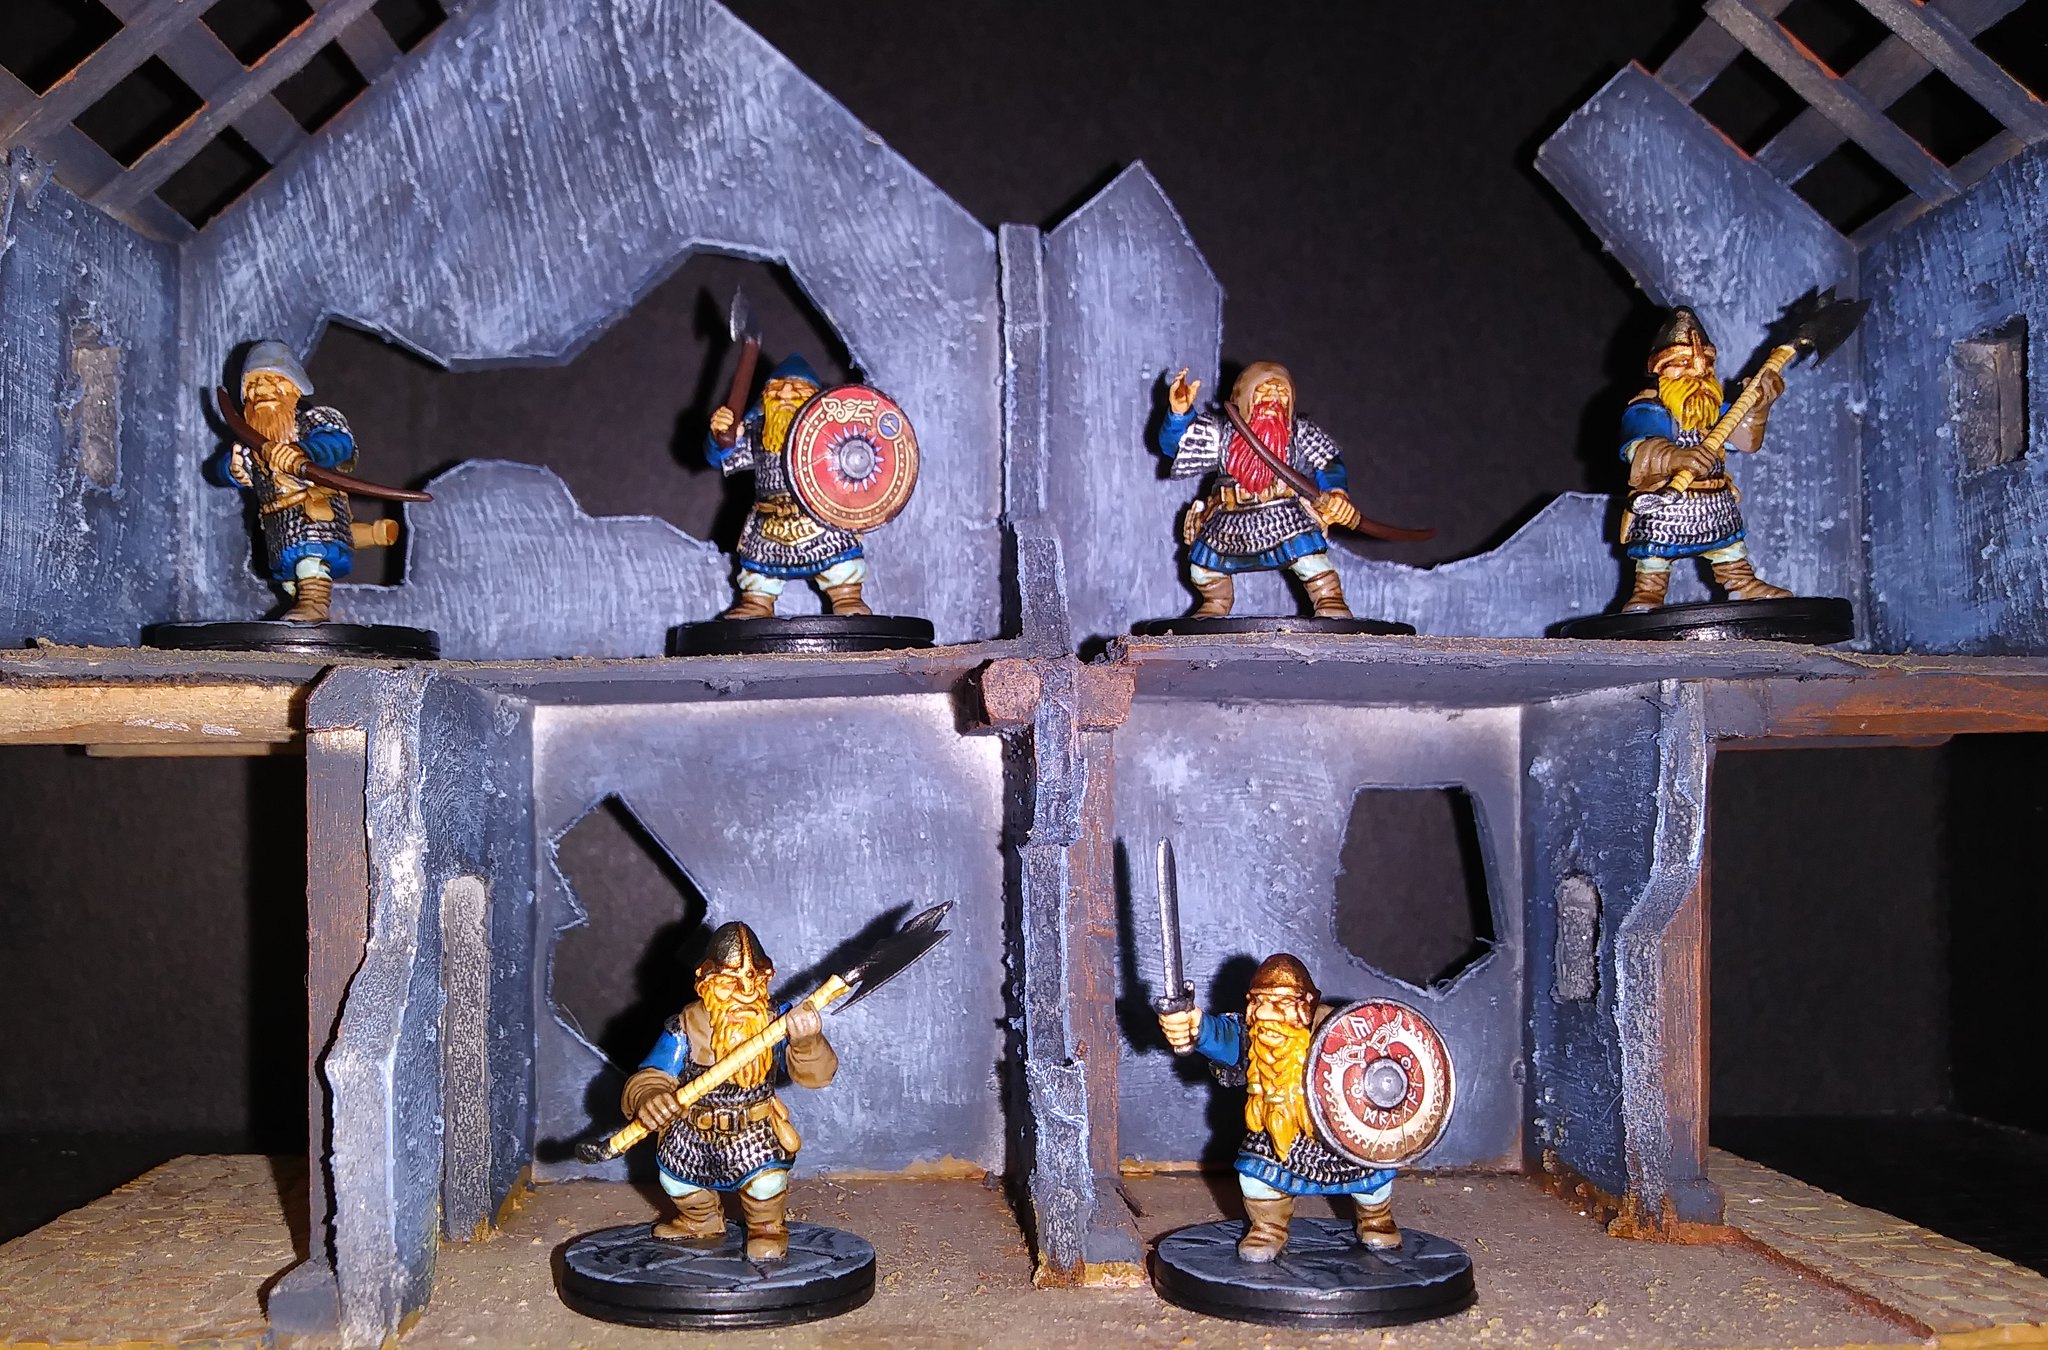
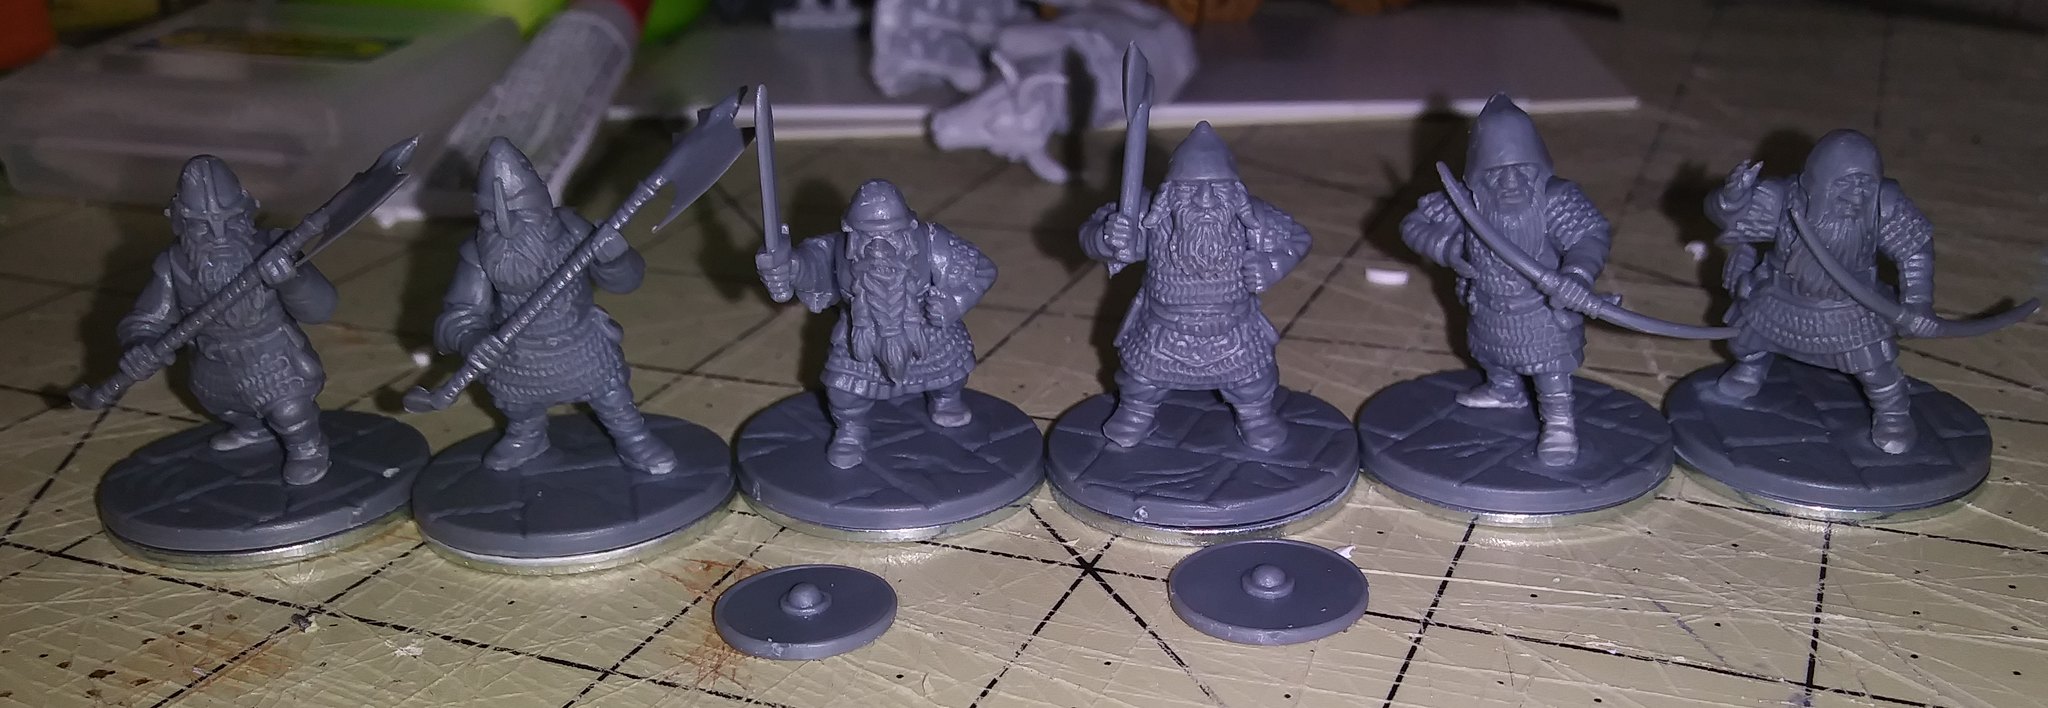
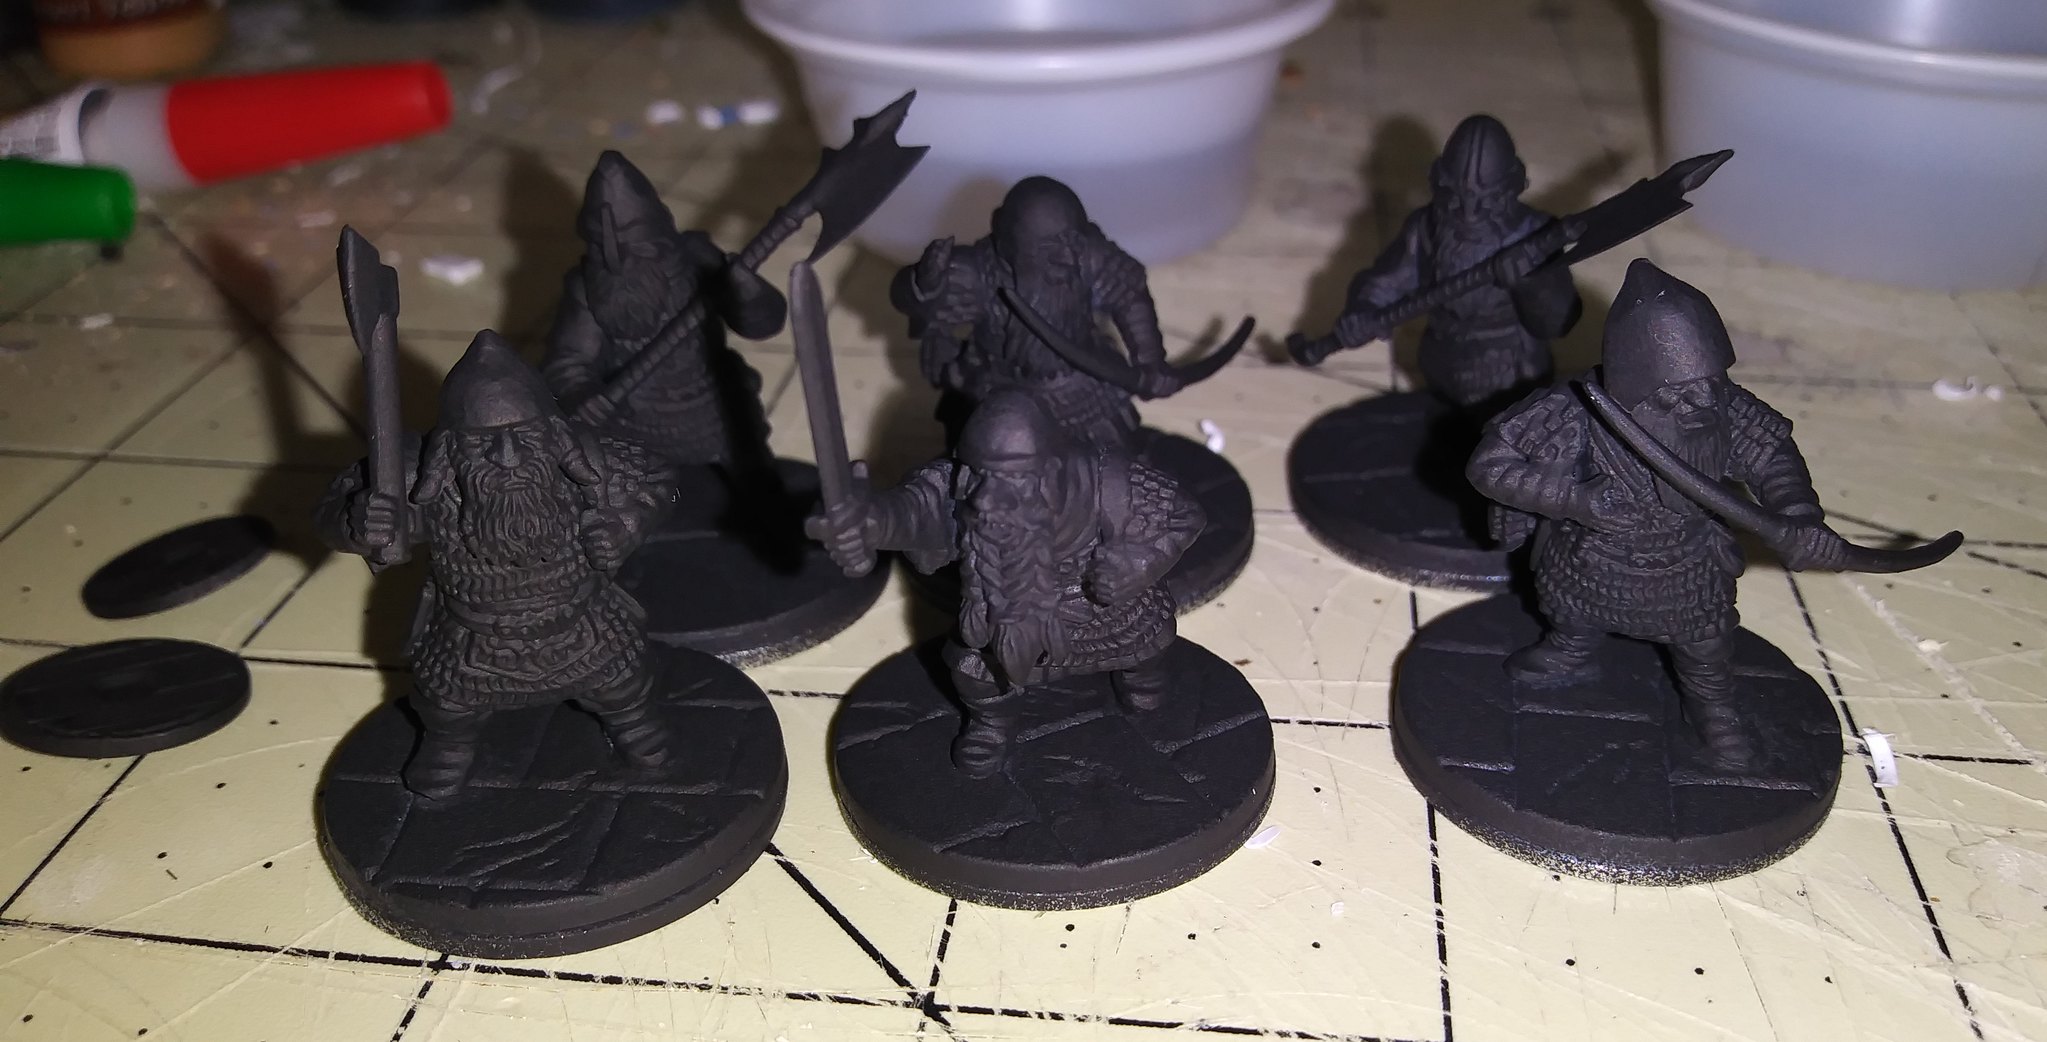
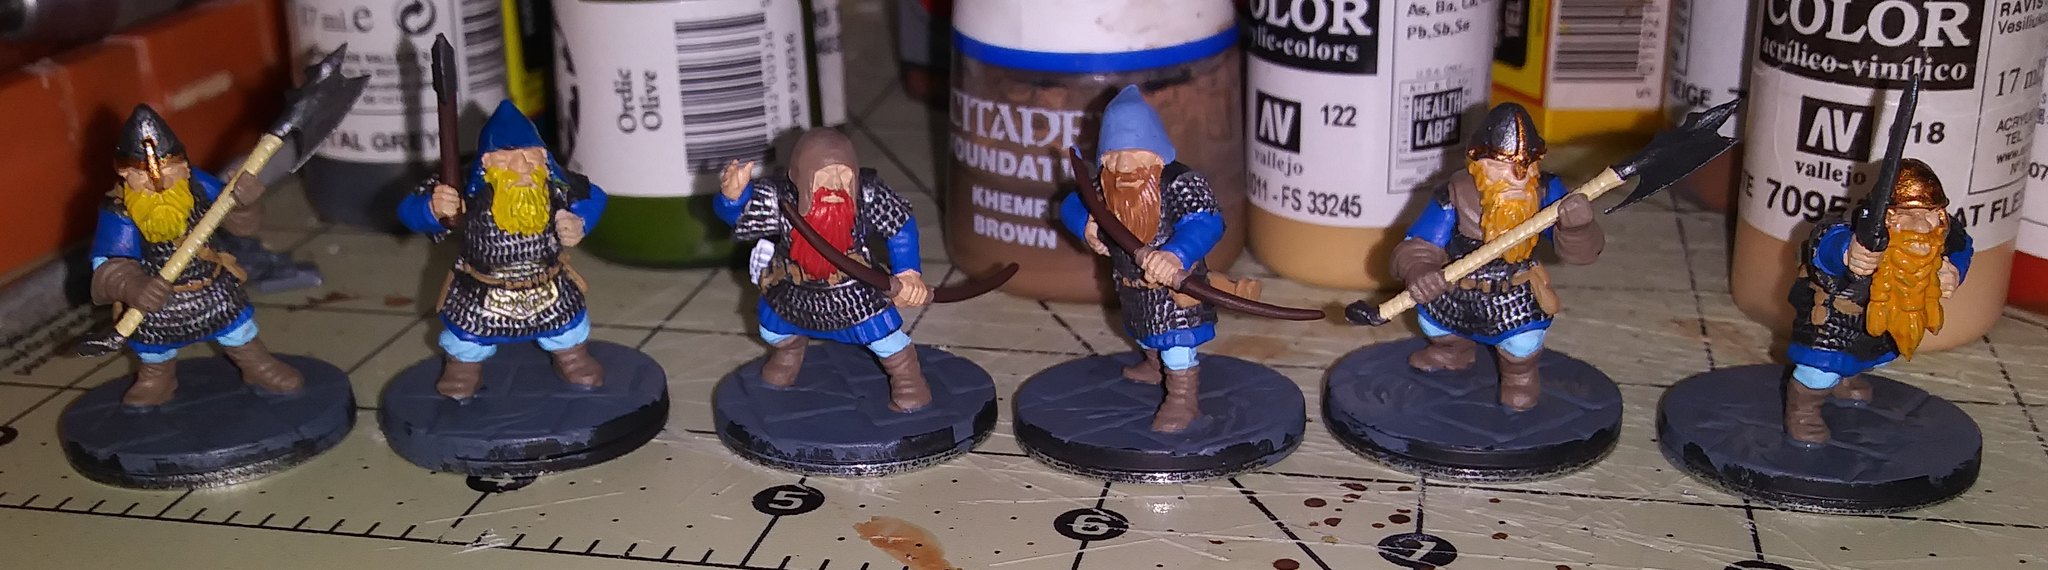
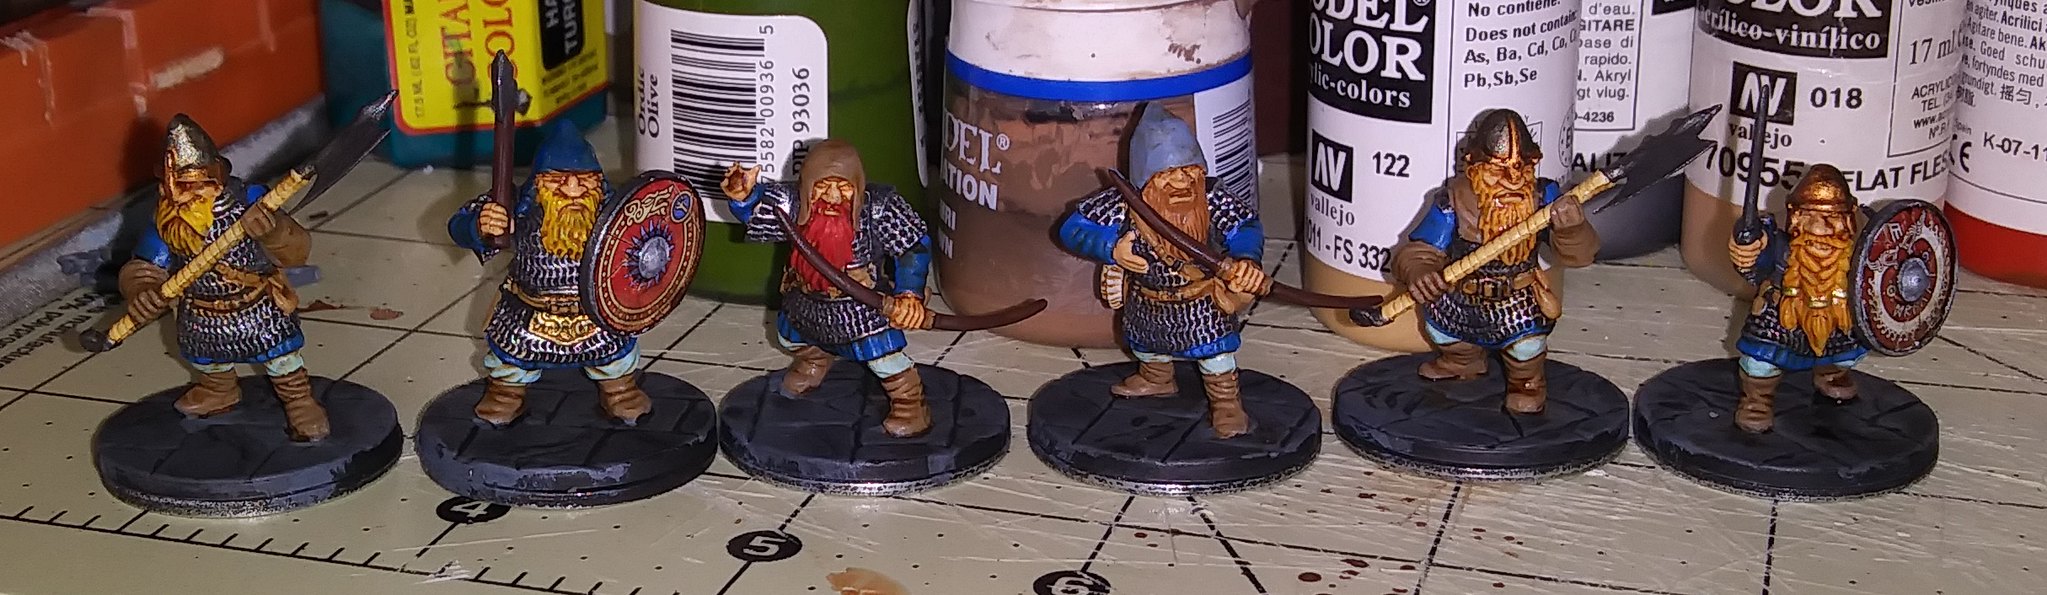
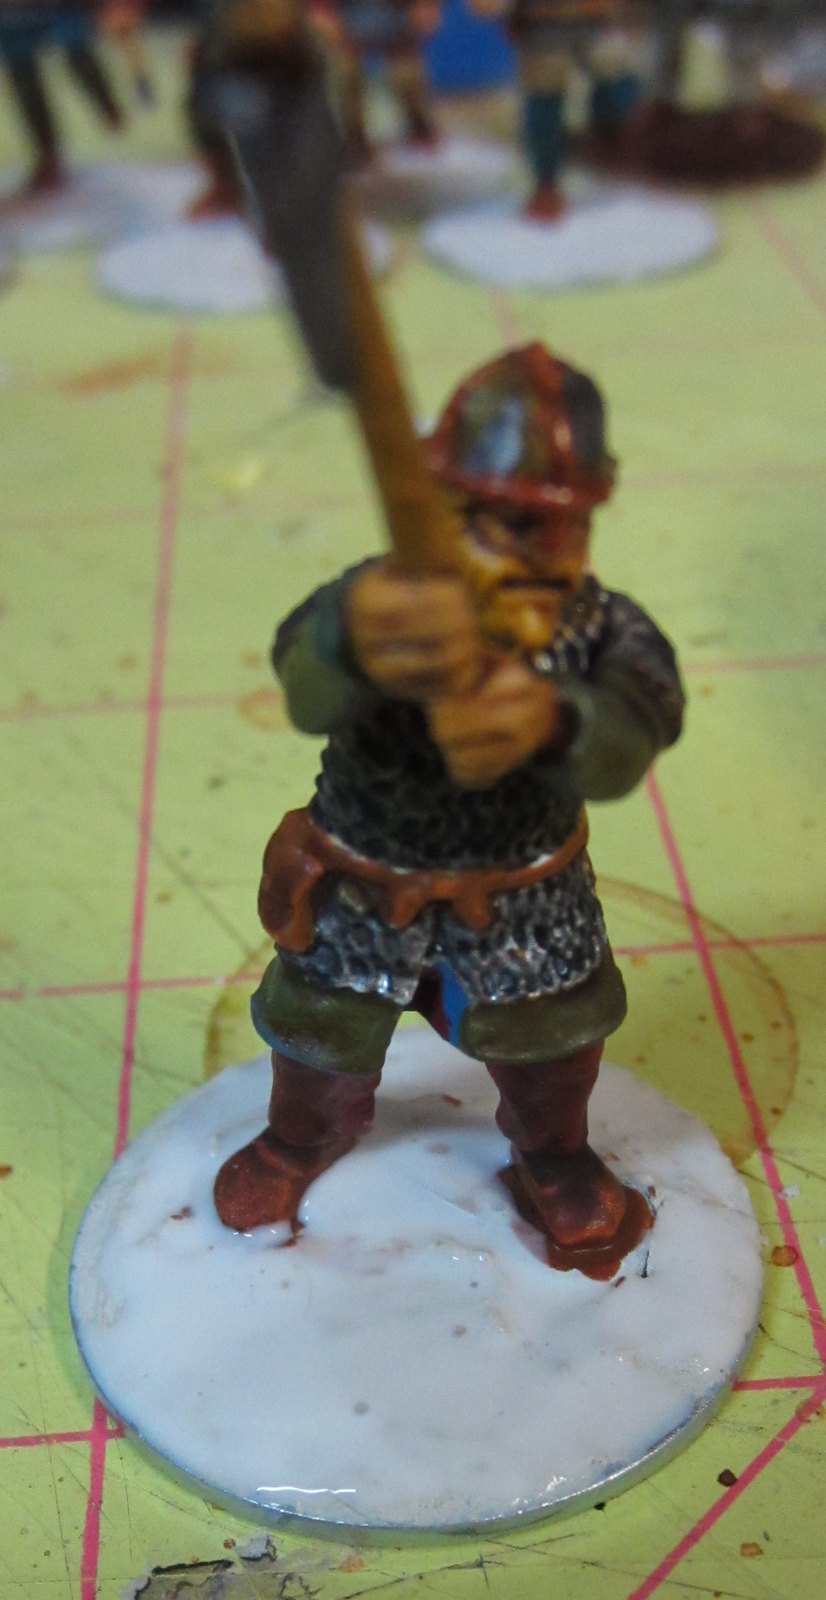
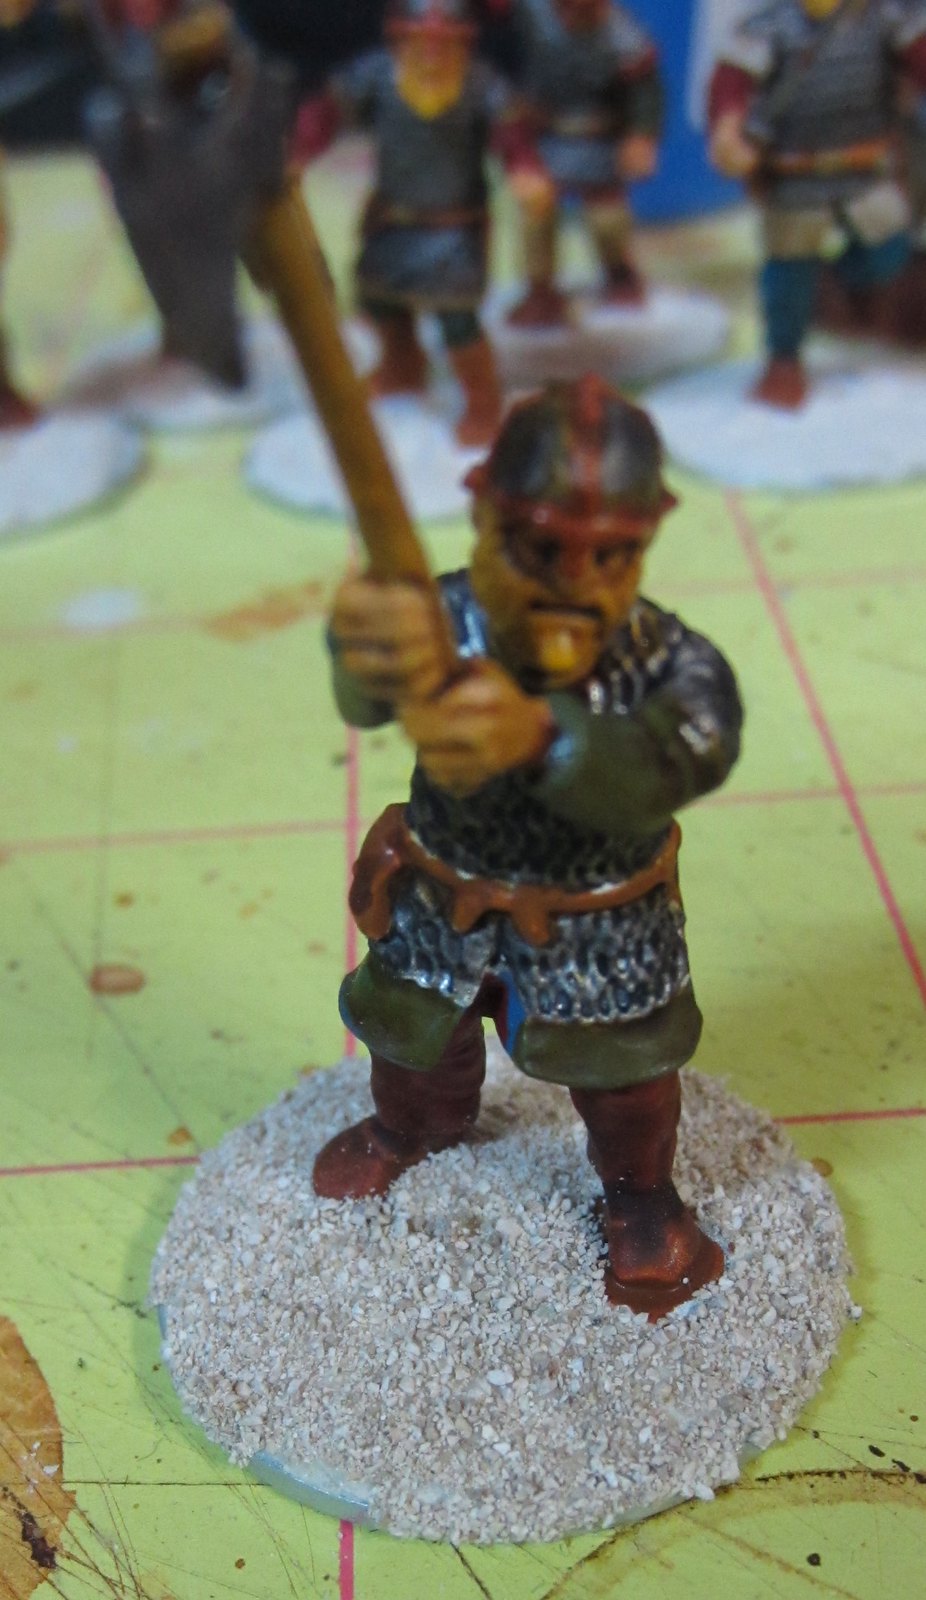
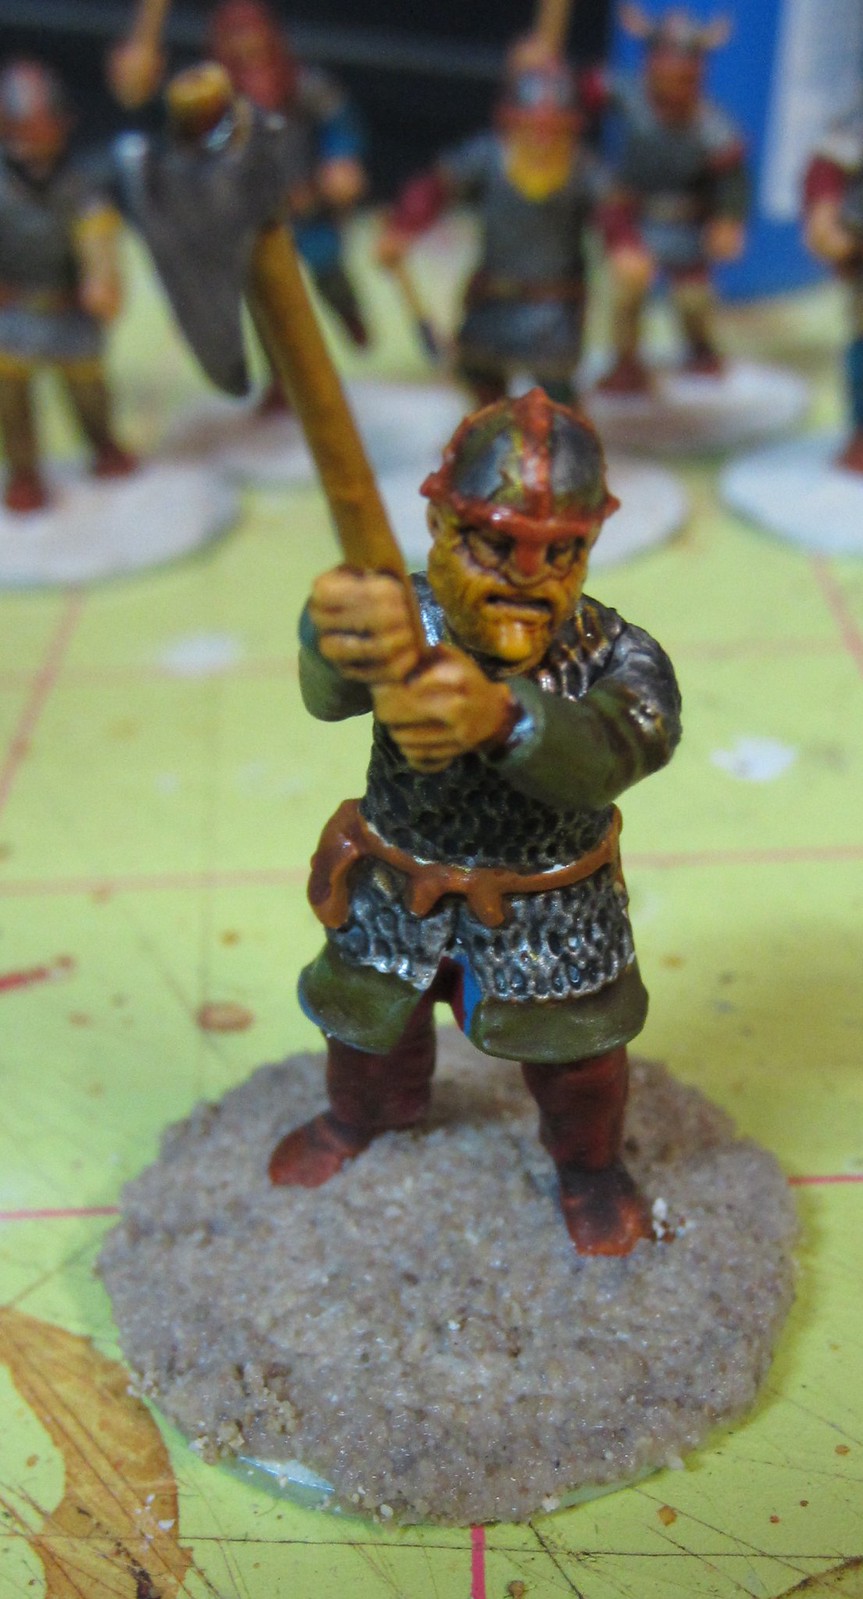
As usual, I've decided to start a dwarf warband. Since the Games Workshop models are no longer available, we're allowing proxies to be used. I've chosen the wonderful new plastic dwarves from Northstar. The models are designed to be used with the forthcoming Oathmark rules, but are very Tolkien-esque in design and will fit in wherever dwarf models are needed.

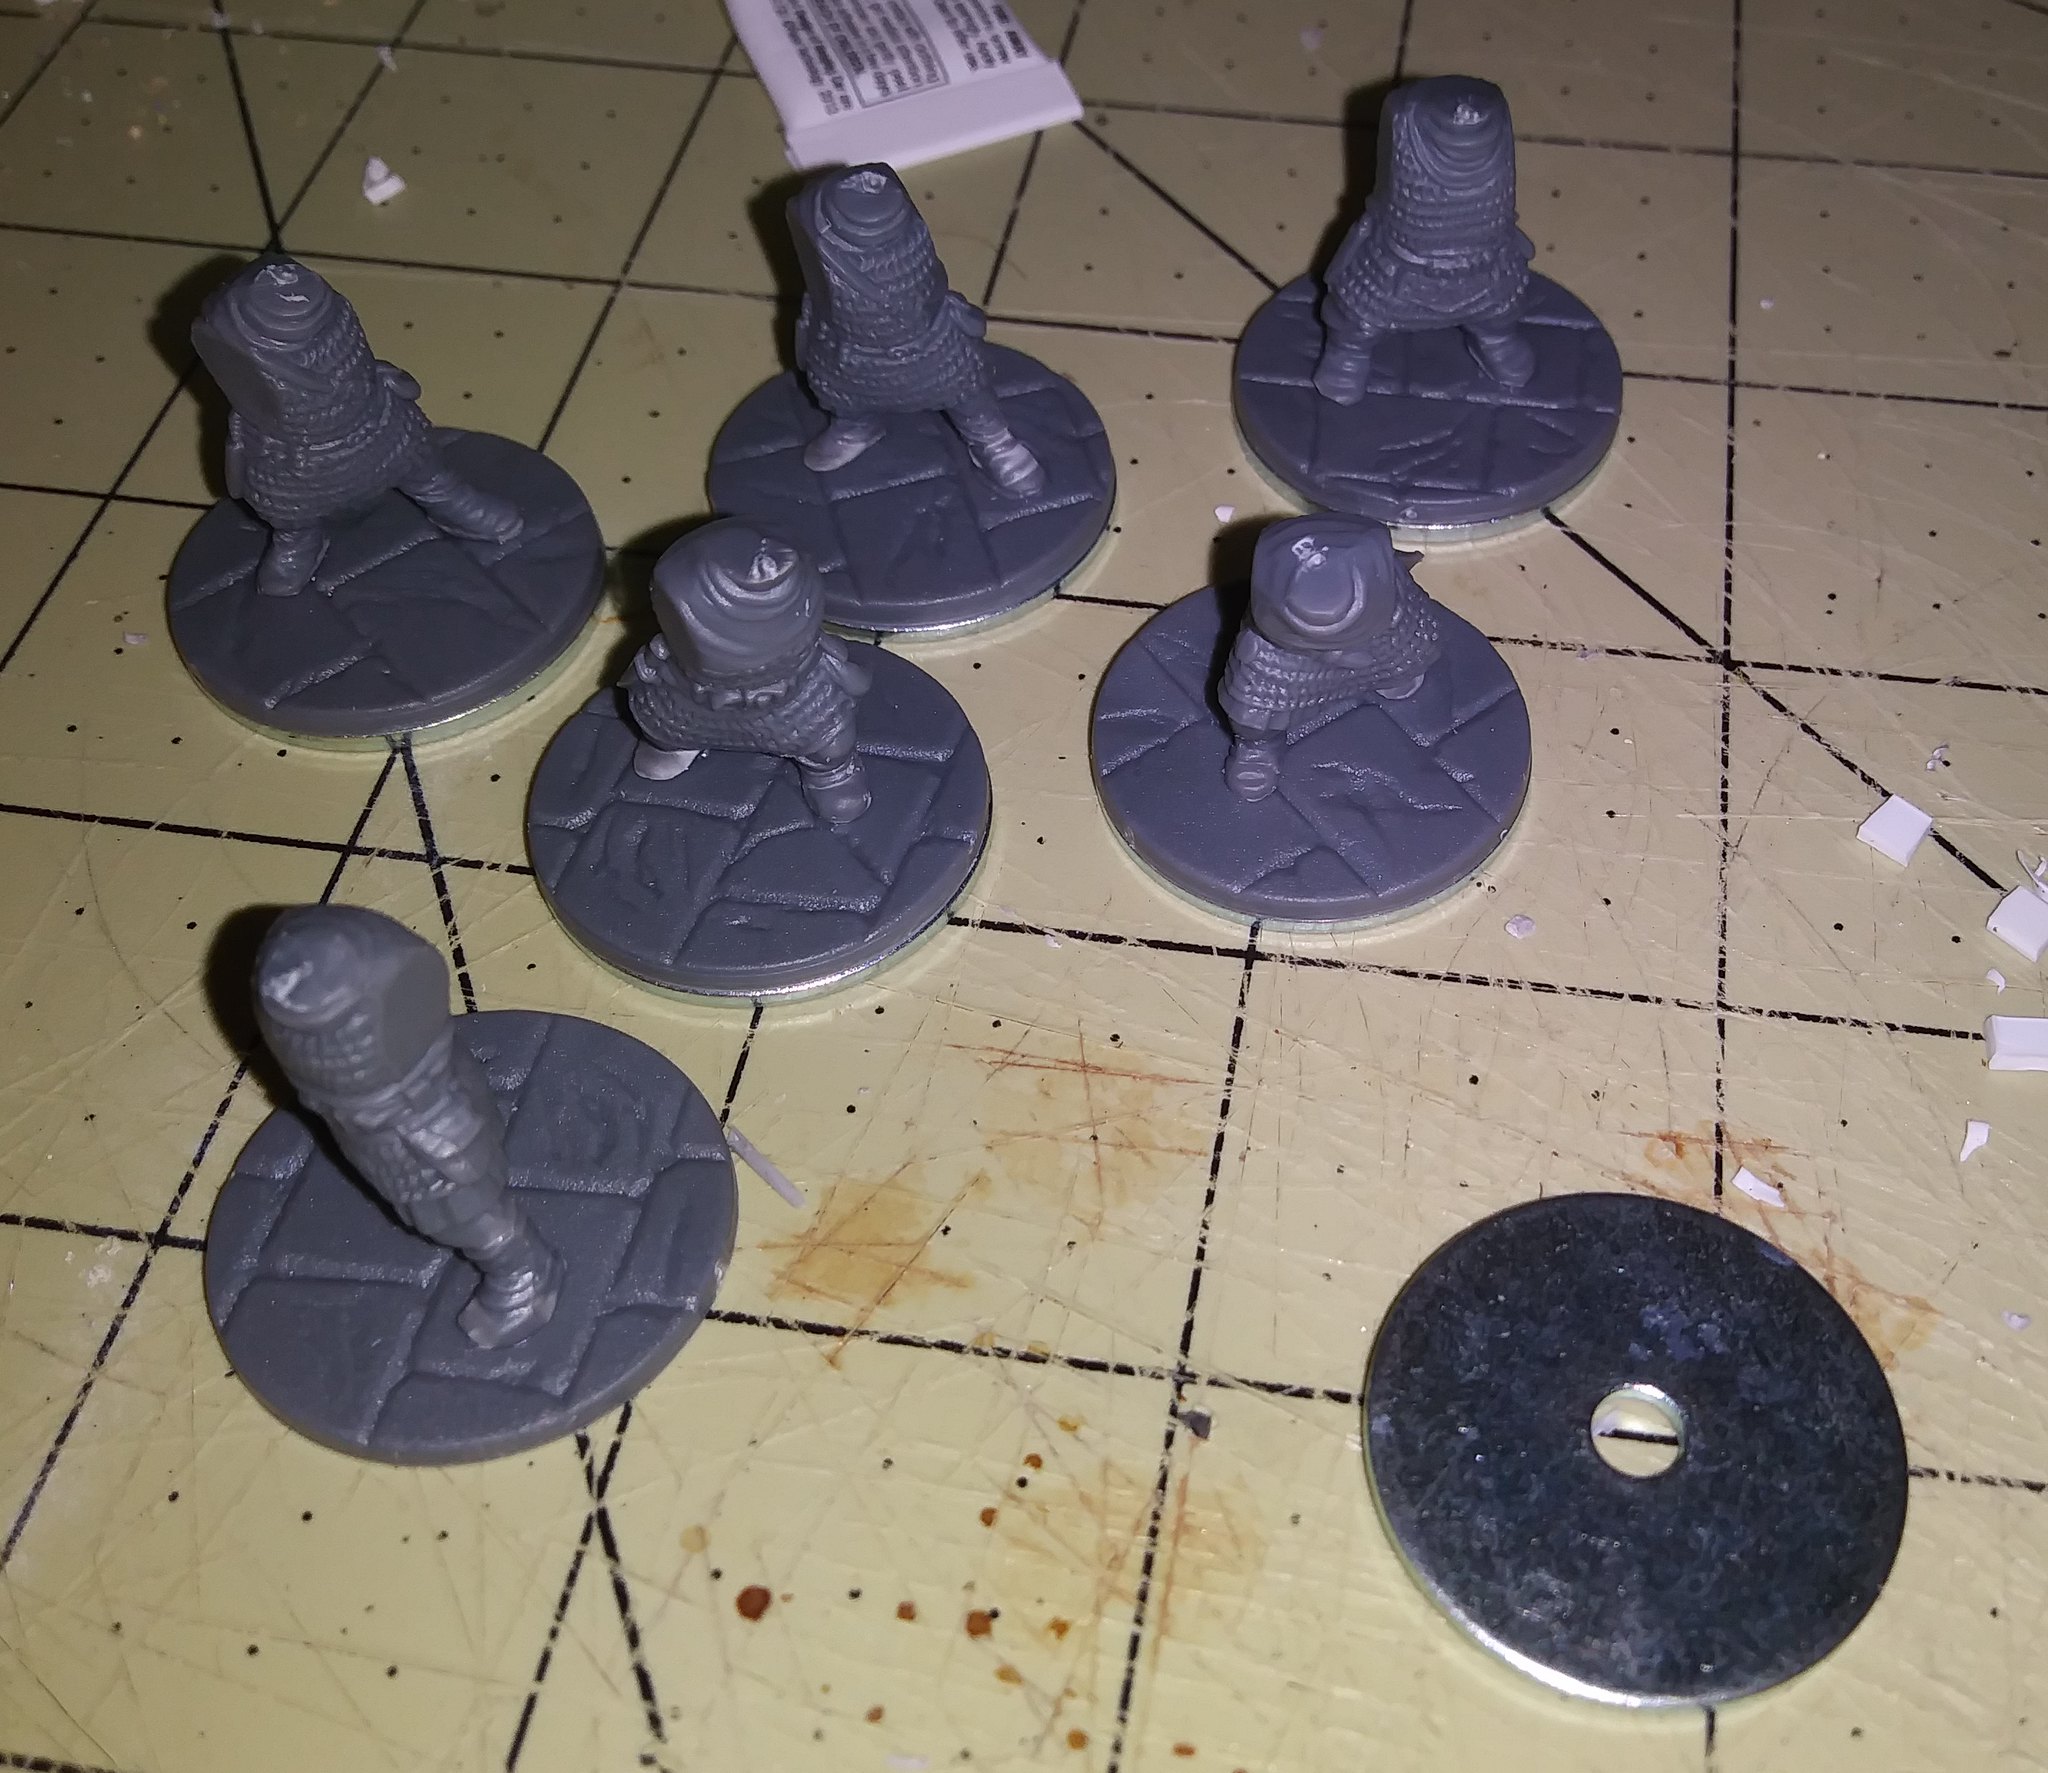
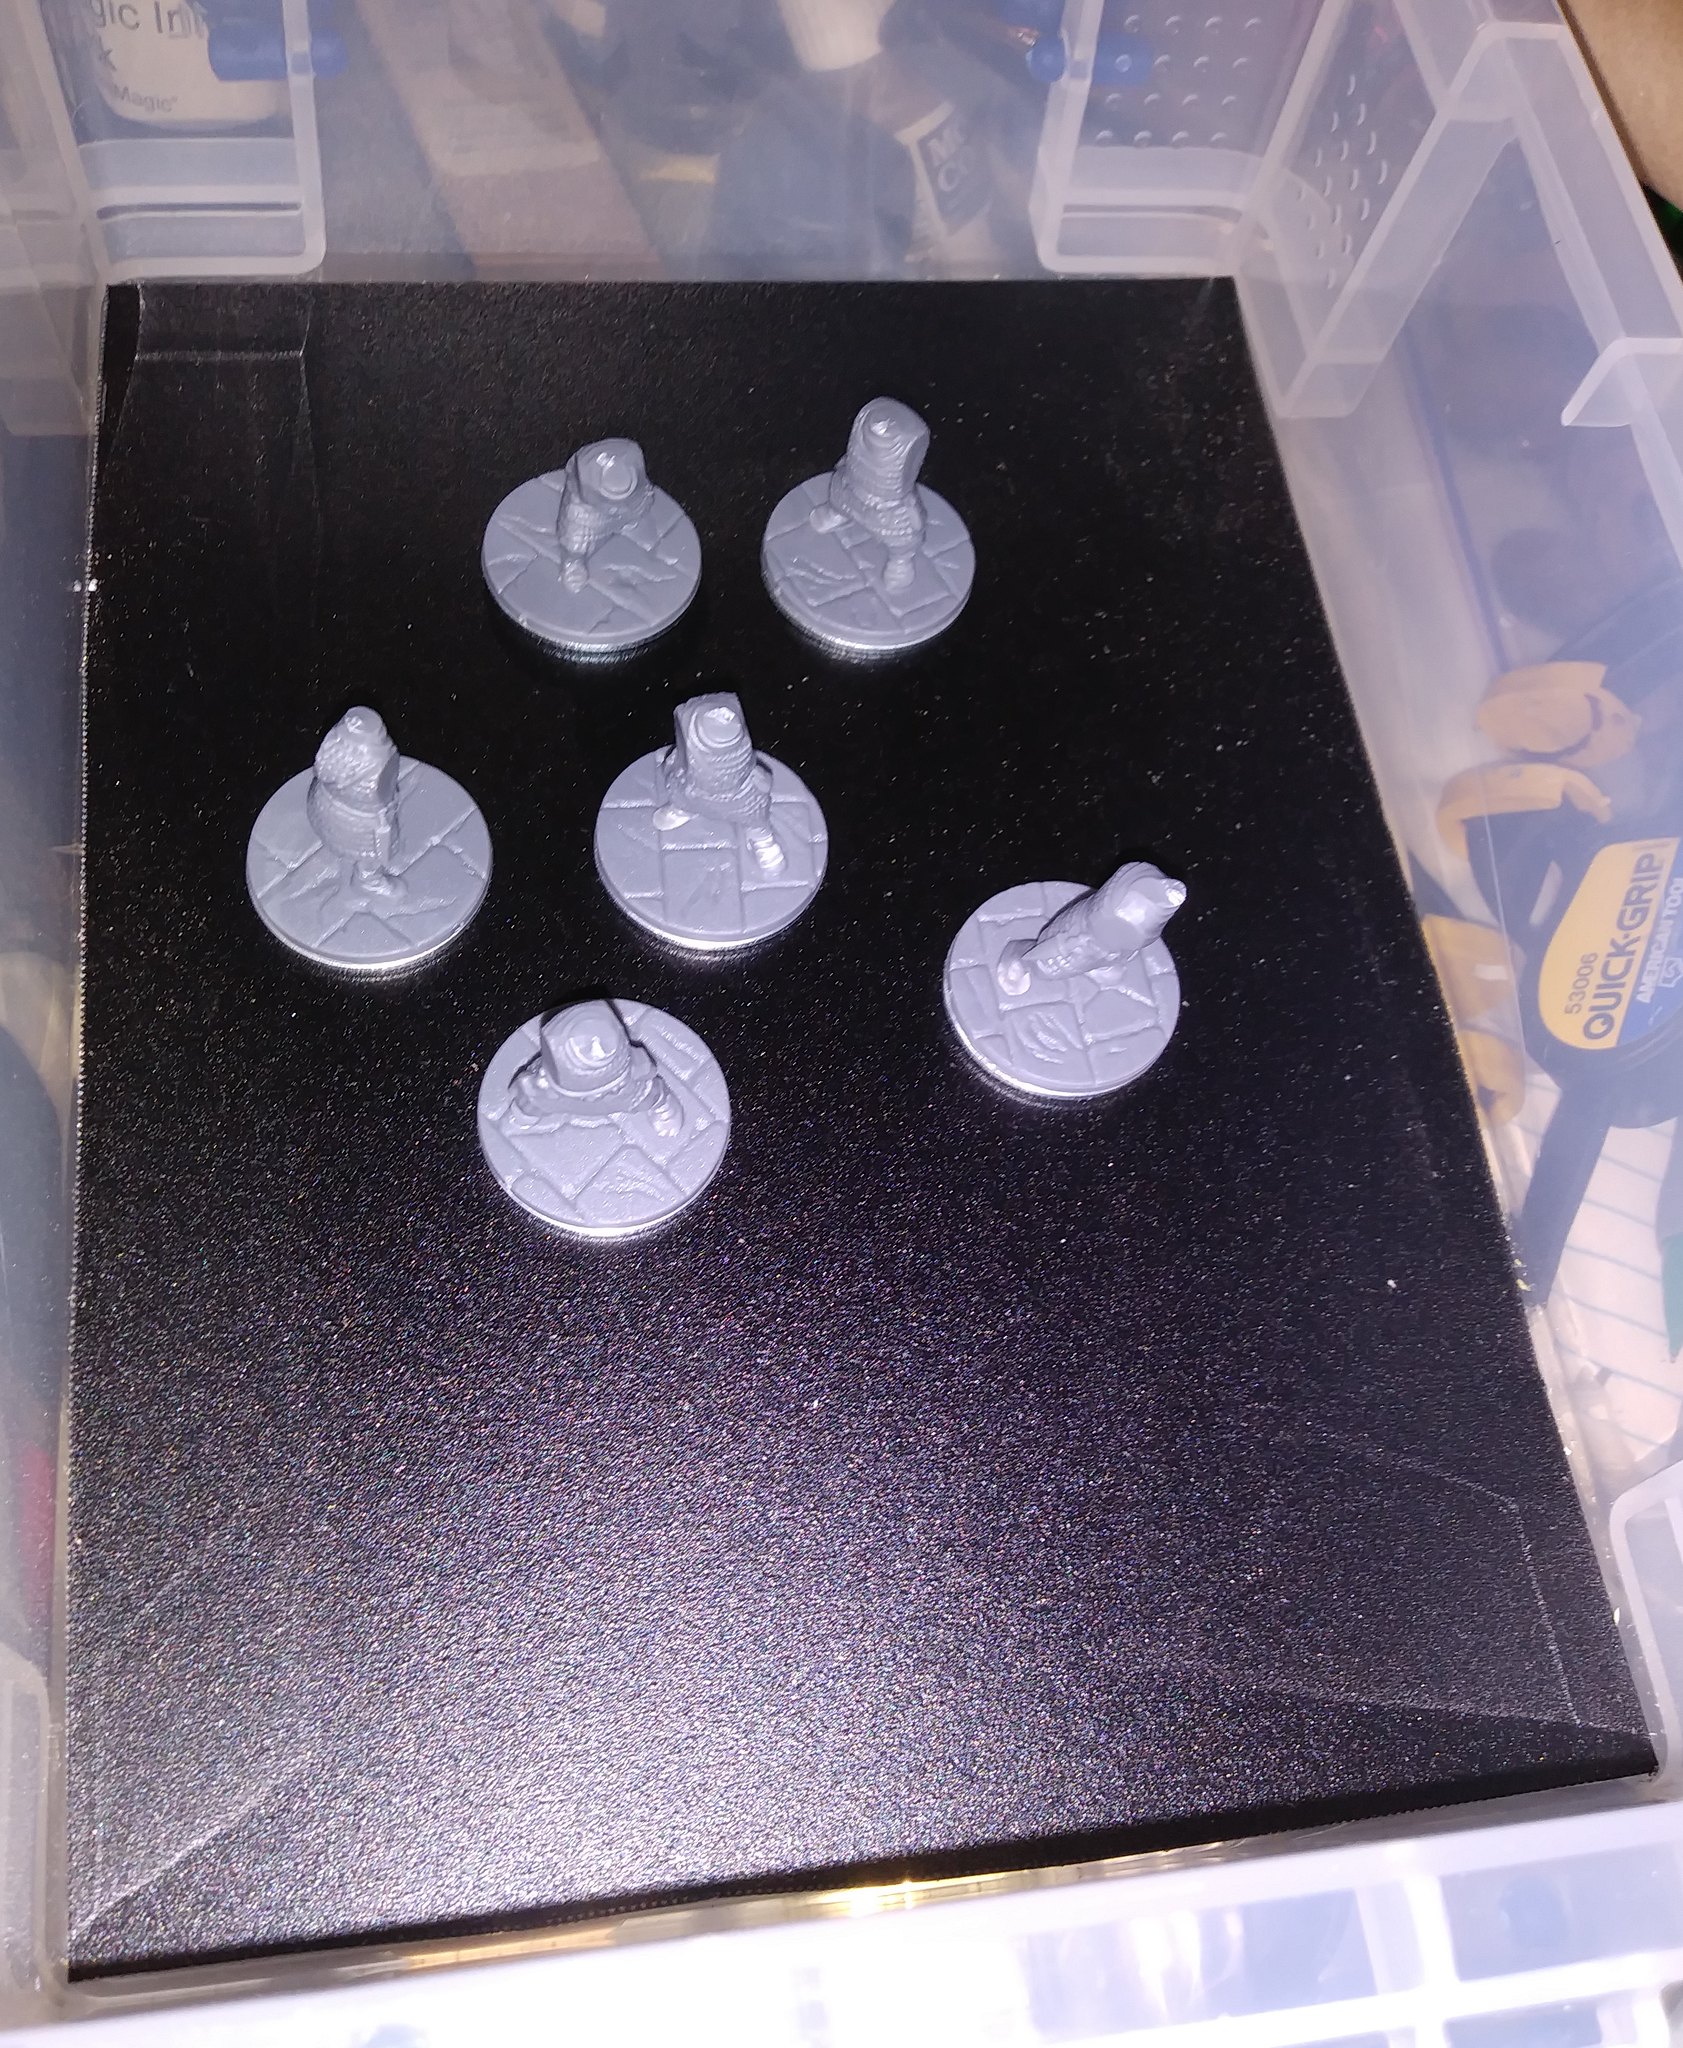
Step one is cleaning up the torsos and putting them on bases.I decided to use the Frostgrave plastic bases. Even though the figures are plastic, I still pin them to the bases for security. I know it is probably overkill, but it's been a habit of mine for a long time.


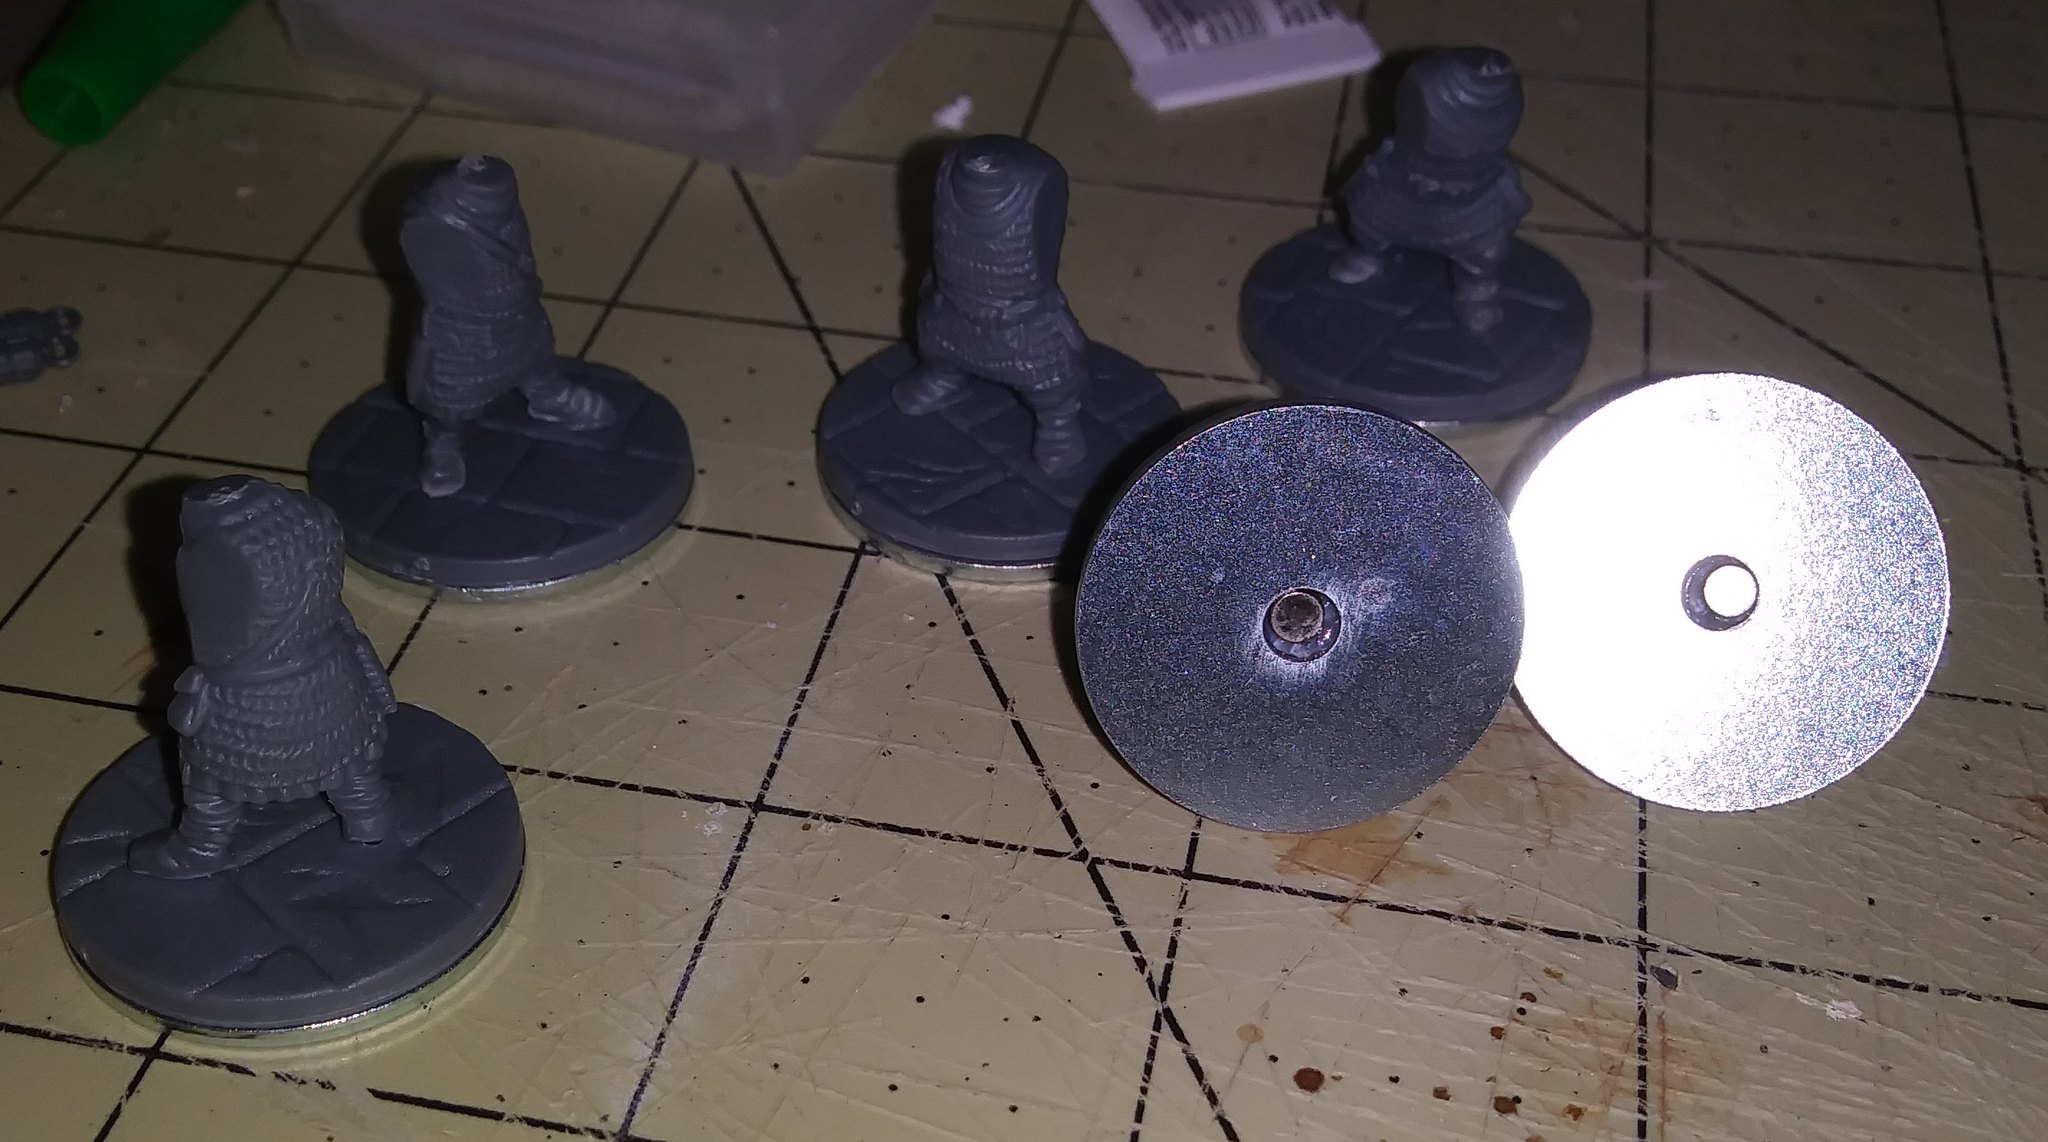
I like my plastic figures to have a little weight to them, so I usually glue the bases onto a 1" washer.


The hole in the washer has the added benefit of being a perfect place to glue a rare earth magnet, as I keep most of my figures in plastic storage bins with metal sheet glued onto the bottom.


The Northstar figures are plastic, and are easily customizable. And the parts are readily interchangeable with the other plastic sets from Northstar. For example, the two-handed axes for my dwarves are from the Frostgrave Soldiers set.


The models are easy to assemble, and paint up nicely. On these models I simply primed black, drybrushed chainmail on the armor, painted the base colors and gave them a wash before varnishing. That's it.


They won't win any prizes, but they are perfectly good for tabletop gaming. I'm looking forward to getting them on a table and smashing some Moria goblins!


'Til next time!


Monday, May 26, 2014

Saga Viking warband - Basing and completion!

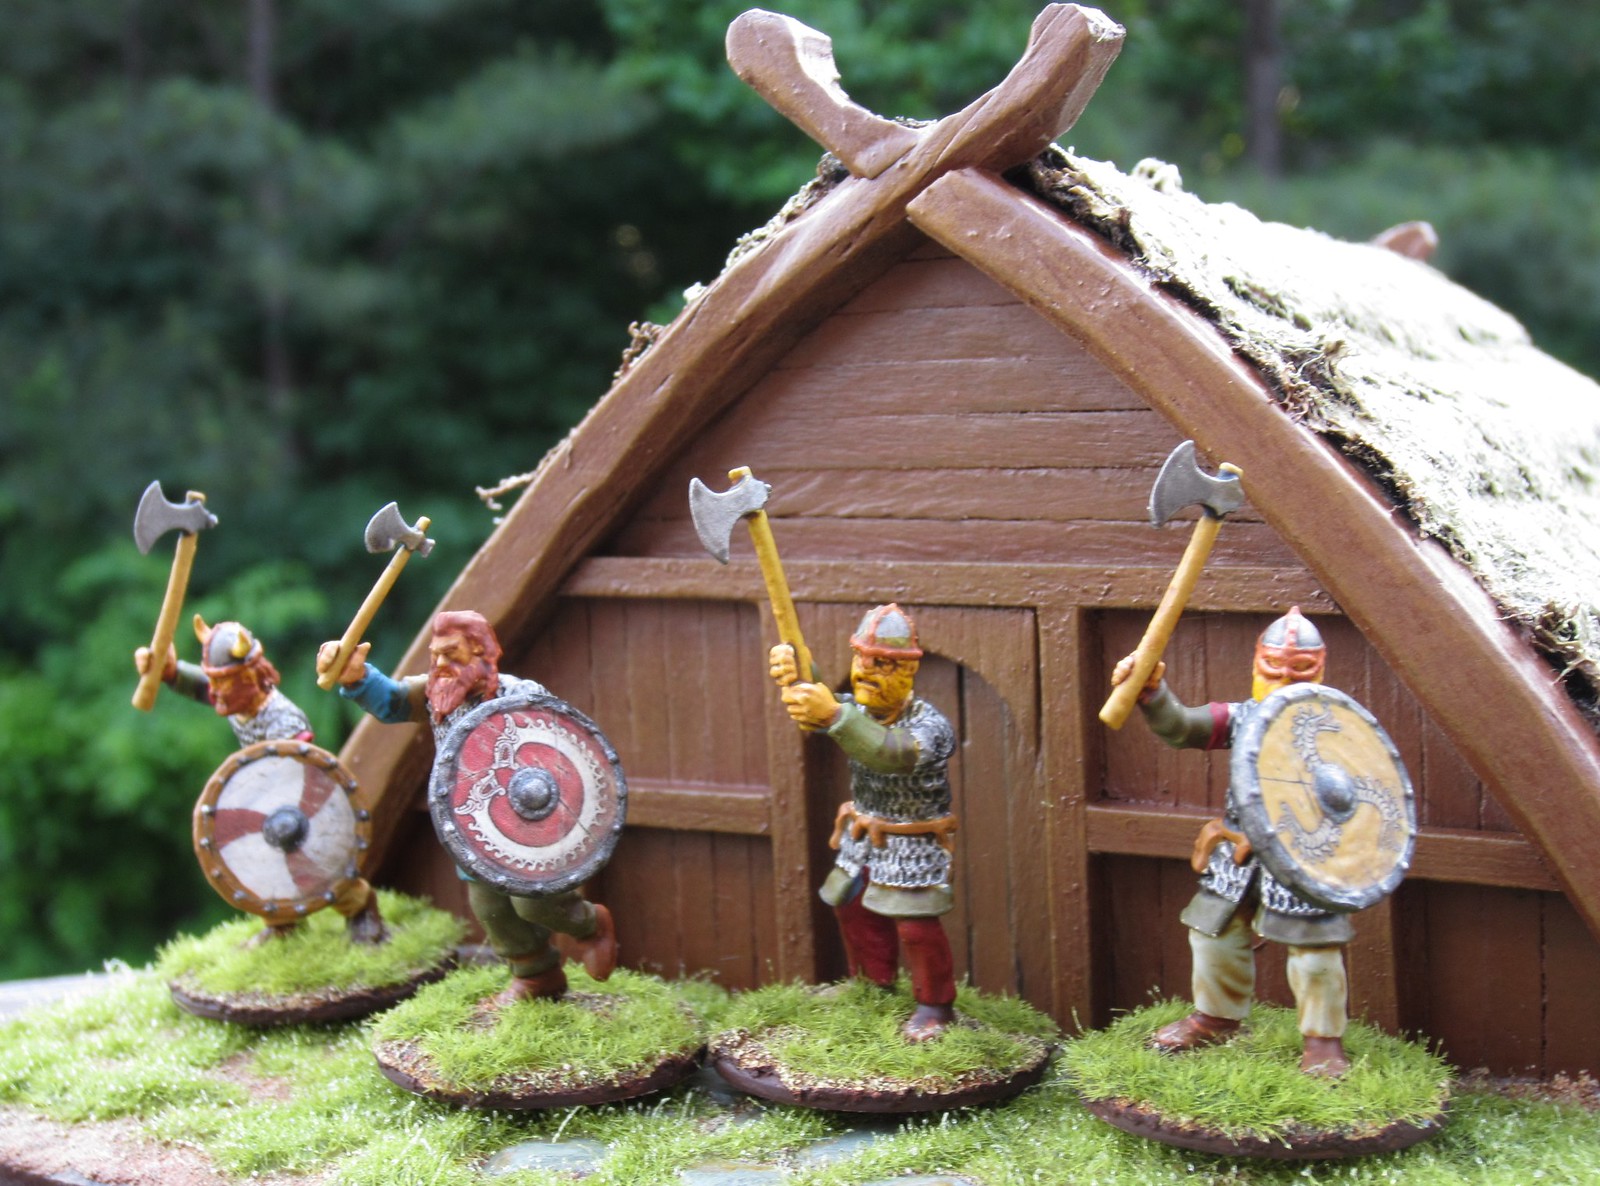
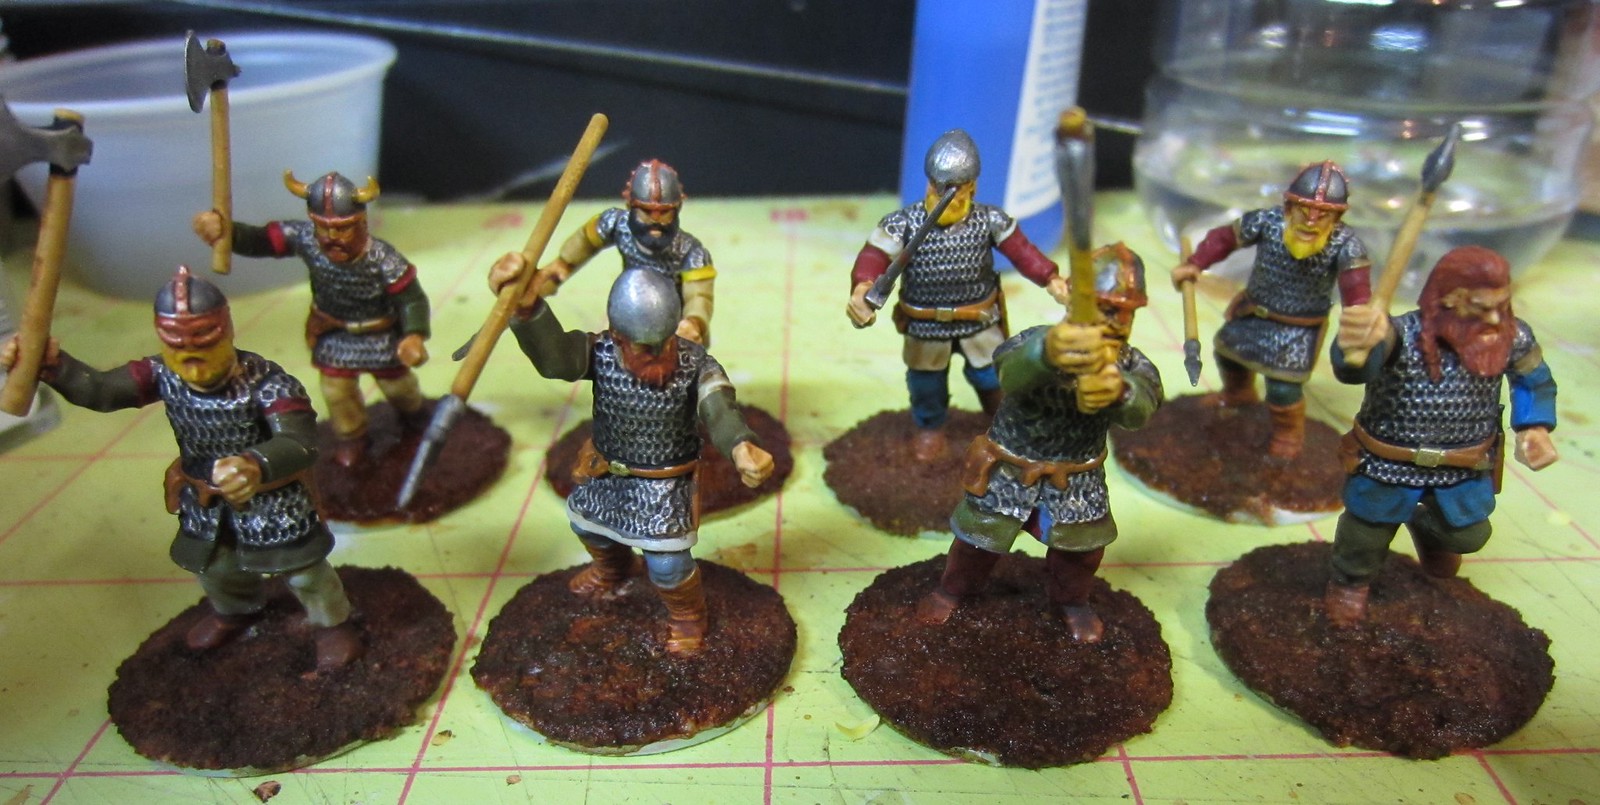
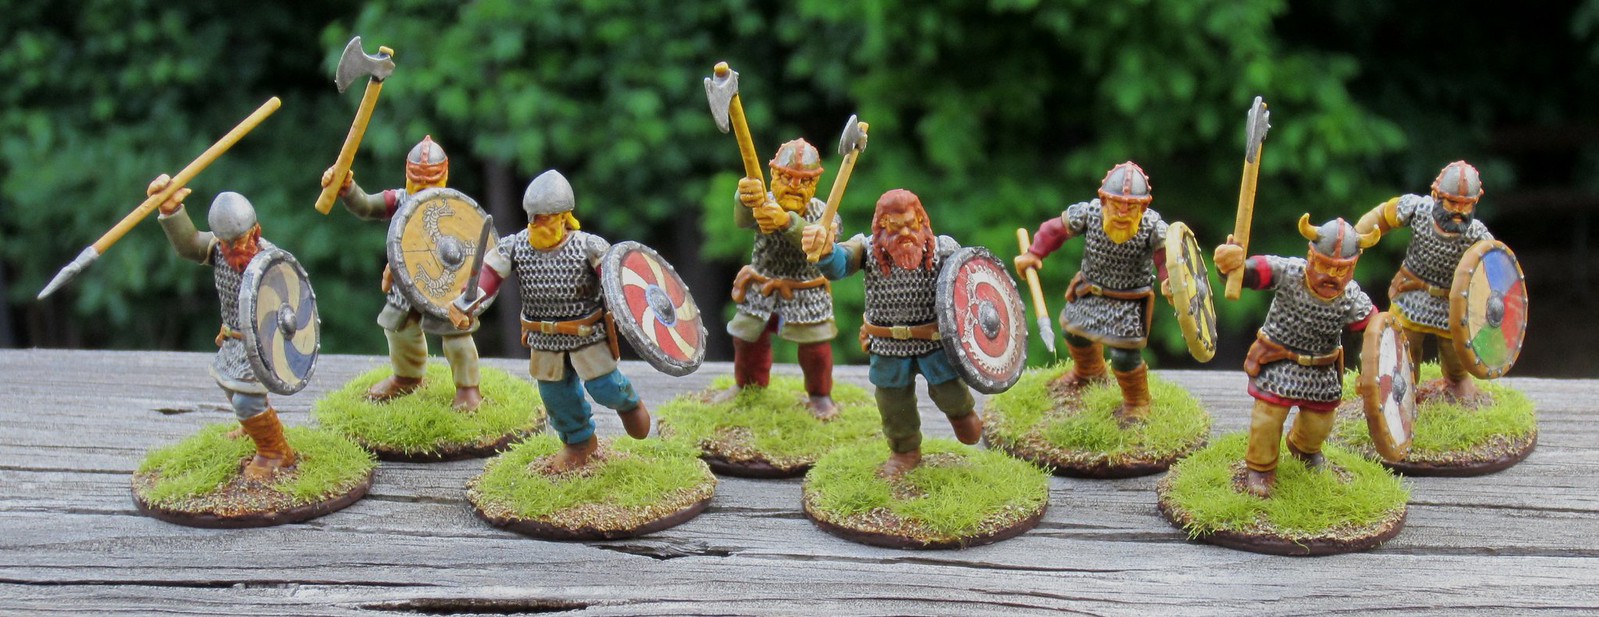
It took a little longer than I would have liked, but I was finally able to polish off the first 2pts of Viking hearthguard for my Saga warband.


I finished the bases on the figures using my standard technique. I know that everyone has their own preferred method of basing figures, and I do not claim that mine is any better than anyone else's, but it works for me. I find it results in a good-looking base that is detailed and durable enough for a gaming figure.

Step 1: Coat the base in glue.


I use a wood or carpenter's glue, but you can also use white or PVA glue. I find the wood glue is a little thicker and covers better than the white glue. I have used TiteBond as well as Gorilla Glue with good results.

Step 2: Dip in sand.


I have a small tub of fine sand I use for basing. I am not sure where I got it - I think it may have come from the kids' sandbox when they were younger. I just take the figure with the glue on the base and dip it into the sand deep enough for the base to be fully covered. Then I pull it out and tape on the figure to knock off the excess glue.


Step 3: Dab on "Scenic Cement."


I then dab on a product made by Woodland Scenics, called Scenic Cement. As far as I can tell, it is basically watered-down PVA glue with a wetting agent to break surface tension. (You can probably make your own from water, glue and a drop of dishwashing detergent.) The wetting agent allows the glue to completely saturate the sand, rather than just sit on the top, and creates a very solid bond that will prevent the sand from flaking off the base.


Step 4: Dip in sand, again.


After the glue has been dabbed on the base, I dip the figure on the sand again and knock off the excess. This fills out the glue and raises the surface of the sand to better hid the edge of the molded base the figures are standing on.

Step 5: Dab on some more scenic cement.

I repeat the dabbing on of the scenic cement. Again, this completely saturates the sand with the glue mixture.


Step 6: Tint the sand with ink.

I put a few drops of a dark borwn ink on the base. The ink spreads throughout the base where it has been wetted with the scenic cement. I think you could probably use a wash for this, but I like the deep brown look created by using ink. I buy mine at Michael's.

If you are making bases for other environments, you can use any color ink. I've also black ink for when I am making asphalt or modern city bases.


Step 7: Allow to dry completely!


Before you move on to the next stage (drybrushing and adding grass) let the bases dry completely. If you don't, you'll knock some of the sand off when you are drybrushing. This is the hardest part for me, since I am very impatient. I usually let the bases dry overnight - I set them aside and work on something else for the rest of the day.


Step 8: Apply the first drybrush.


The specific colors used will depend on what environment your bases will be. The brown base actually works well for a variety of different bases. If it's a desert base, for example, I just use a heavier drybush of the same colors I used for these Vikings. If it's supposed to be a muddy field, then it may not need much other than a slightly lighter brown drybrush. Experiment with the colors until you find a combination that produces the desired results.

For the Viking bases, I started with a fairly heavy drybrush of Yellow Ochre. The brushed bases are in the first row, with the untouched bases in the back.


Step 9: Apply the second drybrush.


In order to give the bases a little depth, I use a second, lighter drybrush. In this case I used Menoth Base White.

Once again, the front bases have received the second drybrush.


Step 10: Apply the ground cover.


Once the second drybrush is complete, it's time for the ground cover. I used static grass on these bases. I just dab on some super glue in a random pattern on the base. Then I sprinkle the static grass on the base, turn the figure upside down, and tap the bottom of the base. This has the effect of making the static grass "stand" and makes it look more like real blades of grass. The figure on the left has had the static grass applied.

Step 11: Finishing up.

I paint the edges of the bases an appropriate color - in this case Scorched Brown - then spray the entire figure with a matte sealer.

As you can see, I use a variety of colors and paints, from many manufacturers. I just find a color I like, and don't worry too much about who makes it. I mix Privateer paints, Citadel paints and the cheap Apple Barrel or Folk Art colors from Walmart! For scenery and bases, I find it doesn't much matter what you use, as long as the colors blend into something you like.

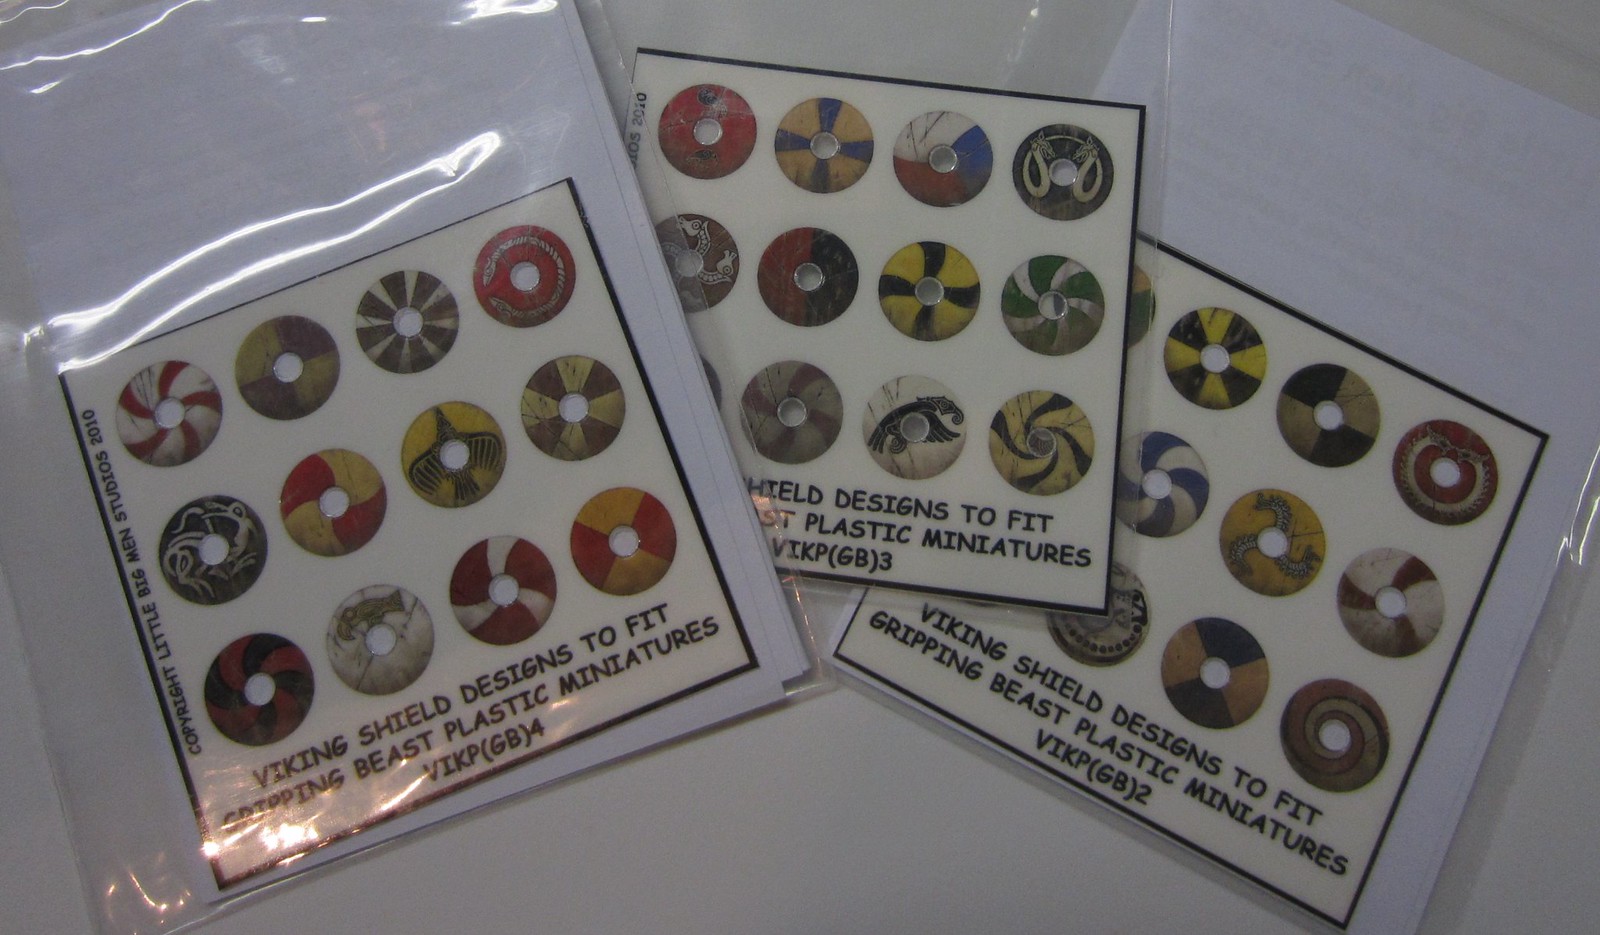
So, after basing, all that was left to finish the figures was adding the shields. I took the easy way out, and ordered some transfers from Little Big Men Studio. They are easy and quick to apply, and look great (much better than I could do by hand).


Once those were sorted, I just had to assemble my Viking raiders for a photo op!


Now on to the next 4 points of Vikings. Hopefully, these will not take me as long. There's a Saga event at the local game shop in late June, and that deadline gives me incentive to get the warband done.

'Til next time!
Monday, May 19, 2014

Saga Vikings - first two points nearing completion!

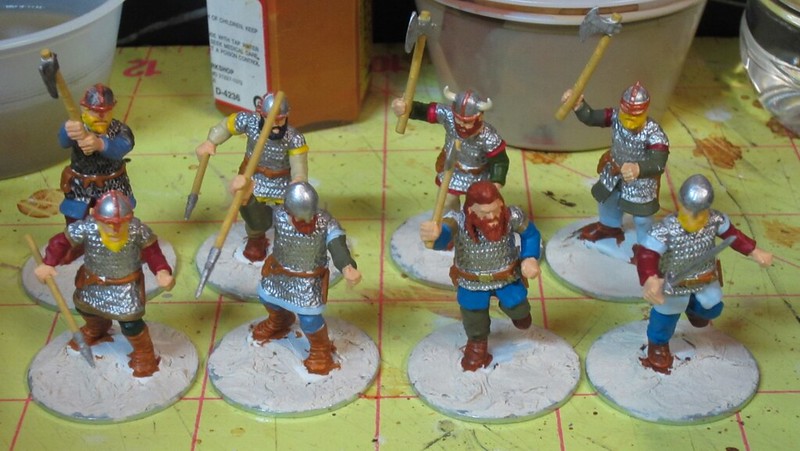
I was able to get some worktable time this weekend, and made good progress on the Saga Vikings I am currently painting. My first group is 2pts of Hearthguard from Wargames Factory - each point is four chainmailed warriors armed with axe, sword or spear, and shield.

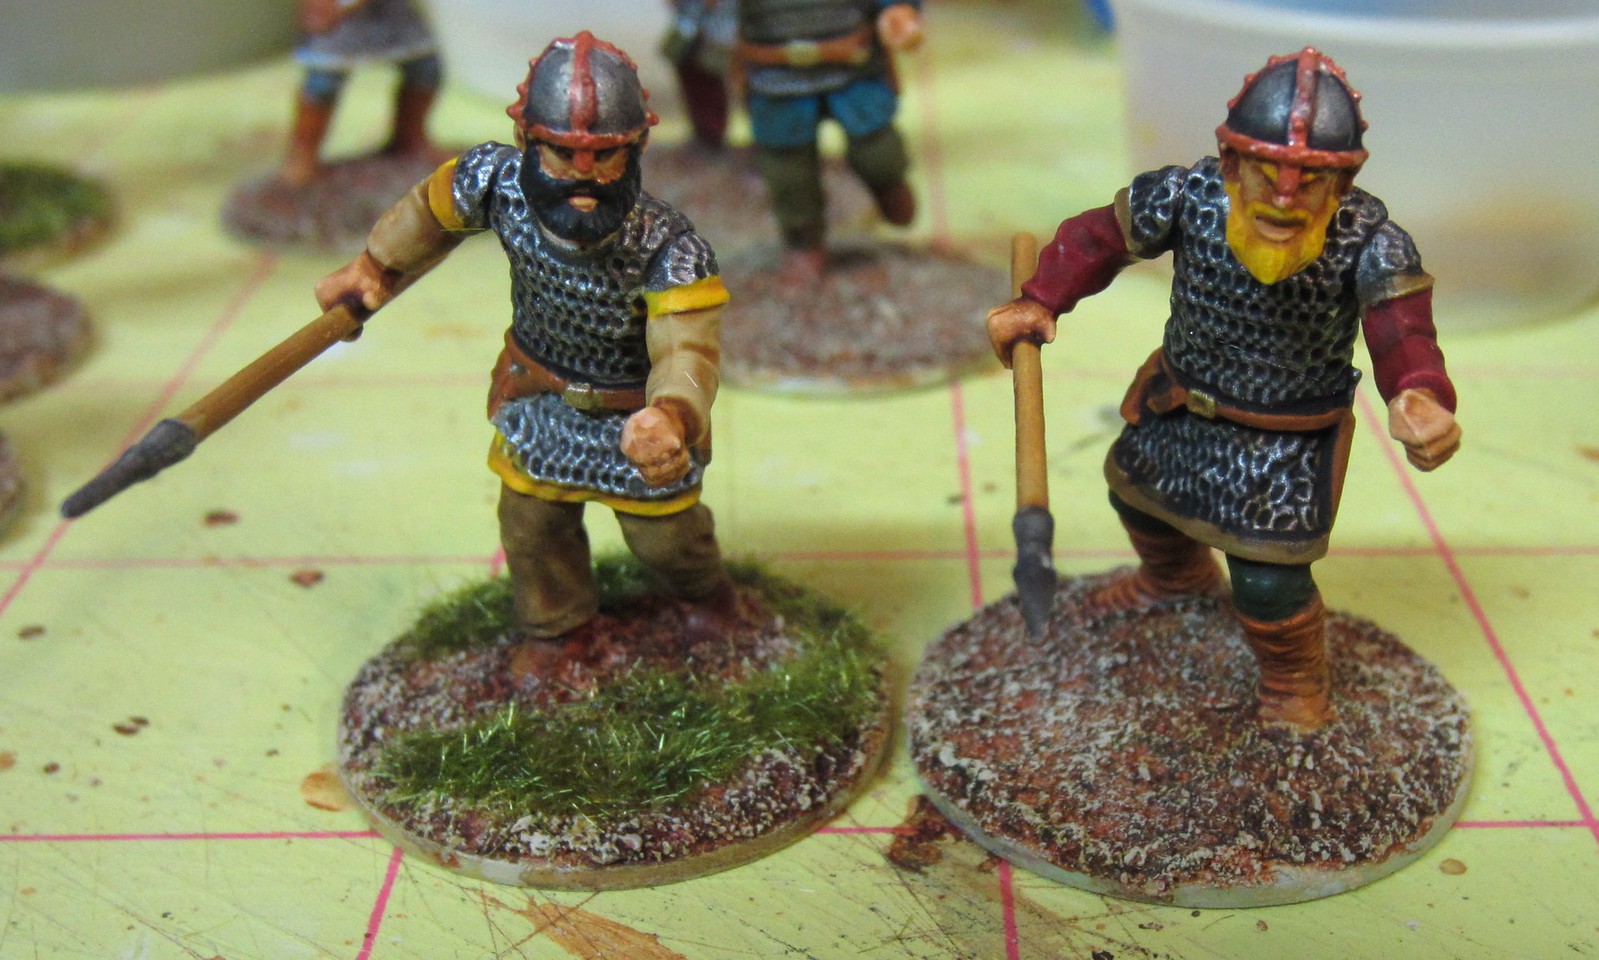
I am not an expert painter, by any stretch of the imagination, and despite the fact that I work slowly and meticulously, I consider my figures to be painted to a wargaming standard, nothing more. My technique is, ultimately, very simple. I basecoat in the desired colors, then wash. That's it. These are the steps/colors I used to paint these particular figures:

I usually prime my figures in white. I know most other mini painters prime in black, but I just feel that it dulls down the colors too much to paint them over a black base. I use Vallejo and Games Workshop paints interchangeably, and I will note the colors used if I remember!

I painted the faces and hands with Vallejo flat flesh, and folowed with the hair and beards. I used a variety of colors, including GW Sunburst Yellow, Bestial Brown, Vermin Fur, and Vallejo German Grey (which is almost black).

GW Chainmail went on next, followed by Snakebite Leather on the belts and some leggings. For the helmets, I used Chainmail on the main parts, and followed with Copper on the ridges and face masks.

The spear shafts and axe handles were painted GW Bubonic Brown, as I wanted lighter wood to simulate ash. And the weapon blades and spear points were painted GW Chainmail.

The various tunics and pants were painted in a variety of colors. I used GW Shadow Grey, Space Wolf Grey, Enchanted Blue, Mechrite Red, and a ton of Vallejo greens and khakis. I mixed them pretty much randomly on the figures, just trying to get combinations of tunics and pants that looked good to me. I used GW Bestial Brown on the boots, and the basecoating was complete:


After that dried completely, I applied a couple of washes. First, I used GW Nuln Oil shade on the chainmail armor, helmets and weapons. I used a pretty heavy coat of this, and went over some areas more than once to lose the silvery shine. When that dried, I applied GW Seraphim Sepia shade over the rest of the models, covering hair, faces, tunics, leggings, etc. The wash really brings out the details, and blends the colors into a cohesive appearance.

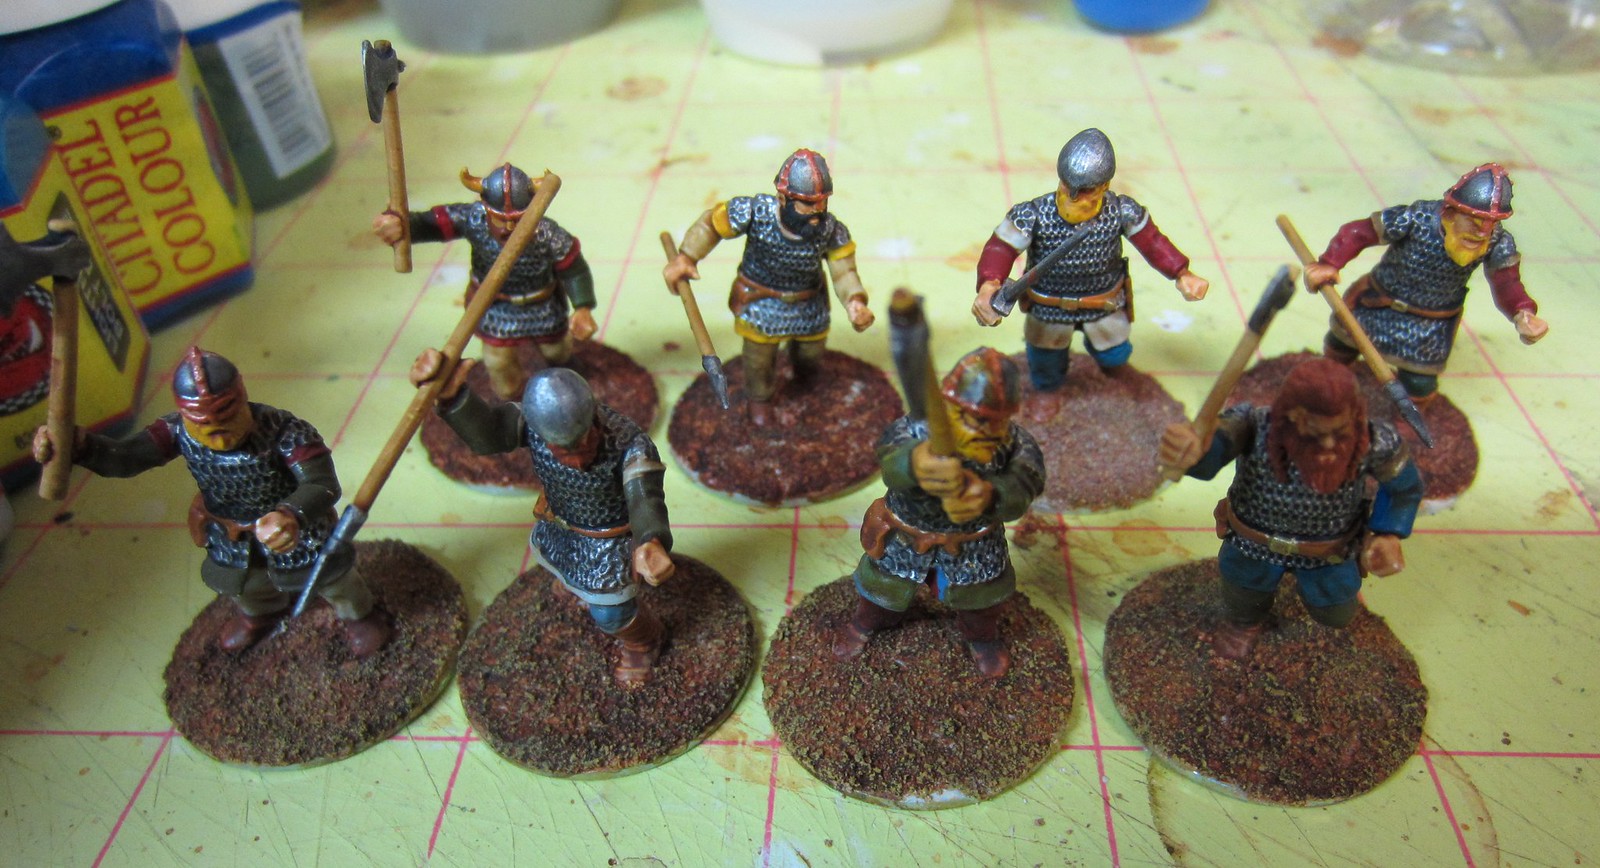
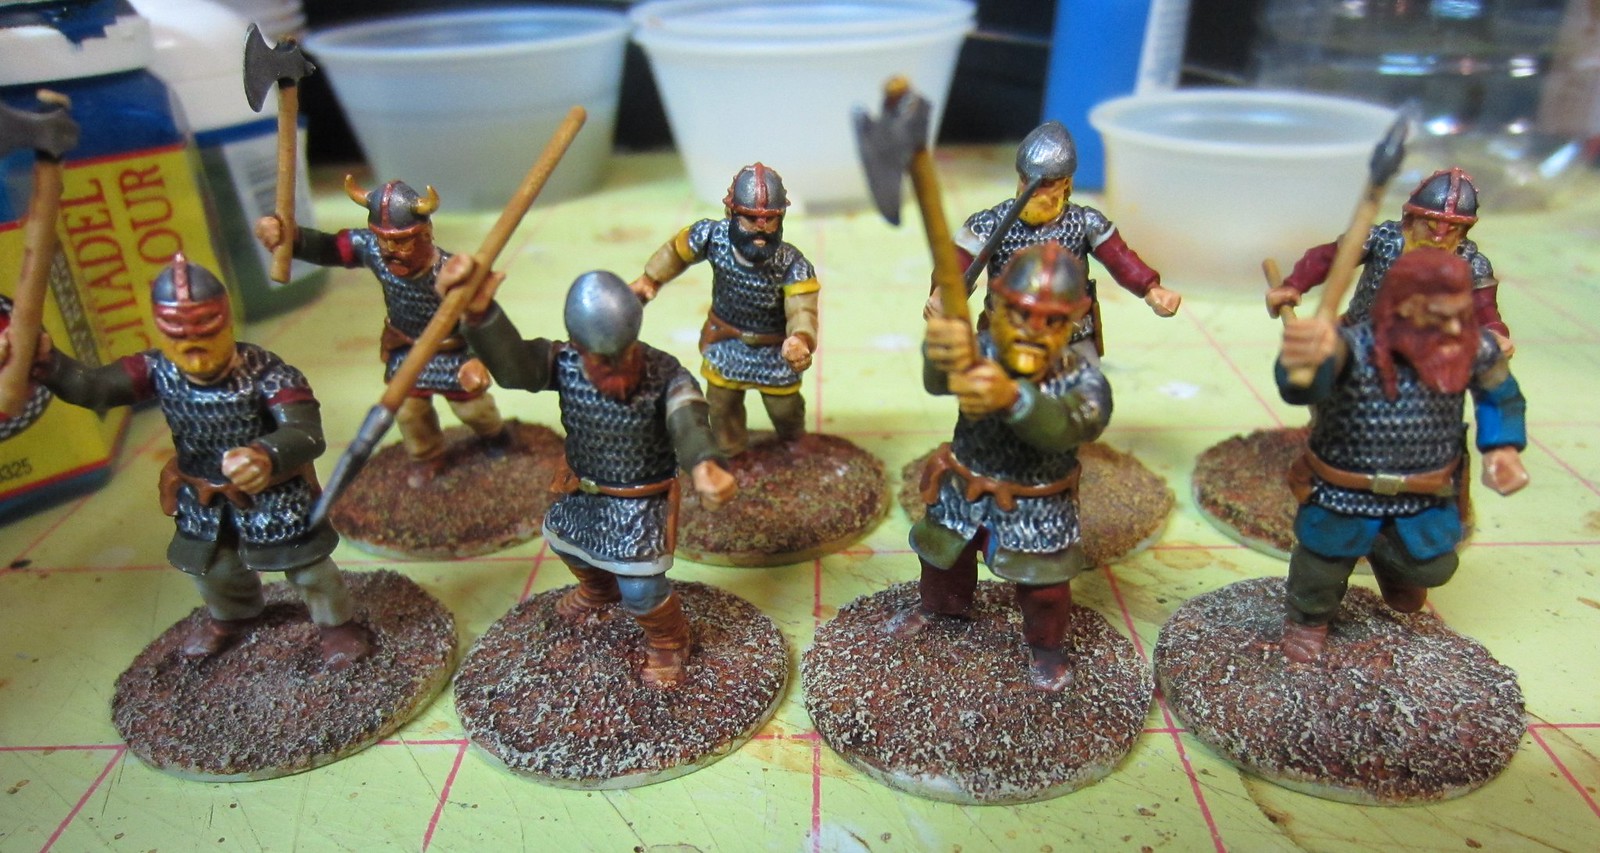
At this stage, I consider the figures to be complete, except for the basing and the shields:


Since Dark Age warrior shields are so highly visible, they need to look good or else the whole miniature suffers. Since I do not think I can do the shields justice painting by hand, I have some transfers on order from Little Big Man Studios that will make them stand out. I'll post more pictures when they are ready.

Now to get started on my next batch of warriors - more Hearthguard and some Bondi. I hope to have a full 6pt Saga warband painted by the end of the month, and have set that as my goal, since I work better under the pressure of a deadline.

'Til next time!
P.S. To those of you who noticed the non-historically accurate horns on the Viking in the back row. Yes, I know! :)
Long story - when I first assembled these Vikings, the plan was to use them as Skandians (from John Flanagan's Ranger's Apprentice books). They are Viking analogues that do use horned helmets. That wargaming project never really got off the ground, and when I rescued these figures to use for Saga, I decided not to change his head/helmet.

Wednesday, April 18, 2012

Gruntz Transports from Matchbox Trucks

Well, it's been a bit since I was able to post. Real-life family issues have kept me occupied, but hopefully things have settled down now enough for me to get some more hobby and modelling projects finished.

Last week I was able to finish up a couple more GZG Colonial Legionnaire squads for 15mm science fiction gaming, particularly Gruntz.

Painting up the squads was pretty straightforward, I used the same color scheme I used for the earlier troops. The only difference is these guys had helmets. I must say I prefer the legionnaires with the kepis, and will be getting more of those to flesh out my units.

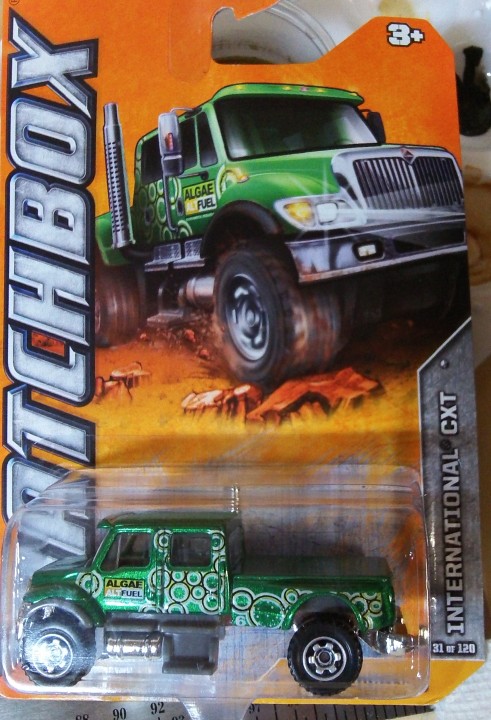
In my eternal search for cheap gaming models, I came across a Matchbox truck that looked promising. It's their version on an International CXT, which is apparently the largest pick up truck in the world.
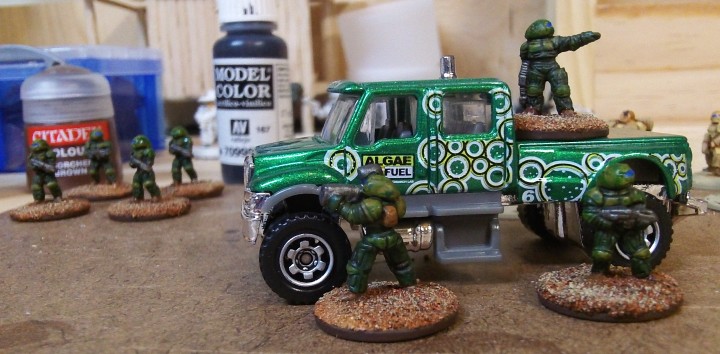
It looked to be about the right size, and at 98 cents it was worth taking a chance.  Once I got it home I checked it with some 15mm GZG UNSC Marines.

It looked okay, but I wanted to check the actual dimensions. I measured it and compare it with the real truck. The Matchbox is a little oversized, but well within what I'd consider reasonable tolerances.

International CXT Actual and Scale Dimensions

Actual1/100 ScaleMatchbox Model
Length21.5 feet (6.6 m) 2.58 in2.8125 in
Width101 inches (2.6 m) 1.01 in1.125 in
Height9 feet (2.7 m) 1.08 in1.1875 in.

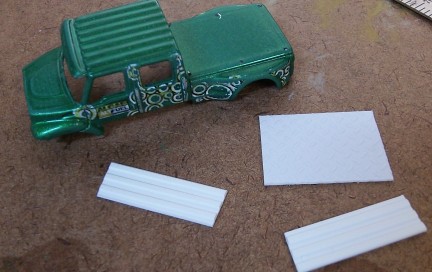
The next day I picked up a few more, and began the conversion process. I began by disassembling the truck into its component parts. This required drilling away the rivets that hold it together, but was pretty straightforward.

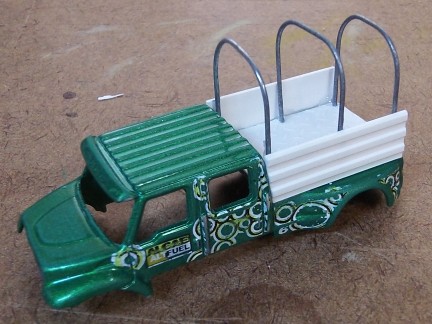
I wanted to enclose the truck bed. The model comes with a covered bed, so rather than cut through the metal, I just added another surface and some side panels from styrene. Yes, technically not realistic, but otherwise it would mean a lot more cutting and filing than I wanted to deal with. It's a compromise, but one I can live with.
I made two open-bed trucks, and a third with supports that can hold a canvas canopy.
One other change I made was to cut the window out of the back of the plastic insert that represents the glass. On the left is an unmodified window insert, and the truck on the right has the rear window section removed.
The reason why I did this, is that without the rear window, I can fit two troops on penny bases in the bed of the truck.
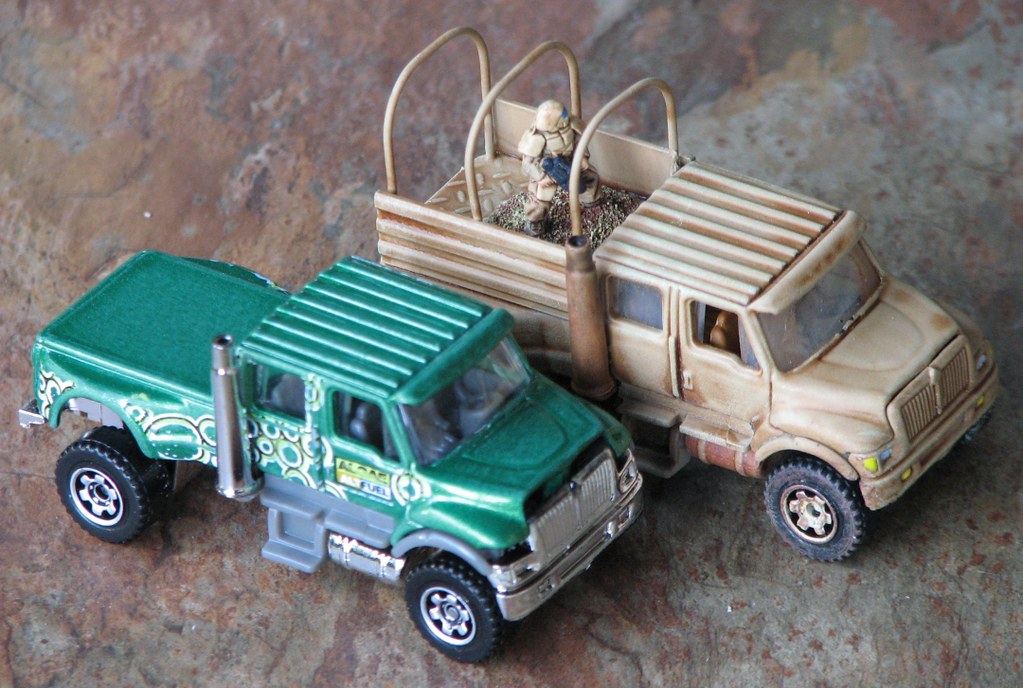
Here you can see one of the converted and primed trucks, beside an unmodified one.
I spray painted a sand basecoat on the trucks, then added some rust, a little brownish wash, and a light drybrush. I also masked off where the wipers would clean the windscreen, and then dirtied up the glass. Also, I added a drop of glue to the wheels to lock them. Otherwise, when placing the trucks on a slope or incline, they'd roll right off!

The end result, sitting beside the regular, unmodified truck:
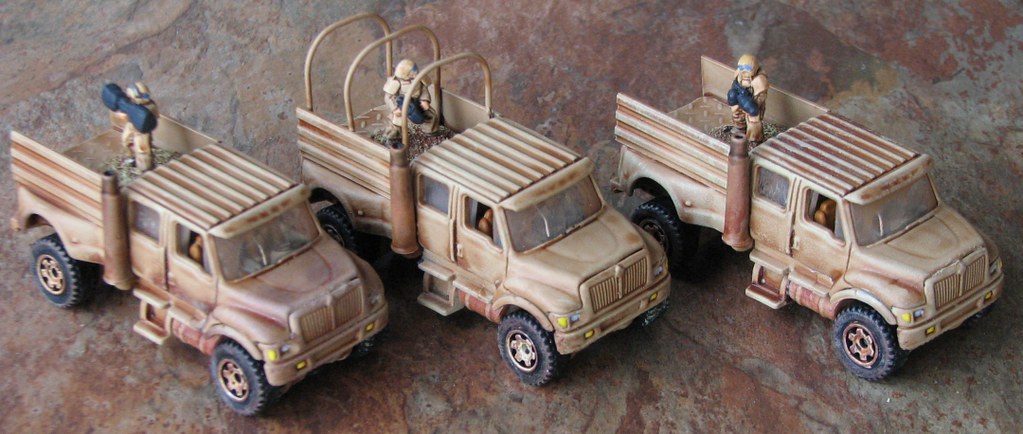
Here is my current fleet of three. The only thing I may still do is add a canvas cover to the truck with the cover frame.
And finally the transports with their accompanying squads:
I must say, I really enjoyed making these. First, the price was certainly about as good as it could get. $3 for the fleet. And I really do like the look of them, if I do say so myself. They are generic enough that they could almost pass for anything from a vintage truck, to a modern truck, to a near future sci-fi or post apocalyptic setting. I have one unmodified truck left, and I am not sure whether to convert it into a vehicle for a post-apocalyptic warband, or maybe a command truck for my Gruntz force. When I decide, I will certainly post it here.

'Til next time.

Monday, March 5, 2012

First Painted Figs of 2012!

Well, this weekend I decided that I would do some painting - no matter what. I am still not 100% organized in my basement work area, but I had not painted any figures yet in 2012 and it was time to remedy the situation. And since on Friday night the tornado sirens went off in my county and we had to be in the basement anyway... well, what could be better than taking my mind off the possible danger by painting up a squad of 15mm FSE Colonial Legionnaires from Ground Zero Games for Gruntz!

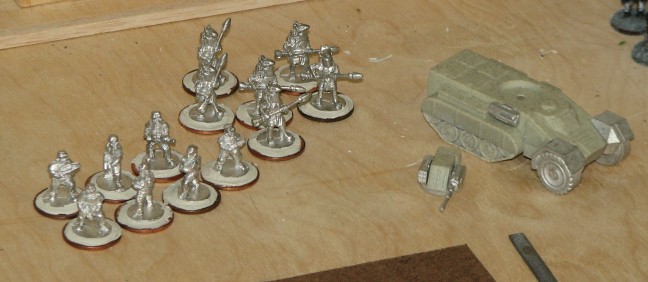
First I prepped the figures, cleaning them up and basing them on pennies. For the Dragoon halftrack from Old Crow, I added magnets for the turret to hold it in place, while allowing full movement.


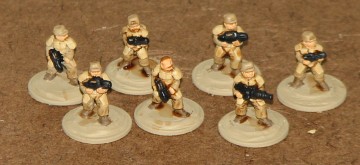
I primed them black, then gave them a basecoat spray of "sand." I added a little flesh on the faces and hands, then I used a lighter sandy color on the body armor, and a darker brown on the boots. A quick wash, and we're done! The joys of 15mm - at least the way I paint them - is that there's no need to stress over every little detail. Just get the basic colors where you want them and you're good to go.


And here's the completed squad and transport - and ready for Miniature Monday to boot. On the halftrack I painted some stripes in brownish yellow, then drybrushed a lighter shade over the whole thing. Pretty quick and simple, but I am very pleased with the results. My first fully painted figures of 2012! (I have to admit I think I may have already surpassed my 2011 total...)

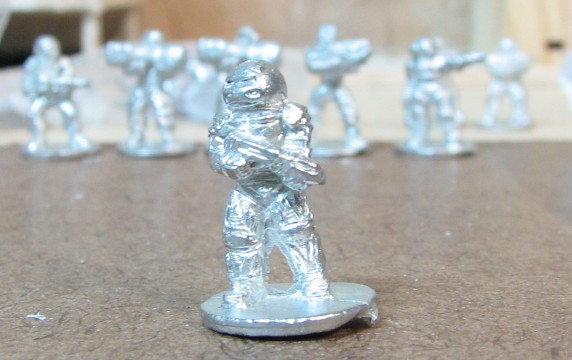
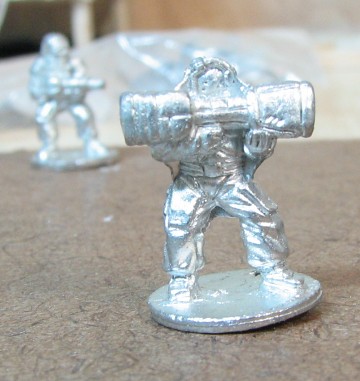
I thought I'd write a few words about the Ground Zero Games 15mm figures. Overall I really liked the legionnaires alot, enough that I am going to make them the mainstay of my 15mm force. As you can see on the images below, there is some flash that needs to be cleaned up, primarily between the legs and under the arms. The one thing I was not terribly pleased with were the faces. Especially in the case of the bare-headed squad leader, the face was a fairly shapeless blob. Fortunately, at this small scale I do not think it makes a huge difference, but I have seen other 15mm figures with crisper detail.


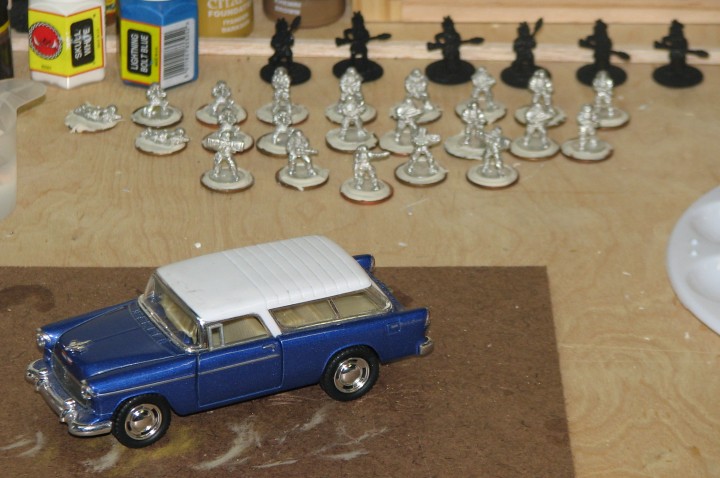
And for your patience in following this post to the end - a teaser of my next several projects on my workspace. I have some more GZG 15mm figures to add to my Gruntz force - this time it's FSE Legionnaires with helmets, UNSC hardsuit marines, and "sci-fi Egyptians with Jackal-head helmets" (also known as Horus Jaffa from Stargate!). Plus, I found a toy car, in a drugstore of all places, that I simply had to have - a 1955 Chevy Nomad! It is slightly oversized for 28mm, but after I get done converting it I don't think it will be that noticeable. It will become the main ride for one of my "road warden" bands for a post-apocalyptic setting I am still working on. More details to come as I move forward with that project.


'Til next time!

Tuesday, February 7, 2012

2012 Resolution - Organizing is underway

Quick update: despite a busy Super Bowl weekend (YES! The Giants beat the New England Patriots, again!) I did manage to make some good progress on organizing my work and game space in the basement.
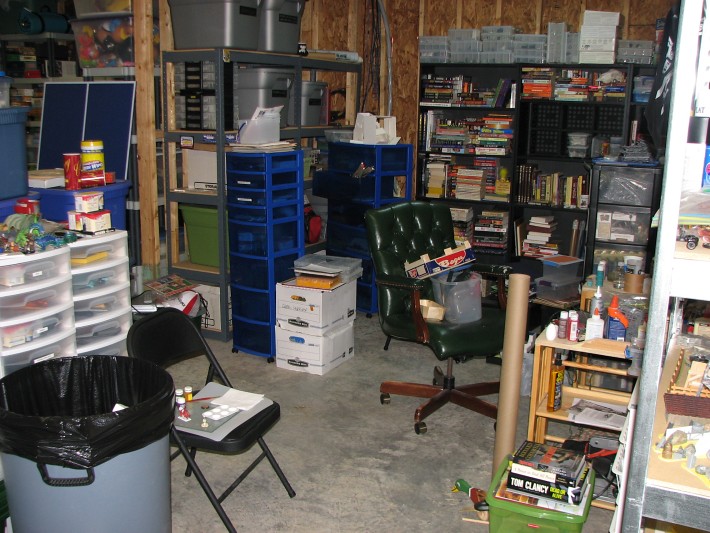
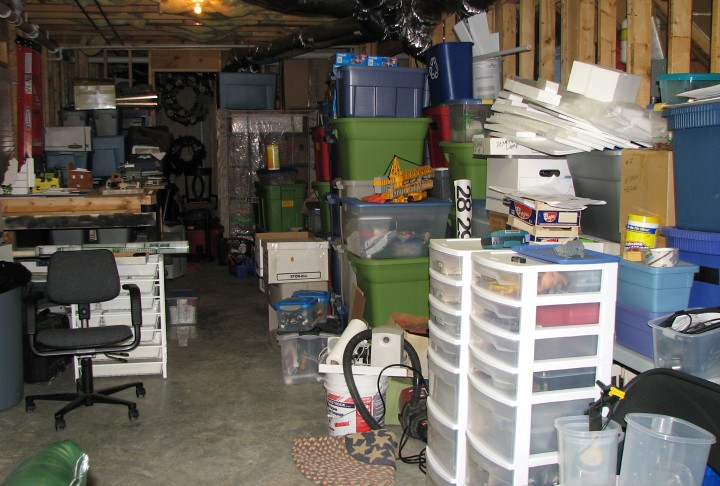
First, a quick look at the "before":
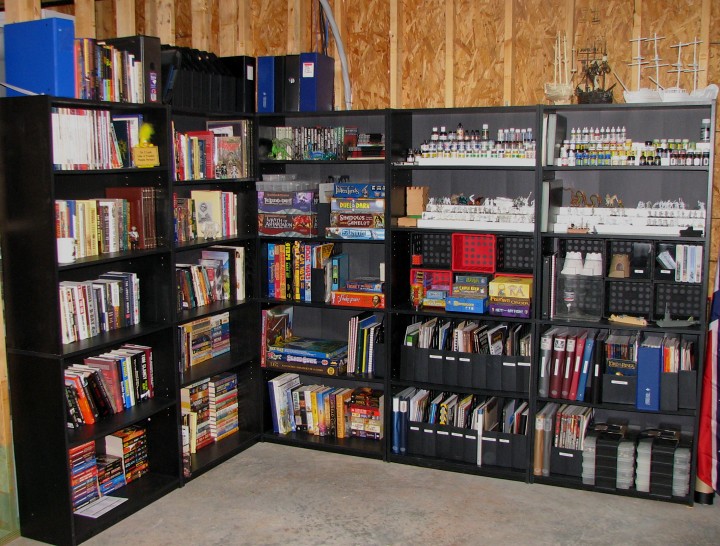
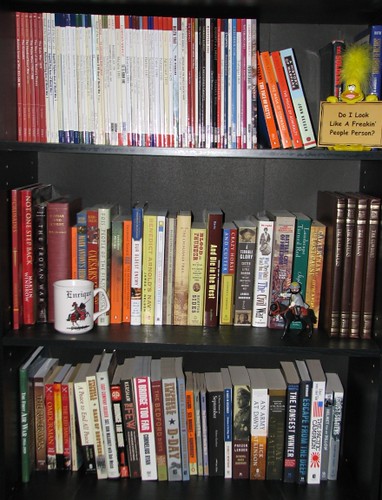
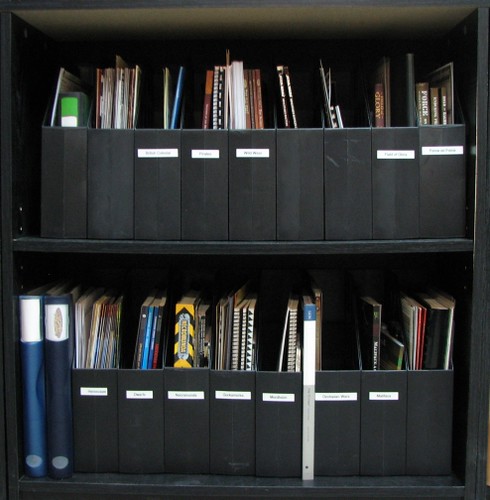
Among the things I was able to get done, I have the bookshelves re-ordered so that I can actually access and find any books I may need for reference.

And the various rulebooks, supplements, etc., are now beginning to see some sense of order - again, so that when I am looking for a particular game I can find it without digging through a pile of stuff.
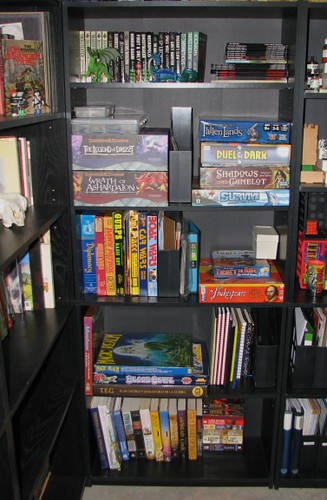
And let's not forget the boardgames

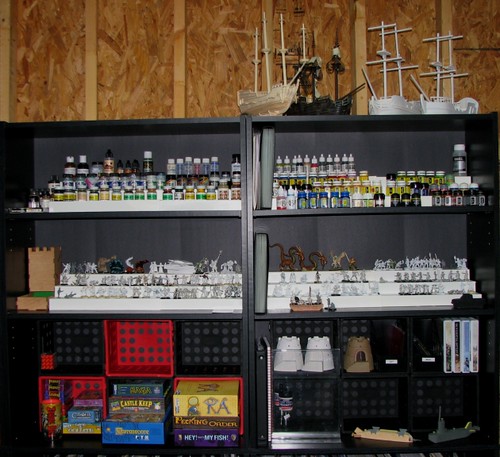
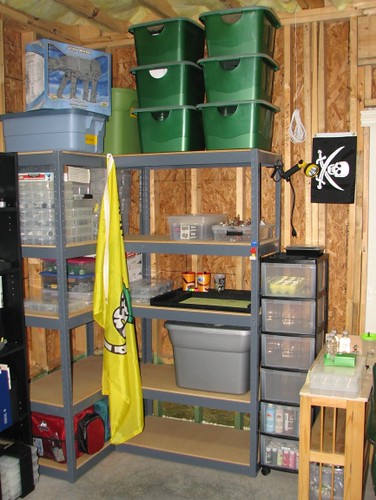
Also, I have set aside a couple of shelves for my paints and some figures. I am not sure yet if I will keep my "in progress" minis here, or turn it into a display area for my completed models. I use cheap plastic spice racks to set the figures and paints on.
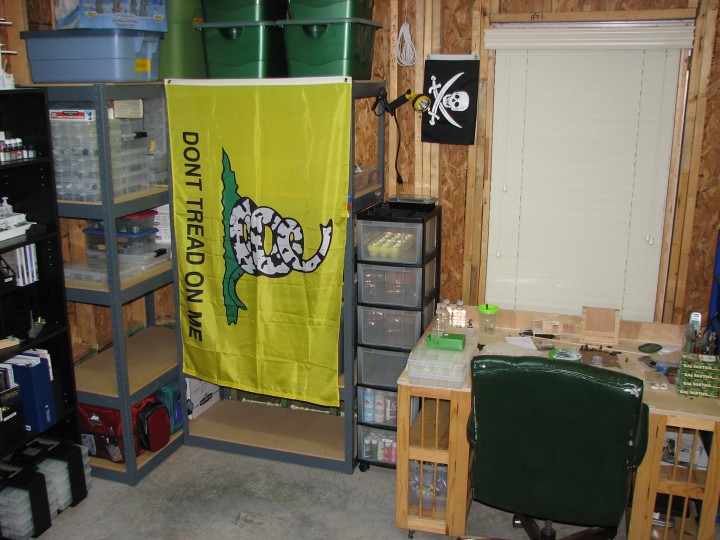
I have some larger shelves up for bins, and I hung a flag over the front to make it look neater.

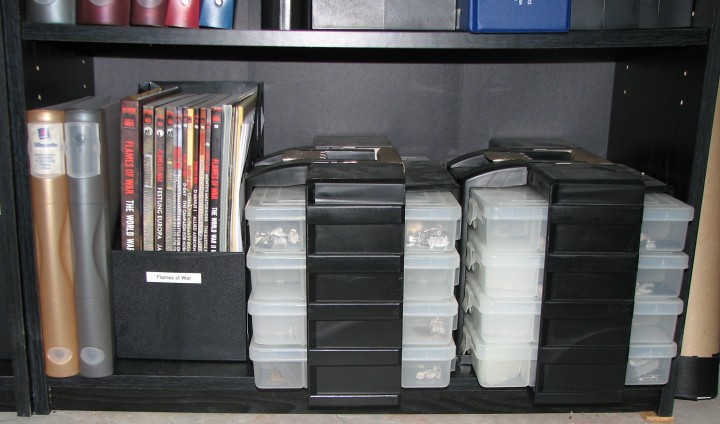
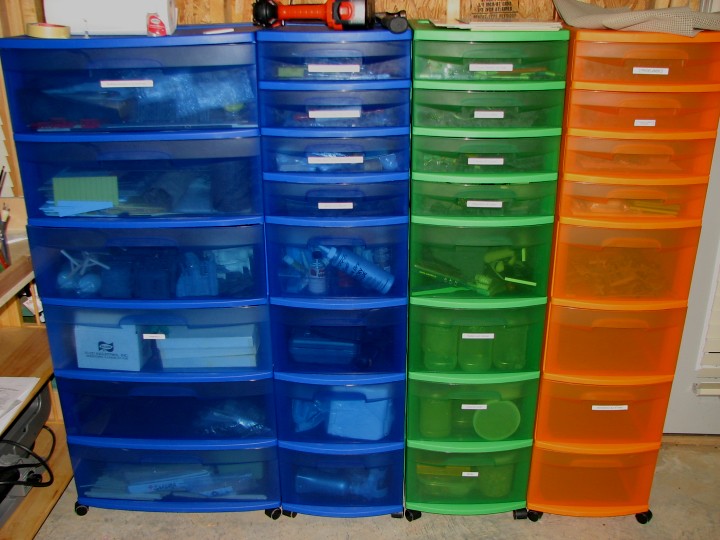
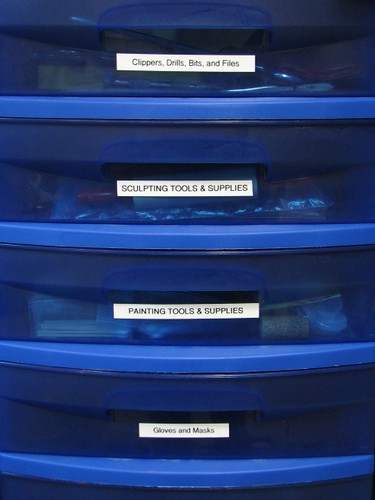
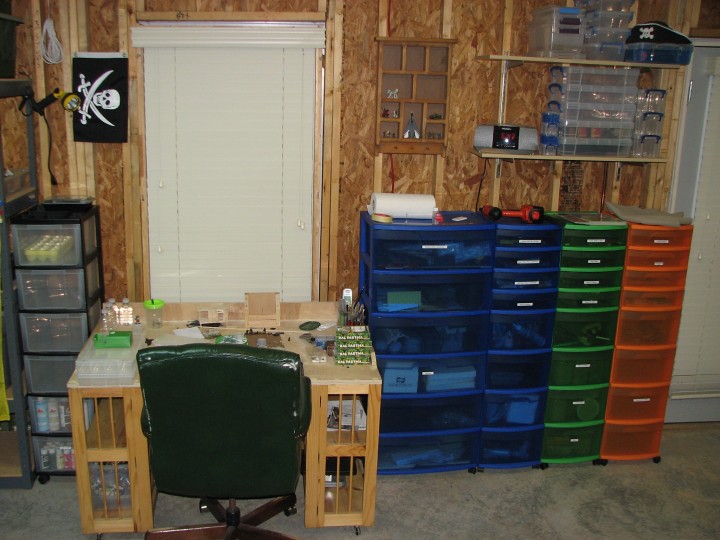
I have space now for my rolling racks of plastic drawers, and I have started to sort and organize my tools, supplies, etc., into those drawers. No more digging through a ton of clutter just to find the superglue! No more accidentally and painfully  "finding" an Xacto knife blade! (And to appease the obsessive side of my psyche - labels! Tons of labels on drawers, magazine boxes, etc.!)
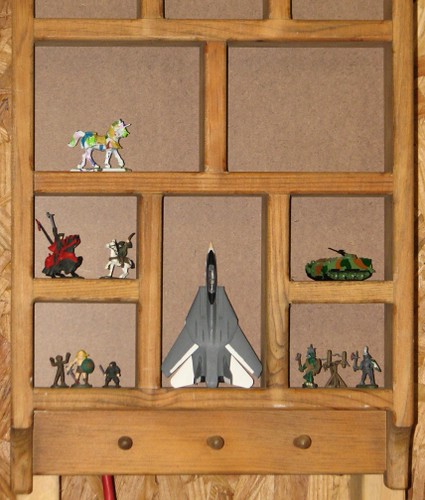
And, I hung a small set of display shelves. While sorting through boxes as I was organizing, I found some metal minis from the late 70s which were the first ones I ever painted when I was in my early teens. For now, they can sit on the shelves. The plastic GW horse at top left was painted by my daughter - she painted her first mini when she was three! :)

So, this is what the overall area looks like:

I have some other "real world" tasks to concentrate on during this week, but I hope to get some time in the evenings and next weekend to finish off the organizing and finally be able to get started gaming, painting and modeling! There is still quite a bit left to do. I still need to carve out a space to have a gaming table or two set up, and I need to keep going through bins to sort and organize. Time consuming, yes, but the progress I have made so far has got me excited about getting the job done and enjoying the fruits of my labor!

In the meanwhile, I have found a new home for a bunch of my Games Workshop Epic suprlus armor. At this moment, a formation of Leman Russes, Predators and more are making their way across the Atlantic. In exchange: a copy of the Gruntz 15mm sci-fi rules from their creator, Robin (@inrepose), and some 15mm figures to be able to put together a starting force and get some games in.

Yes, I know, 15mm sci-fi was not on my list of games/genres to concentrate on in 2012. But I saw on Twitter that Robin was looking for some Epic models, and since I happened to have some surplus I reached out to him to see if he was interested. I'd recently seen some fantastic images of  Gruntz games and 15mm sci-fi models, and I was intrigued enough to suggest a swap. In the end, I get  some cool new rules and models, and the only out-of-pocket cost is the shipping cost of the Epic tanks to the U.K. It doesn't get much better than that!

'Til next time!