Showing posts with label Modeling. Show all posts

Monday, February 28, 2022

Modeling on the go! Building Celtiberians during dinner break...

The recent launch of the Kickstarter for Clash of Katanas got me thinking about Clash of Spears again, and the Iberian force I started a couple of years ago.


Since that time, I've decided to build a Celtiberian force instead, but one that can also function as an Iberian warband due to the similarities. Why the change? Well, I've learned that there's a good chance my ancestors were Celtiberian. The ancestral home of one of the Spanish branches of the family is located in the Cameros region, just between Soria and Logrono. Soria is the site of the ruins of the ancient Celtiberian city of Numantia, which was destroyed by the inhabitants rather than surrender it to the Roman besiegers. I don't think it's a stretch to believe Celtiberian blood flows through my veins!


Because my hobby time is practically non-existent, I decided to make use of the dinner break at work. I packed up basic tools and was ready to go.


I clipped the parts I would need from the sprues (I'm using Victrix Iberian warriors, in this case the unarmored ones) so they'd just need cleaning up and gluing. I brought a couple of hobby knives, plastic glue, and my magnifiers (the eyes are getting older).


The first night I was able to get all the parts cleaned of flash, and assemble two of the warriors. After all, I also need to eat during that time!


The second night I finished the ten remaining warriors. A unit of 12 completed.

The third night I was able to get another 12 warriors completed: four Celtiberians and eight Iberians.

I'm pretty happy with the progress. I was able to get something to eat, and still complete 24 figures in three dinner breaks.

All that's left is to base them and paint them, and then get their shields sorted. I have some time off scheduled next week, and I'm hoping to be able to finish these warriors as well as paint up my Imperial Guard squad for Kill Team.

'Til next time!

Tuesday, December 19, 2017

Anvil Industries Bits

Yesterday, I received an eagerly awaited package from Anvil Industries in the UK!

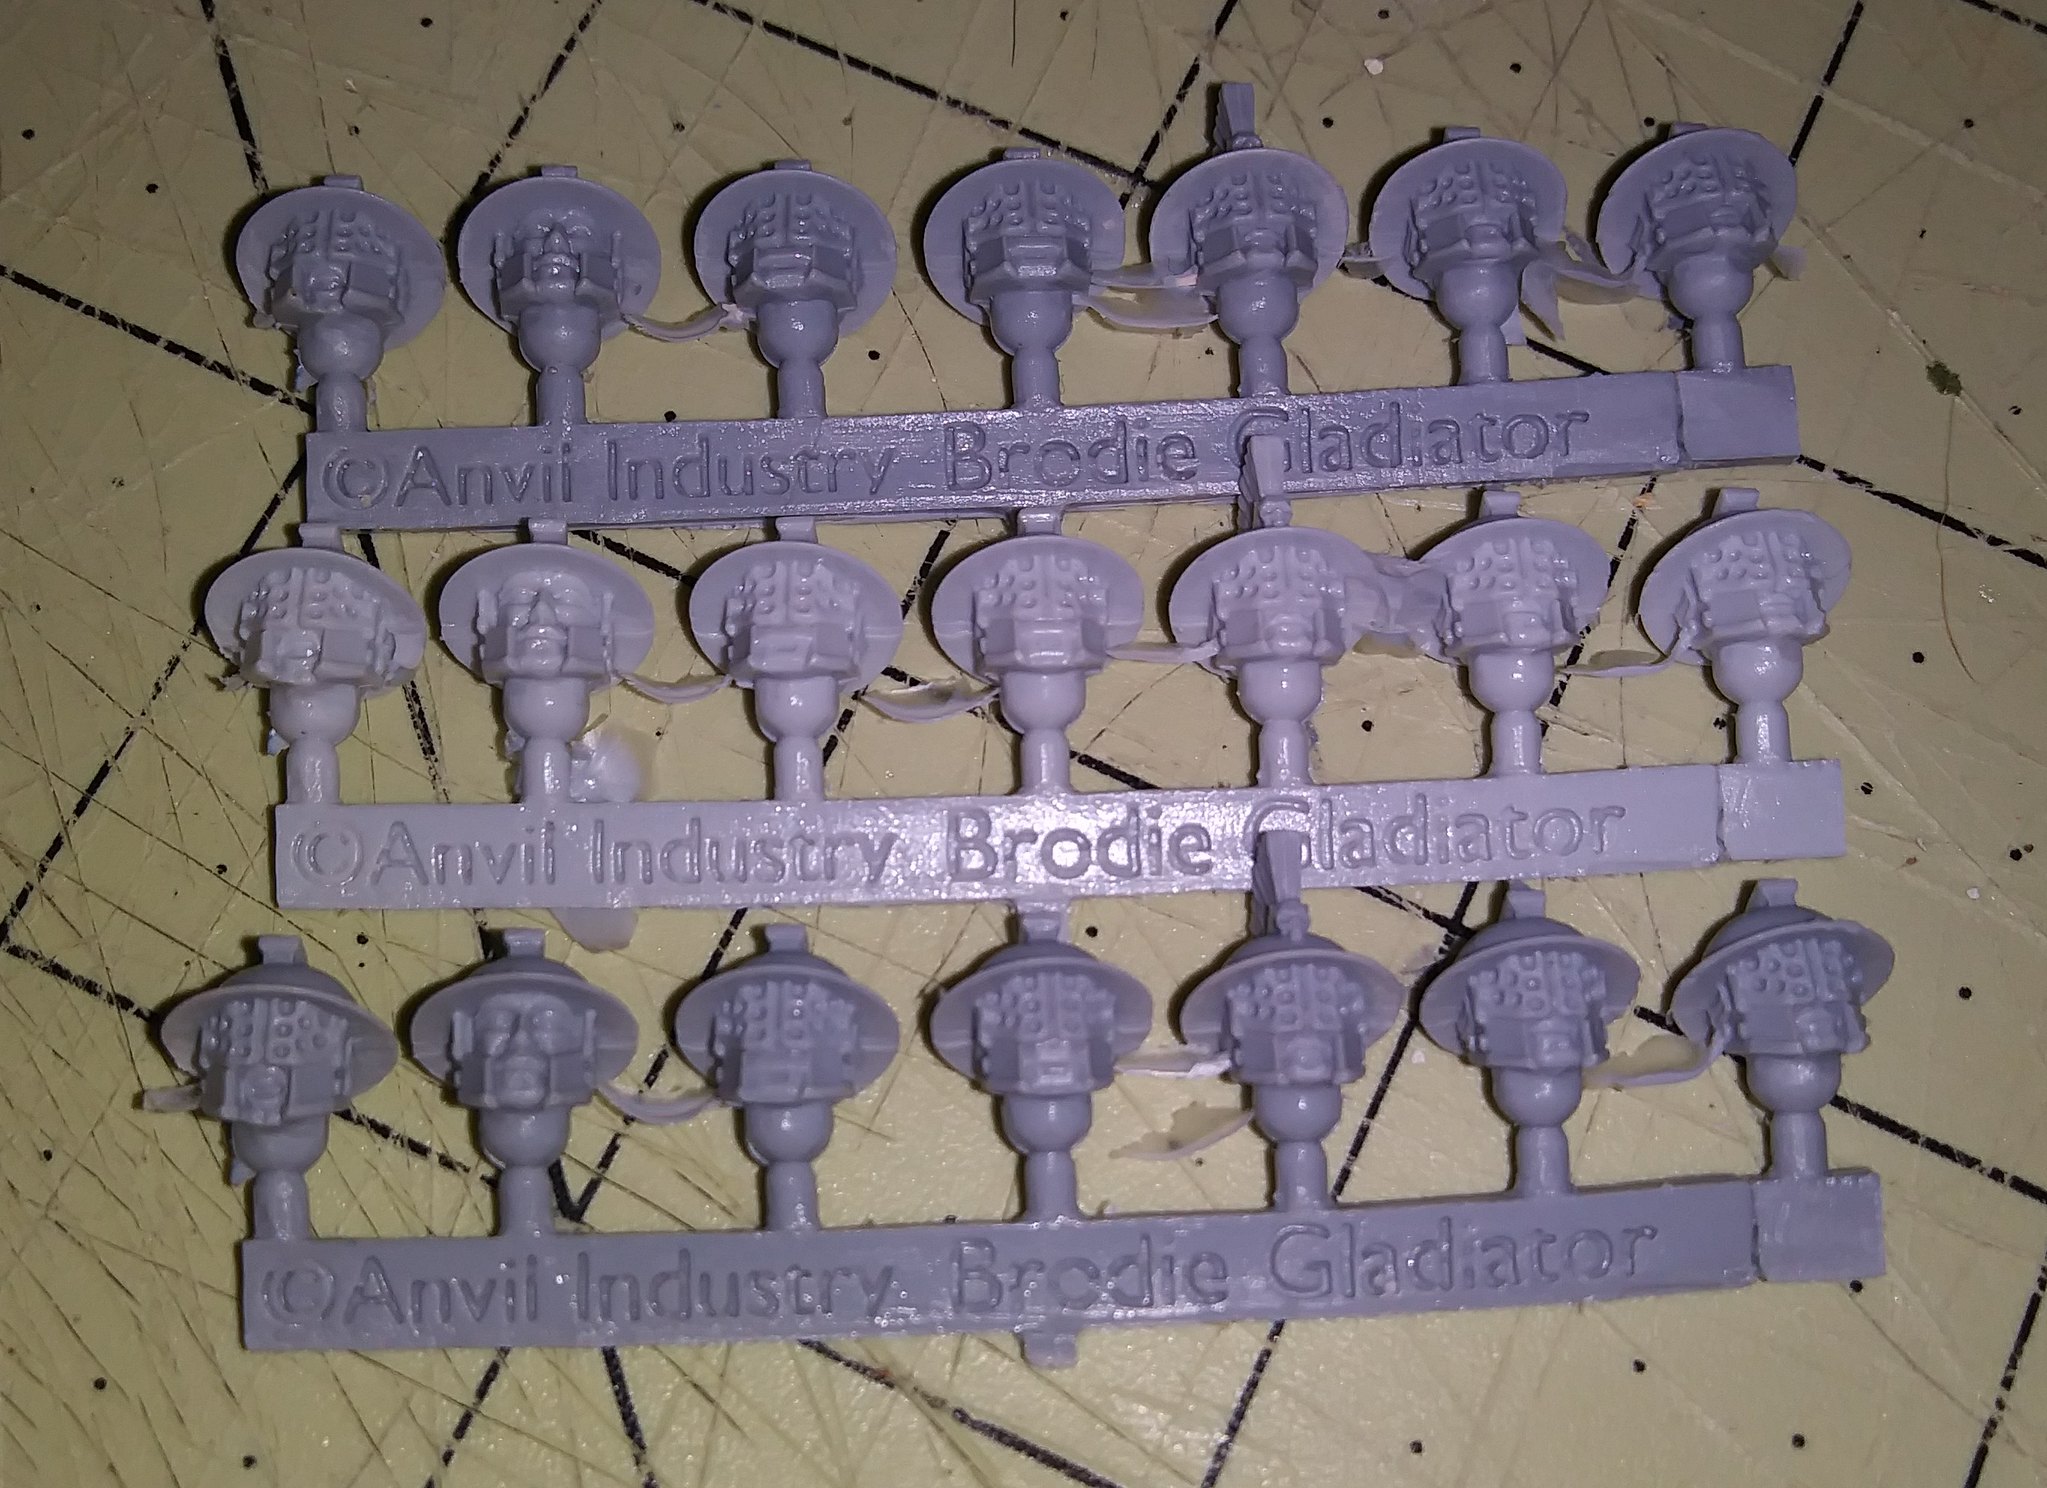
Heads for the Goliath gang, and extra goodies.
As most of you may know, last month saw the re-release of a version of Necromunda by Games Workshop. It has some significant differences to the old game, while still drawing from its roots. I got the game, but held off on building any of the figures for the included gangs. I wanted to do something different with them, and just couldn't figure out what that would be.

Enter Ram Sosen, who posted his Goliath ganger conversion on Facebook. As soon as I saw his photos, I knew I had to use his idea! I absolutely love the way the Goliath gangers look with Brodie-style gladiator helmets from Anvil. They add a ton of character to the standard Goliath figures, and will make them really stand out in the Underhive. So I headed over to their site and ordered those helmets for myself.

Gladiator heads.
While I was poking around Anvil's site, I came across some other accessories that caught my eye. Their riot shields look great, and will look even better on my Necromunda Arbites/Enforcers when I add an imperial aquila to them.

Riot shields and modern weapons.
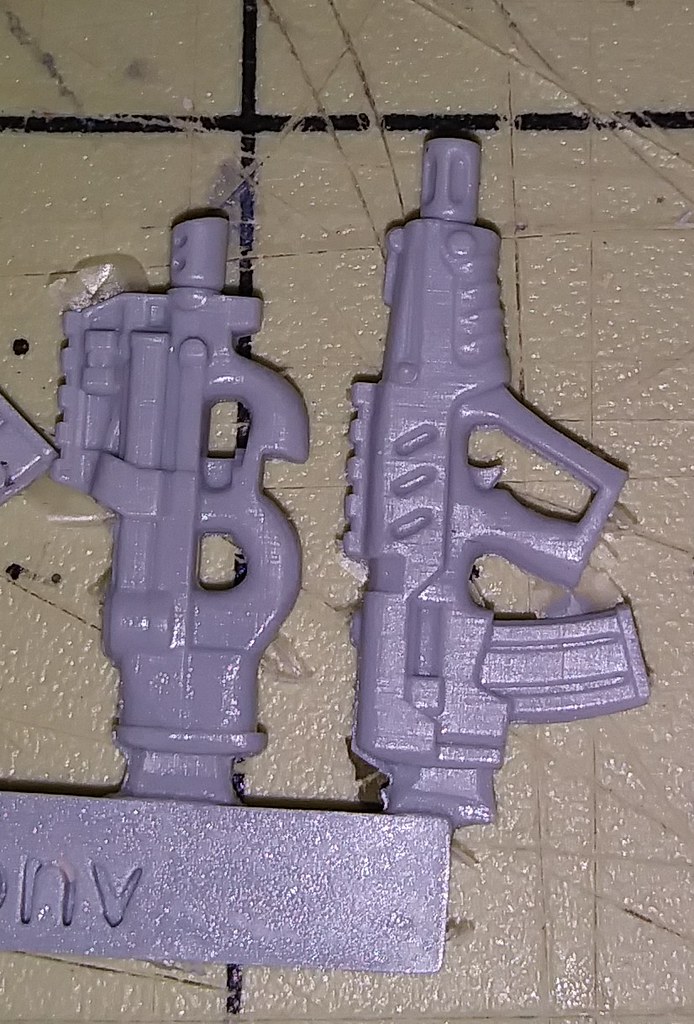
Anvil also makes a sprue of modern weapons that are great for modern and post-apocalyptic games. The set includes six weapons:
  • Tavor
  • Suppressed Tavor
  • P90
  • AK74
  • G36C
  • Custom AR15
  • Kel-Tec KSG
Since I've shot several of these weapons in real life, adding them to any zombie-hunting post-apocalypse version of me that I make is a no-brainer (not a zombie pun). My favorites are the P90 (of Stargate SG-1 fame) and the Tavor.

P90 (left) and Tavor (right) rifles.
Now that the bits have arrived, I have begun work on building and converting my Goliaths. On Tuesdays, I take my son to a PE class and wait in the car. Rather than read or nap, I've put some tools and models in a bin and work on modeling for an hour.

Working in the car while waiting on my son.
I'll post again soon showing how the helmets look on my Goliath gang.

'Til next time!

Monday, August 29, 2016

Arena Rex - unboxing the Zephyri Starter Box (Review)

As I mentioned in a previous post, Arena Rex is rapidly becoming quite popular at the local gaming store.

I'm in the process of building an arena table for it, but in the meantime I picked up a starter box. Thos of you that know me and my passion for Vikings, will not be surprised that I chose the Zephyri. This faction comes from the fringes of the Empire, and is a blend of Norse and Native American aesthetics. Couple that with the fact that the Zephyri Starter Box comes with one of the best looking models (in my humble opinion) for the game, and for me the choice was easy.


Zephyri Starter Box

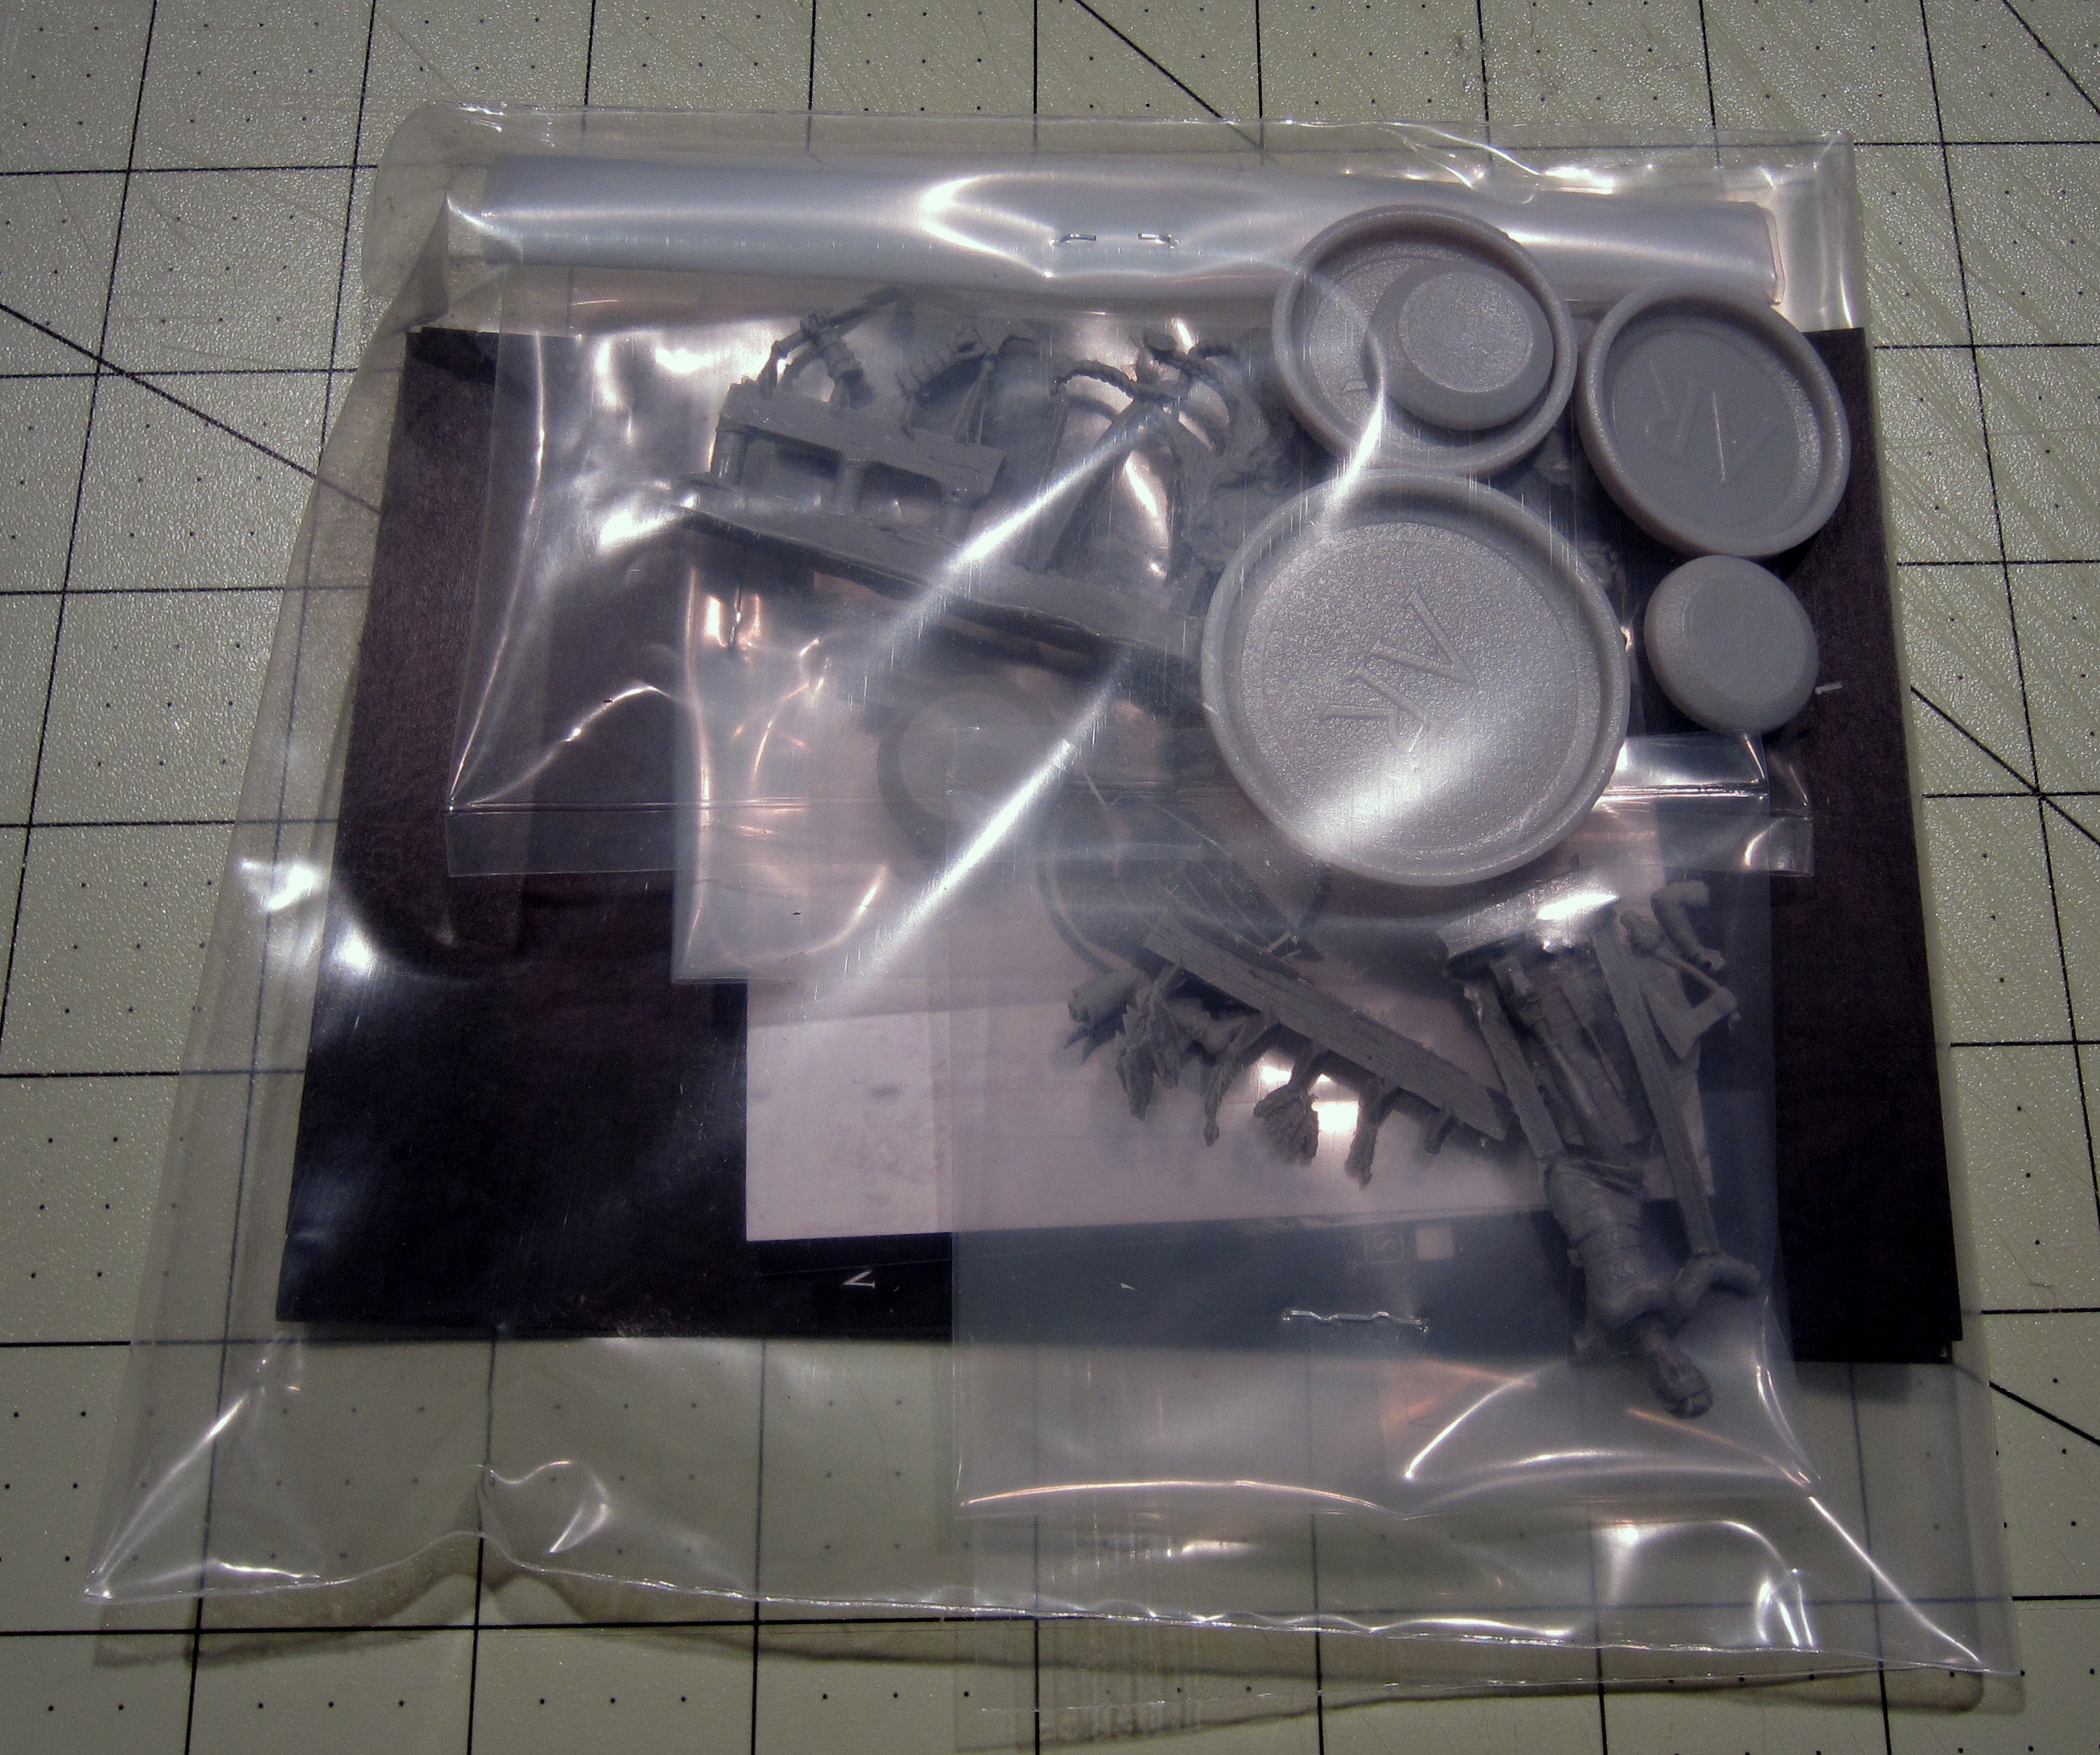
The models are all completely resin (with one exception that will be noted later) and as a consequence the package is extremely light. I must admit, I felt strange about paying $50 for a box that felt empty.

So, given that the box is certainly NOT empty, what does it contain?


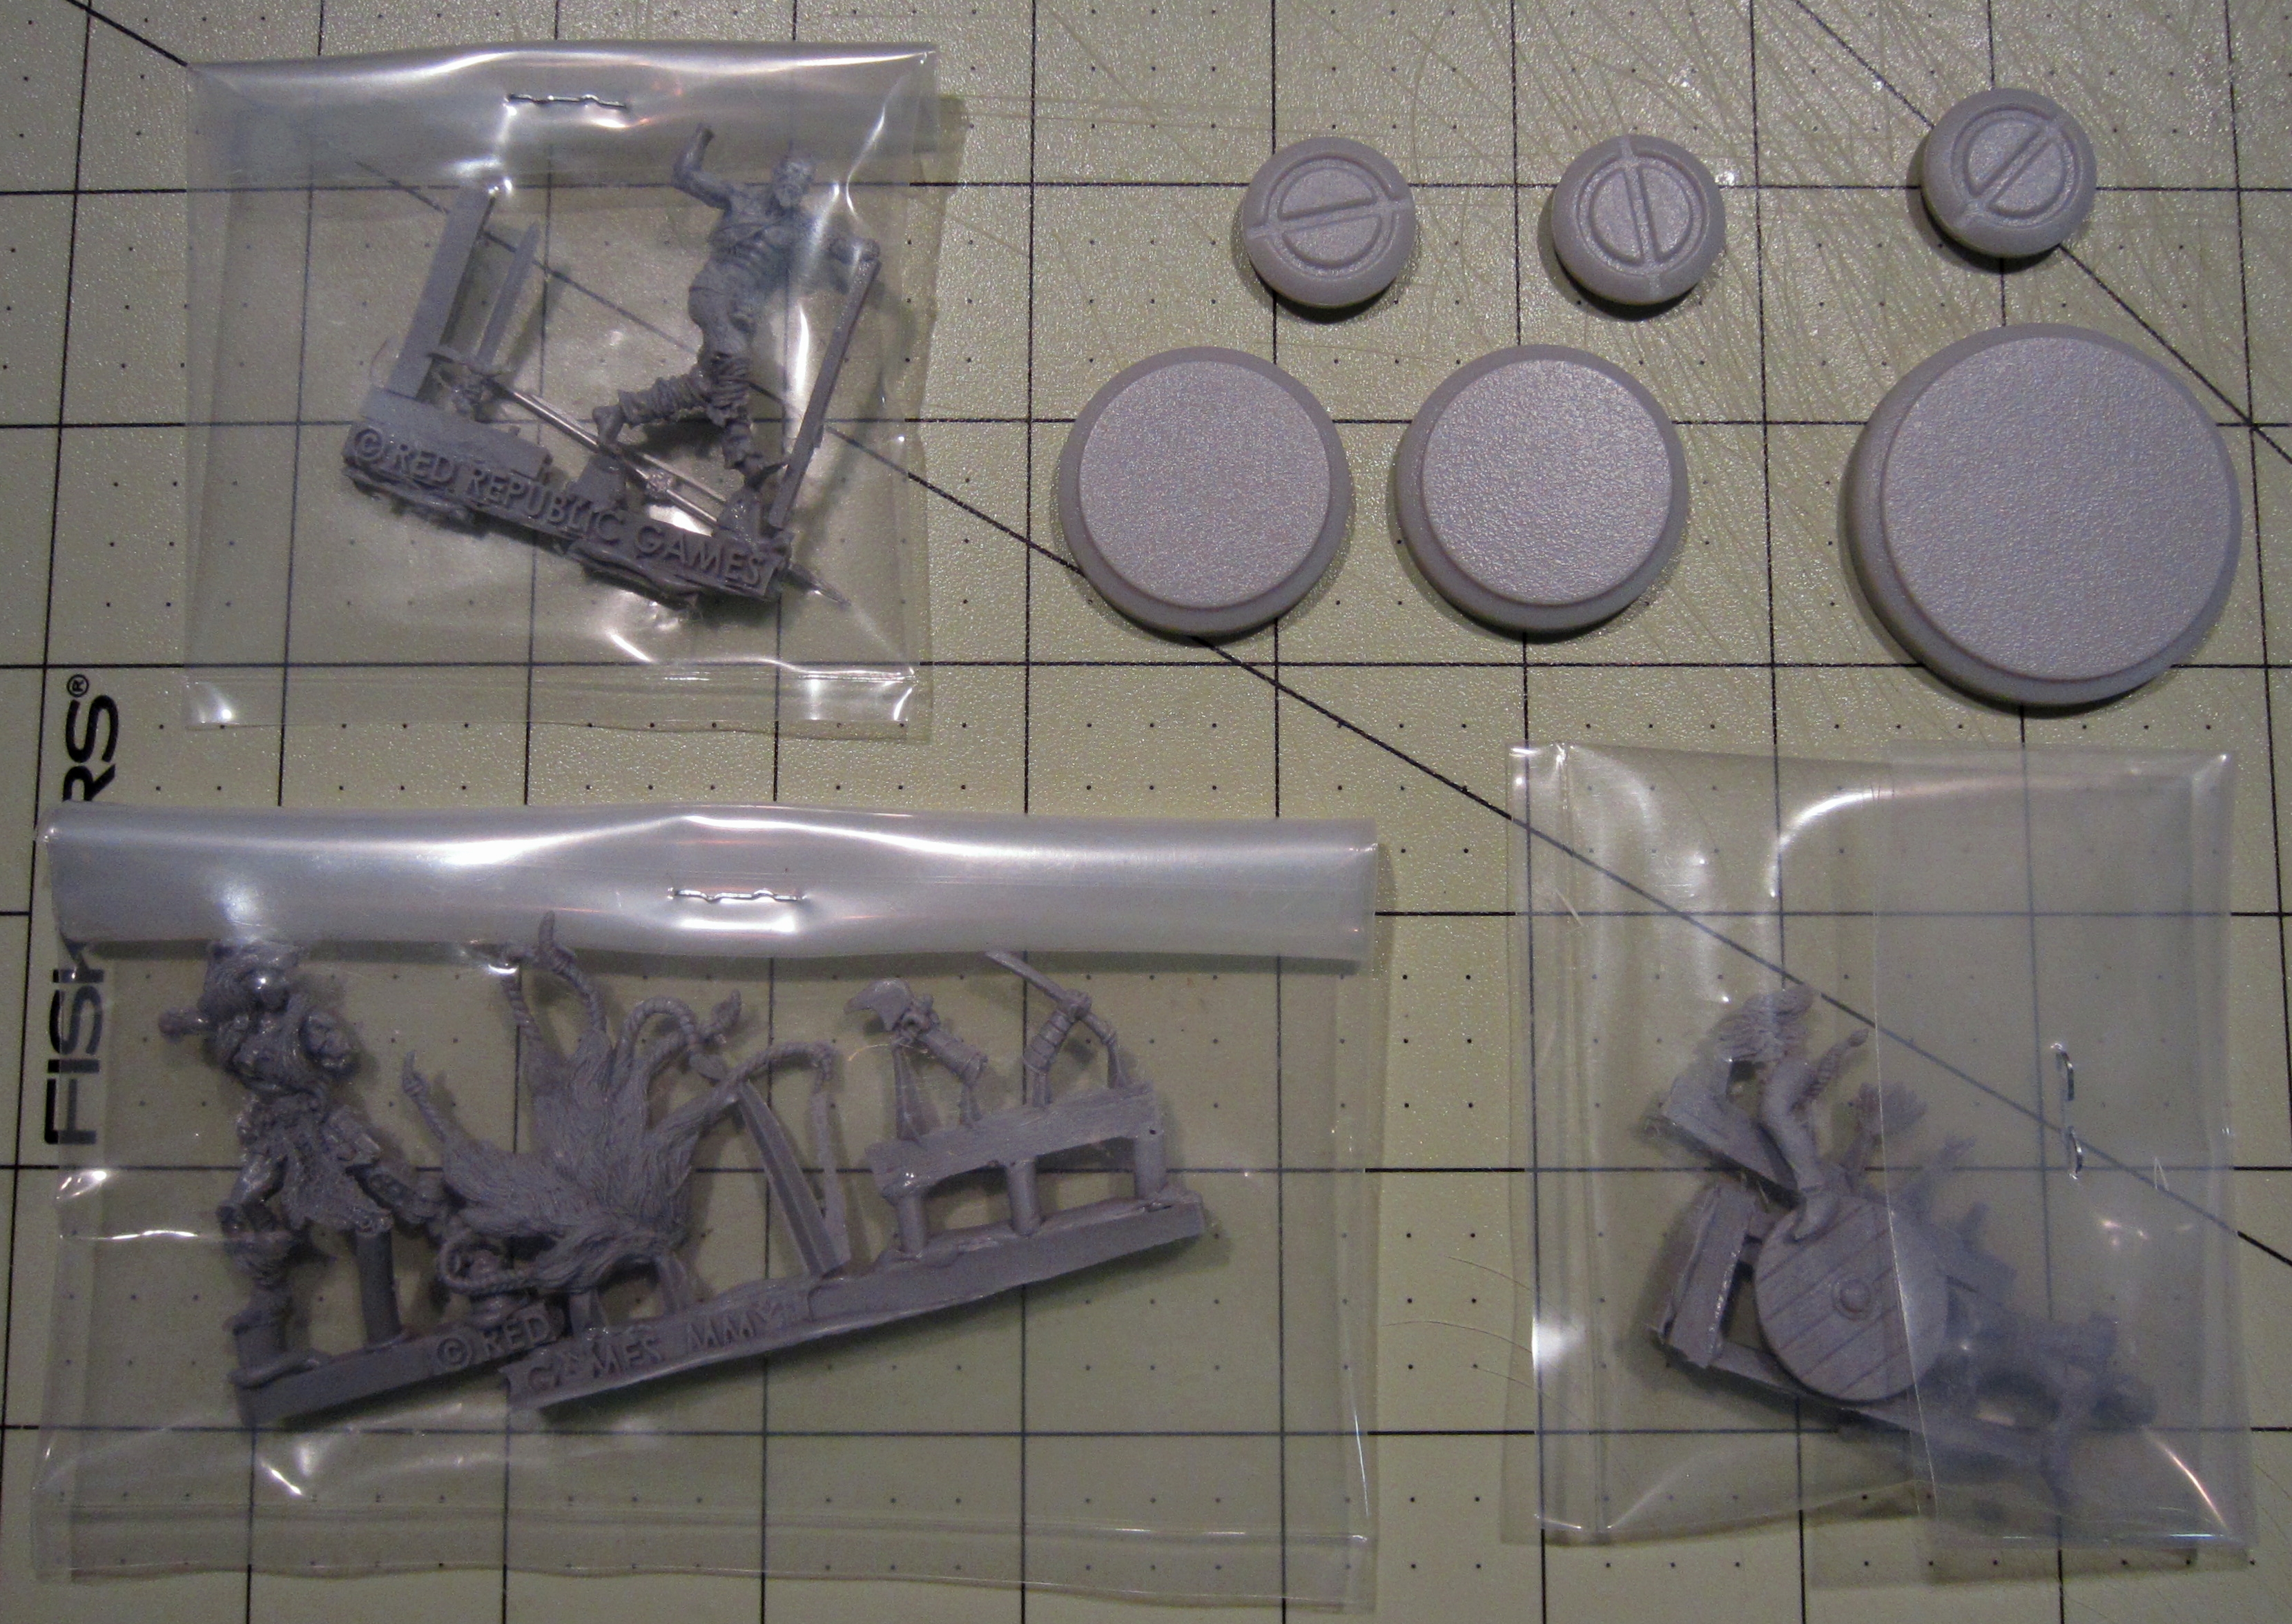
Contents of the Zephyri Starter Box.

Inside the large bag are three models and various game aids and cards:
  • Frigge 
  • Bjarrhvit 
  • Sven 
  • Three 4x6 art cards 
  • Three game cards 
  • Three plastic Arena Rex bases and tokens 
  • Zephyri Benefits card 
  • Pit hazard card 
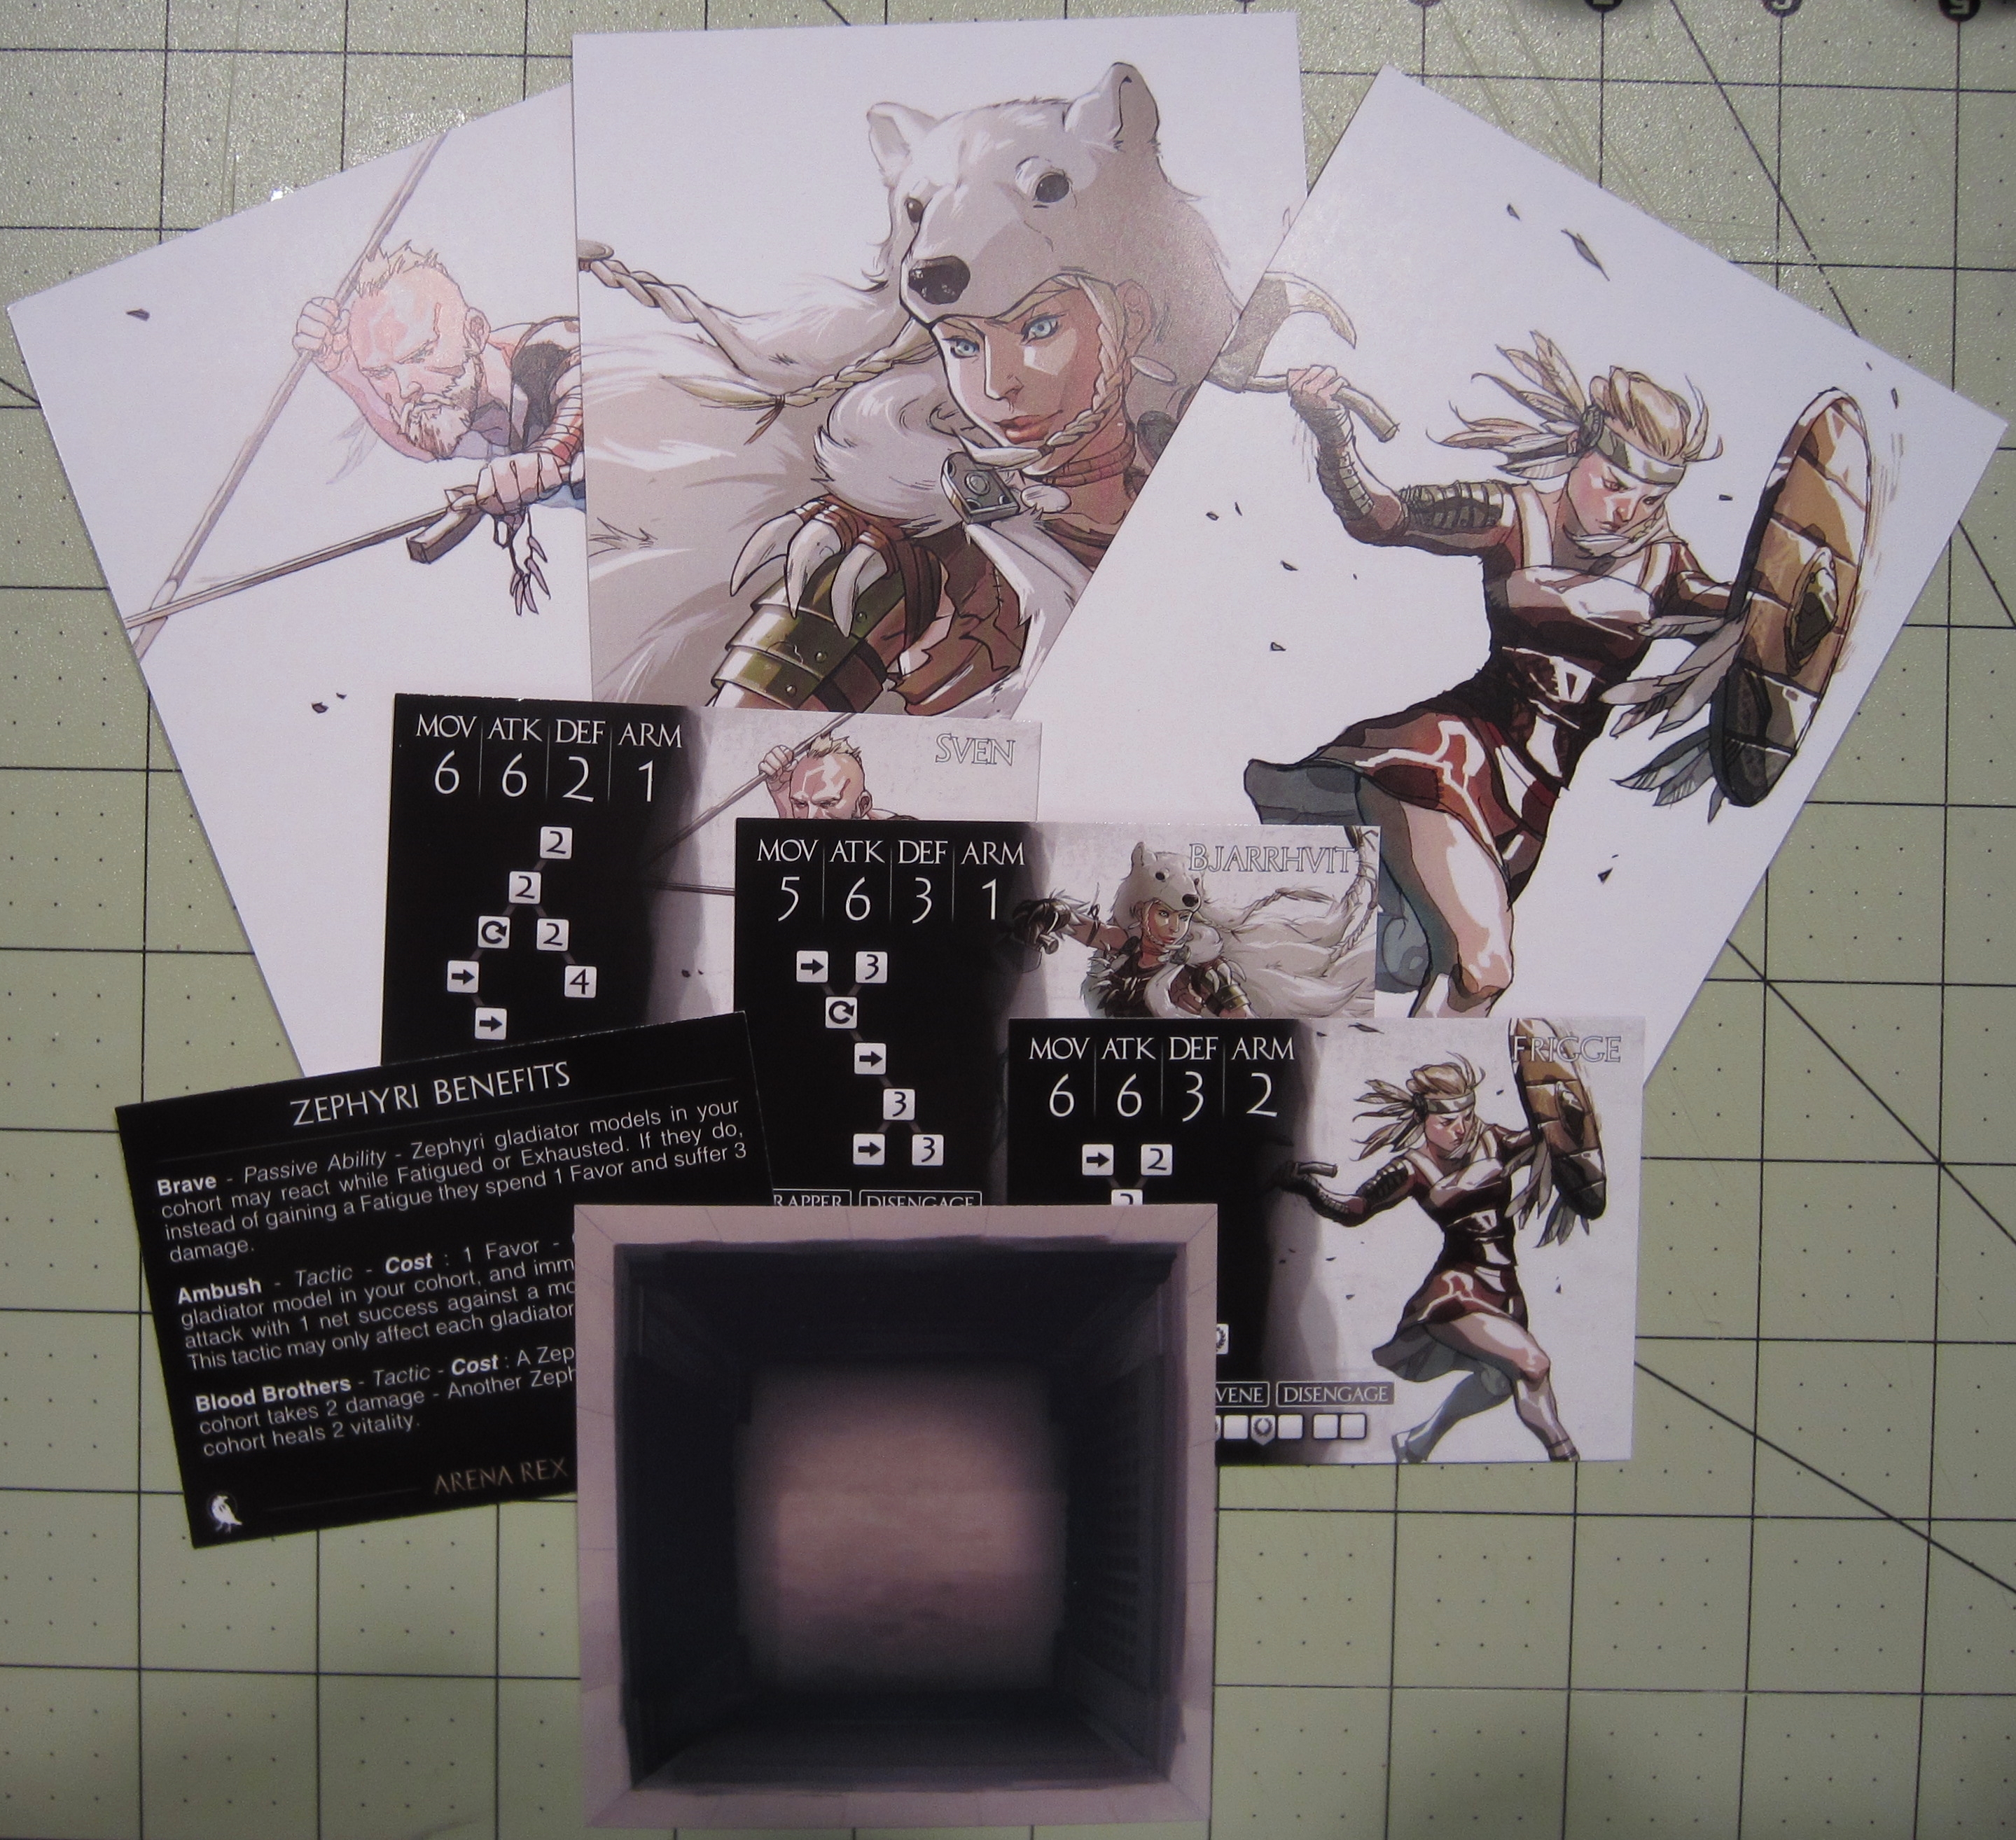
First the cards:

The card contents.

The three art cards are beautiful. Of course they're not used for the game itself, but they're really nice to have. Each figure also comes with a stat card for use in the game, which details its characteristics, damage output, special abilities, etc. There's another card with special rules detailing the benefits of running a Zephyri cohort (if at least 75% of your cohort comes from this faction, you get bonuses). Lastly, there's a square card with a pit hazard. I'm planning on modeling an arena with actual pits carved into the floor, so do not have a need for it, but it is a neat addition to the set and lets you place additional pits anywhere on the board.

Of course, the real stars of the set are the figures! So, what do they consist of?

The figures, bases and fatigue tokens.

Each figure comes individually bagged, and is accompanied by a plastic base and a plastic fatigue token. Including the tokens is a nice touch. The tokens are double sided (one side is used for a character that is fatigued and the other for an exhausted figure). The bases are, well, basic. This set comes with two 300 round bases for Sven and Frigge, and a 40mm round base for Bjarrhvit.

Since Sven is the most Viking-looking figure in the bunch, it's not a shock I chose to start with him. Plus, he comes with the fewest parts so I (rightly) thought he'd be the easiest to assemble.

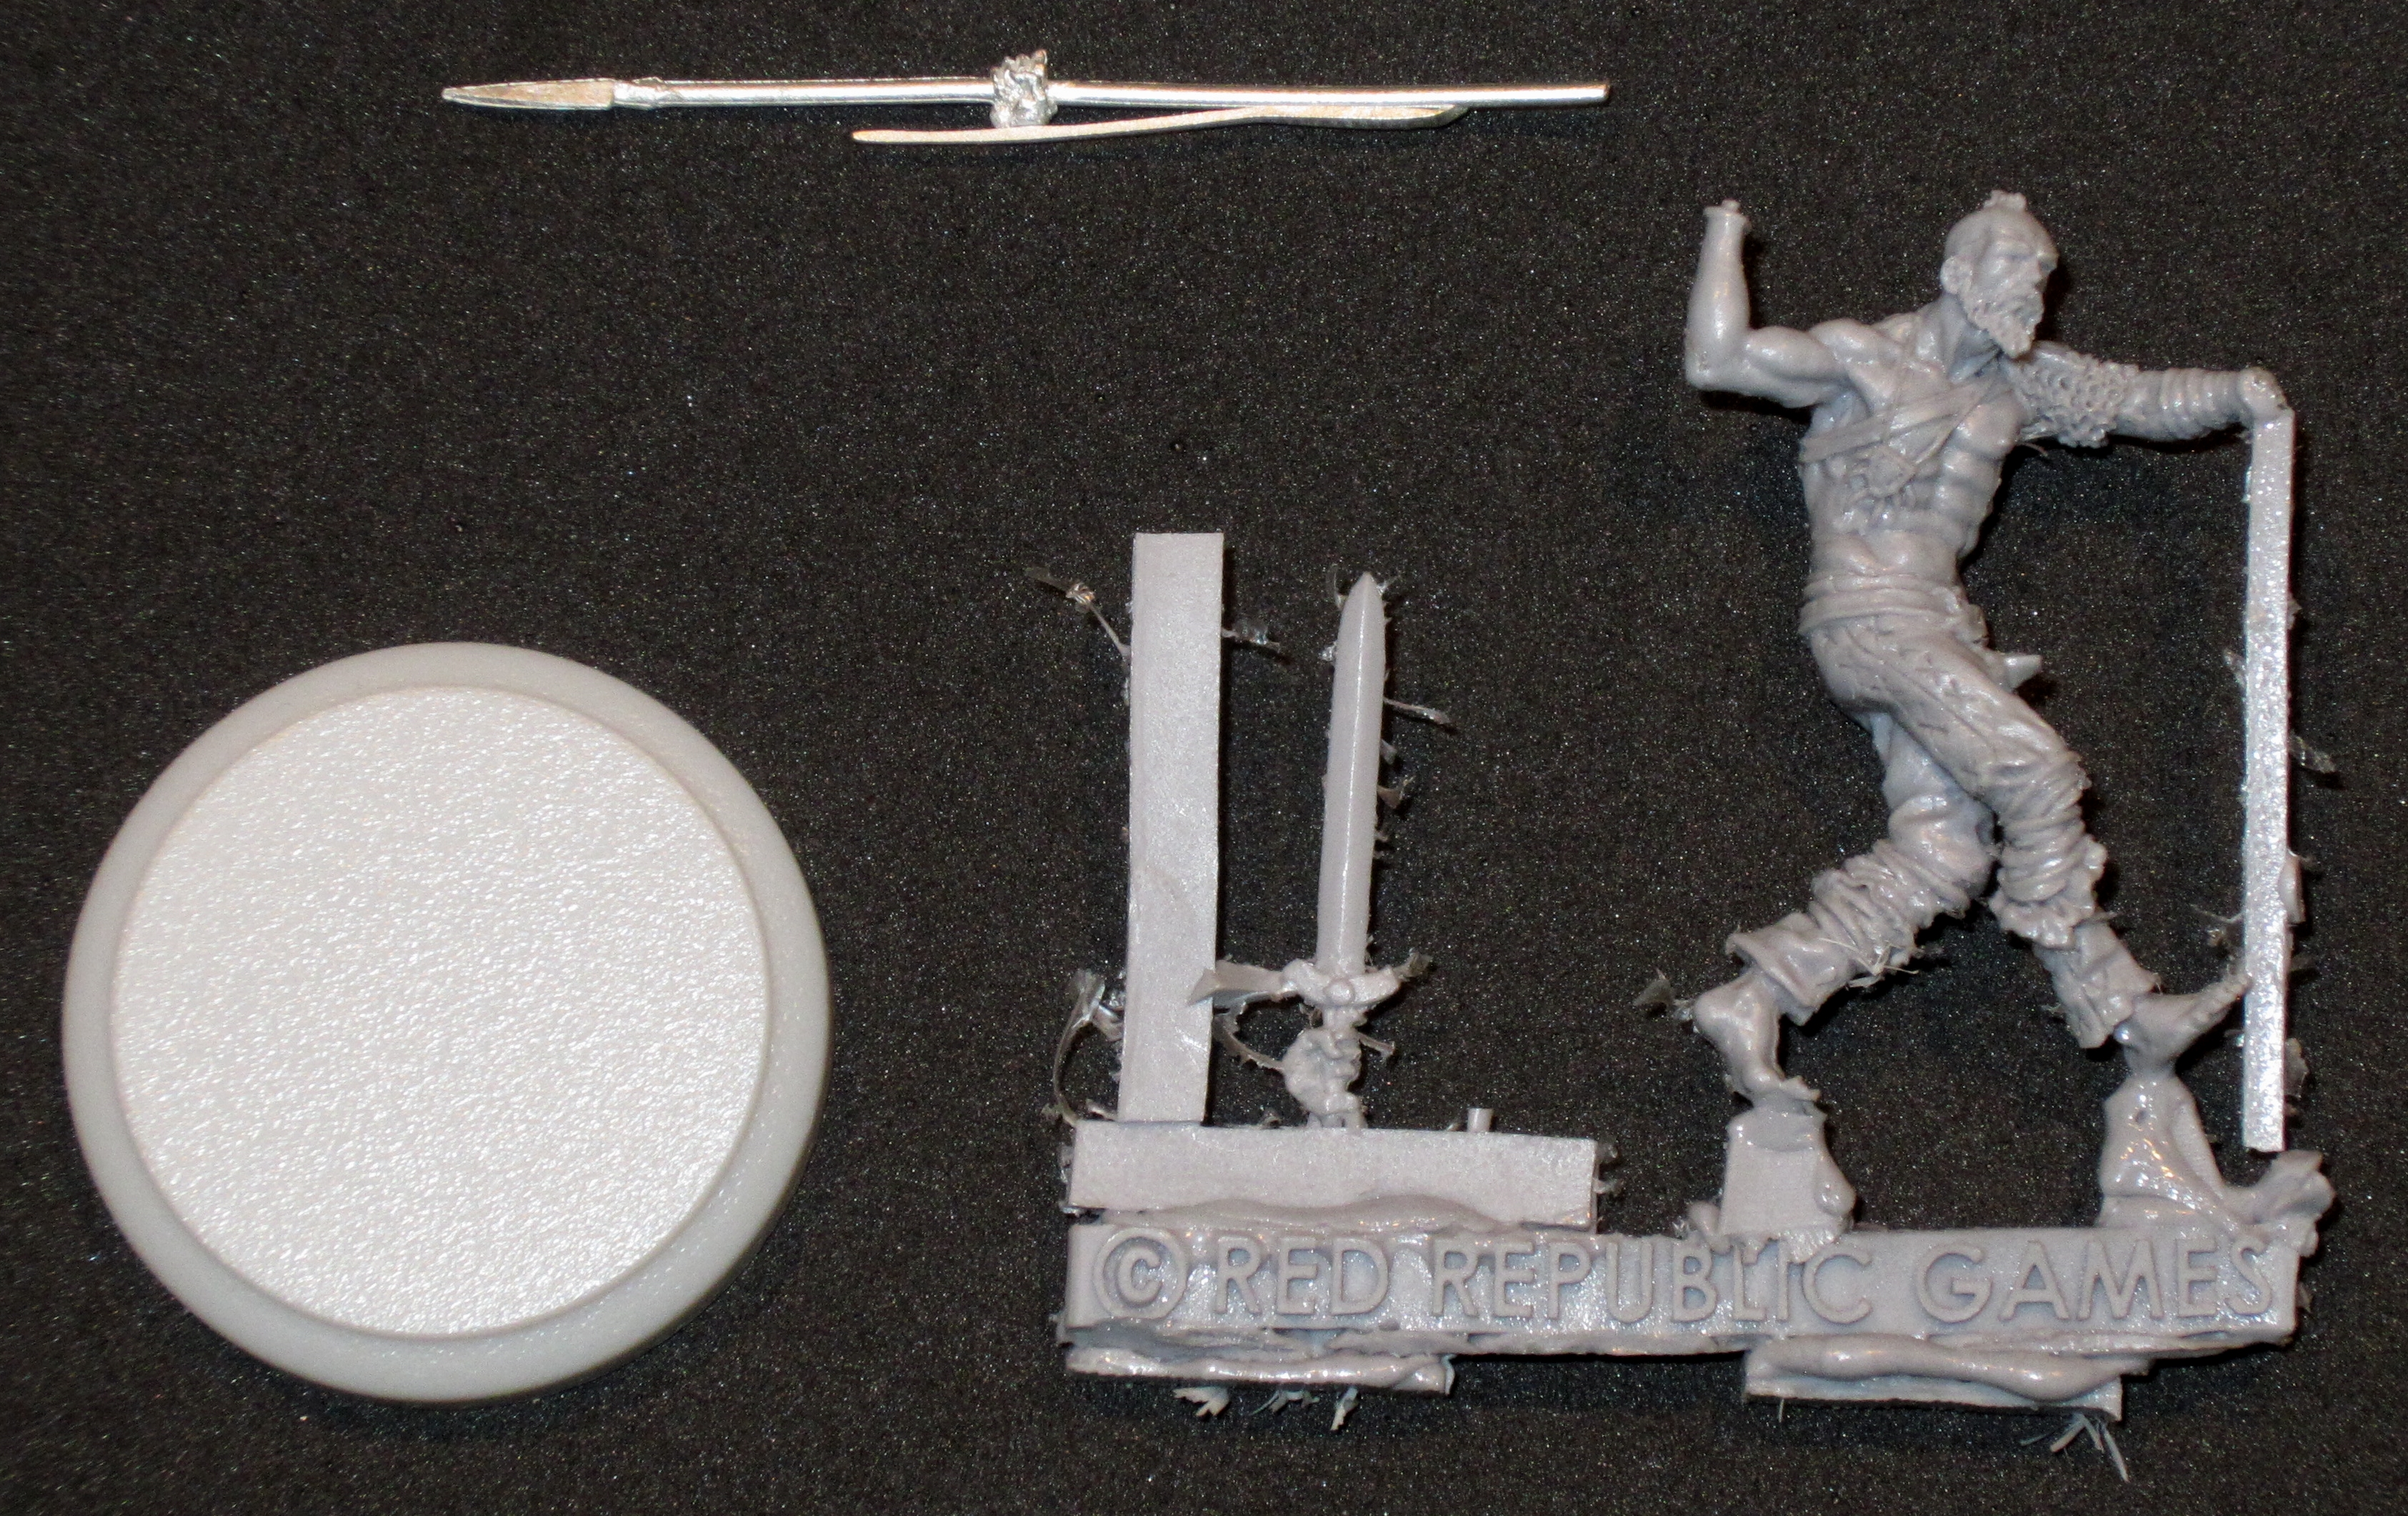
Sven

He consists of the main body, a hand holding a sword and a hand with a spear (the spear hand is metal - the only metal piece in the set). As you can see in the photo above, the resin cast had a lot of tiny, feathery flash (this was present on all the casts). It does not impact the overall quality of the cast, but it is annoying to get rid of.

Sven, ready for gluing.

I am a bit particular about my figures, so I decided to pin Sven in place on the base. I also pinned his hands. For those that are not familiar with the process, pinning is a simple means of getting a stronger joint between parts.

First drill a small hole in the parts you want to glue together. It is important that the holes line up exactly. You put a drop of superglue in one hole, following by a small piece of wire. You clip it close, creating a small pin that fits into the hole on the other part, then you glue it in place as well. The figures had small resin pins, but they did not provide as strong as a join as I wanted, which is why I went ahead and pinned them for strength. (My figures tend to take a beating, literally as well as figuratively.)

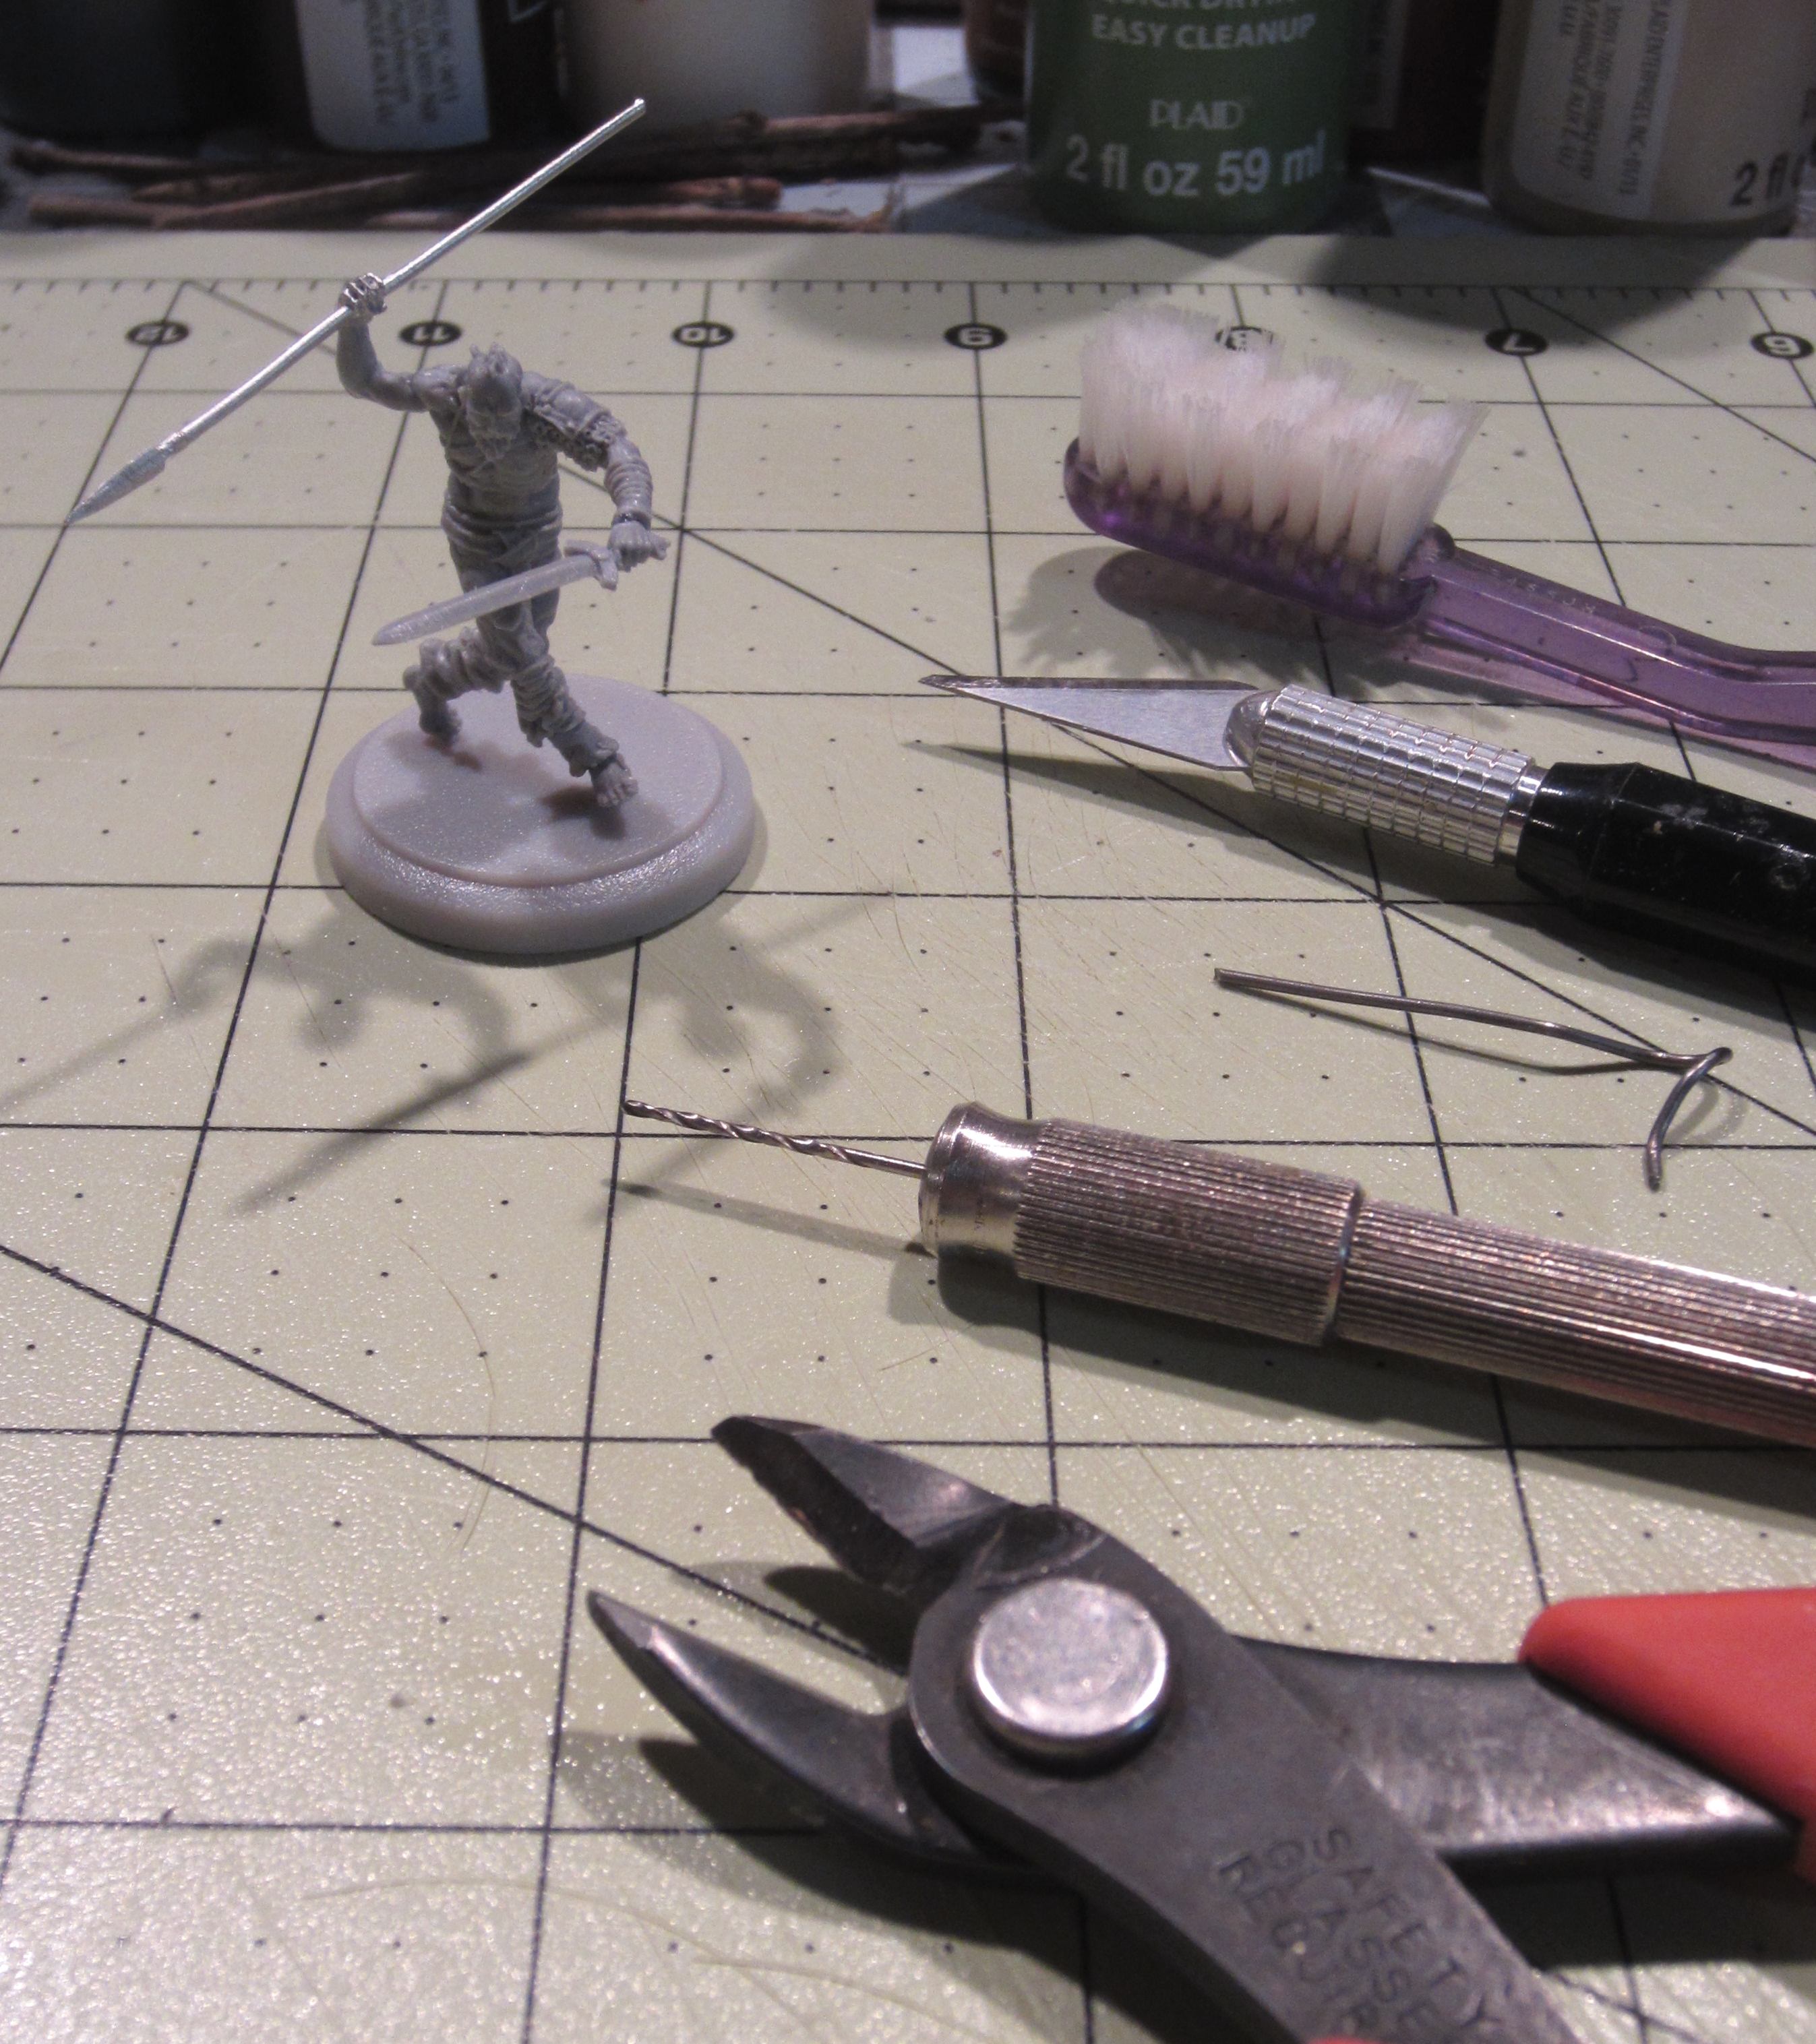
Tools used to assemble the figures.

The photo above shows the tools I used in assembling Sven and the other figures. From bottom: clippers to remove the parts from the sprue; a pin vise with a small drill bit used for pinning; a small piece of wire to serve as the pin; a craft knife for removing flash; a toothbrush, which I found quite useful in removing the very small bits of flash.

And here he is: Sven in all his glory!


Sven (left) and a Gripping Beast figure.

I put Sven next to another figure to show the difference in scale. The figure on the right is a Gripping Beast model from their Pagan Rus boxed set for Saga. As you can see, Sven is clearly head and shoulders above the Rus figure. You can also appreciate the wonderfully intricate detail of the resin casting as well.

Next up - Frigge. I made another assumption (this one incorrect) that the most complicated model to assemble would be Bjarrhvit since she is the most impressive in the box. Frigge is a beautiful figure that consists of several small, fiddly parts that I found to be a nuisance to place properly.


Frigge

The casting has the same feathery flash, though there was less of it. I had to make use of the excellent photos on the Arena Rex website for reference, as I was not certain exactly where all the feathers and braids went. As I did with Sven, I pinned the hand holding the axe. Frigge's leg and left arm fit very nicely without pinning, so I just used superglue. There's feathers that go on the shield, which were easy to place. On her head she has a braid in the back that's a separate piece, as well as a small braid with feather and a larger group of feathers that go on the side of her head. With patience, super glue, and a little green stuff, I got the parts placed properly. Once the green stuff dries completely I will clean up the joints.


Frigge - this is a beautiful model!

That left the big boss, Bjarrhvit.


Bjarrhvit

Bjarrhvit consists of the main body, both arms, and the single most detailed piece in the set - her gorgeous braided polar bear cloak.

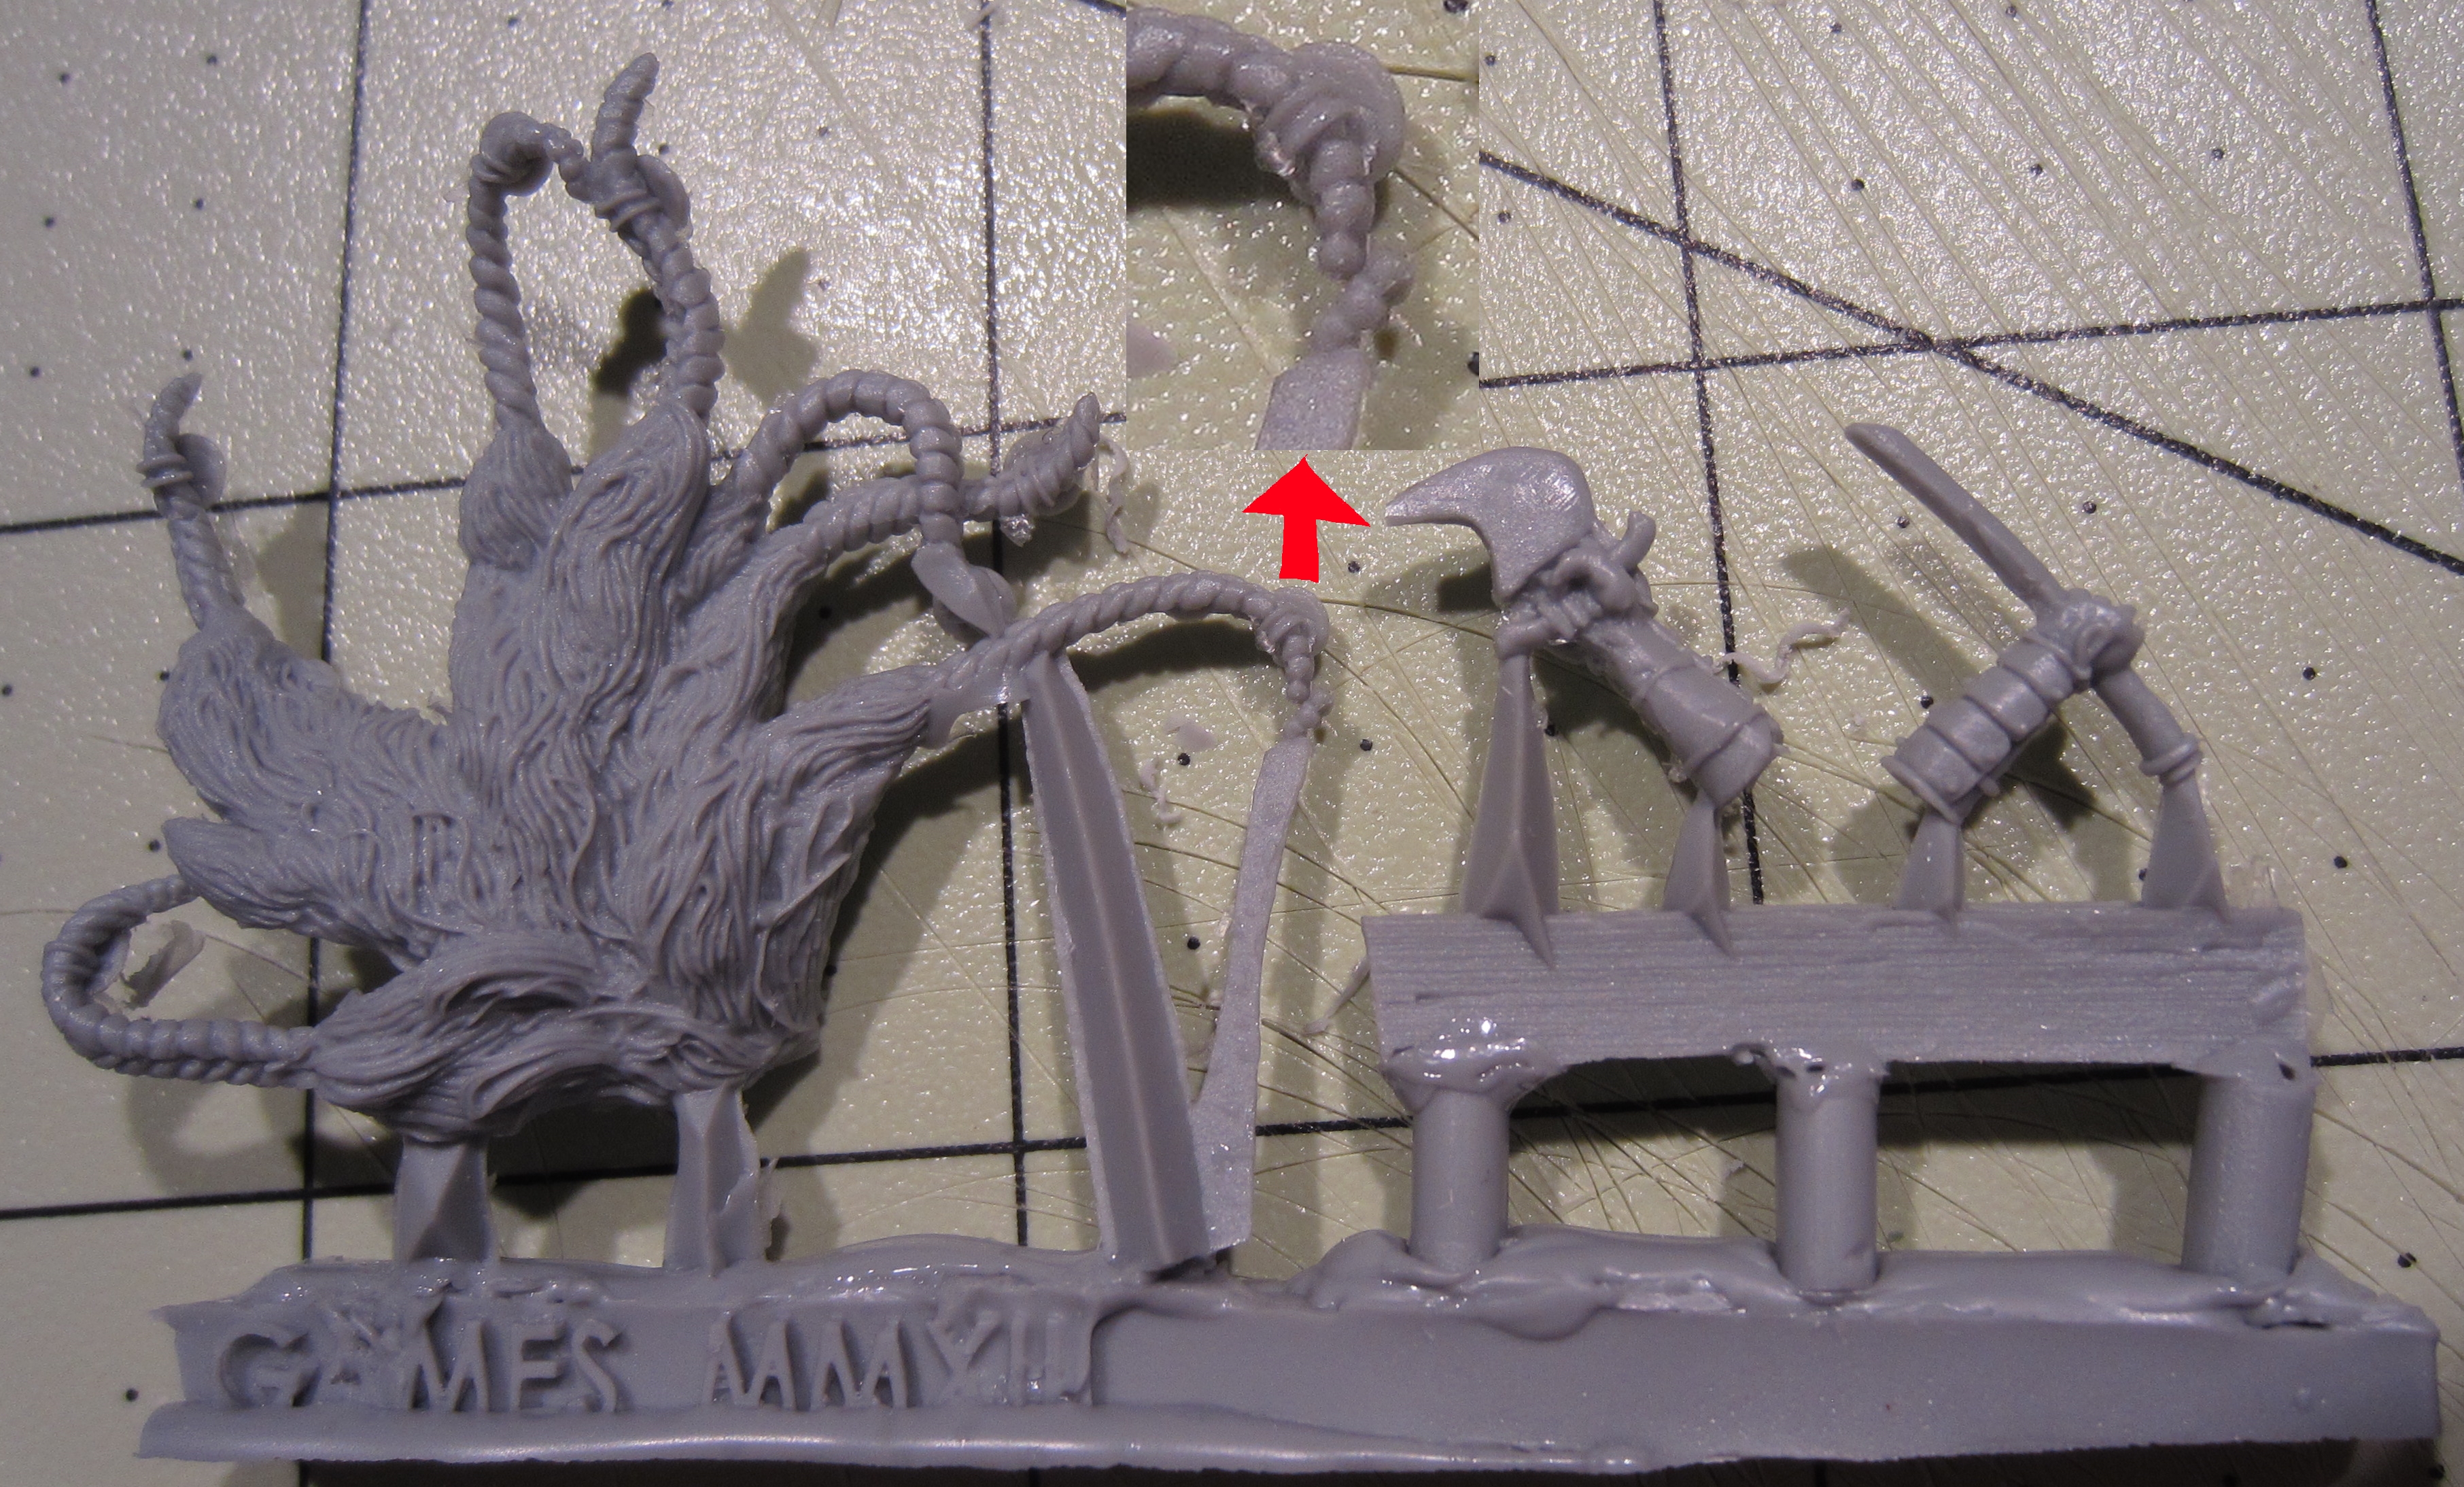
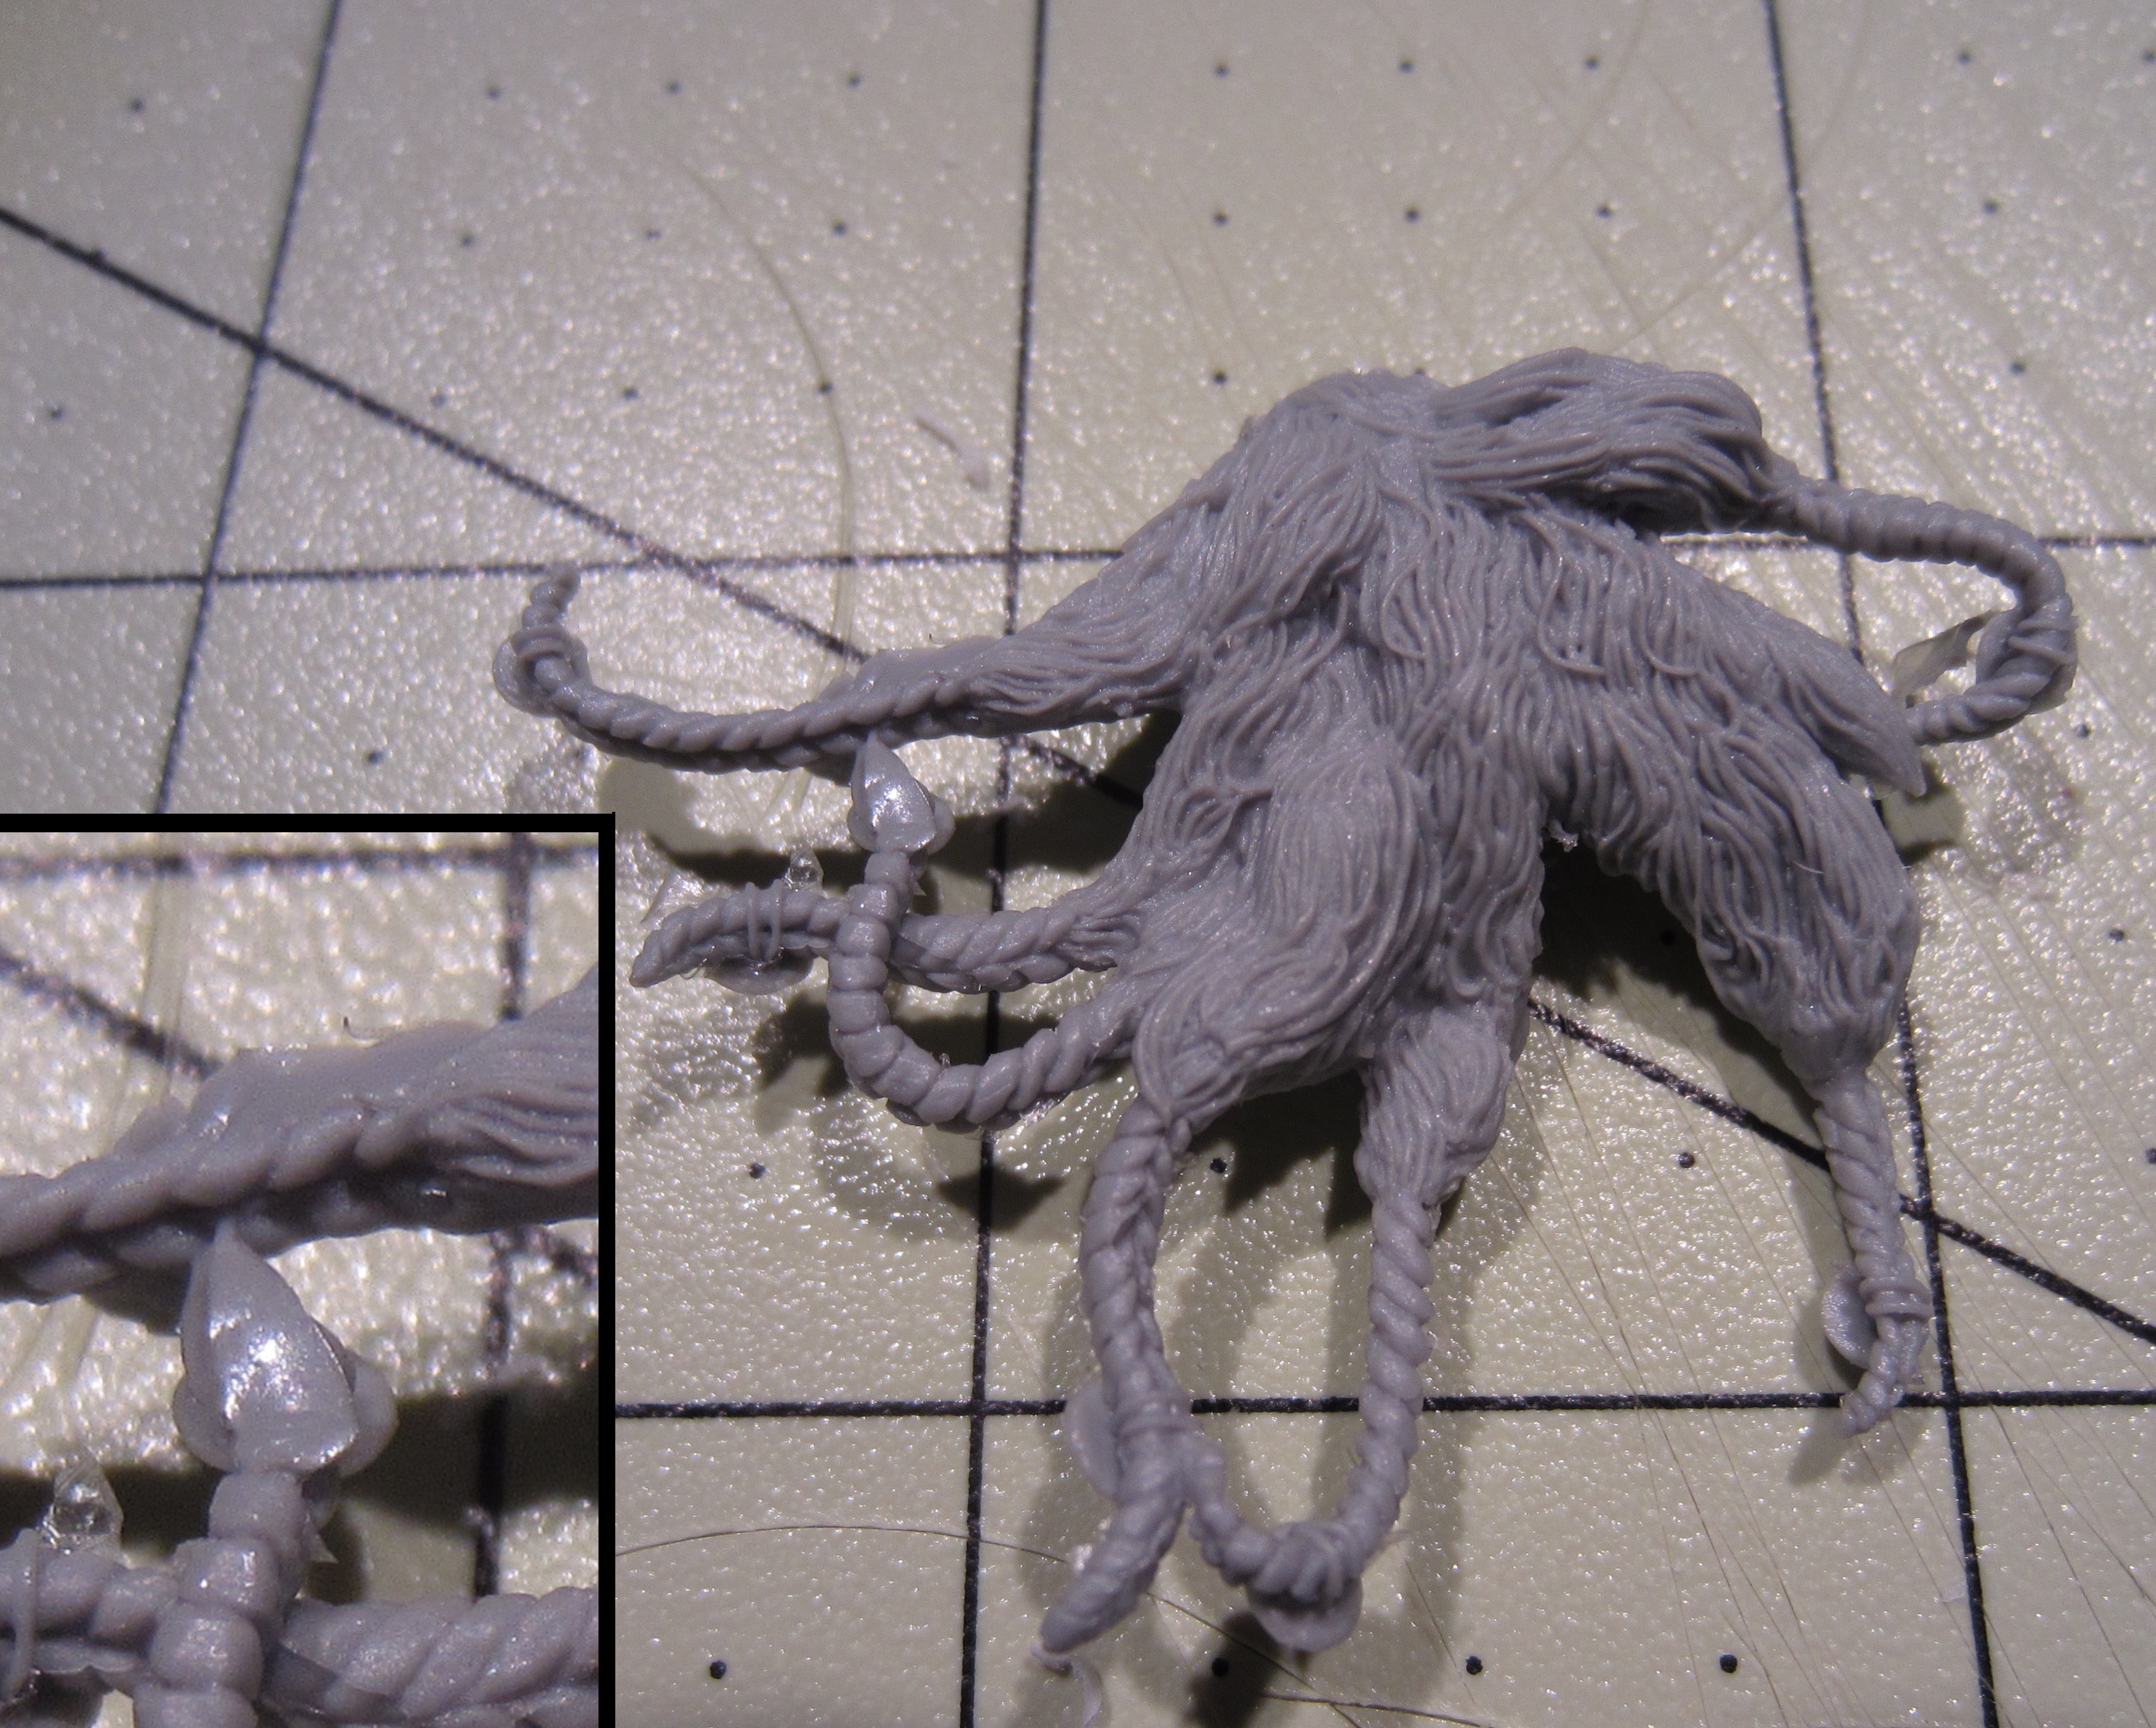
Likely because of the complexity of the cast for the cloak, this is the piece that had the most issues in the set I bought.

Tip of one braid broken off.

The very tip of the longest braid was broken, as you can see in the detail insert above. To me, this is not a big deal as the braid still flows elegantly and will look great. No one will even know the tip is missing.

Miscast tips of other braids.

The end of another braid was miscast, looking more like a spearpoint, and the braid that it connected to had quite a bit of flash right beside where it met the sprue. (Again, see insert photo above.) I cleaned these up, but the area where I removed this flash lacks detail. In the scheme of things, this is not a big deal, as there is so much going on with Bjarrhvit's cloak I doubt anyone will notice these small marred areas.


Completed Bjarrhvit.

Above you can see the completed Bjarrhvit. I did pin her right arm, but her left arm fit perfectly with the small resin positioning nub provided. I am certainly not the best figure painter, but I am looking forward to painting these (Bjarrhvit in particular). The amount of detail in these casting is very impressive.


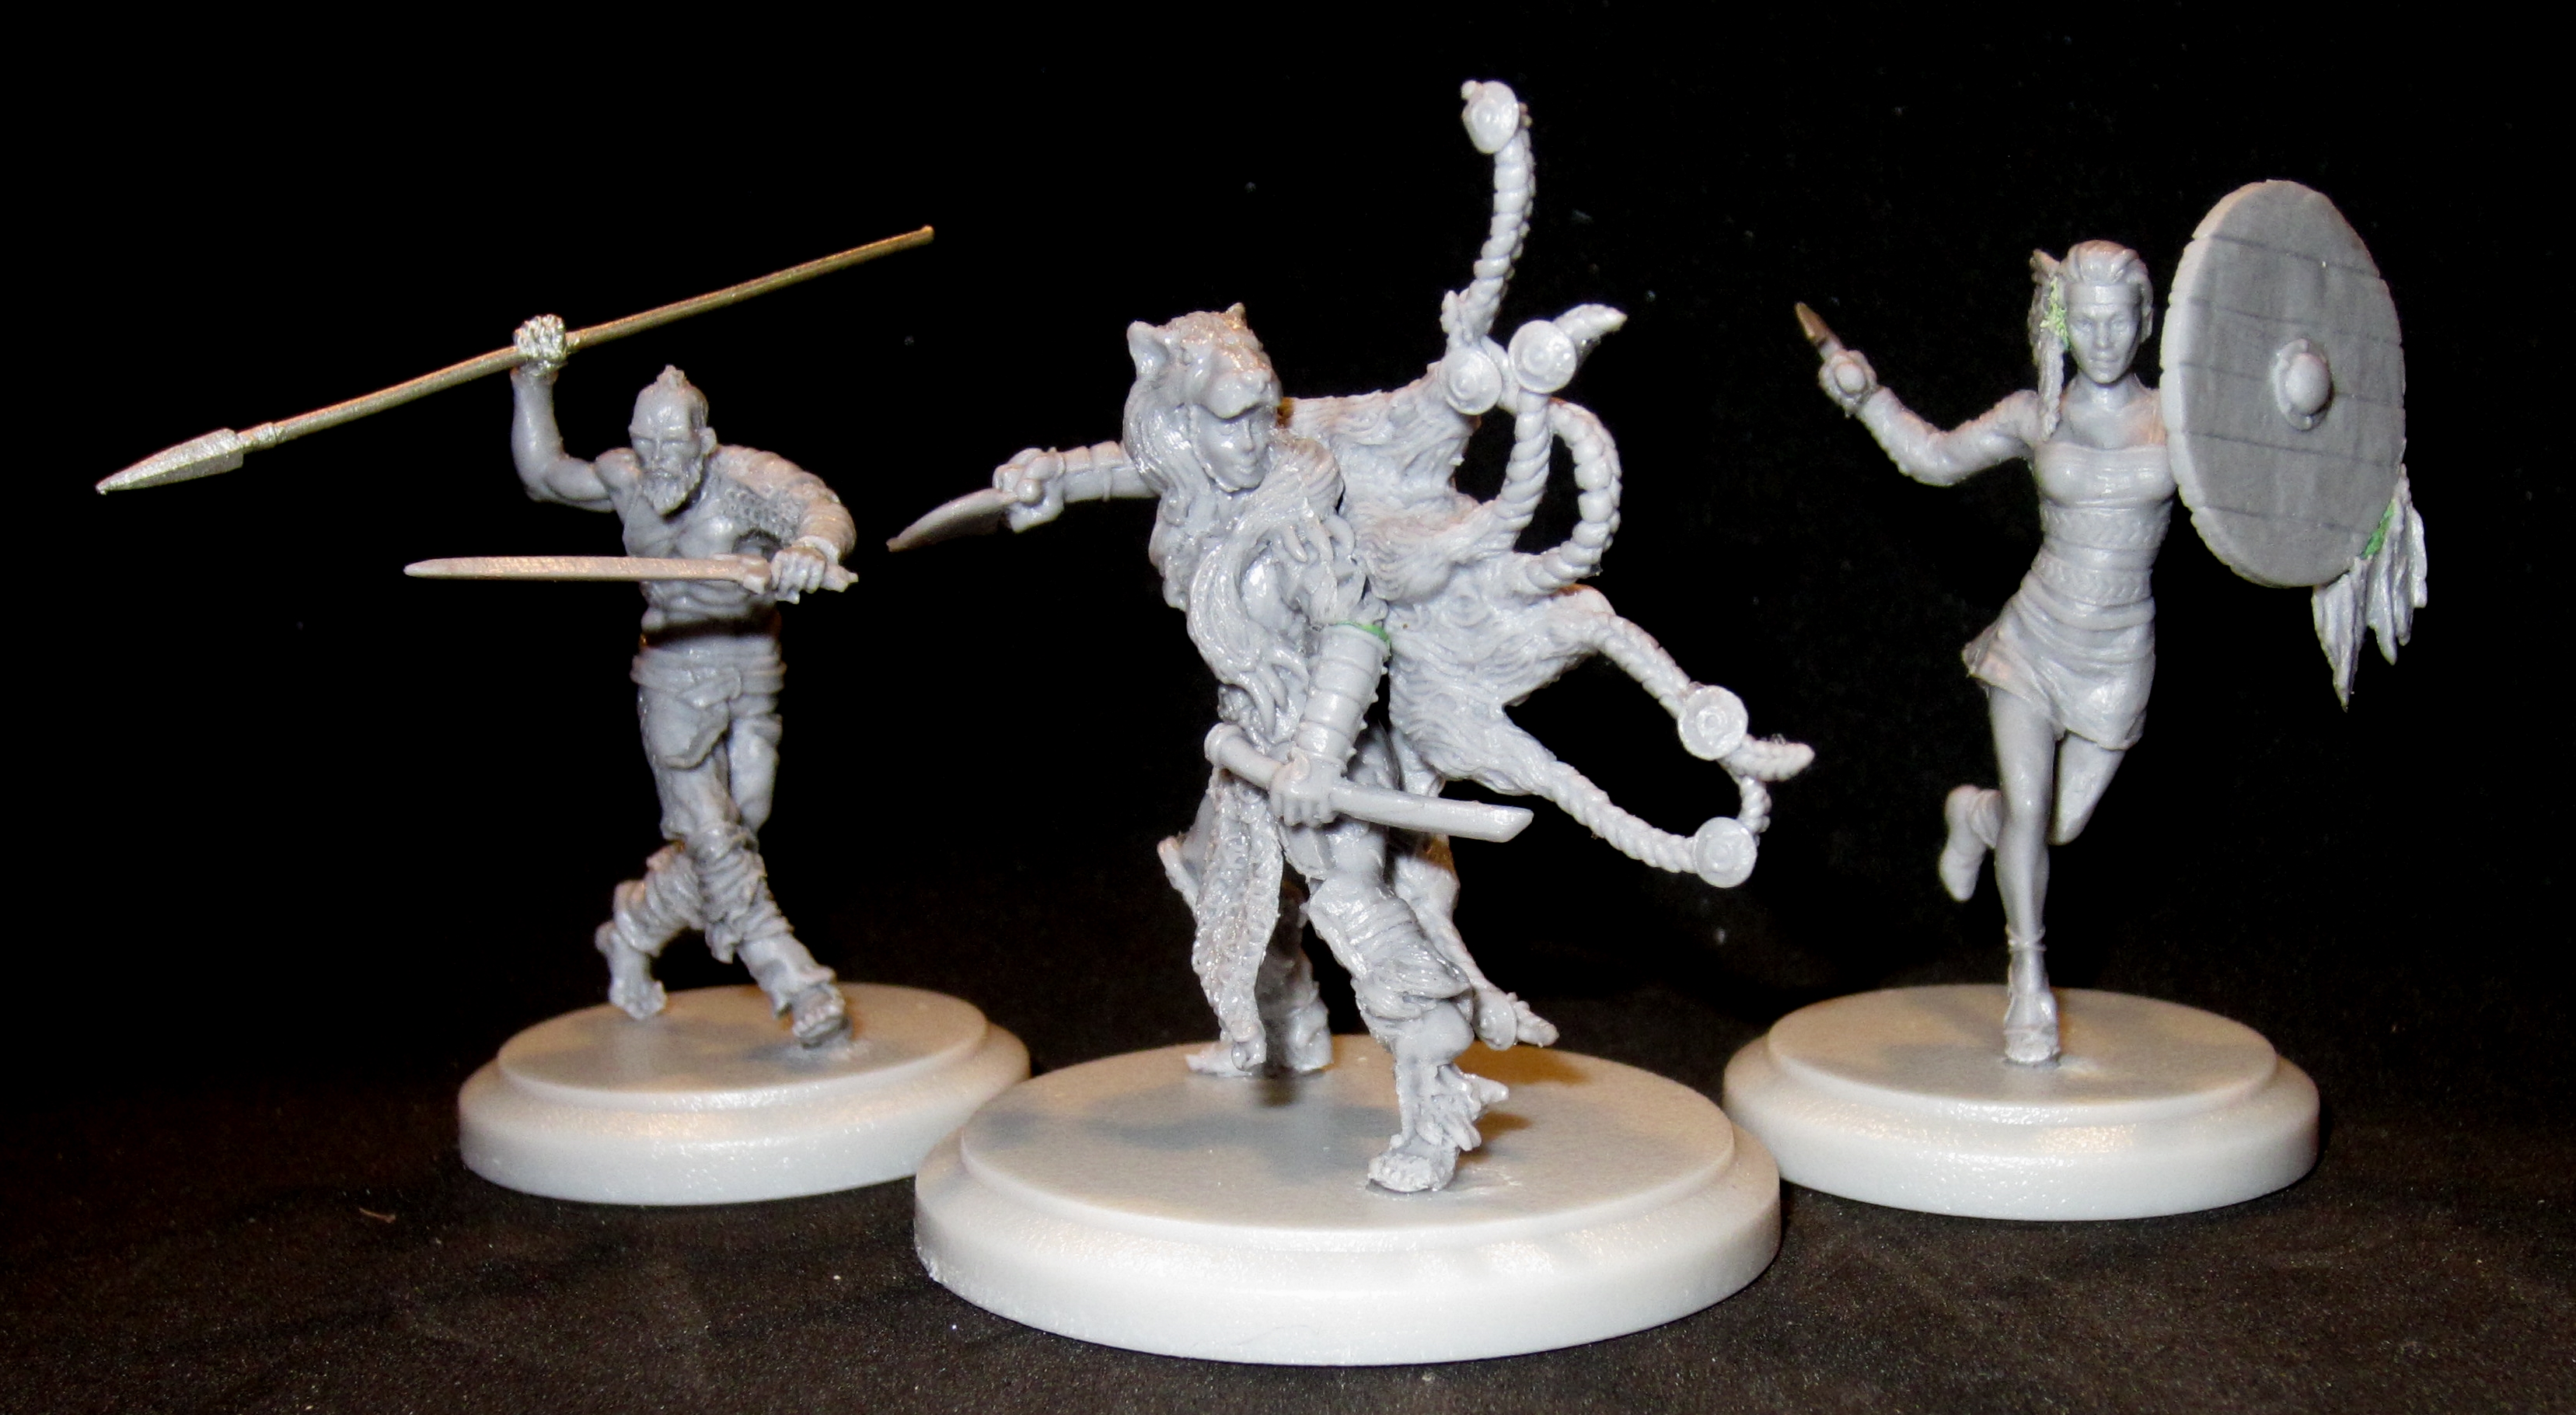
The gangs all here!

The game can be played with cohorts made up of any number of figures, but the rules recommend groups of three to start. This boxed set provides that, along with all the accessories needed to play.

My verdict:

9 out of gladiators approve!

I gave this set 9 out of 10 gladiators.

First of all, the cards (both the art postcards as well as the game cards) are quality products. They look great and are printed on thick, glossy cardstock. The printed pit was a nice bonus. The plastic fatigue tokens are basic, but functional, and will serve their purpose well.

While those accessories are nice, it is the figures that people buying this set are really after, and I must say these figures are amazingly detailed and wonderfully sculpted. The poses are very dynamic. Sven's description from the Arena Rex website says he is "a patient warrior who favors maneuvering around his opponents and exhausting them before closing in for the kill." His pose shows exactly that, as he appears to be circling his victim. Frigge is poised in mid-step, charging with her shield held high and her axe ready to strike. Bjarrhvit's pose is magnificent, with the highlight of course being the flowing cloak, with the braids whipping around her. 

I mentioned the small issues I found with the castings. While admittedly minor, I did think they were worth mentioning, especially with the price of these figures. They're definitely on the upper end of the price scale (leaving GW out of the equation), and I would have liked to see a little less flash. The starter box is a very good value, saving you about 20% compared to the cost of the individual figures. And in the starter box you get the Zephyri cohort bonus card and the pit.

Overall, I'd recommend this set to anyone interested in getting started in the game, as well as modelers looking for beautifully sculpted figures to paint. I can see these all as display pieces as well as playing pieces.

I have yet to see how this team performs in actual combat (hopefully a future post will discuss that), but any figures that make me this eager to get them painted up and on the table as soon as possible are worth their cost!

'Til next time!
Saturday, August 27, 2016

Arena Rex - making the arena (Part 1)

A new game has swept onto the scene at the local game store: Arena Rex.

It's a fast and furious game of arena combat between various mythical factions and beasts. There is NO ranged combat - it's all close in and personal!

So, what does the game require in terms of terrain- an arena, of course! Filled with plenty of traps, hazards and other dangers.

A quick search of the internet showed that some people were using the Playmobil Roman arena (set 4270) as the basis for their gladiatorial terrain. In fact, the Arena Rex guys themselves take one to conventions!

Since I happen to have one of those arenas taking up space in my basement from my Playmobil-collecting days, that was obviously the easy way to go. I measure the arena, determined that it would fit perfectly on a 3' by 3' table, and set off to gather materials.

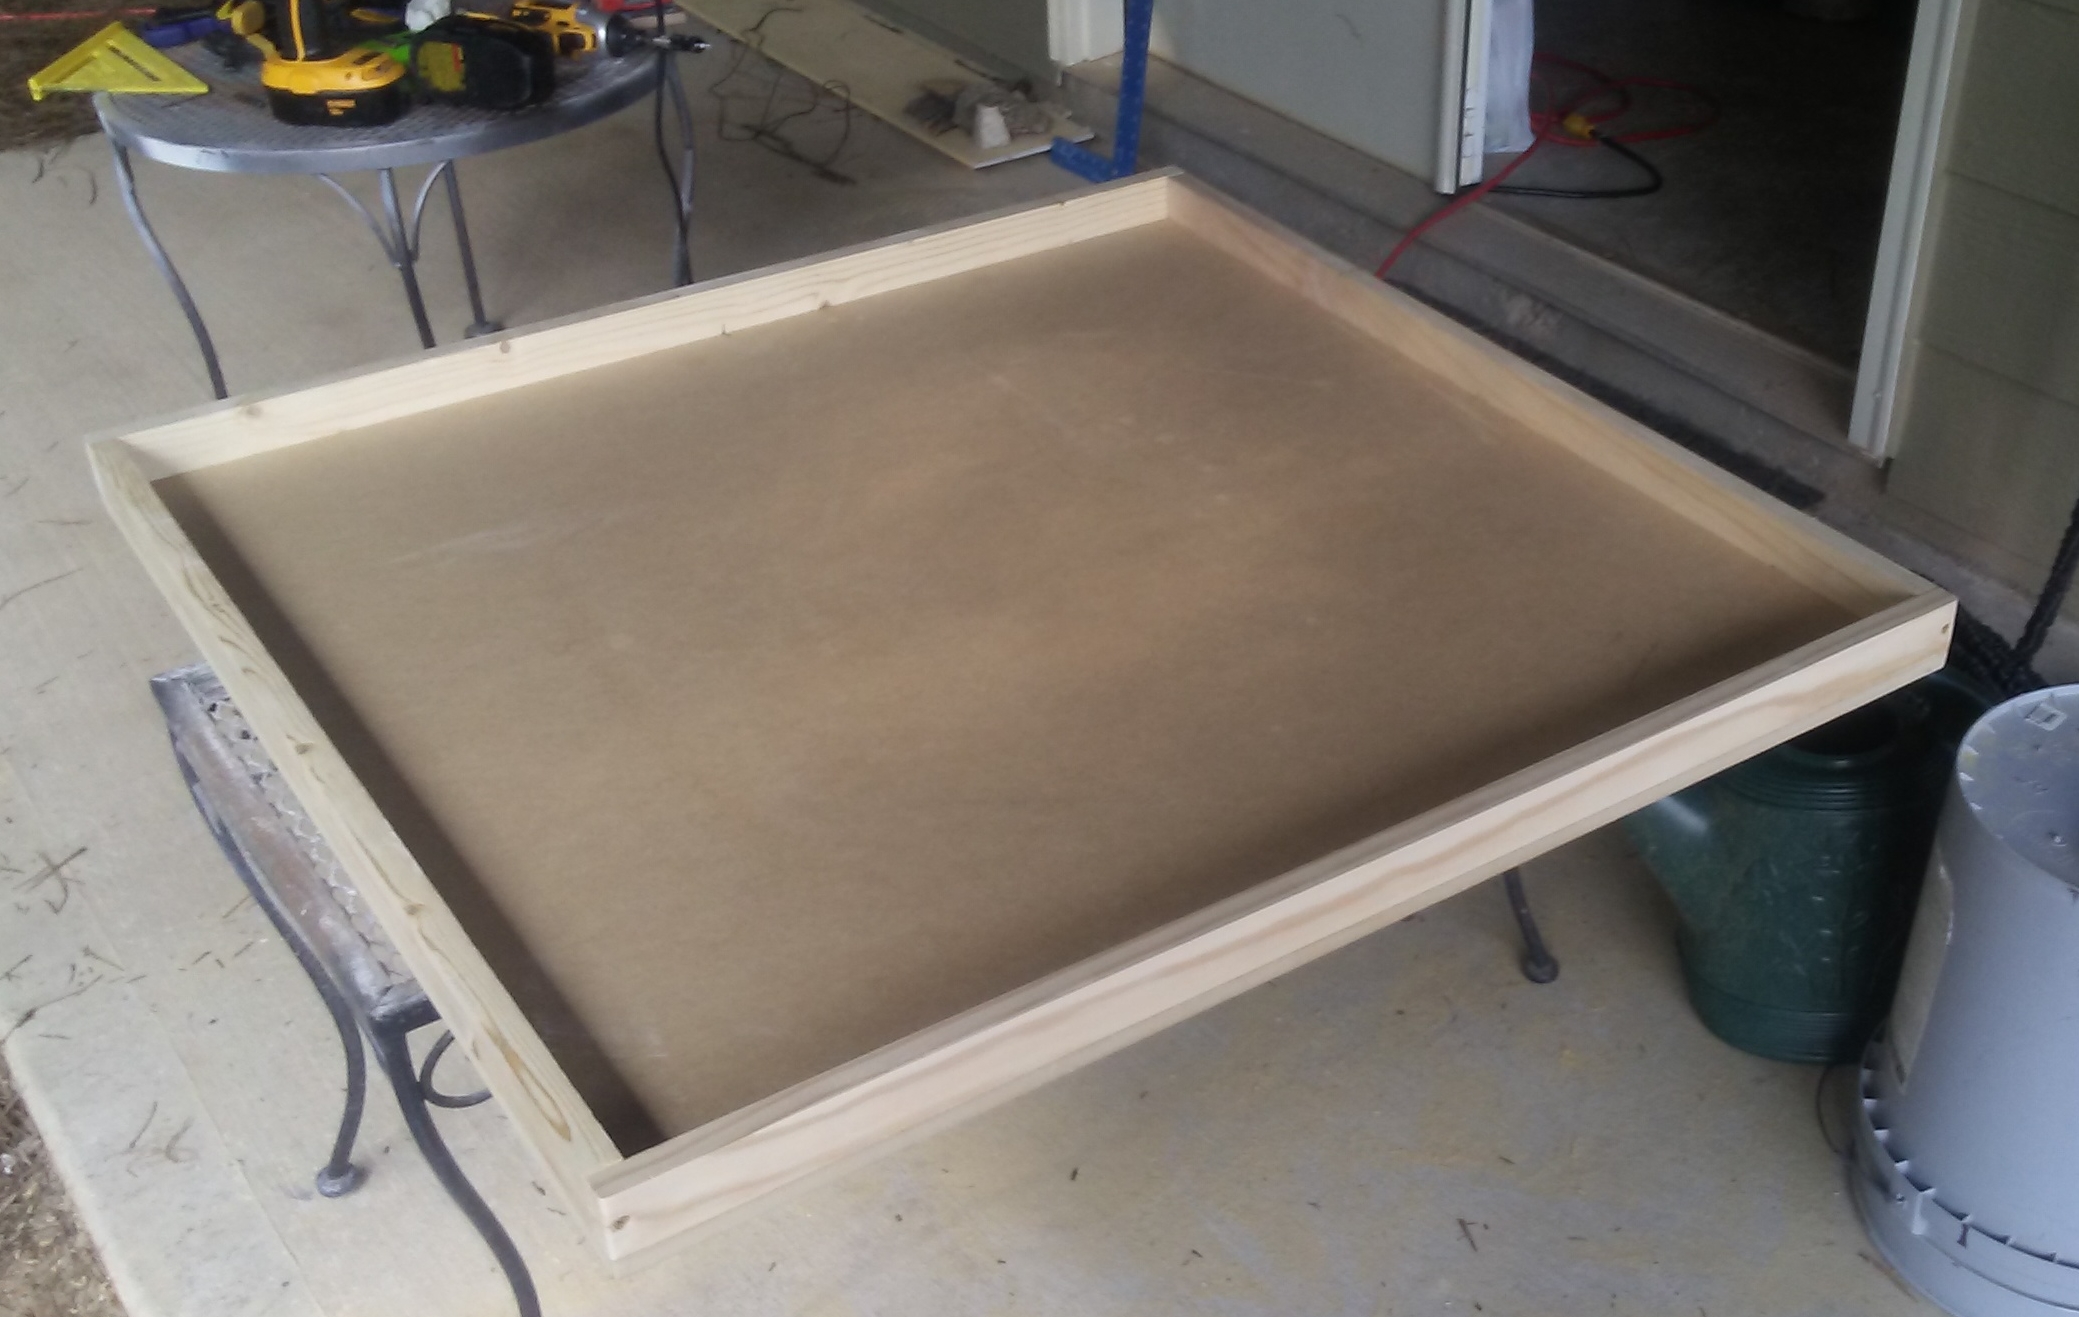
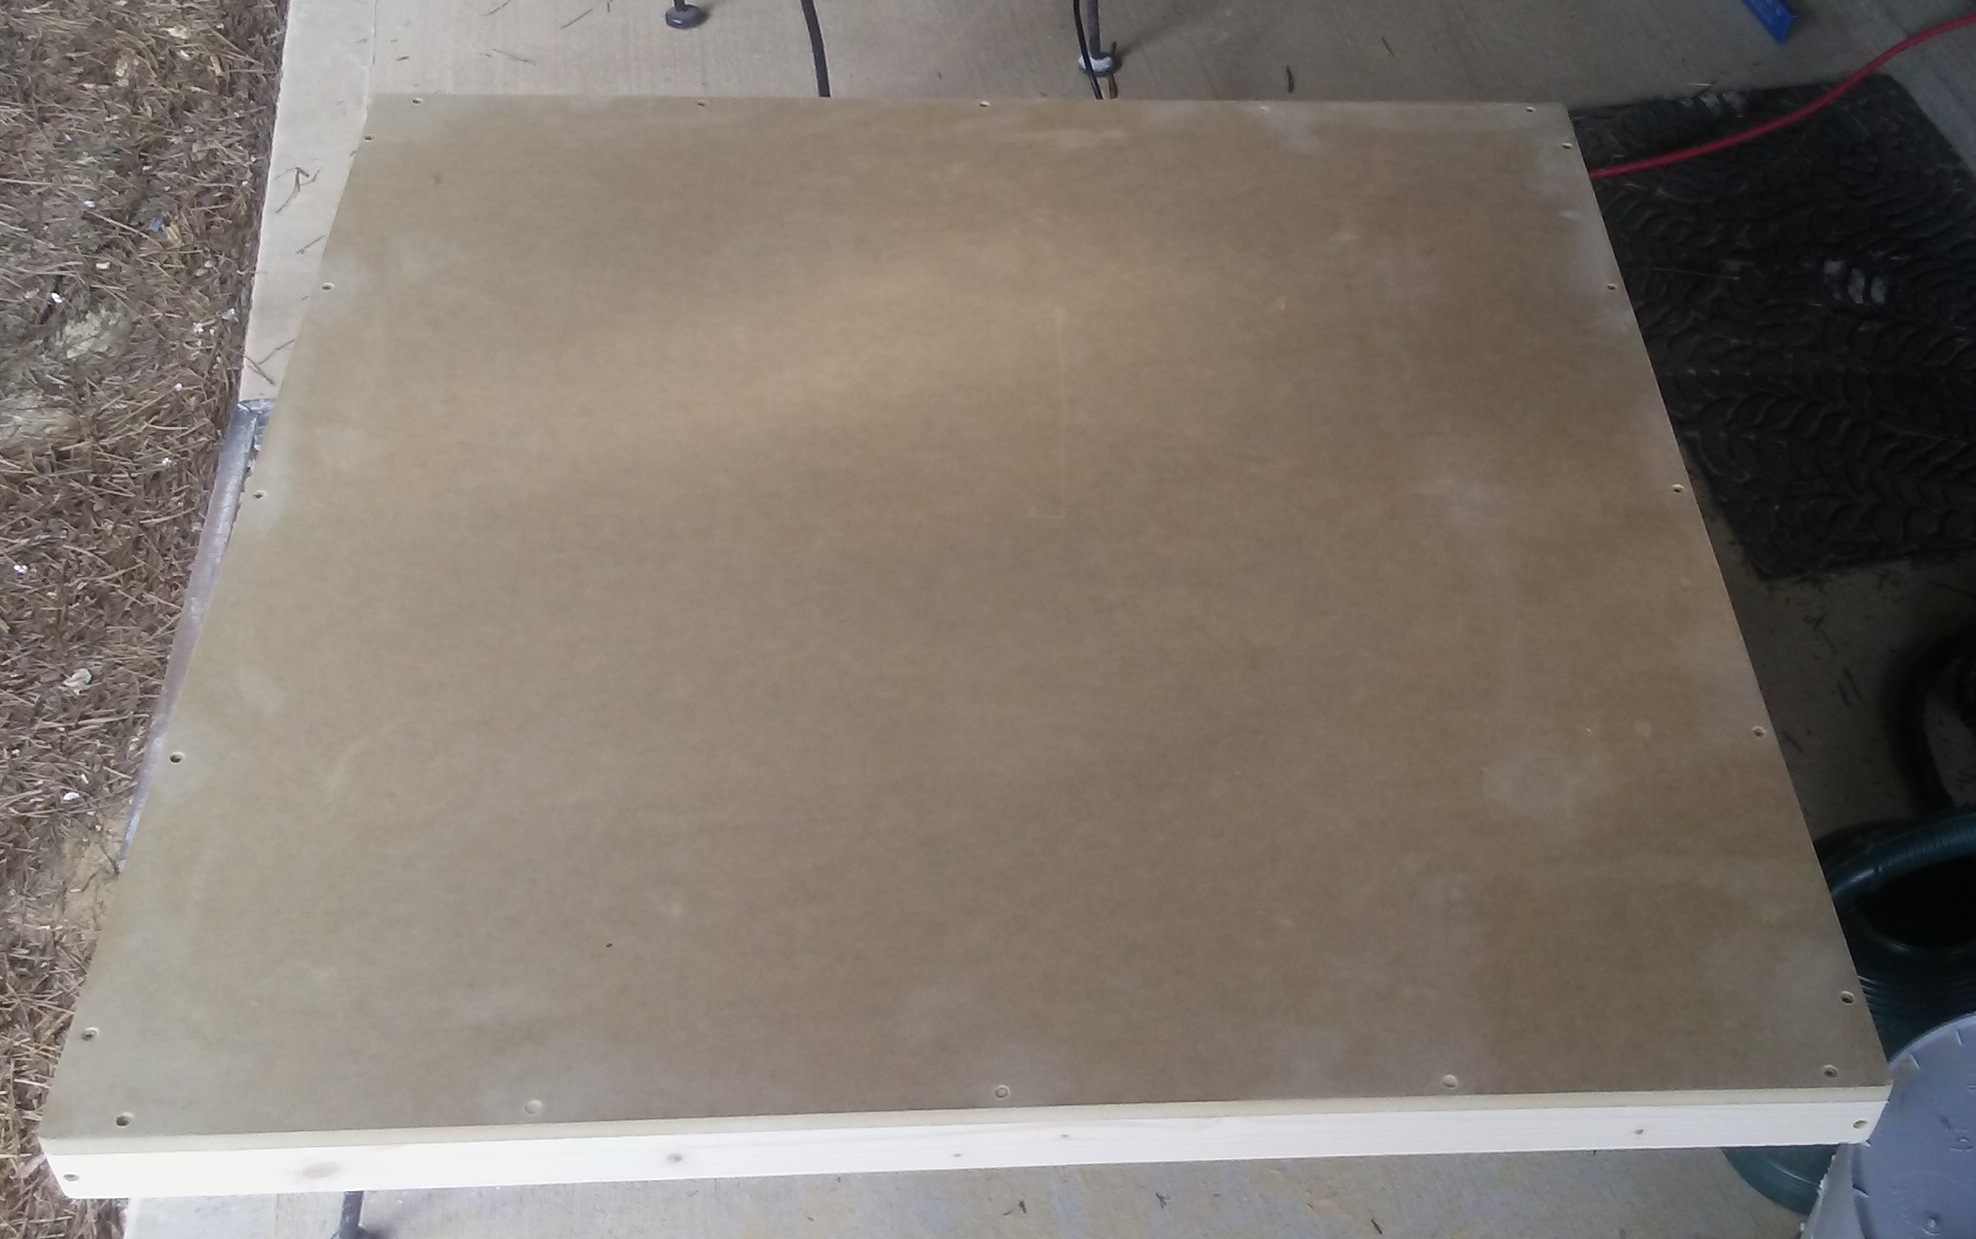
I used a 1/2 inch thick sheet of MDF for the base, cut to 3' by 3'. I framed it in 1x2s, making sure to countersink all the screw holes. Since the flat part would be the underside of the board, I wanted to make sure it would not scratch whatever surface it was placed on.

3' by 3' arena board (bottom view)
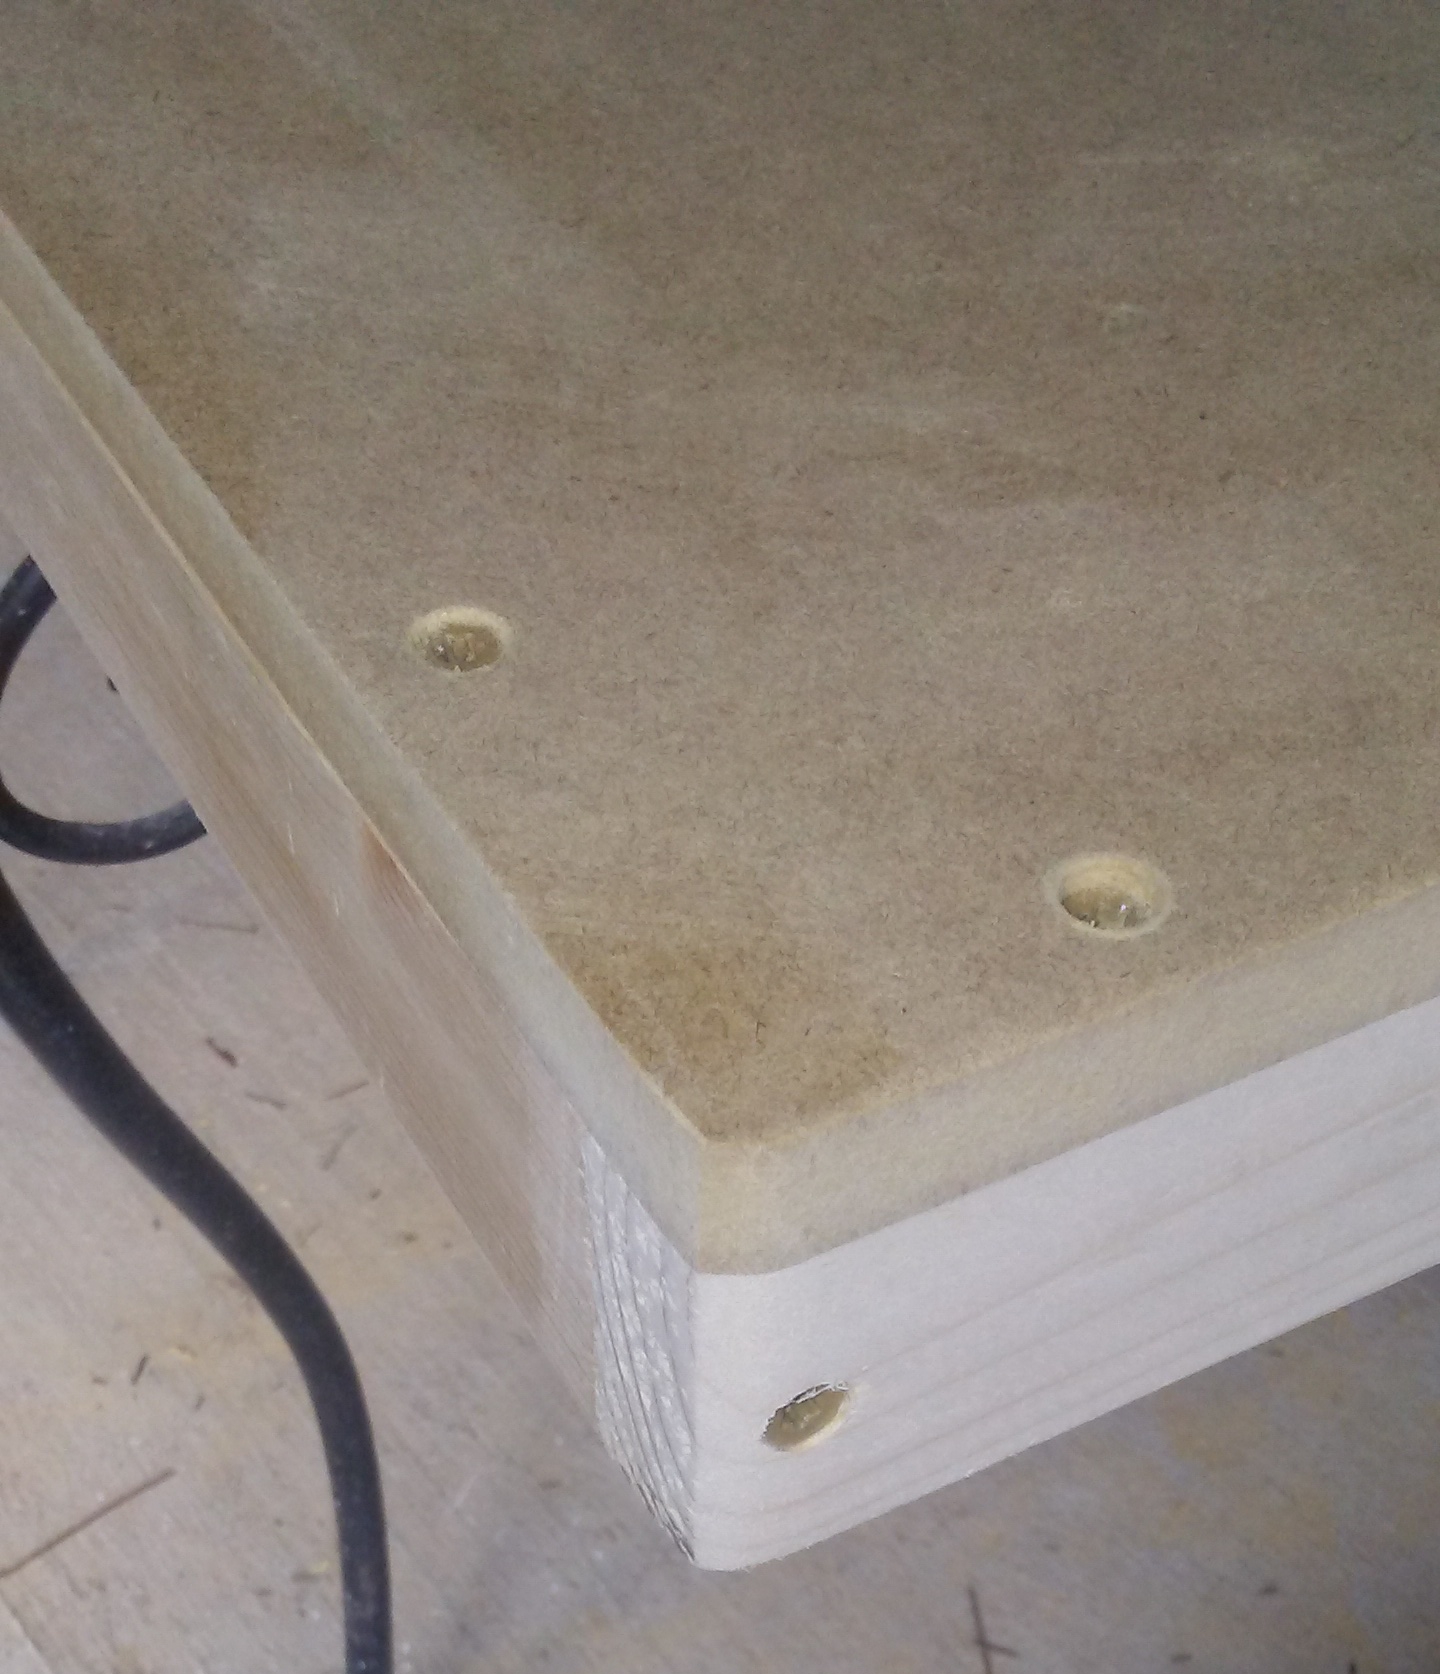
I also sanded it all the way around and slightly rounded the corners in order to removed any splinters and sharp edges.

Sanded corner, countersunk screw holes.

The completed frame, ready for paint.

I did not like the natural wood color, so I grabbed a can of dark brown spray paint from my stash and covered all the edges that would be visible.

Painted board.

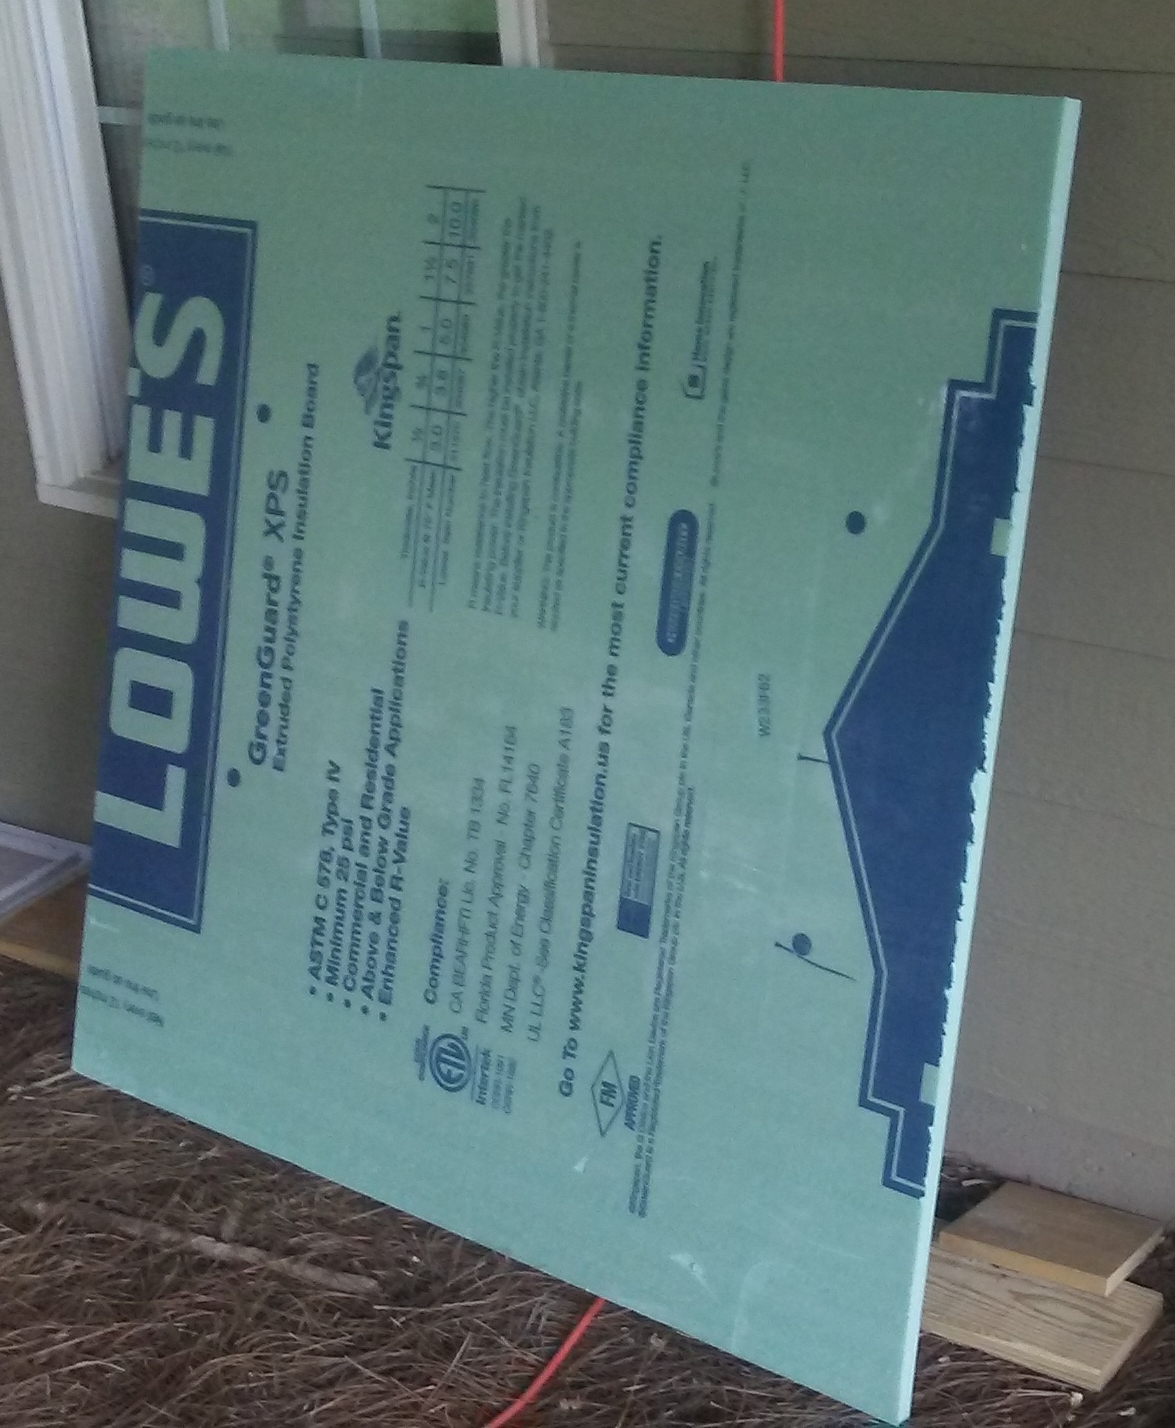
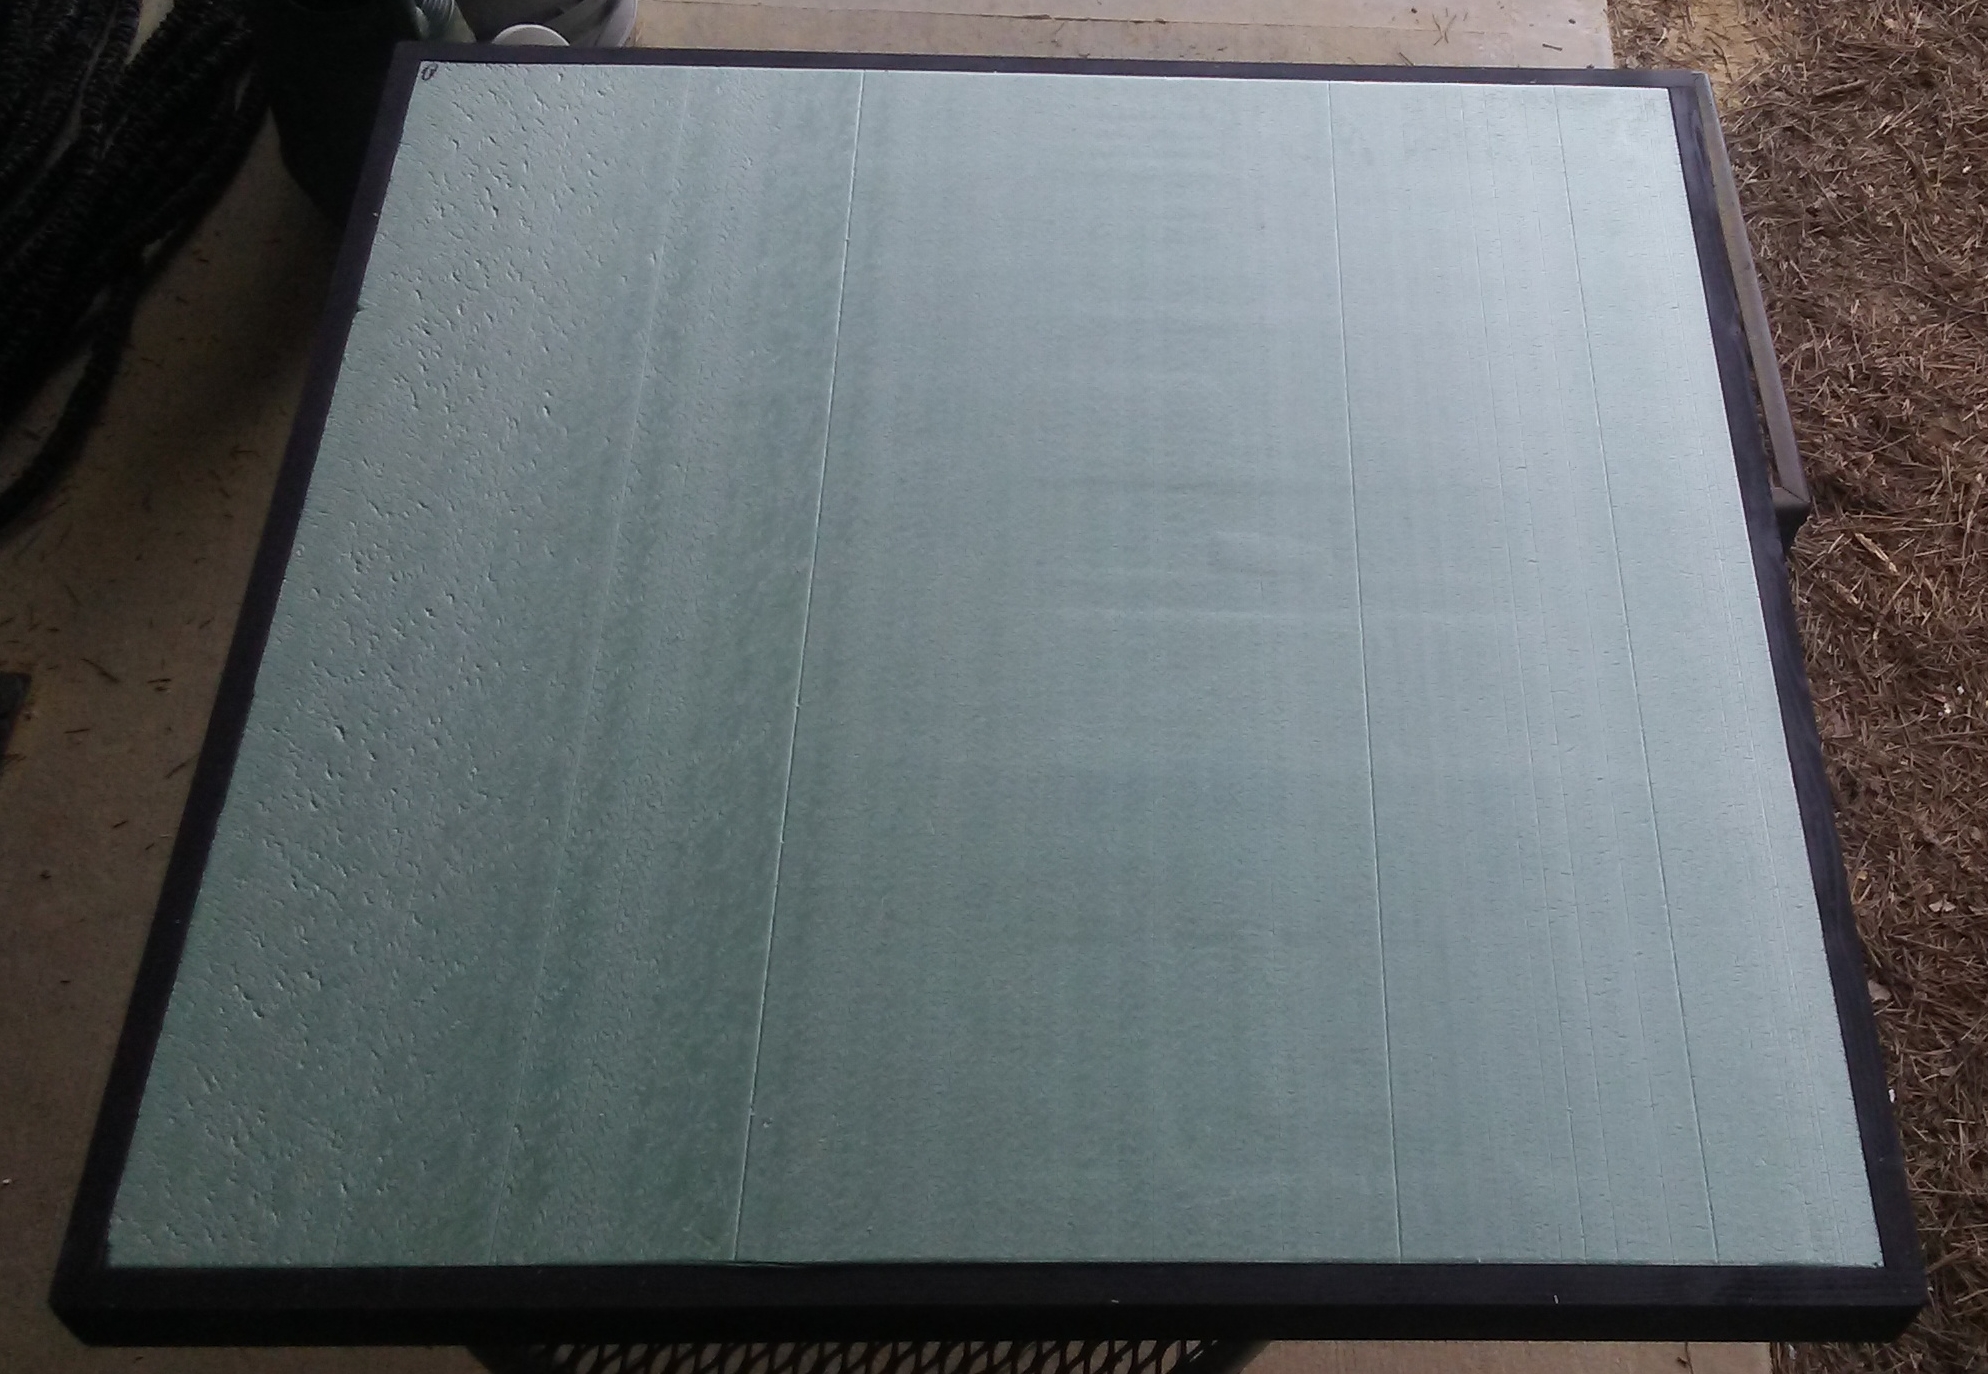
The inside area would be filled with insulation foam. I bought a sheet of 1" thick foam (and was amazed at how expensive it has gotten!).

1" thick insulation foam.
The inside edge of the board is actually 1.5" tall, so I took some scrap pieces of packing foam that were 1/2 inch thick to make up the difference. Since I am a terrain maker and a pack rat, seldom does any packing material enter the house that it does not join my Styrofoam hoard.

After some careful cutting and fitting, here's the result:

Foam, cut and placed in the board.
Putting the foam inside the 1x2s will protect it from getting banged up and chipped. Foam is not the sturdiest of materials.

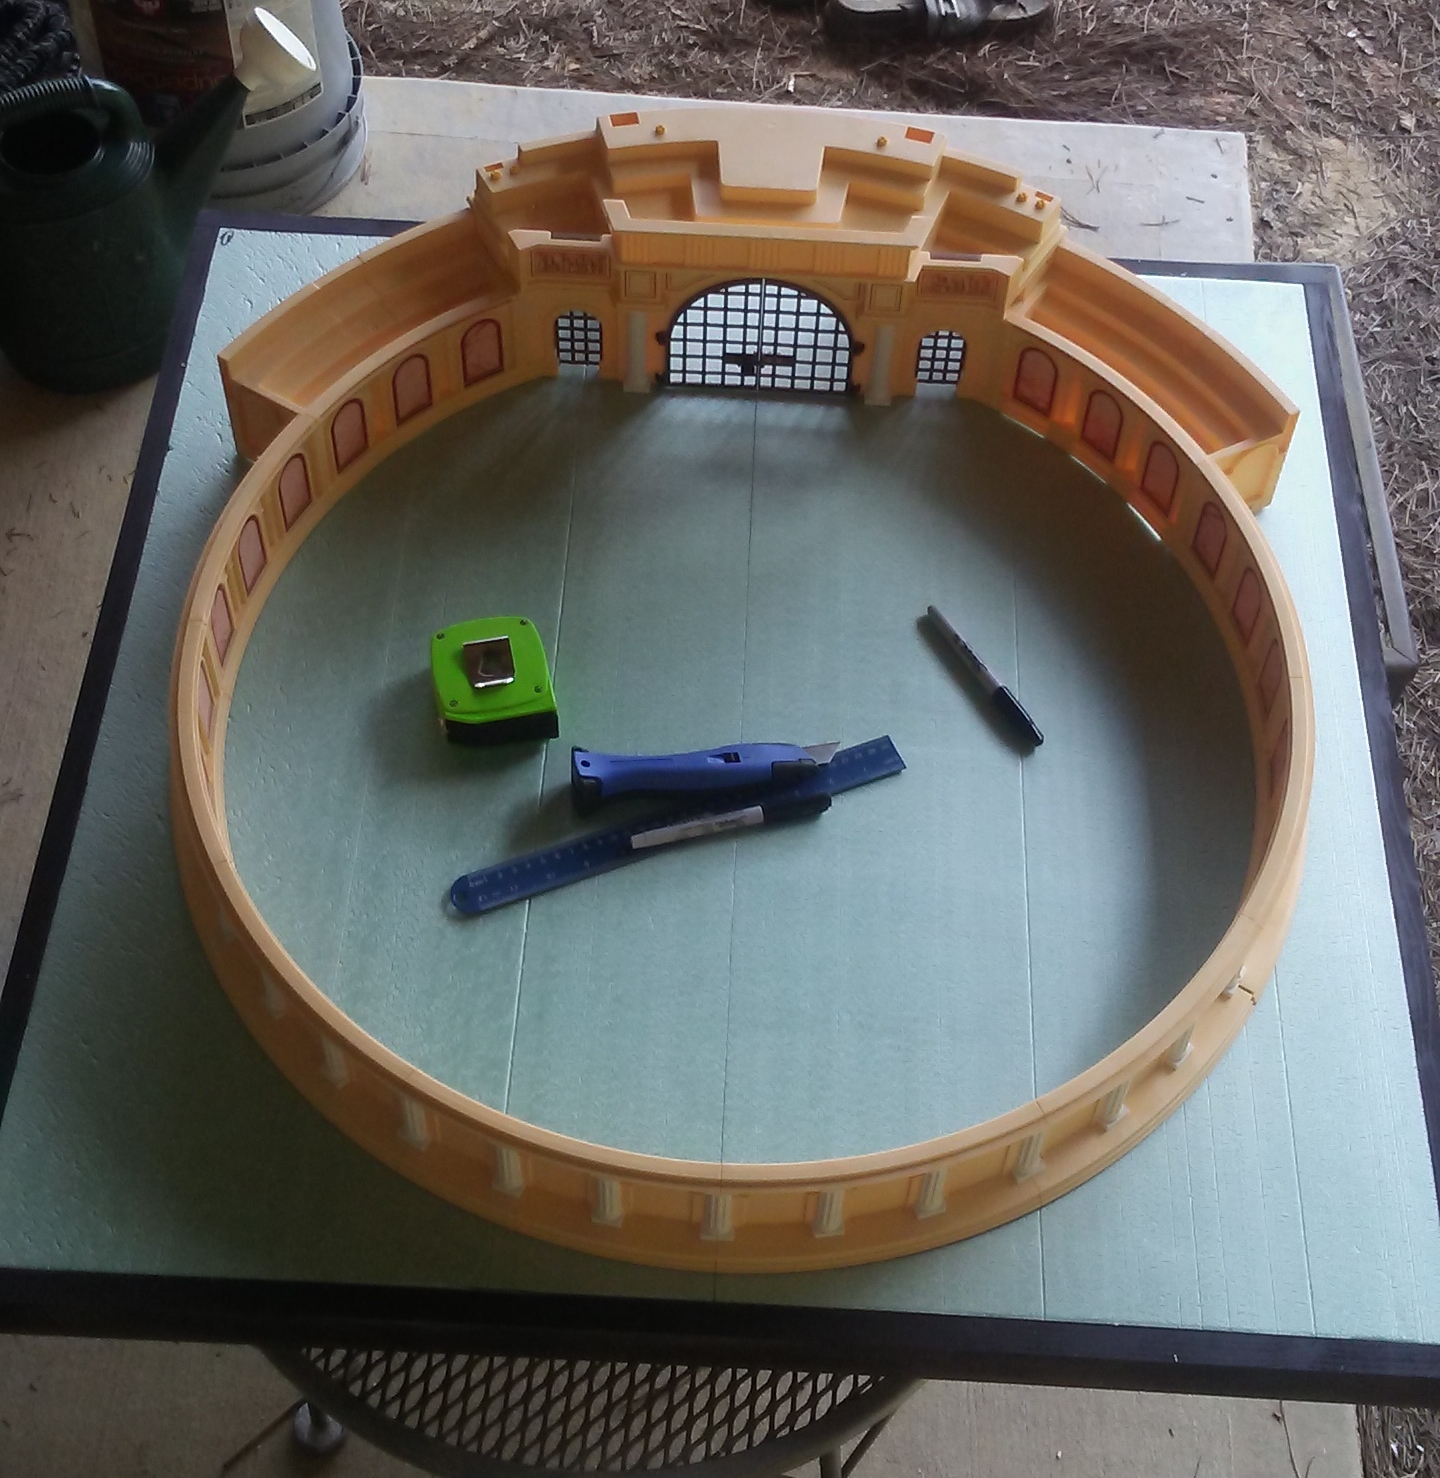
I did not glue the foam into place yet. Pits are an important part of the terrain. Much of the game involves knocking your opponents back with your attacks, and pushing them into a pit can be a very effective way of removing en enemy fighter from play.

I want the pits to be cut into the foam, so I placed the arena on the board to trace out the inside diameter and locate the pits before cutting them out. Once the pits are cut, I'll glue the foam down permanently.

Looking good so far.
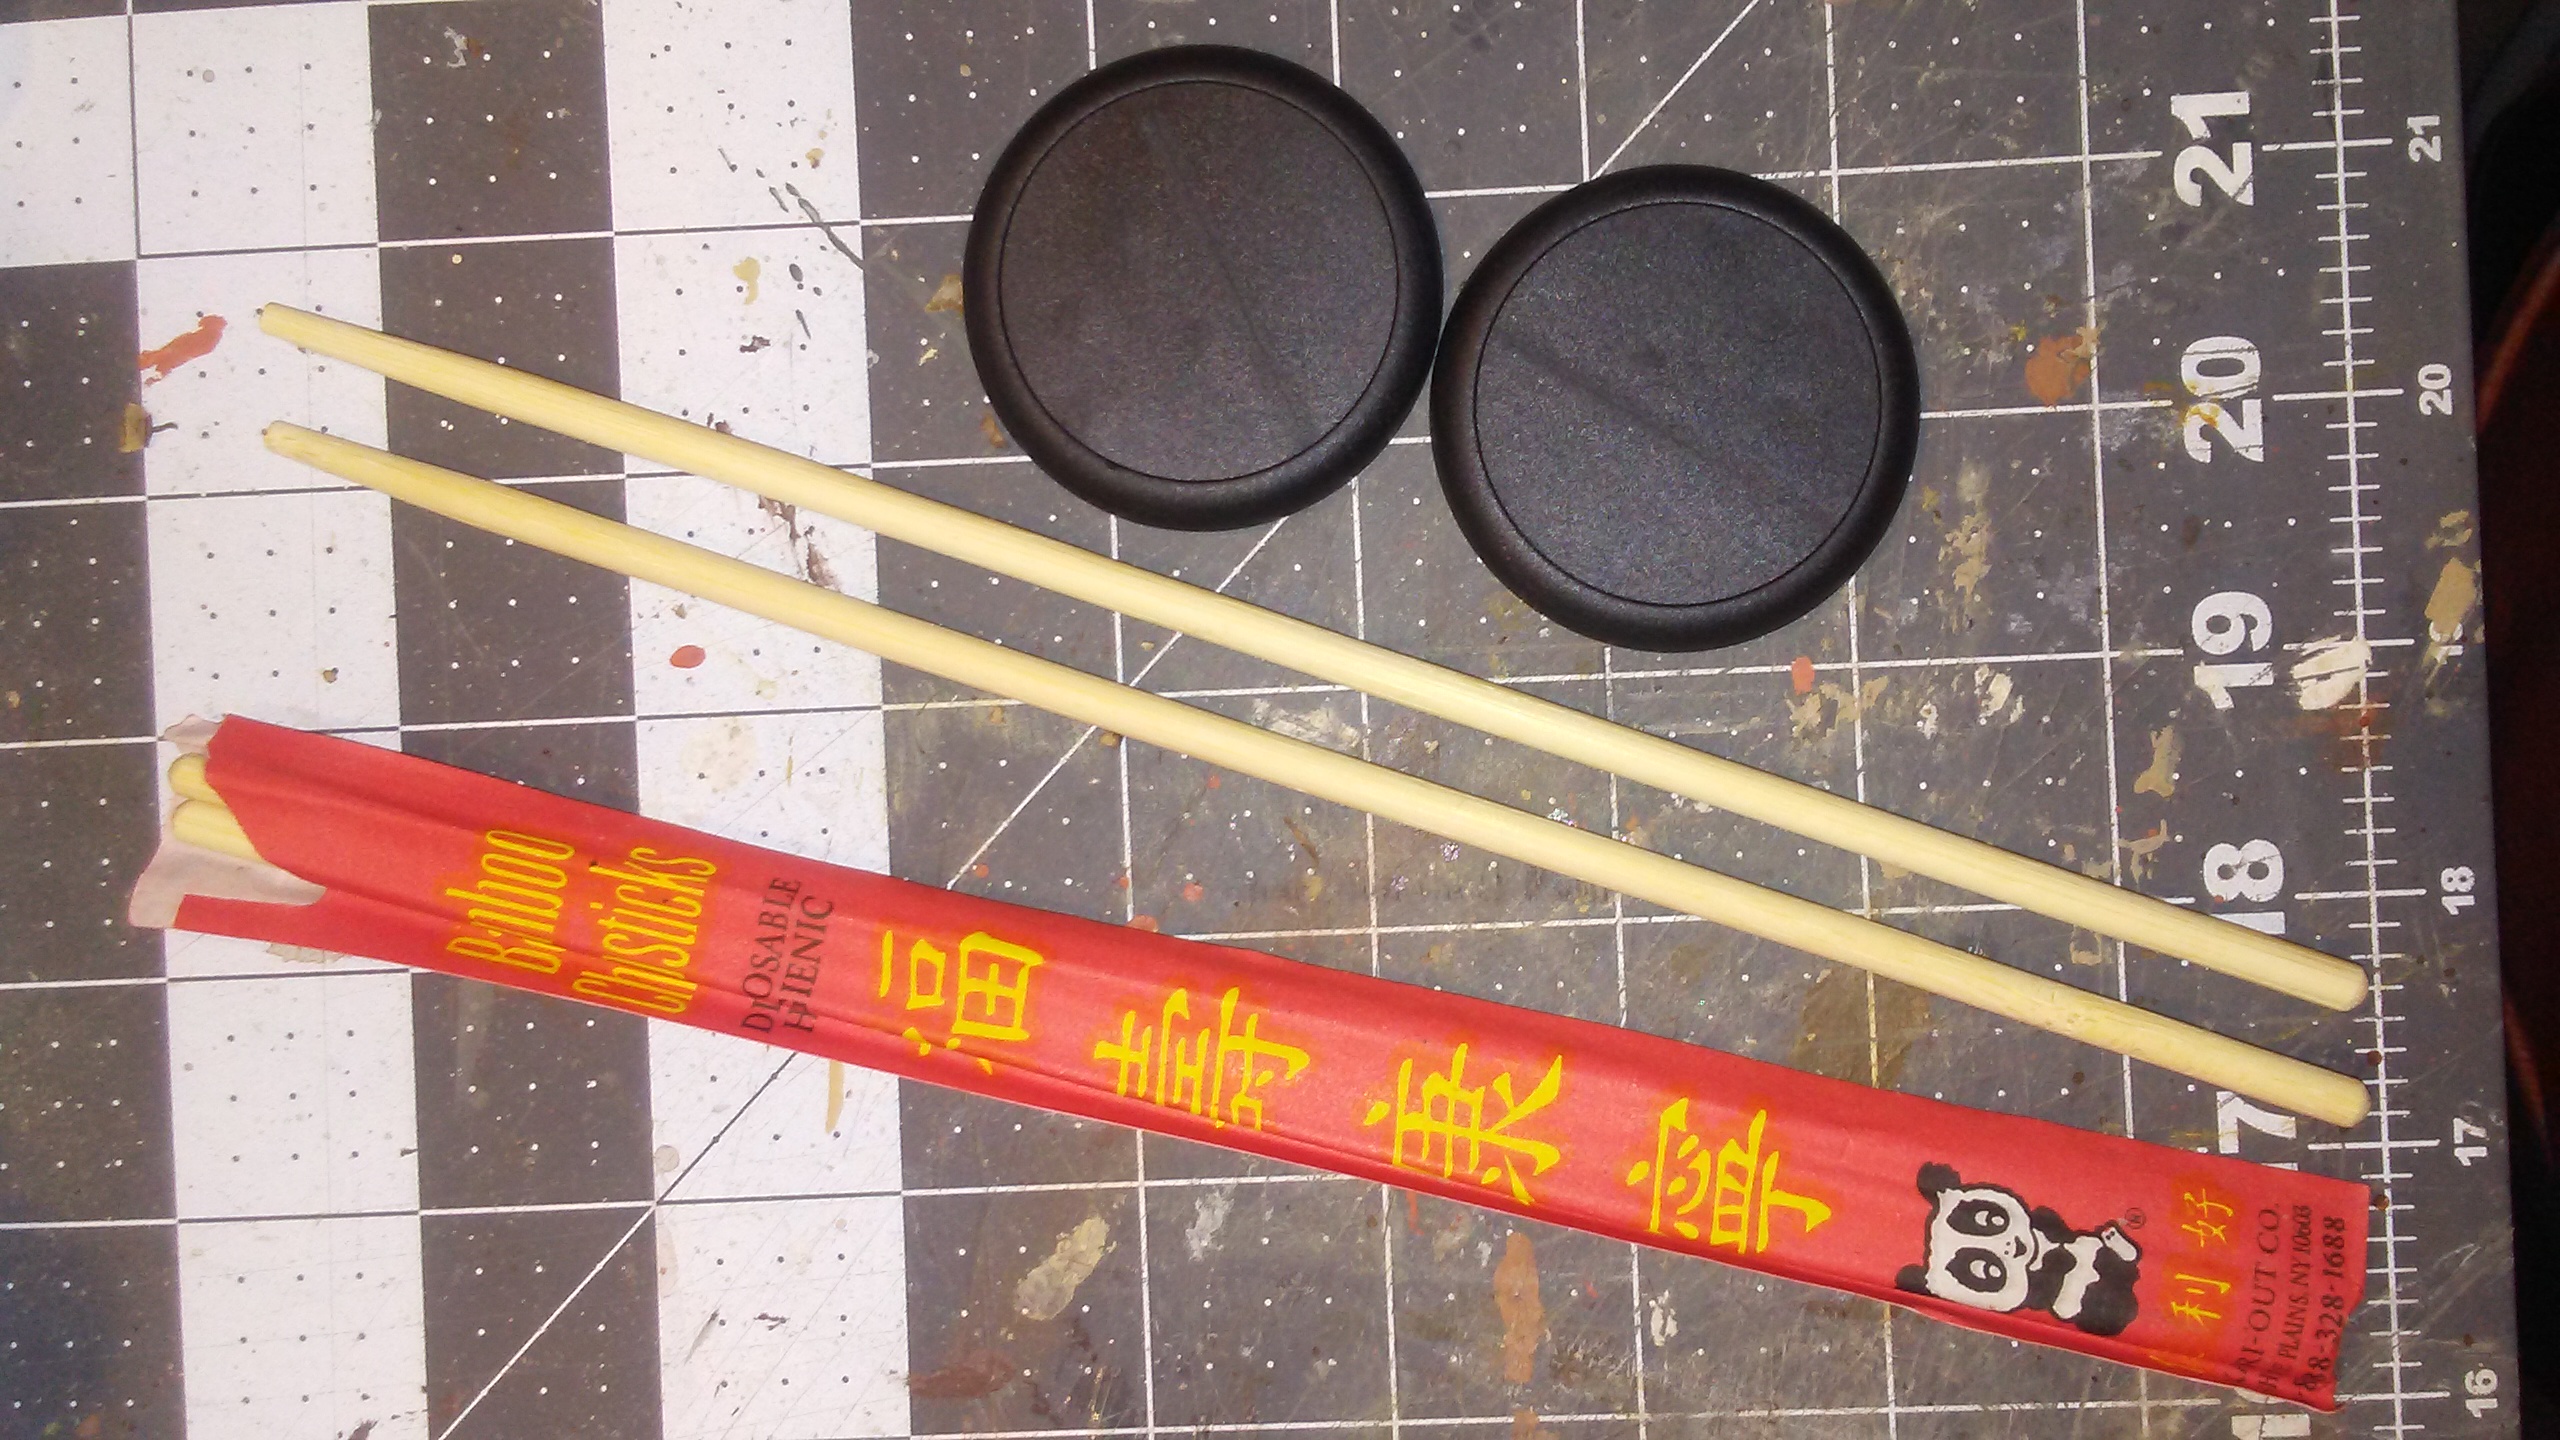
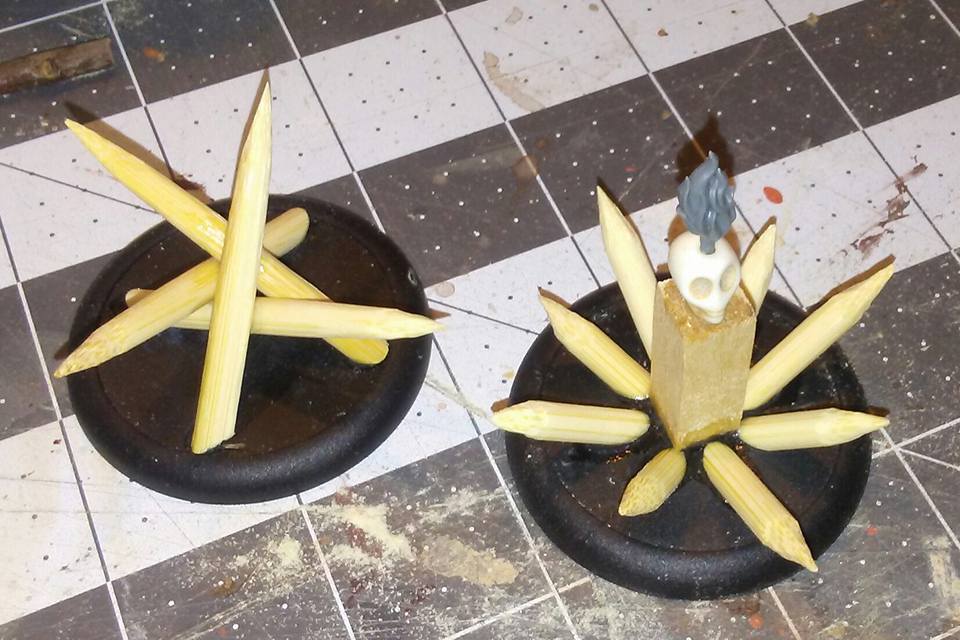
In the meantime, I also started on simple hazards. I took a couple of bases I had sitting around, some chopsticks, a skull bead and a plastic torch and got to work.

Basic supplies for hazards.
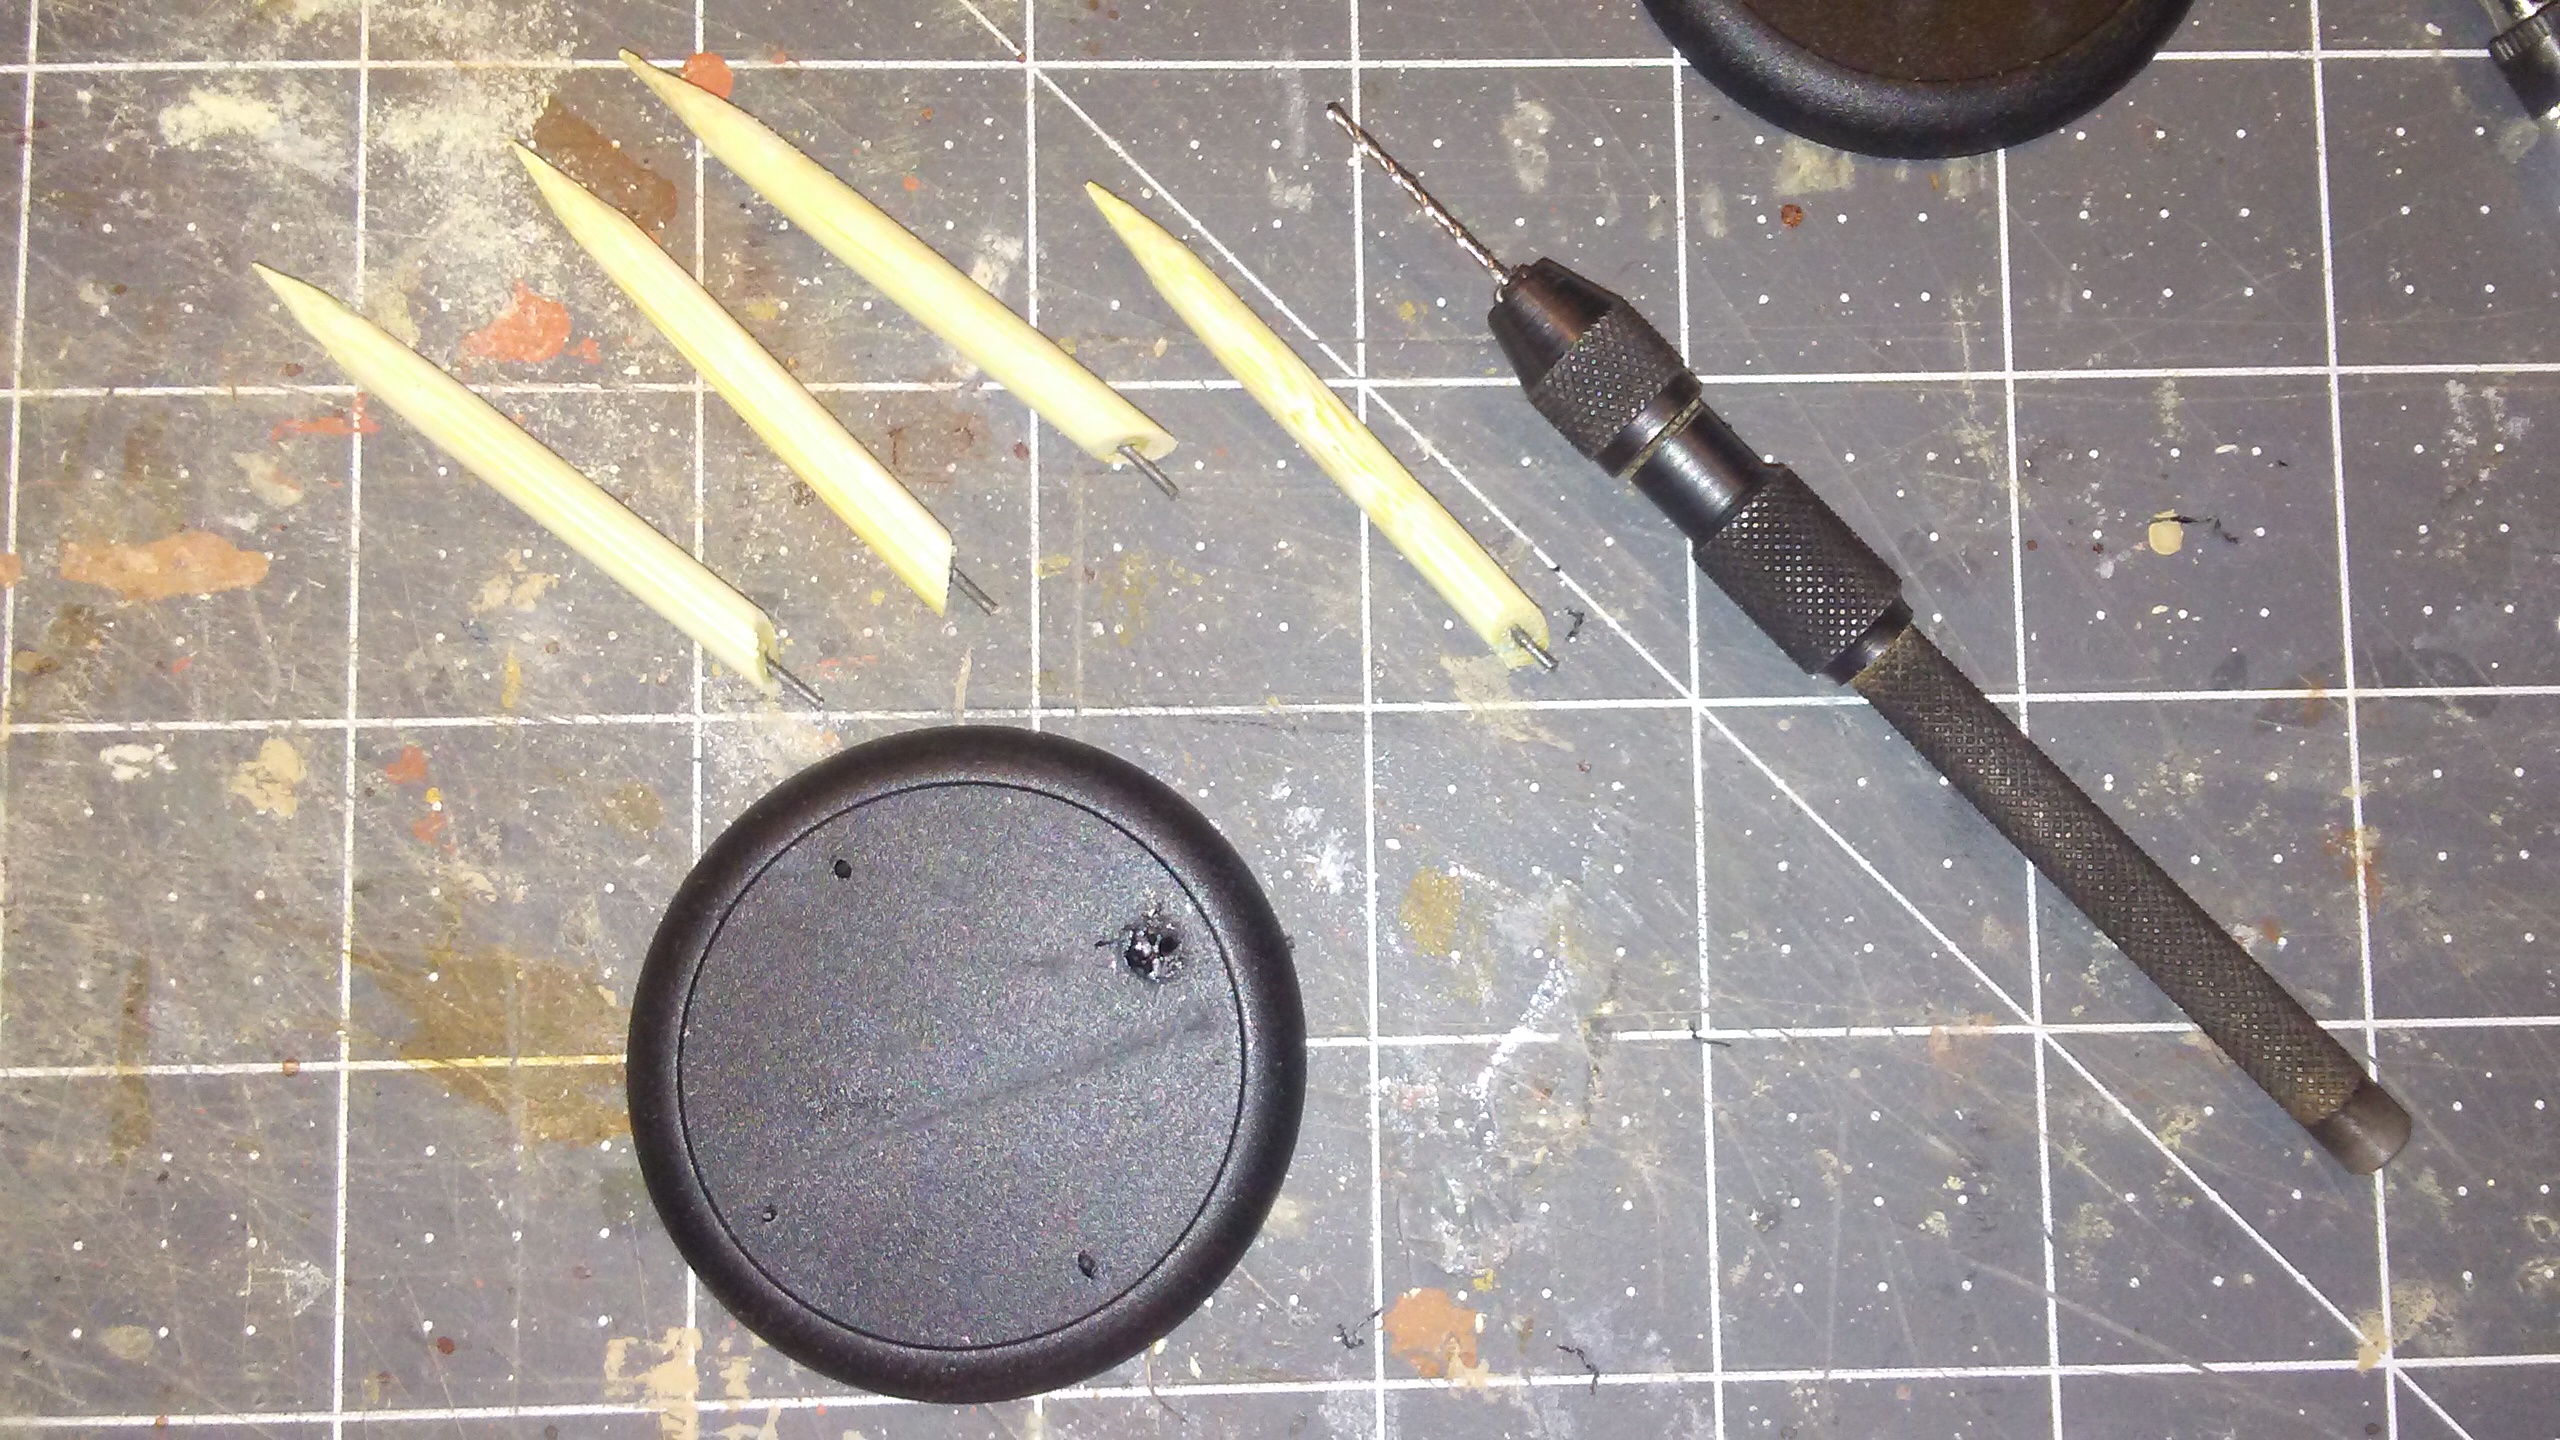
I cut the sticks to size, sharpened the edges and pinned them to the base. I actually made them very sharp, and stabbed myself while putting the hazard together!

Spikes cut to length and ready for gluing.
I also made another hazard consisting of a pillar surrounded by spikes, with a skull-shaped torch holder.

Two hazards for the arena.
I'll add some sand and paint to finish them off.

I really enjoy the excitement of a new game. Planning new and different terrain, and seeing it take shape, is one of my favorite parts of this hobby. In fact, sometimes I enjoy making the terrain for a game more than actually playing it!

'Til next time!
Sunday, July 24, 2016

Dark Ages - Upgrading Warbases' Grub Hut and Longhouse


Since my Spanish colonial town is almost finished, and I have not yet decided what I'm going to be working on next, I thought you might enjoy a return to my Dark Ages terrain, which I use for Saga (and hopefully soon for some games of Blood Eagle).

A while back I ordered some buildings from Warbases in the UK. The cost was very reasonable, even back when the pound was high and is of course better now. From the pictures on the website, I could tell these were very basic buildings, with no external textures or details (other than the doors), but I felt they had great potential.

I ordered three buildings (two grub huts, and one longhouse) from their Dark Ages line.

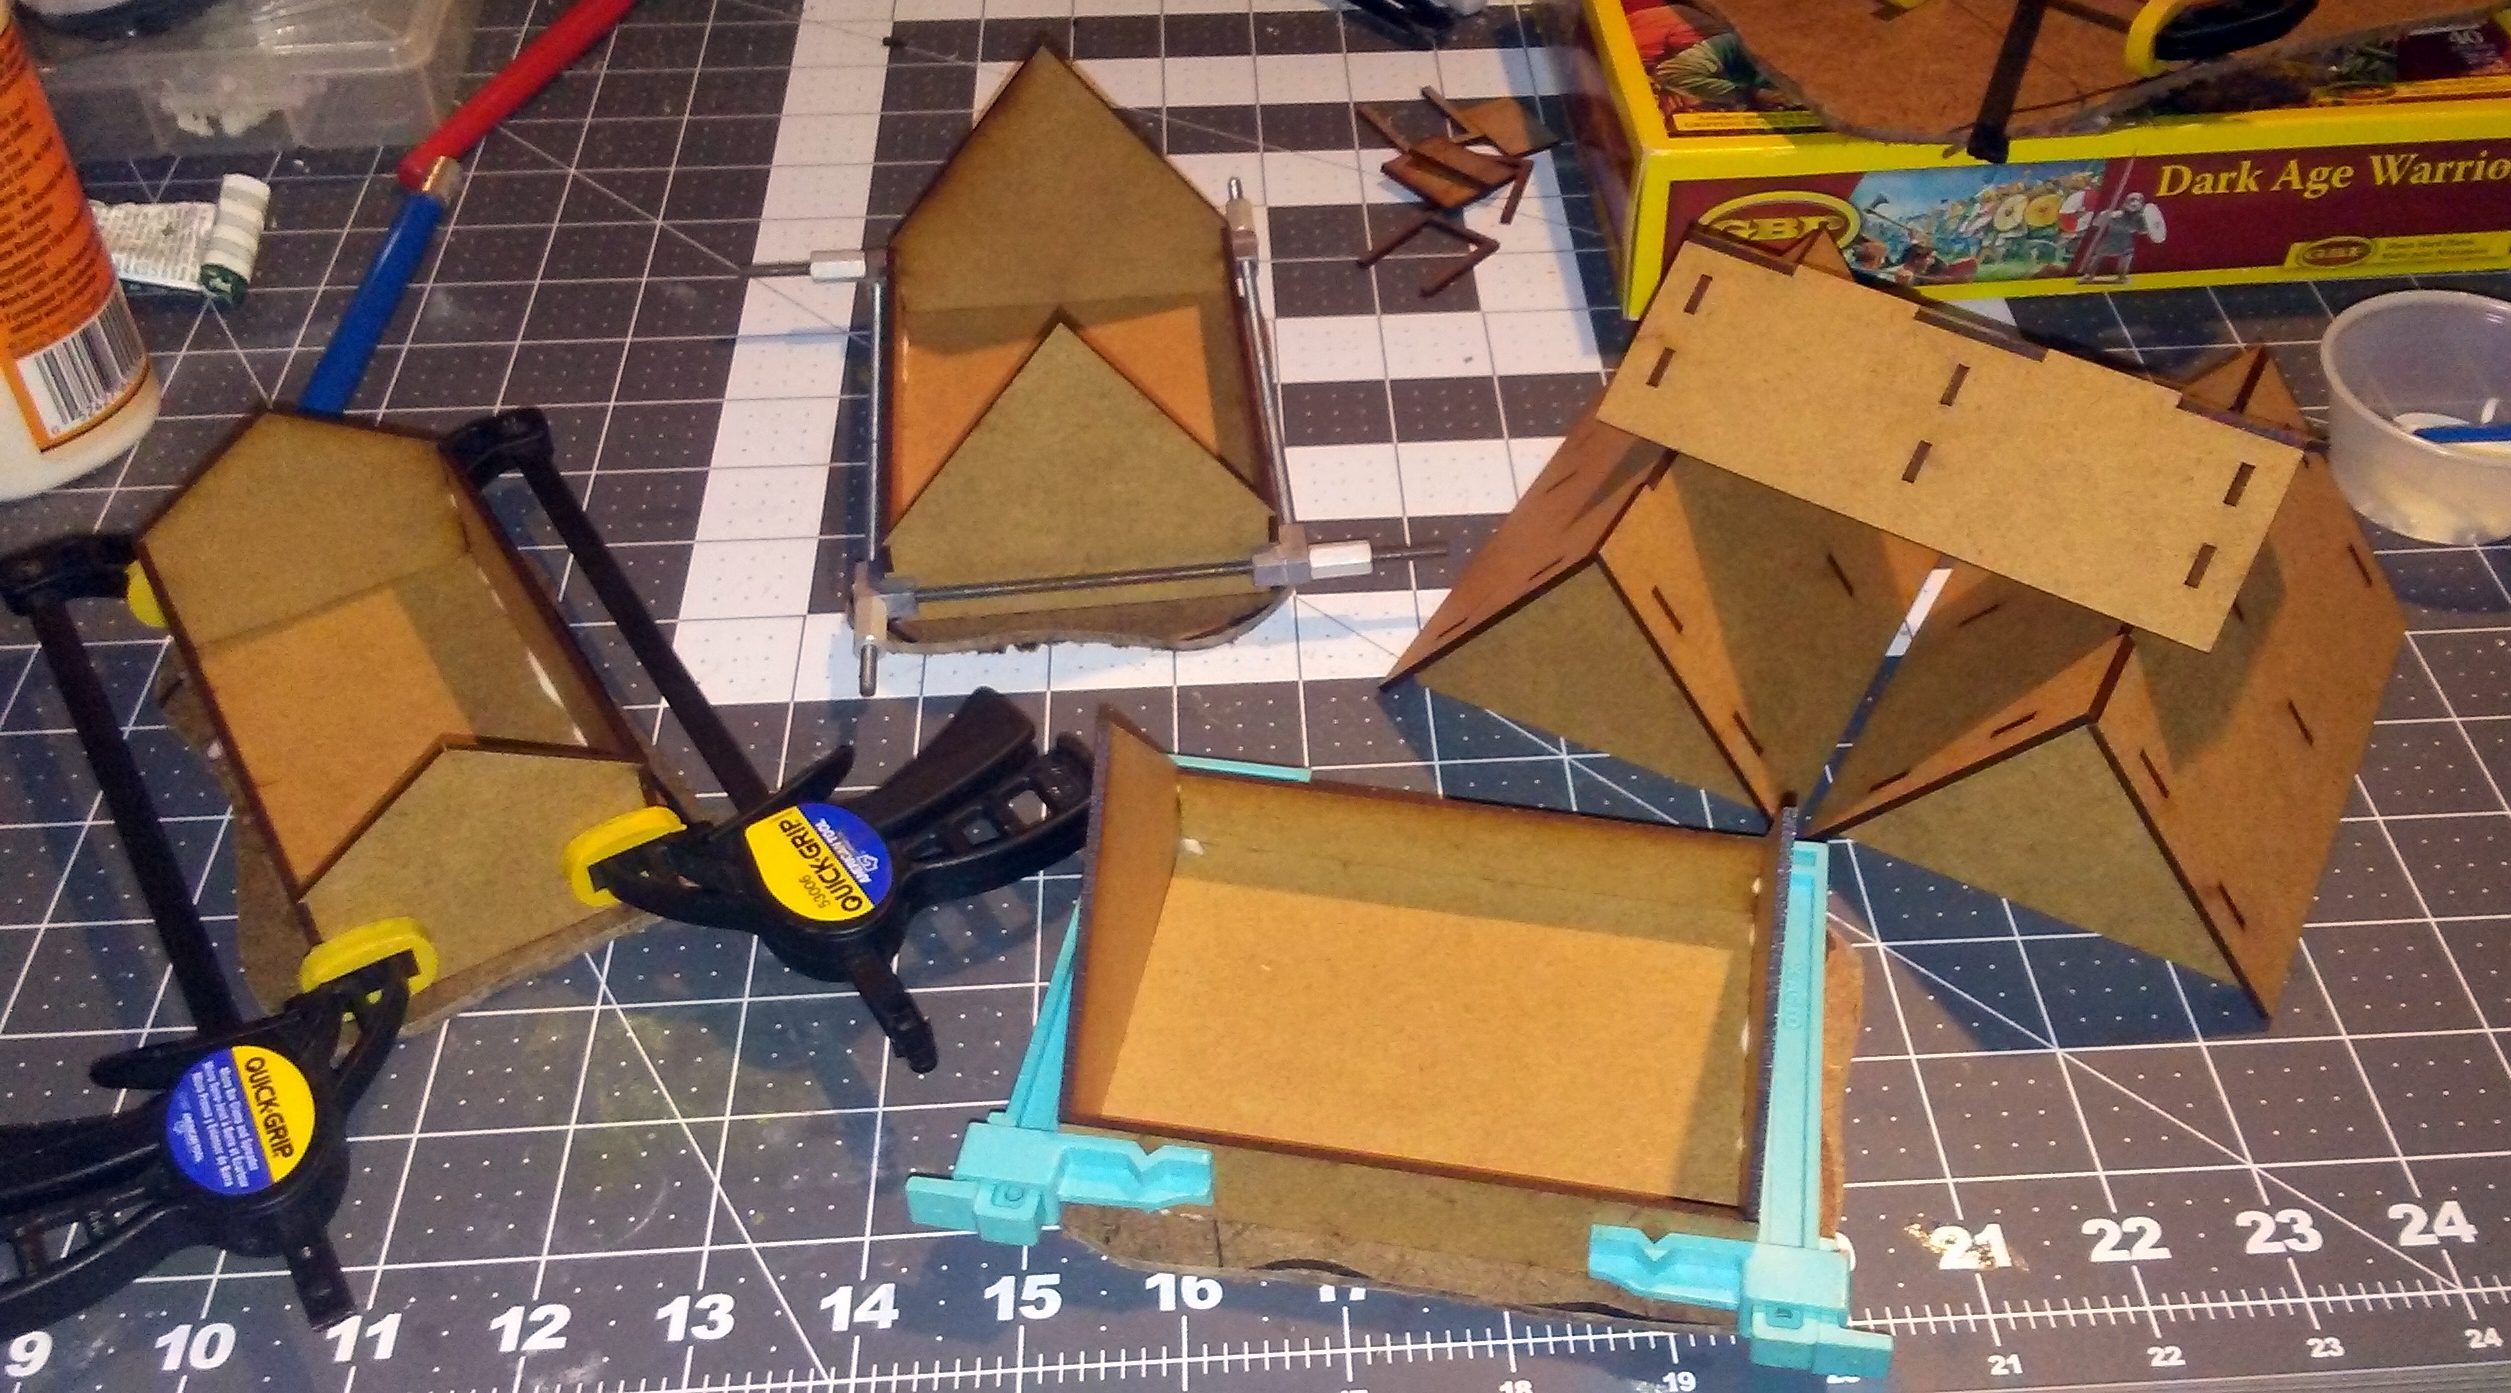
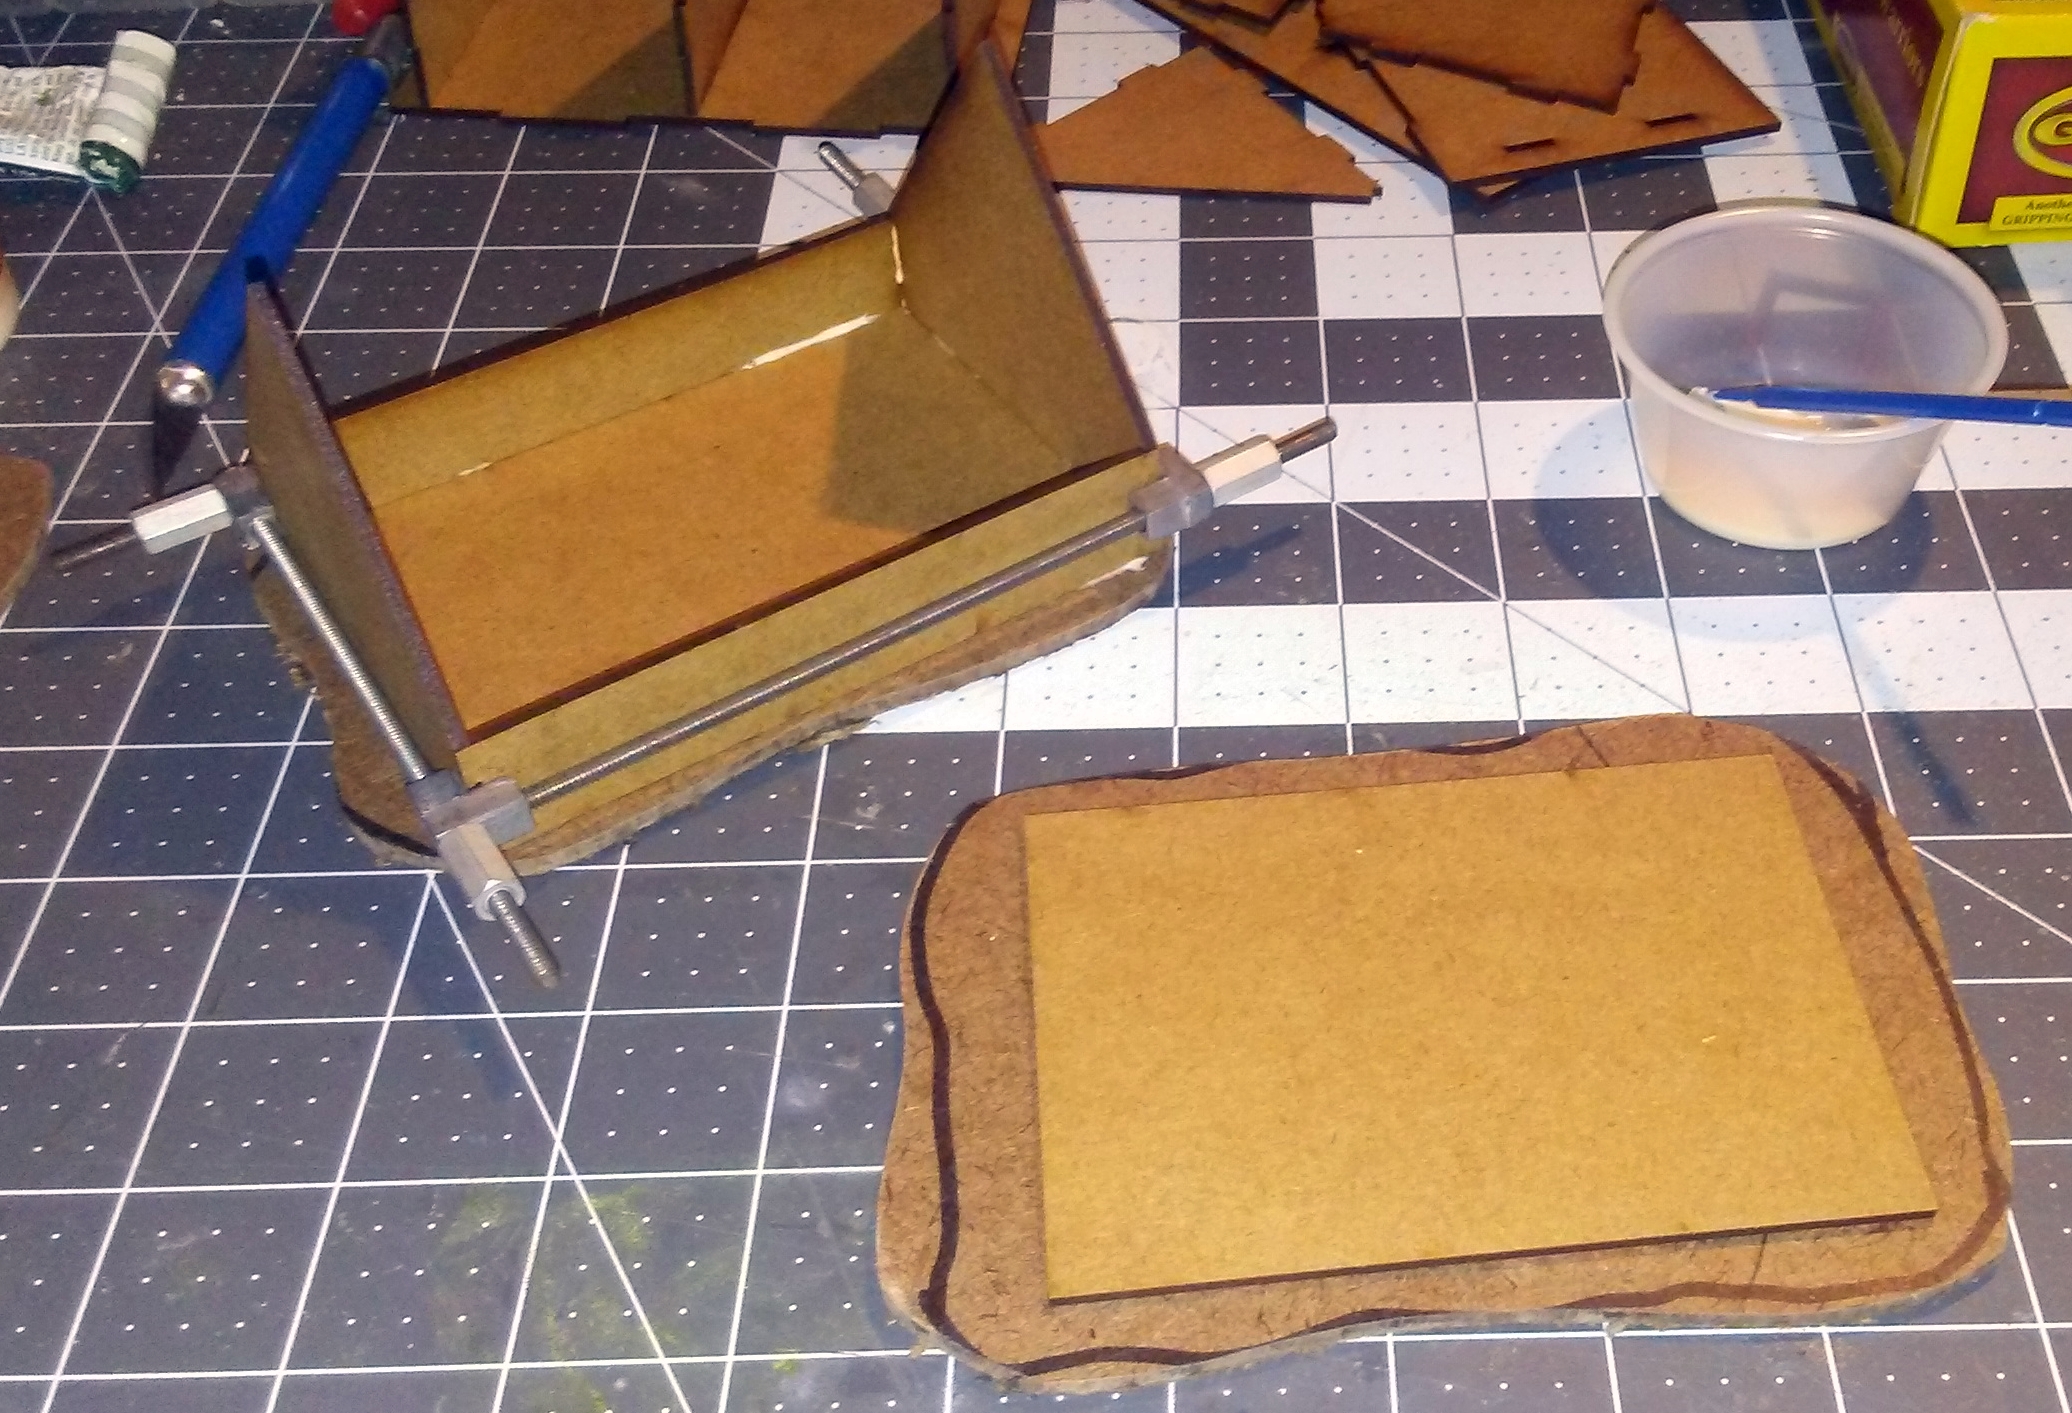
The first step was to assemble the buildings. As I mentioned, these are basic structures and so are very easy to assemble. I cut our bases for the buildings (this is not at all necessary, but something I wanted to do), and glued the floors down first. Then I glued the walls into place, clamped them and left them to dry.

Building walls drying after assembly.

Floor of one building glued to base.
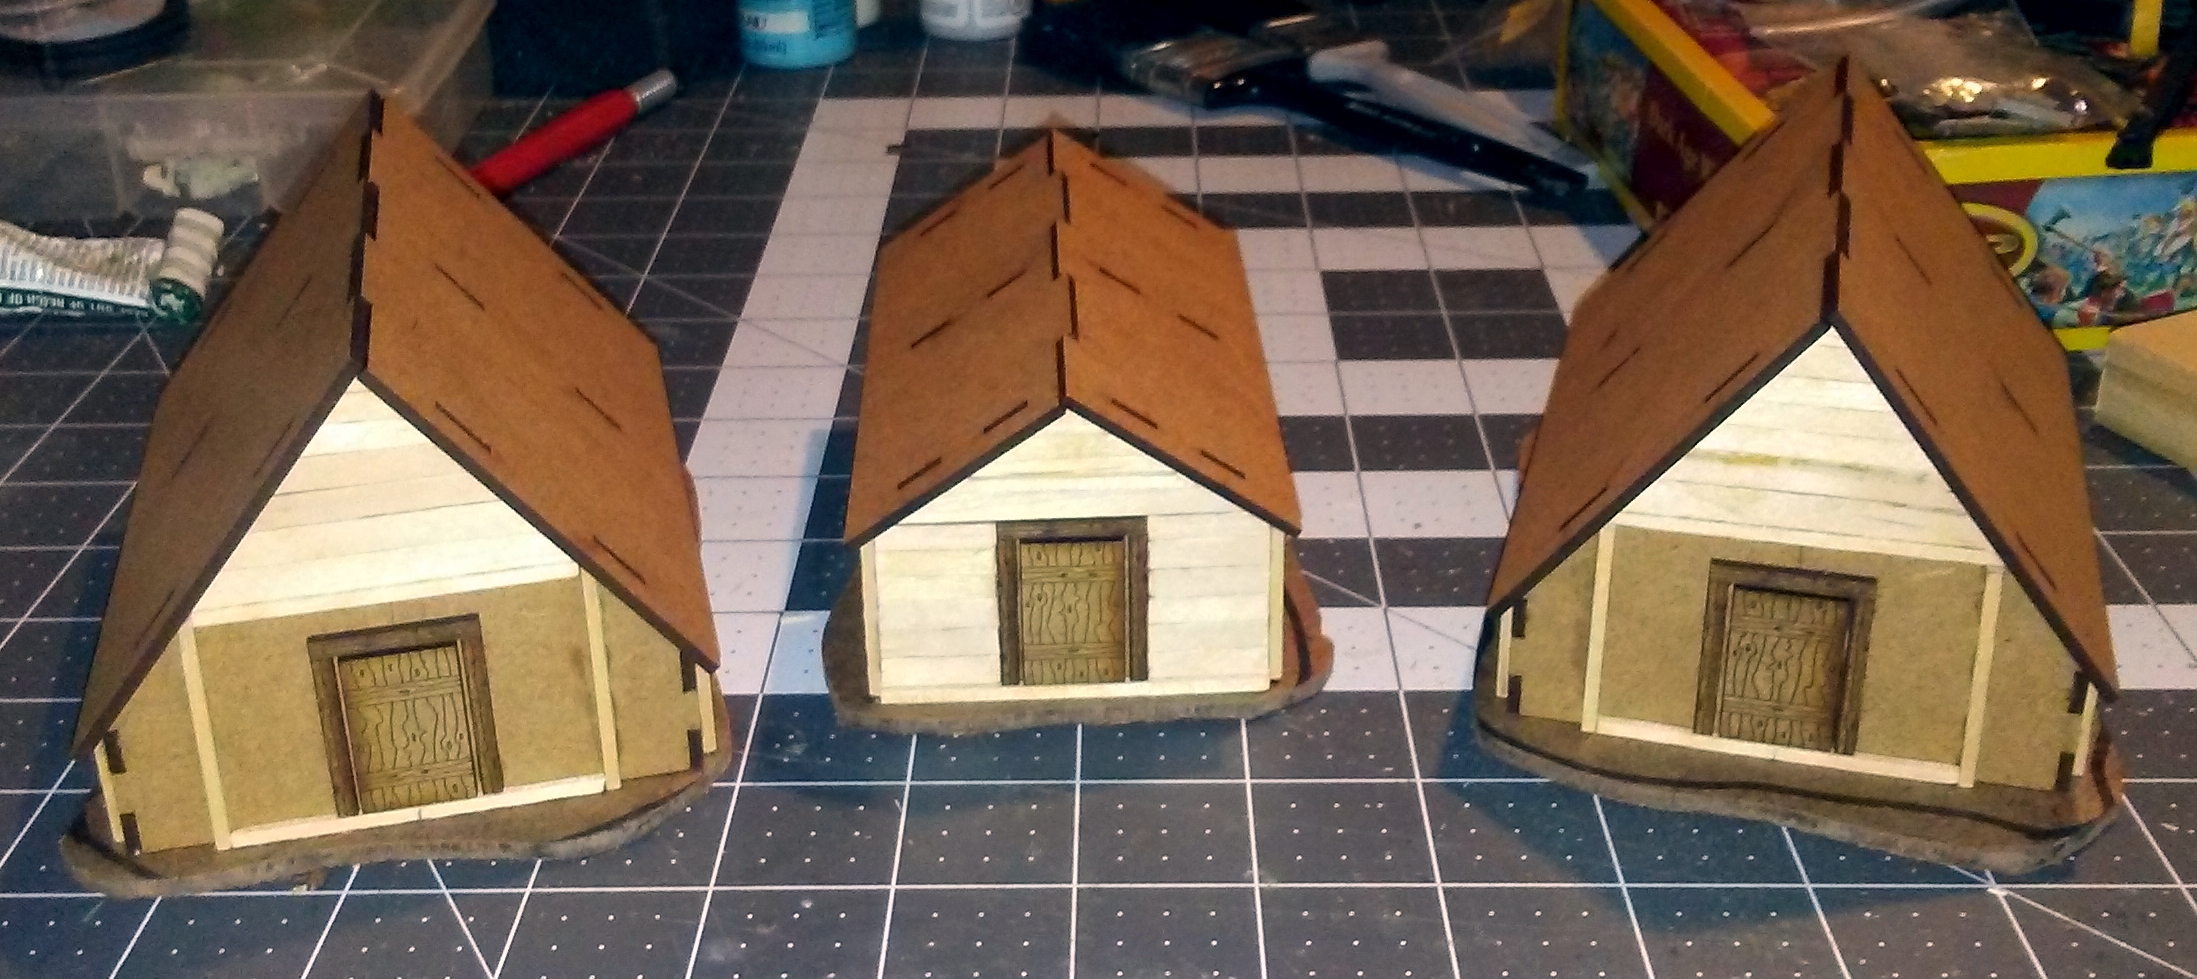
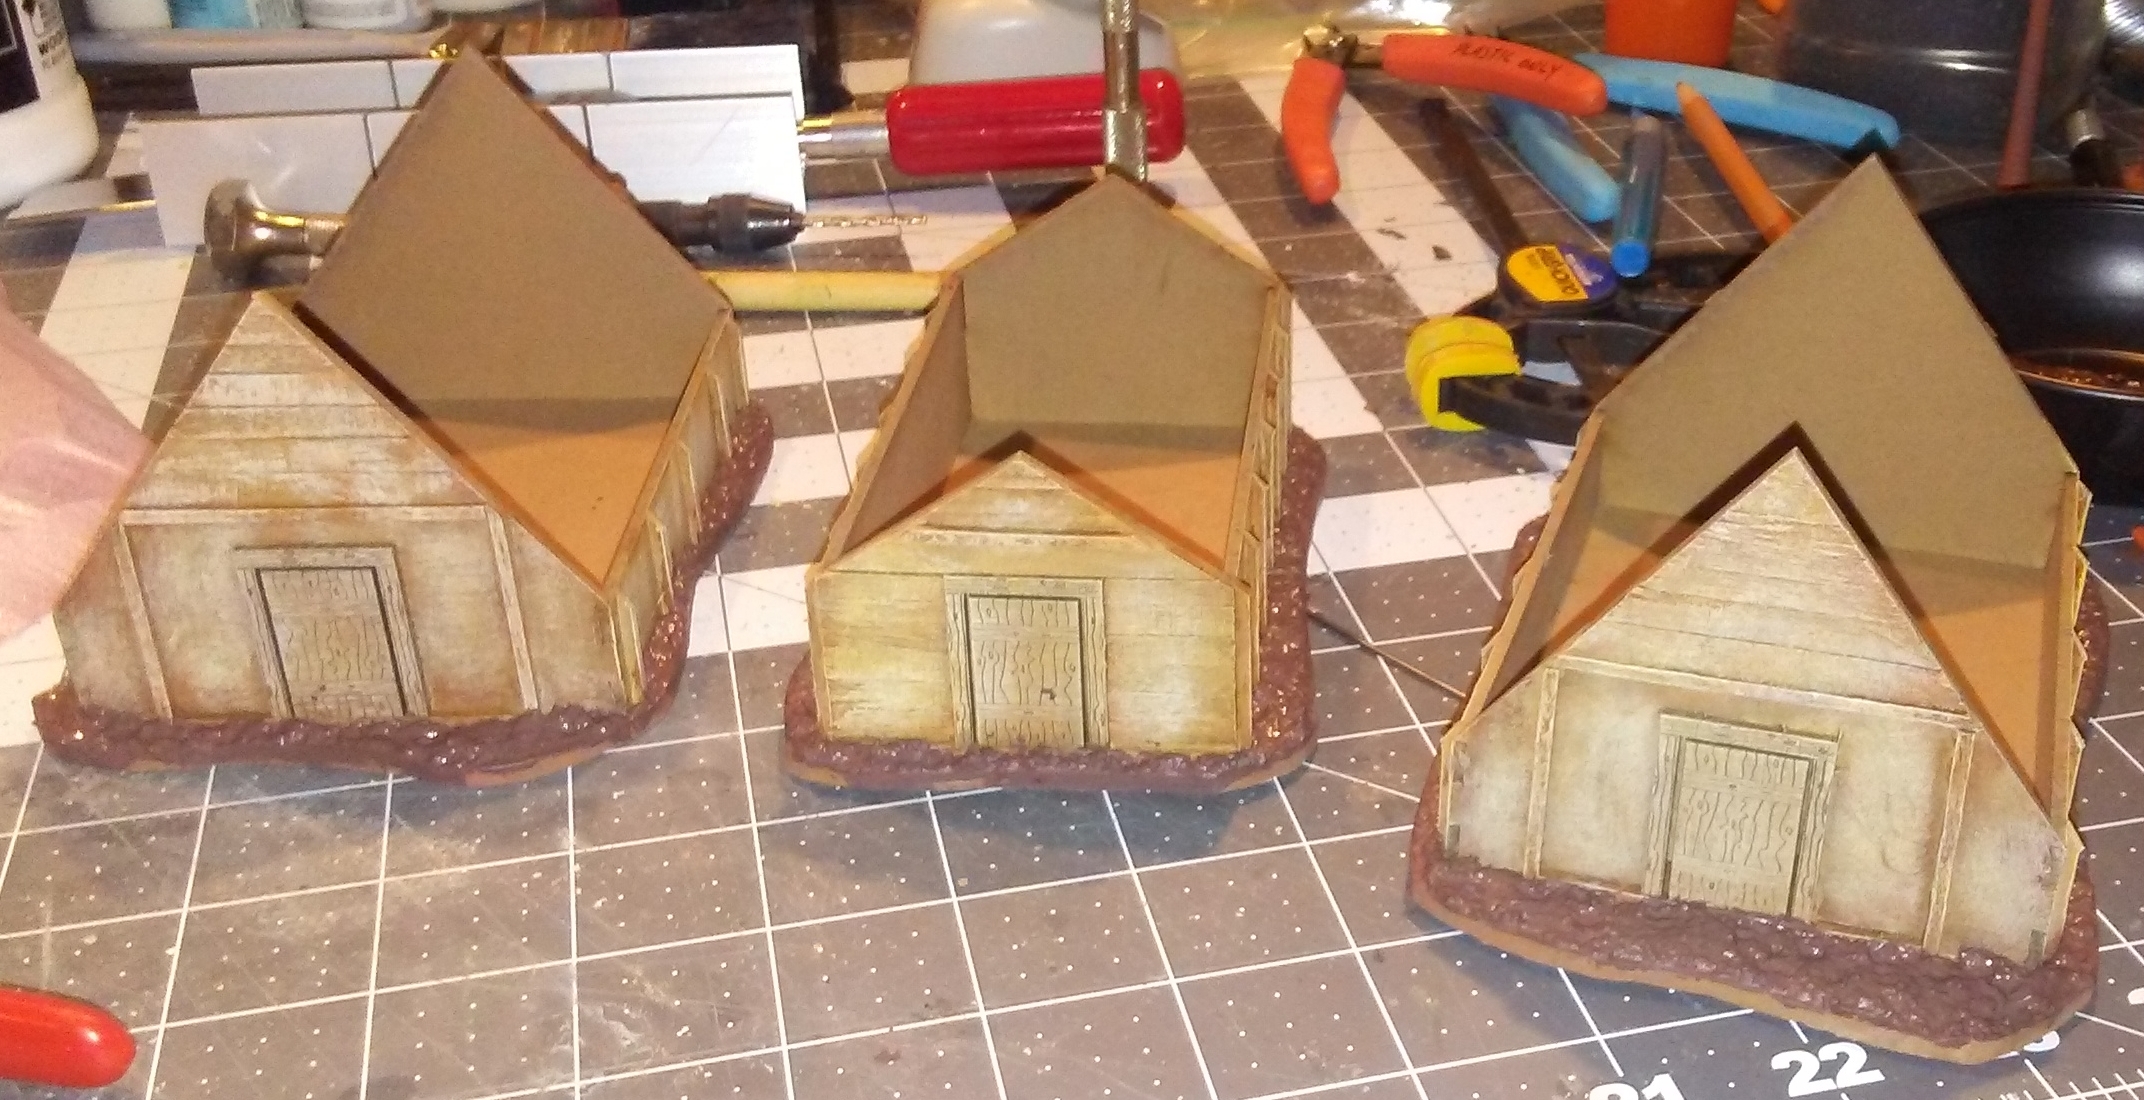
After the building walls were dry, I glued the doors in place. Despite the website photo, I chose to glue the longhouse door on the short end as well. In addition, I glued balsa timbers and coffee stirrer planks in place to add some relief and visual interest to the otherwise plain walls.

Front of houses after adding details.

Rear of houses after adding details.

Houses with some figures for scale.
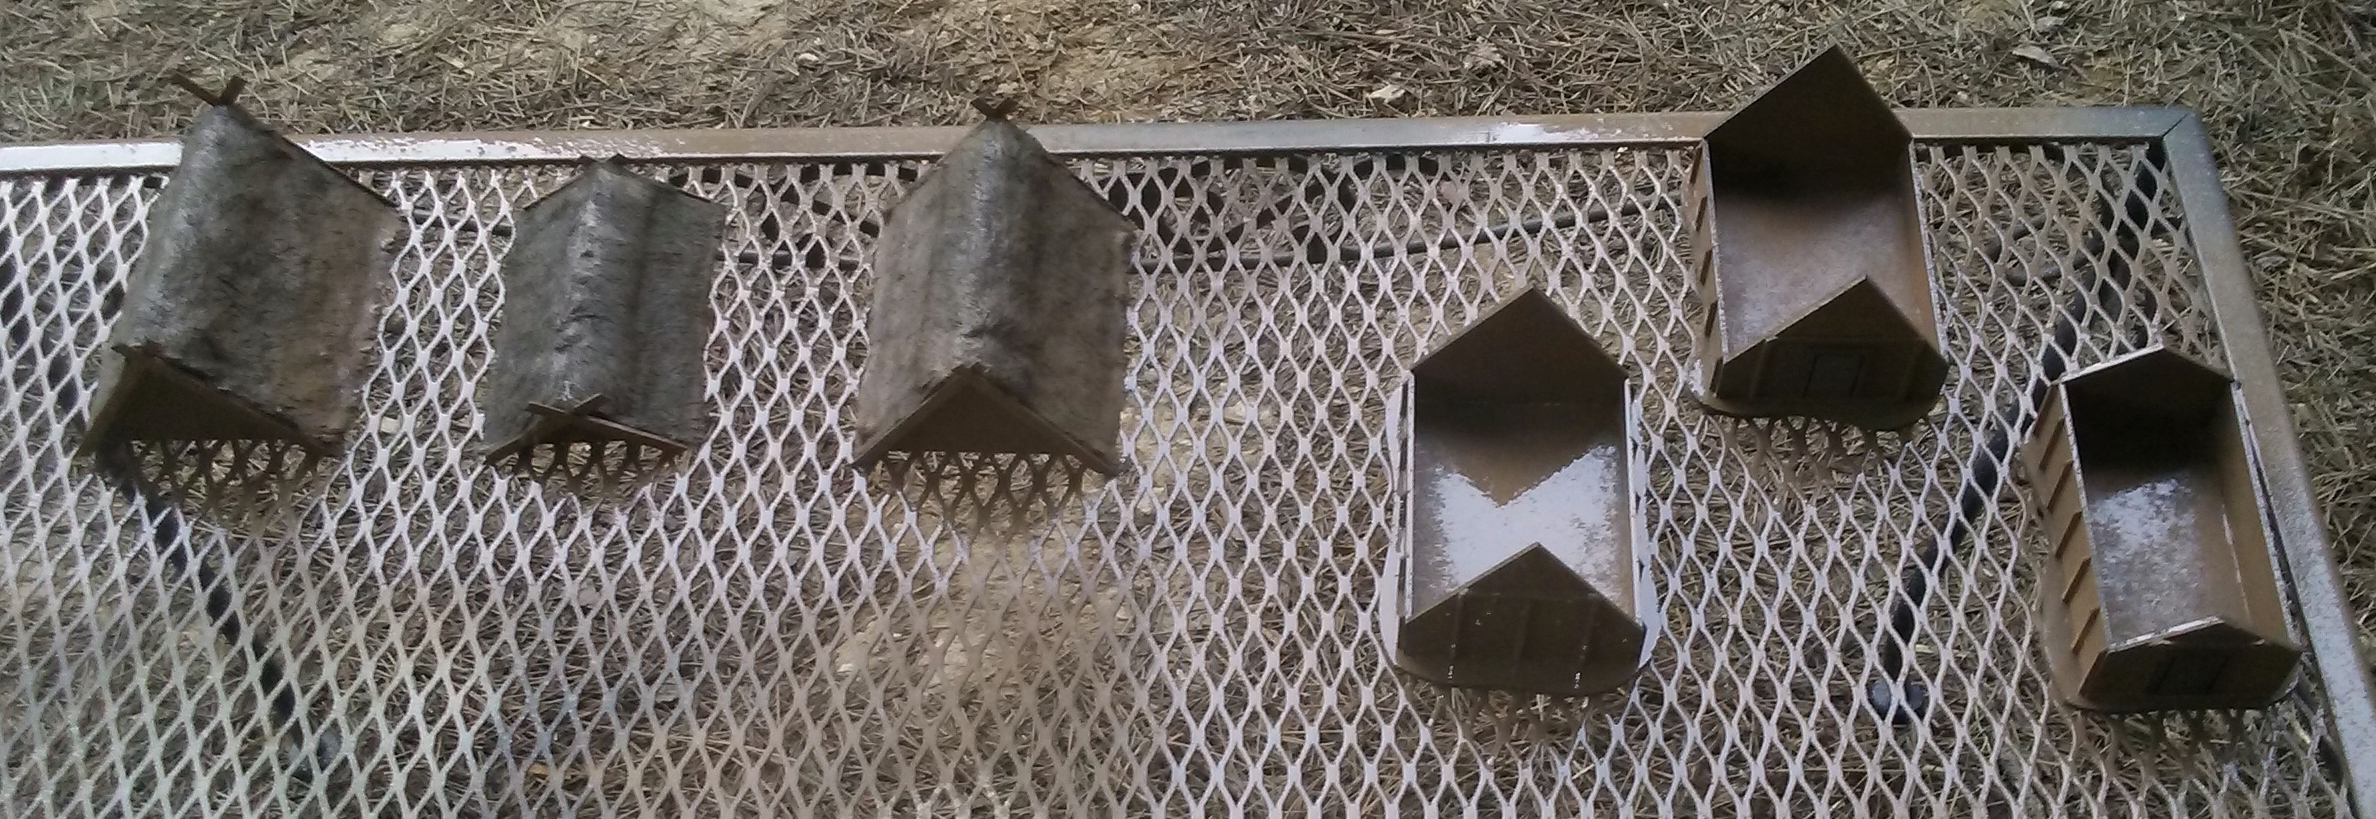
Once the sides of the buildings were done, it was time to turn our attention to the roofs. I added some beams on the edges, and teddy bear fur to represent the thatch.

Roofs detailed with beams and thatch,
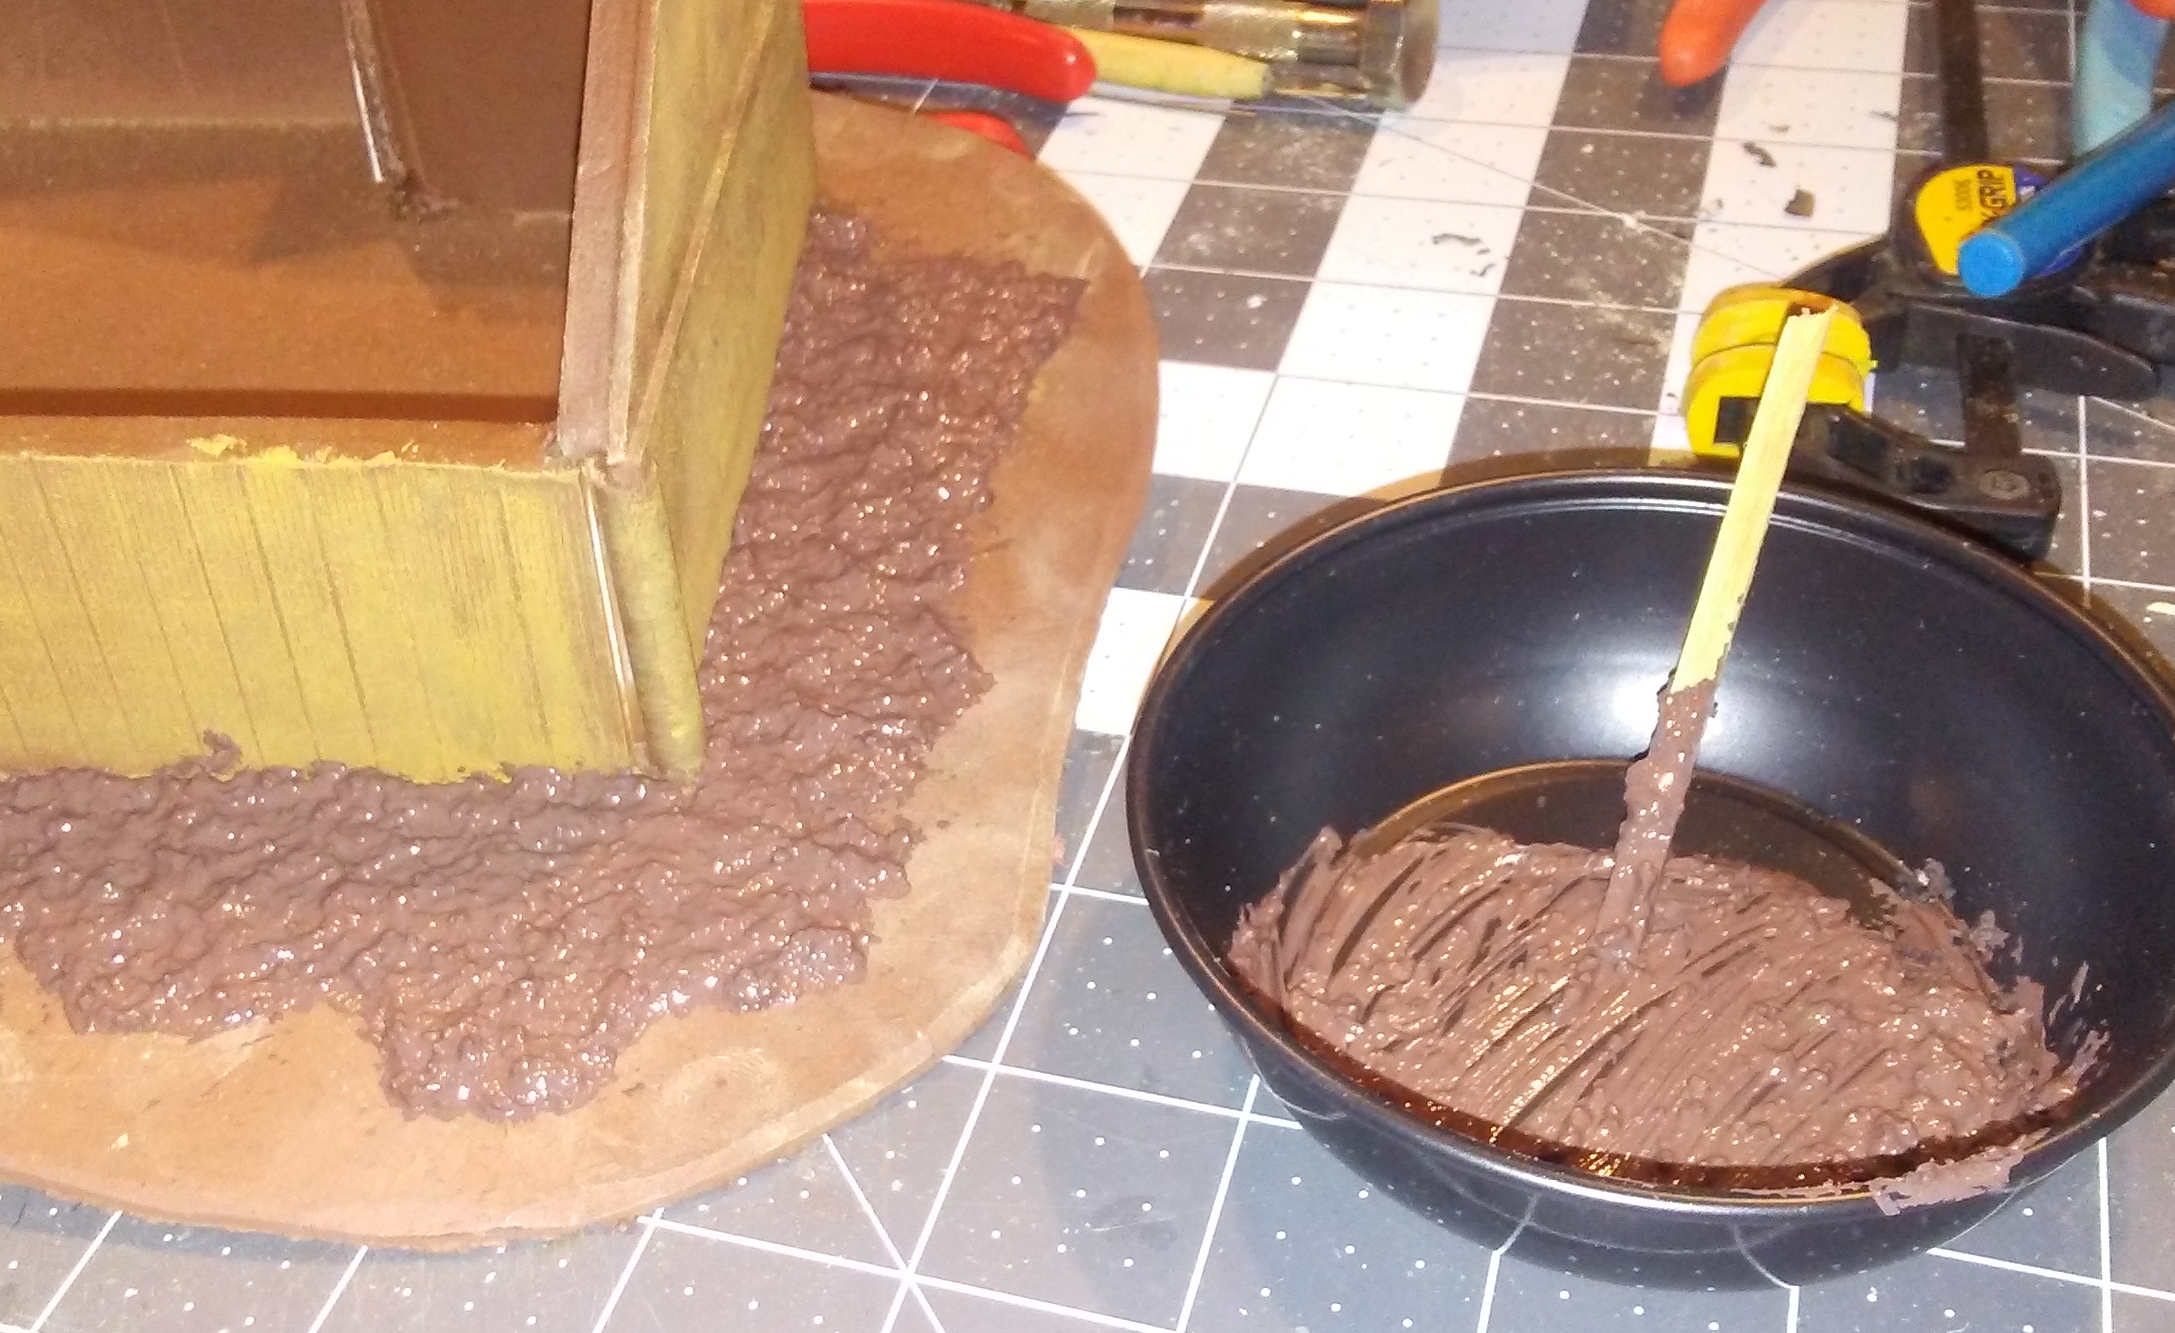
For the final stages, it was simply a matter of painting and adding some terrain goop to the bases.


A rattle can spray of brown covers everything at first.

Applying terrain goop (filler, paint and sand).

After applying various drybrushes of lighter browns.


And that's it - the houses are finished.

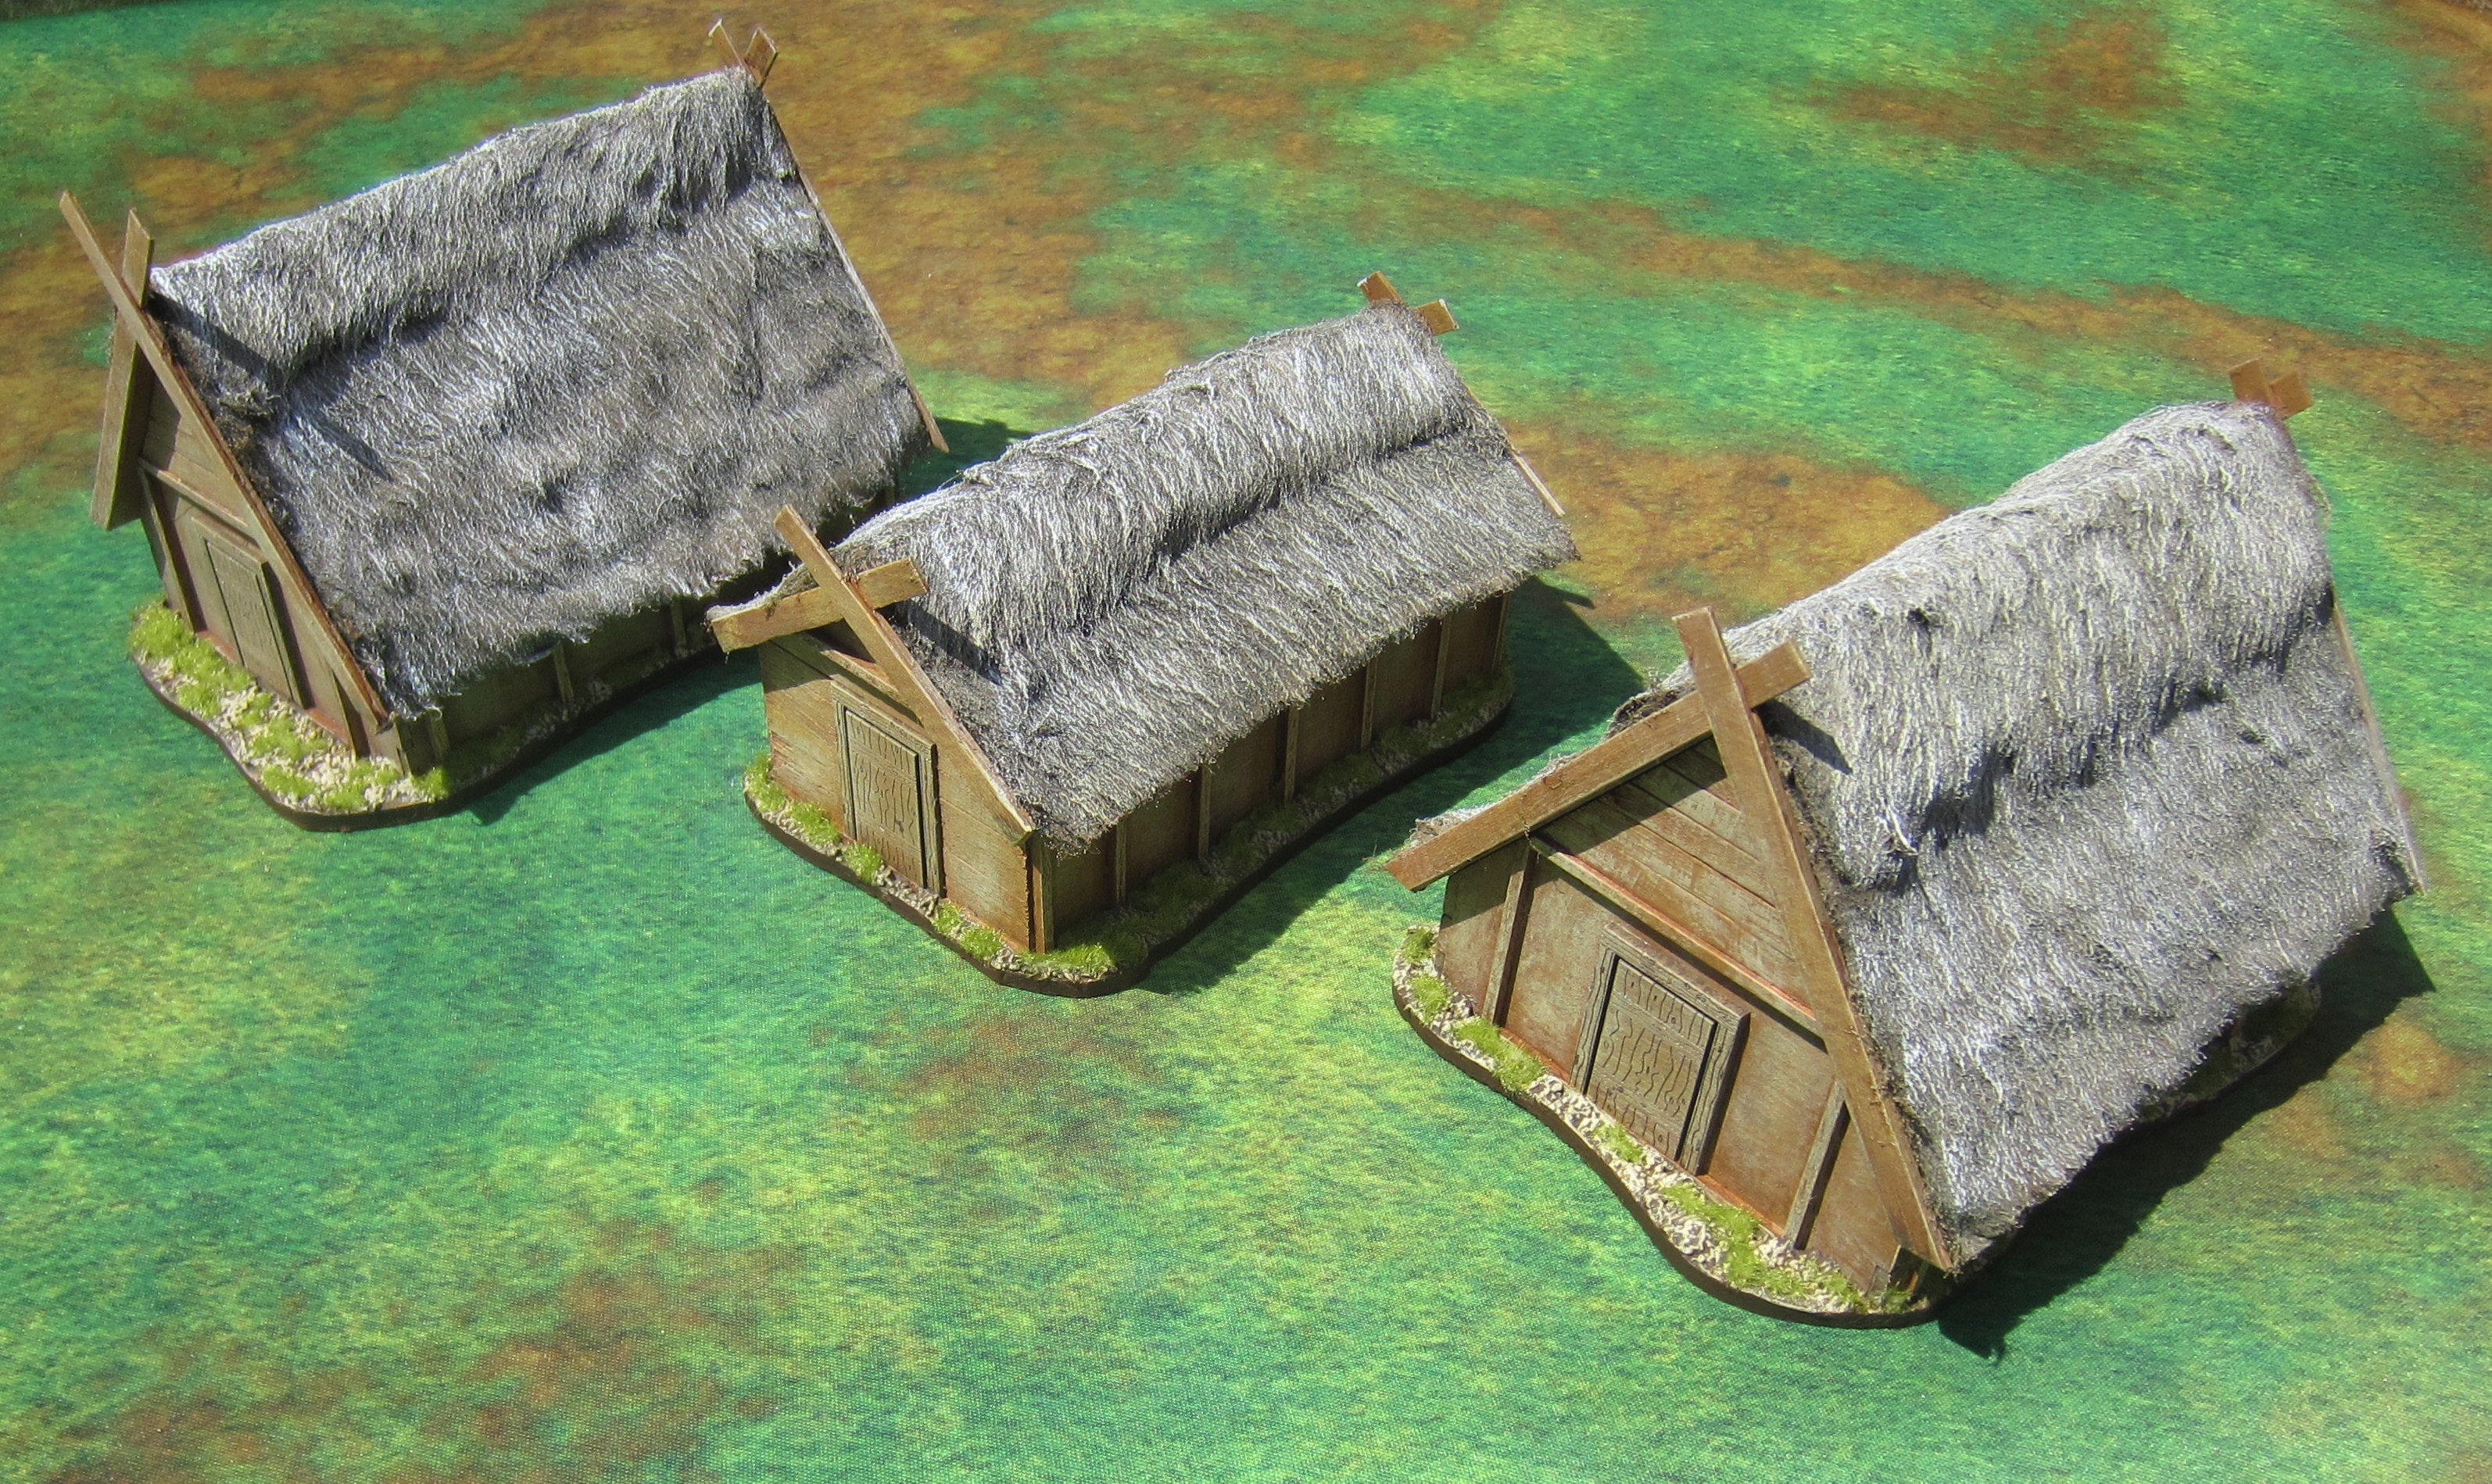
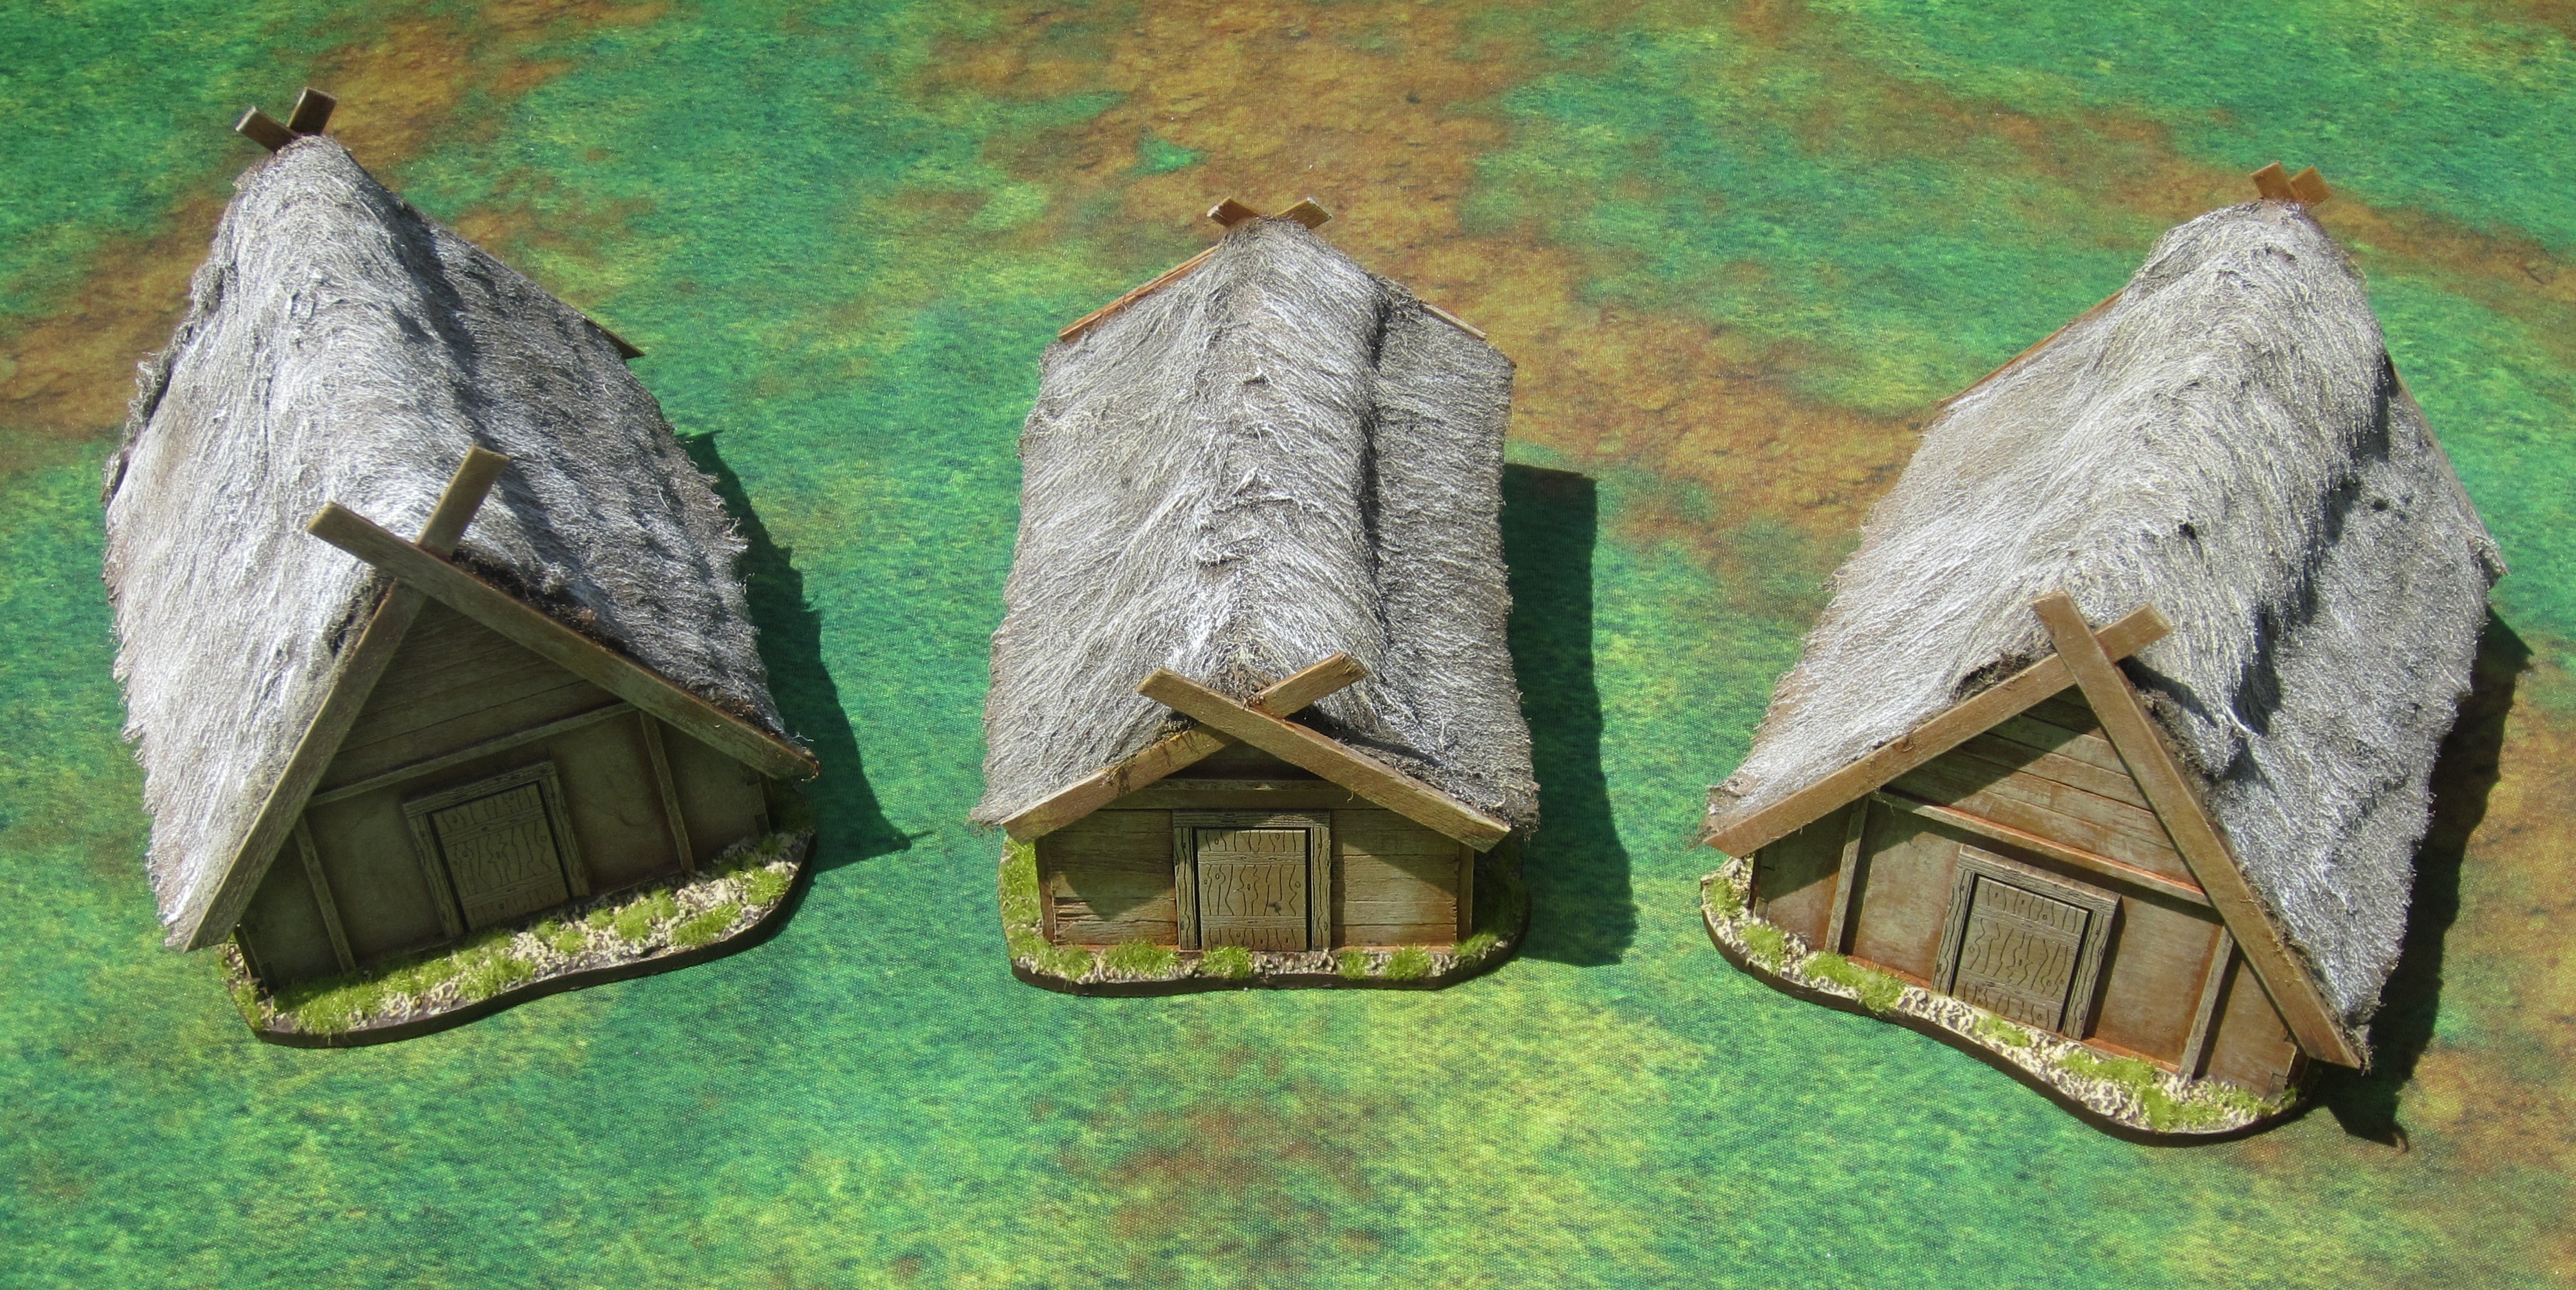
The completed longhouse.

A completed grub hut.

The completed buildings.


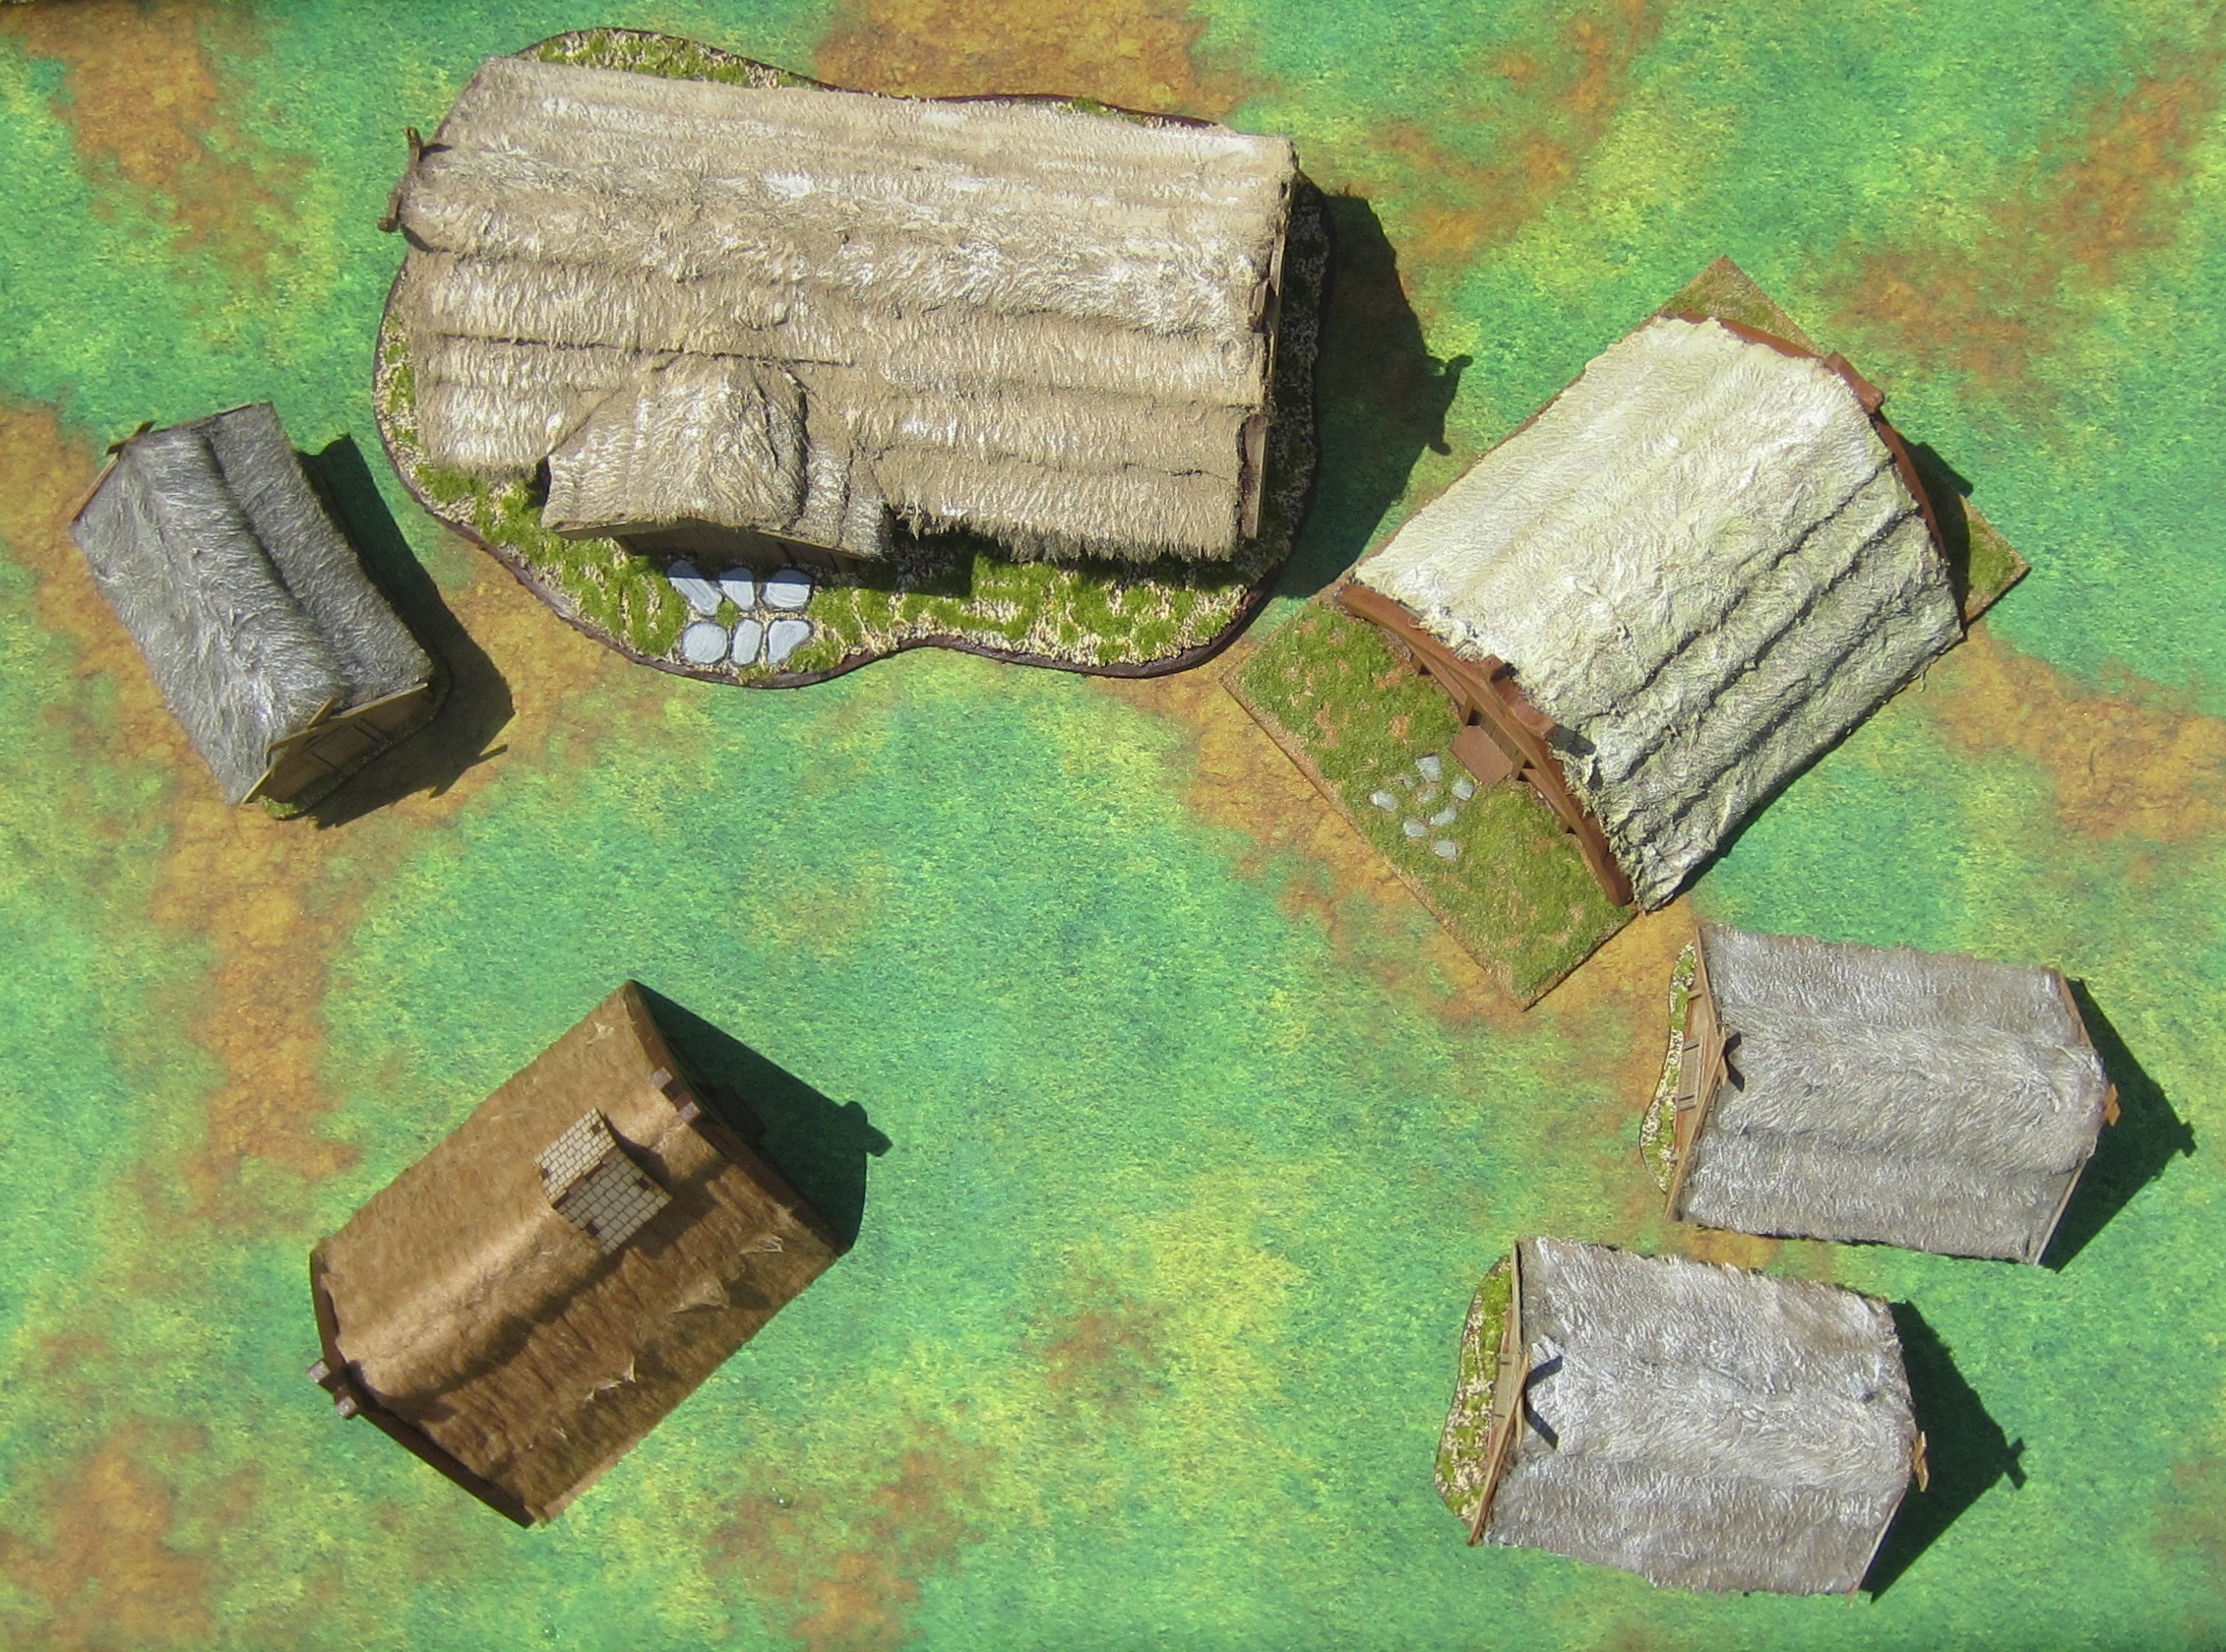
Here's a couple of pictures with the Warbases buildings beside some of my scratch built buildings and a 4Ground house.


Warbases buildings besides a scratch-built house (left).

Warbases buildings with 4Ground (lower left) and scratch-built buildings (upper center and right).

As with most things in life, you get what you pay for. The Warbases buildings are inexpensive and very basic. But therein lies their value, at least to me. They save me from having to build the basic structure of a building, and allow me to get to the part that I truly enjoy - the detailing and customizing. Including assembly, I think I probably spent no more than three hours on these buildings in total, spread out over a few days to let the paint and glue dry in between steps. They can be finished in a variety of ways, so each builder can make them his own. Give them a try, I do not think you'll be disappointed.

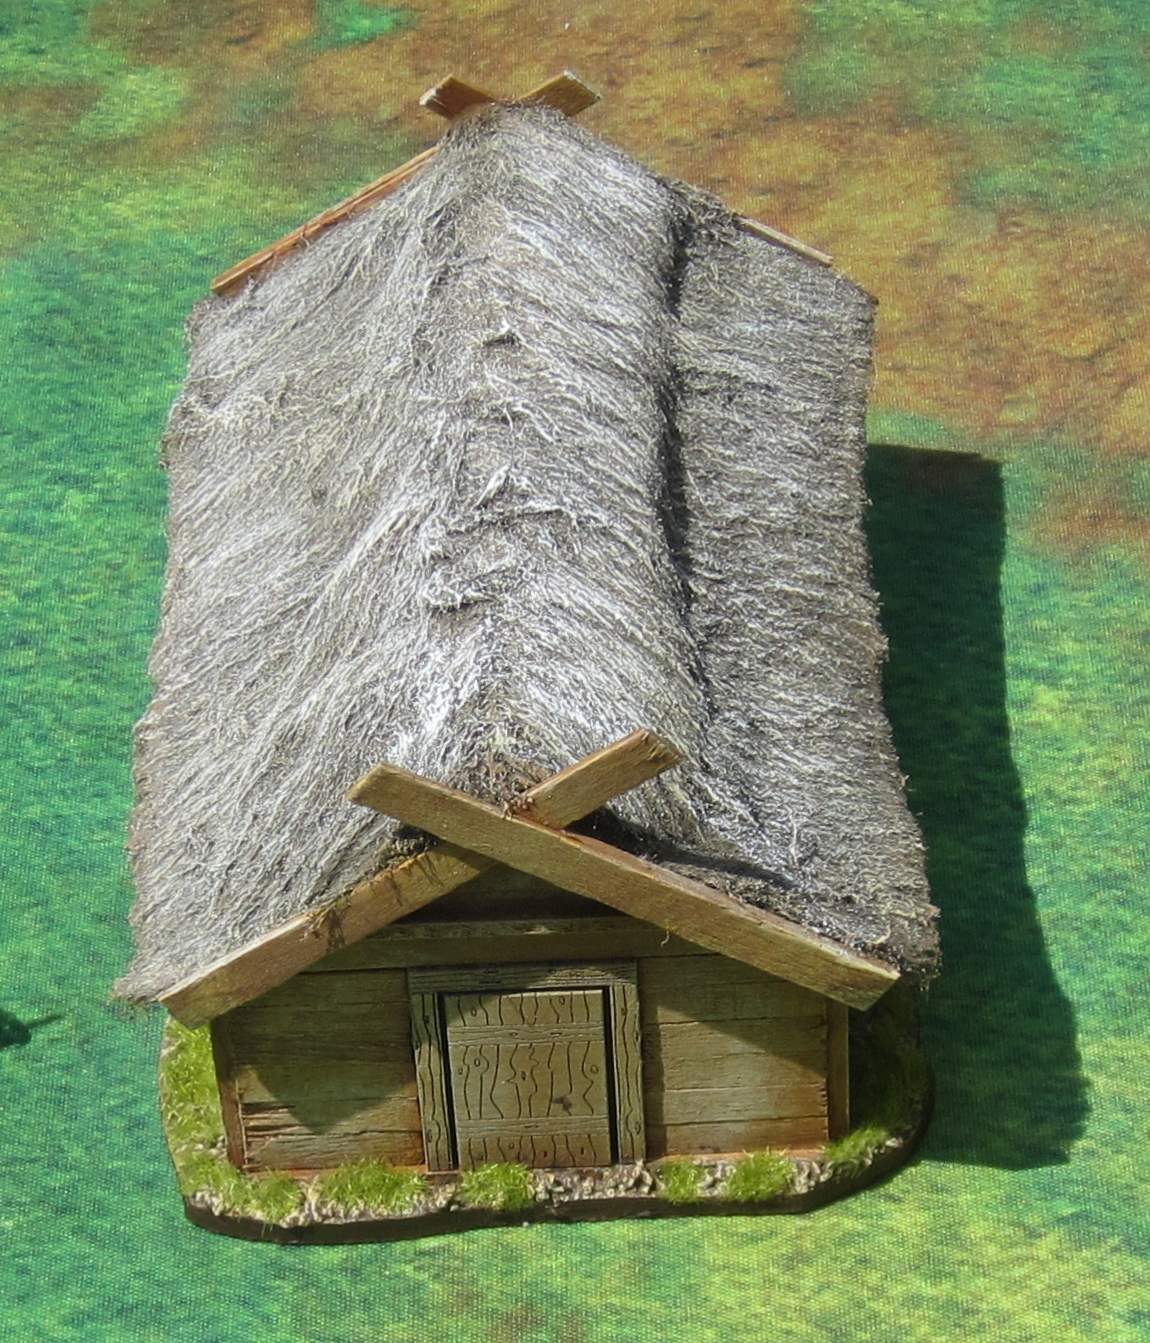
Sharp-eyed readers may notice that my Viking hall is completed (top center in the previous photo). I did not take a lot of pictures of the final stages, so it will not get its own blog post (it was really just a case of finishing the base and painting the building and roof). Here's a photo of the completed building, which will (at least for now) be the central building of my Dark Ages Viking village.


'Til next time.