Since my Spanish colonial town is almost finished, and I have not yet decided what I'm going to be working on next, I thought you might enjoy a return to my Dark Ages terrain, which I use for
Saga (and hopefully soon for some games of
Blood Eagle).
A while back I ordered some buildings from
Warbases in the UK. The cost was very reasonable, even back when the pound was high and is of course better now. From the pictures on the website, I could tell these were very basic buildings, with no external textures or details (other than the doors), but I felt they had great potential.
I ordered three buildings (two
grub huts, and one
longhouse) from their
Dark Ages line.
The first step was to assemble the buildings. As I mentioned, these are basic structures and so are very easy to assemble. I cut our bases for the buildings (this is not at all necessary, but something I wanted to do), and glued the floors down first. Then I glued the walls into place, clamped them and left them to dry.
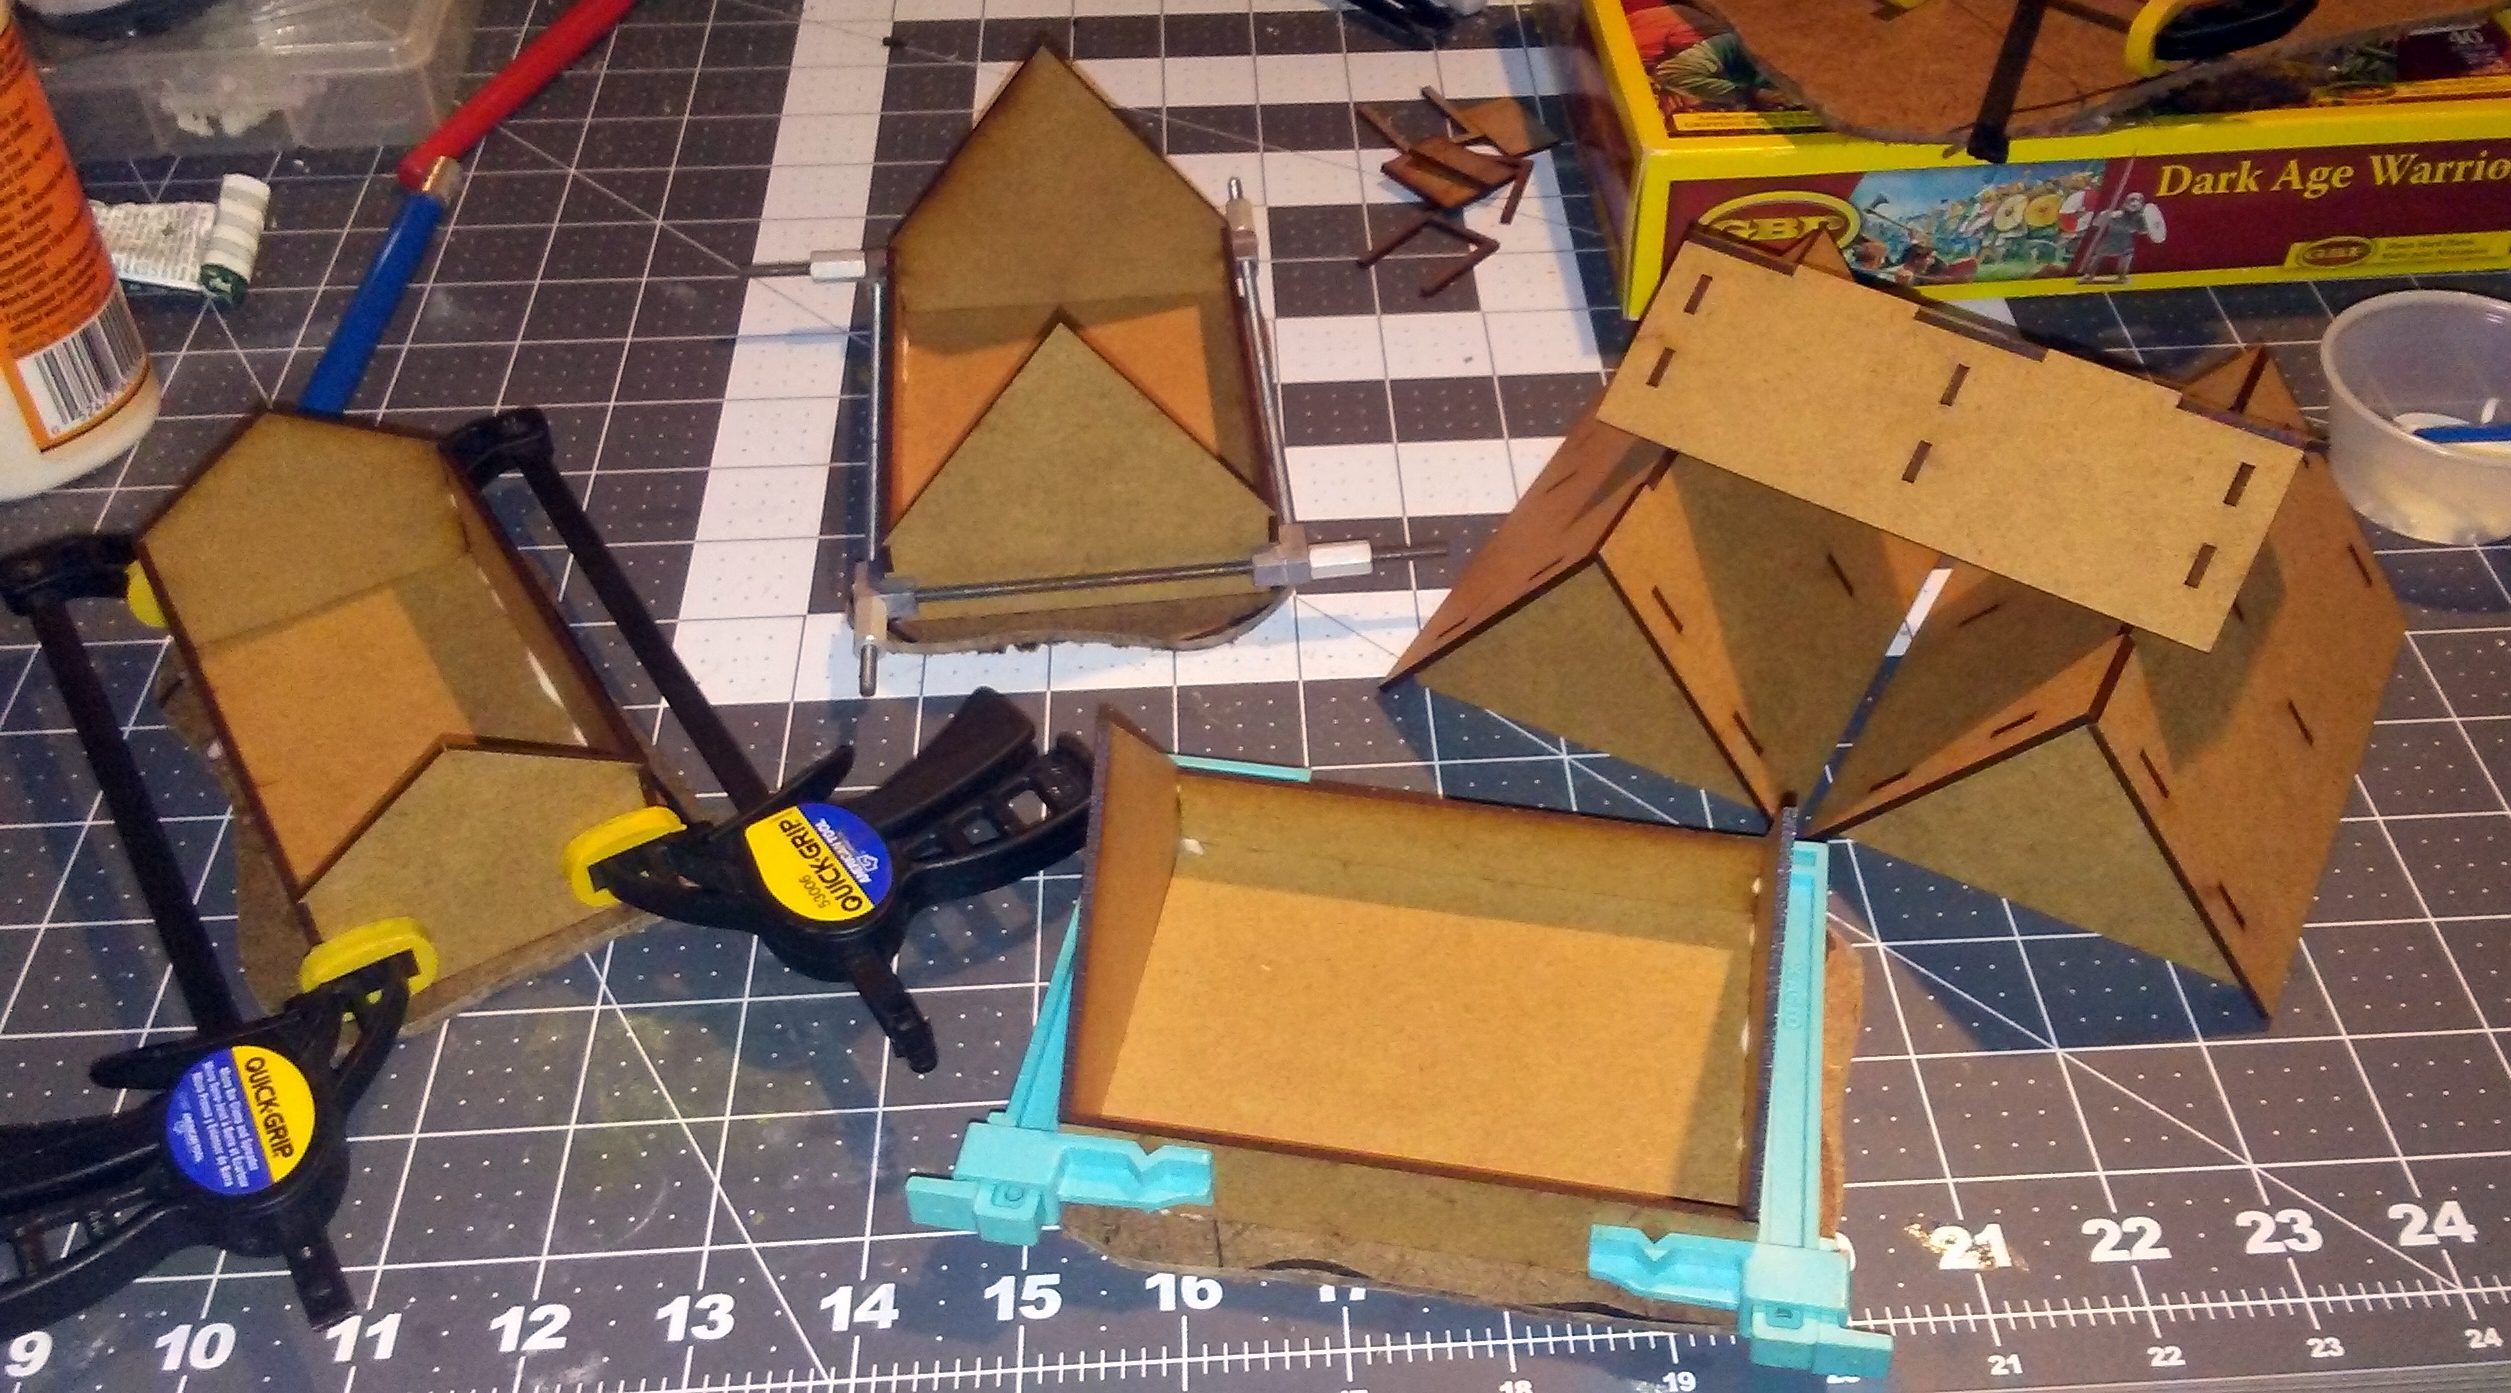 |
| Building walls drying after assembly. |
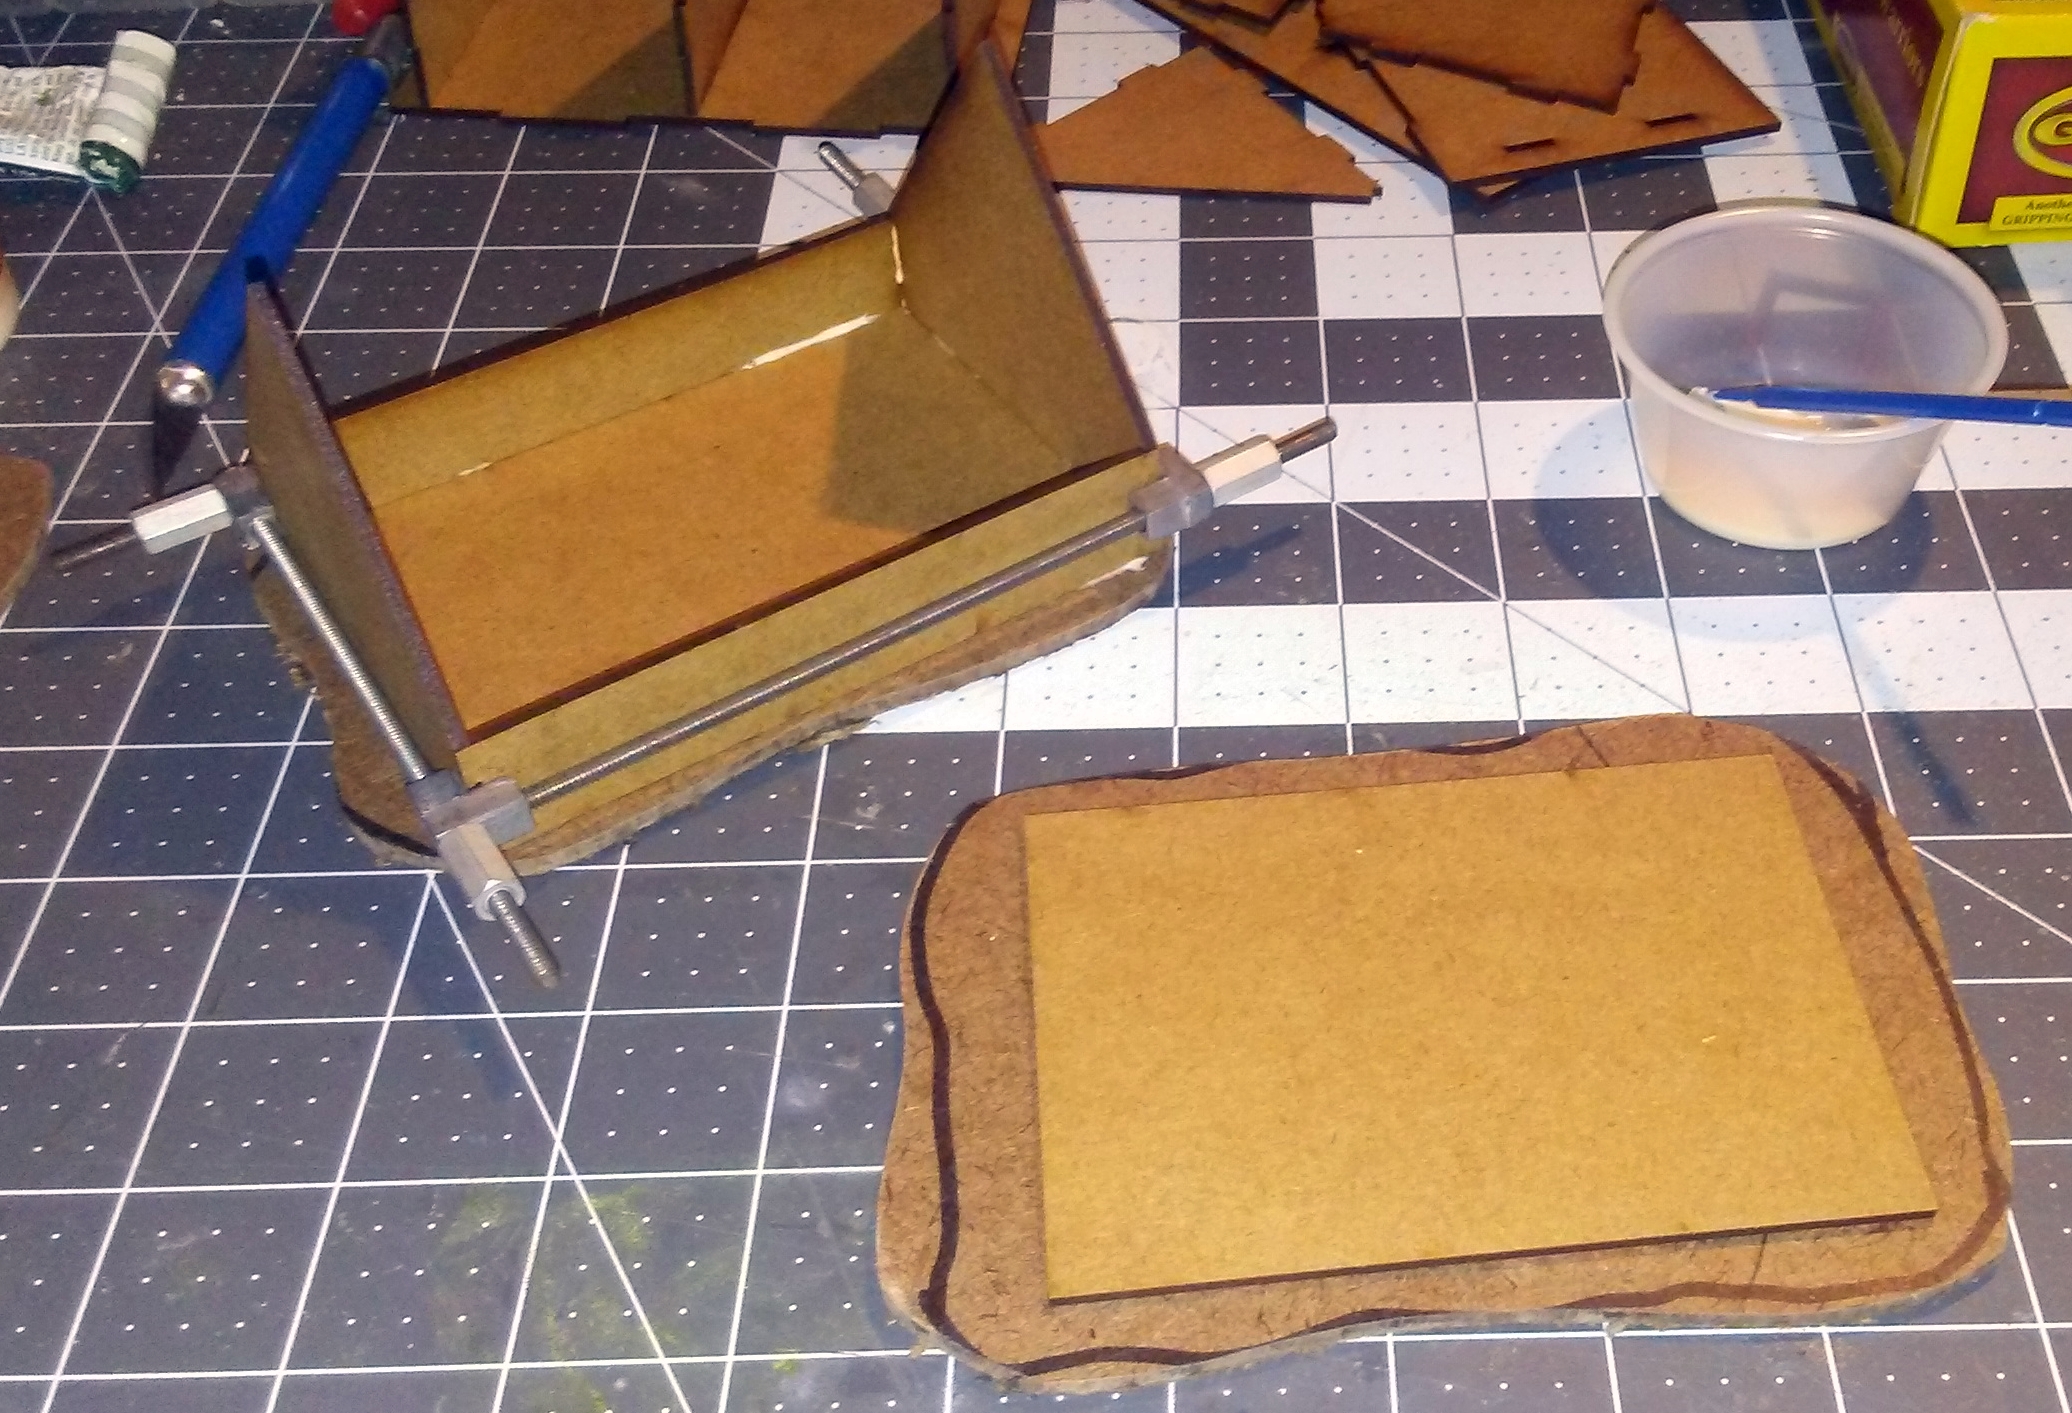 |
| Floor of one building glued to base. |
After the building walls were dry, I glued the doors in place. Despite the website photo, I chose to glue the longhouse door on the short end as well. In addition, I glued balsa timbers and coffee stirrer planks in place to add some relief and visual interest to the otherwise plain walls.
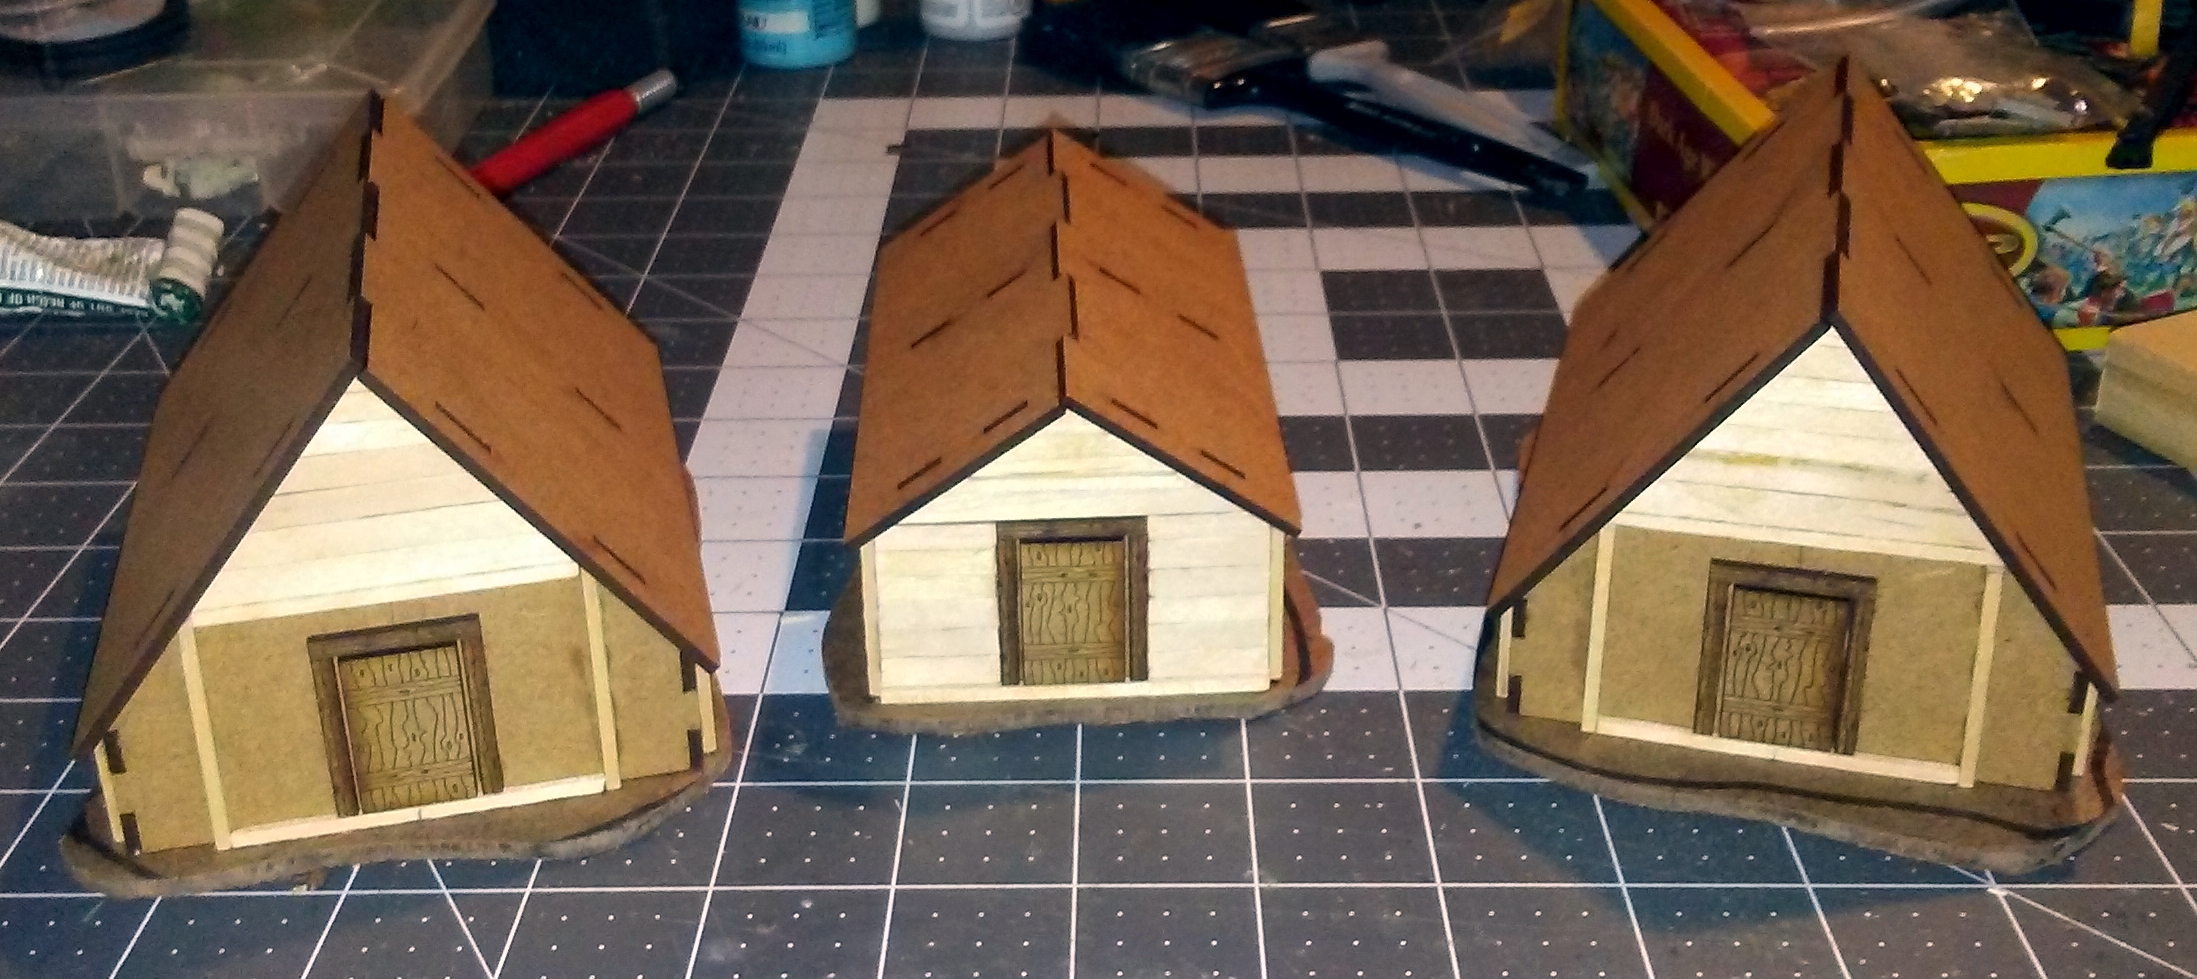 |
| Front of houses after adding details. |
 |
| Rear of houses after adding details. |
 |
| Houses with some figures for scale. |
Once the sides of the buildings were done, it was time to turn our attention to the roofs. I added some beams on the edges, and teddy bear fur to represent the thatch.
 |
| Roofs detailed with beams and thatch, |
For the final stages, it was simply a matter of painting and adding some terrain goop to the bases.
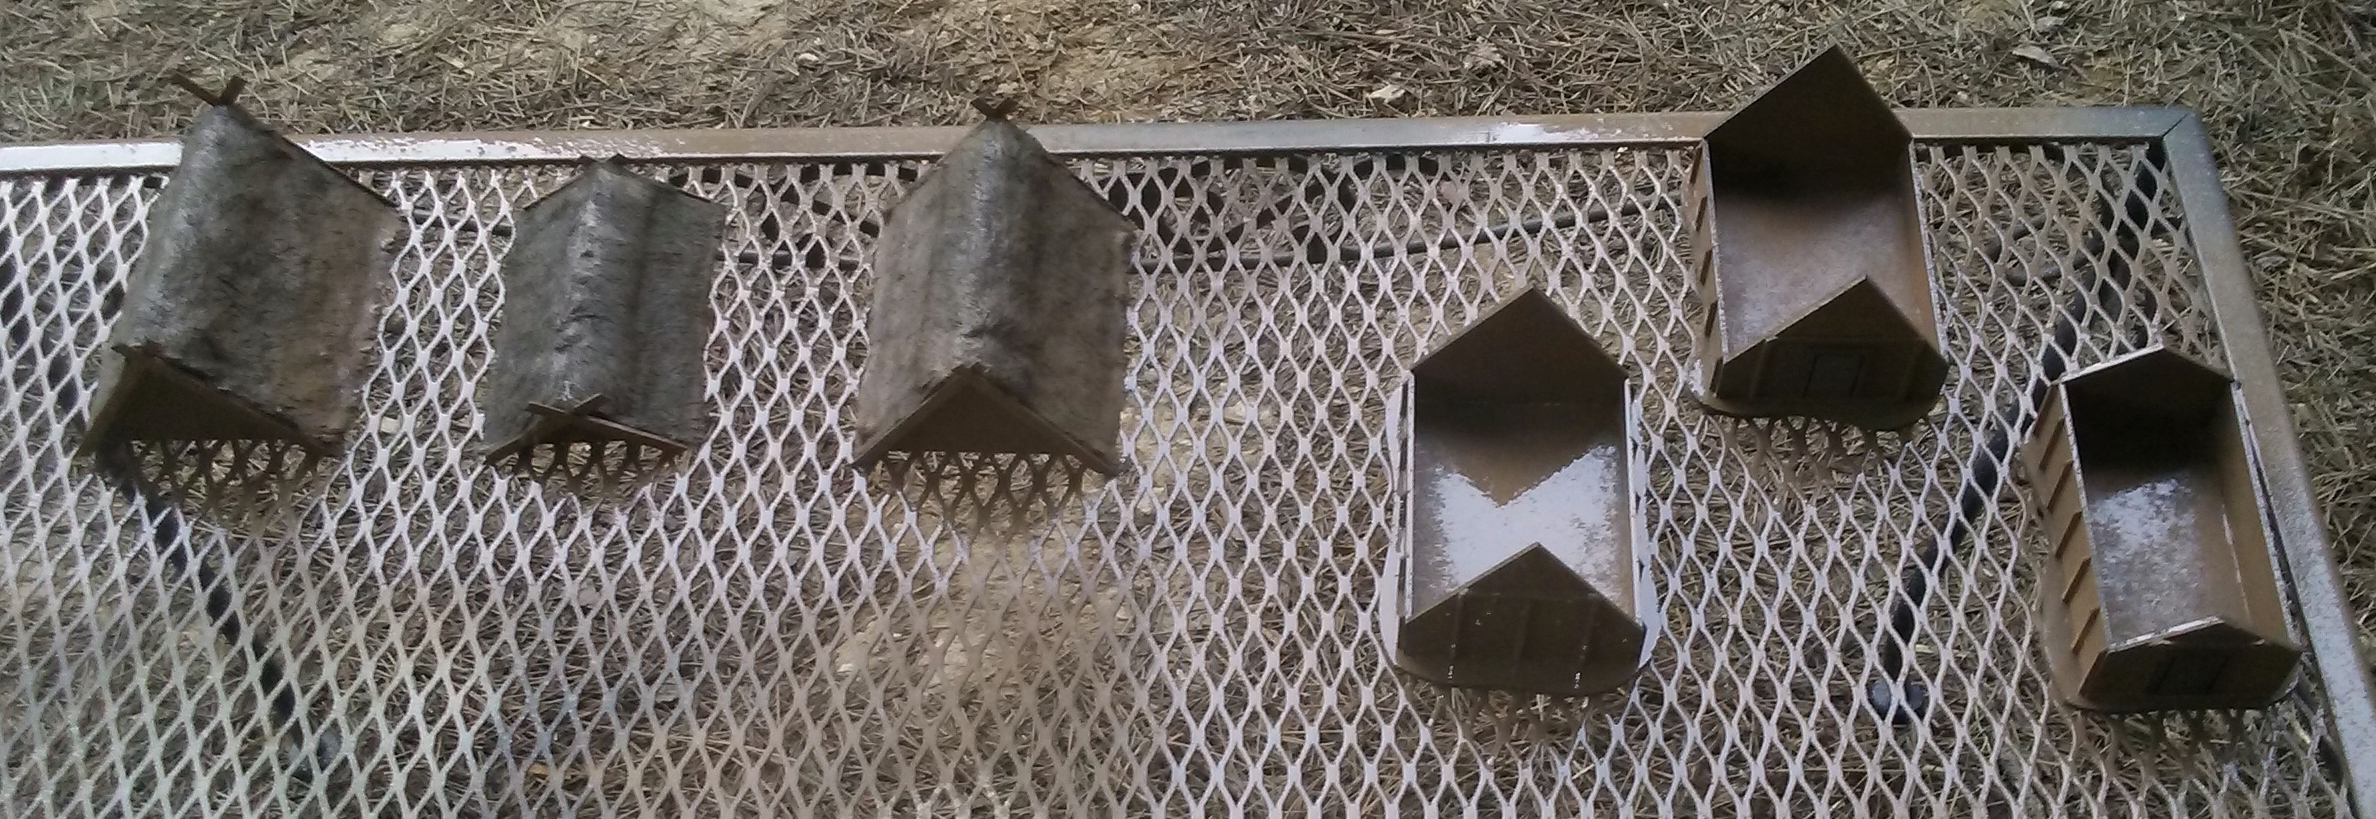 |
| A rattle can spray of brown covers everything at first. |
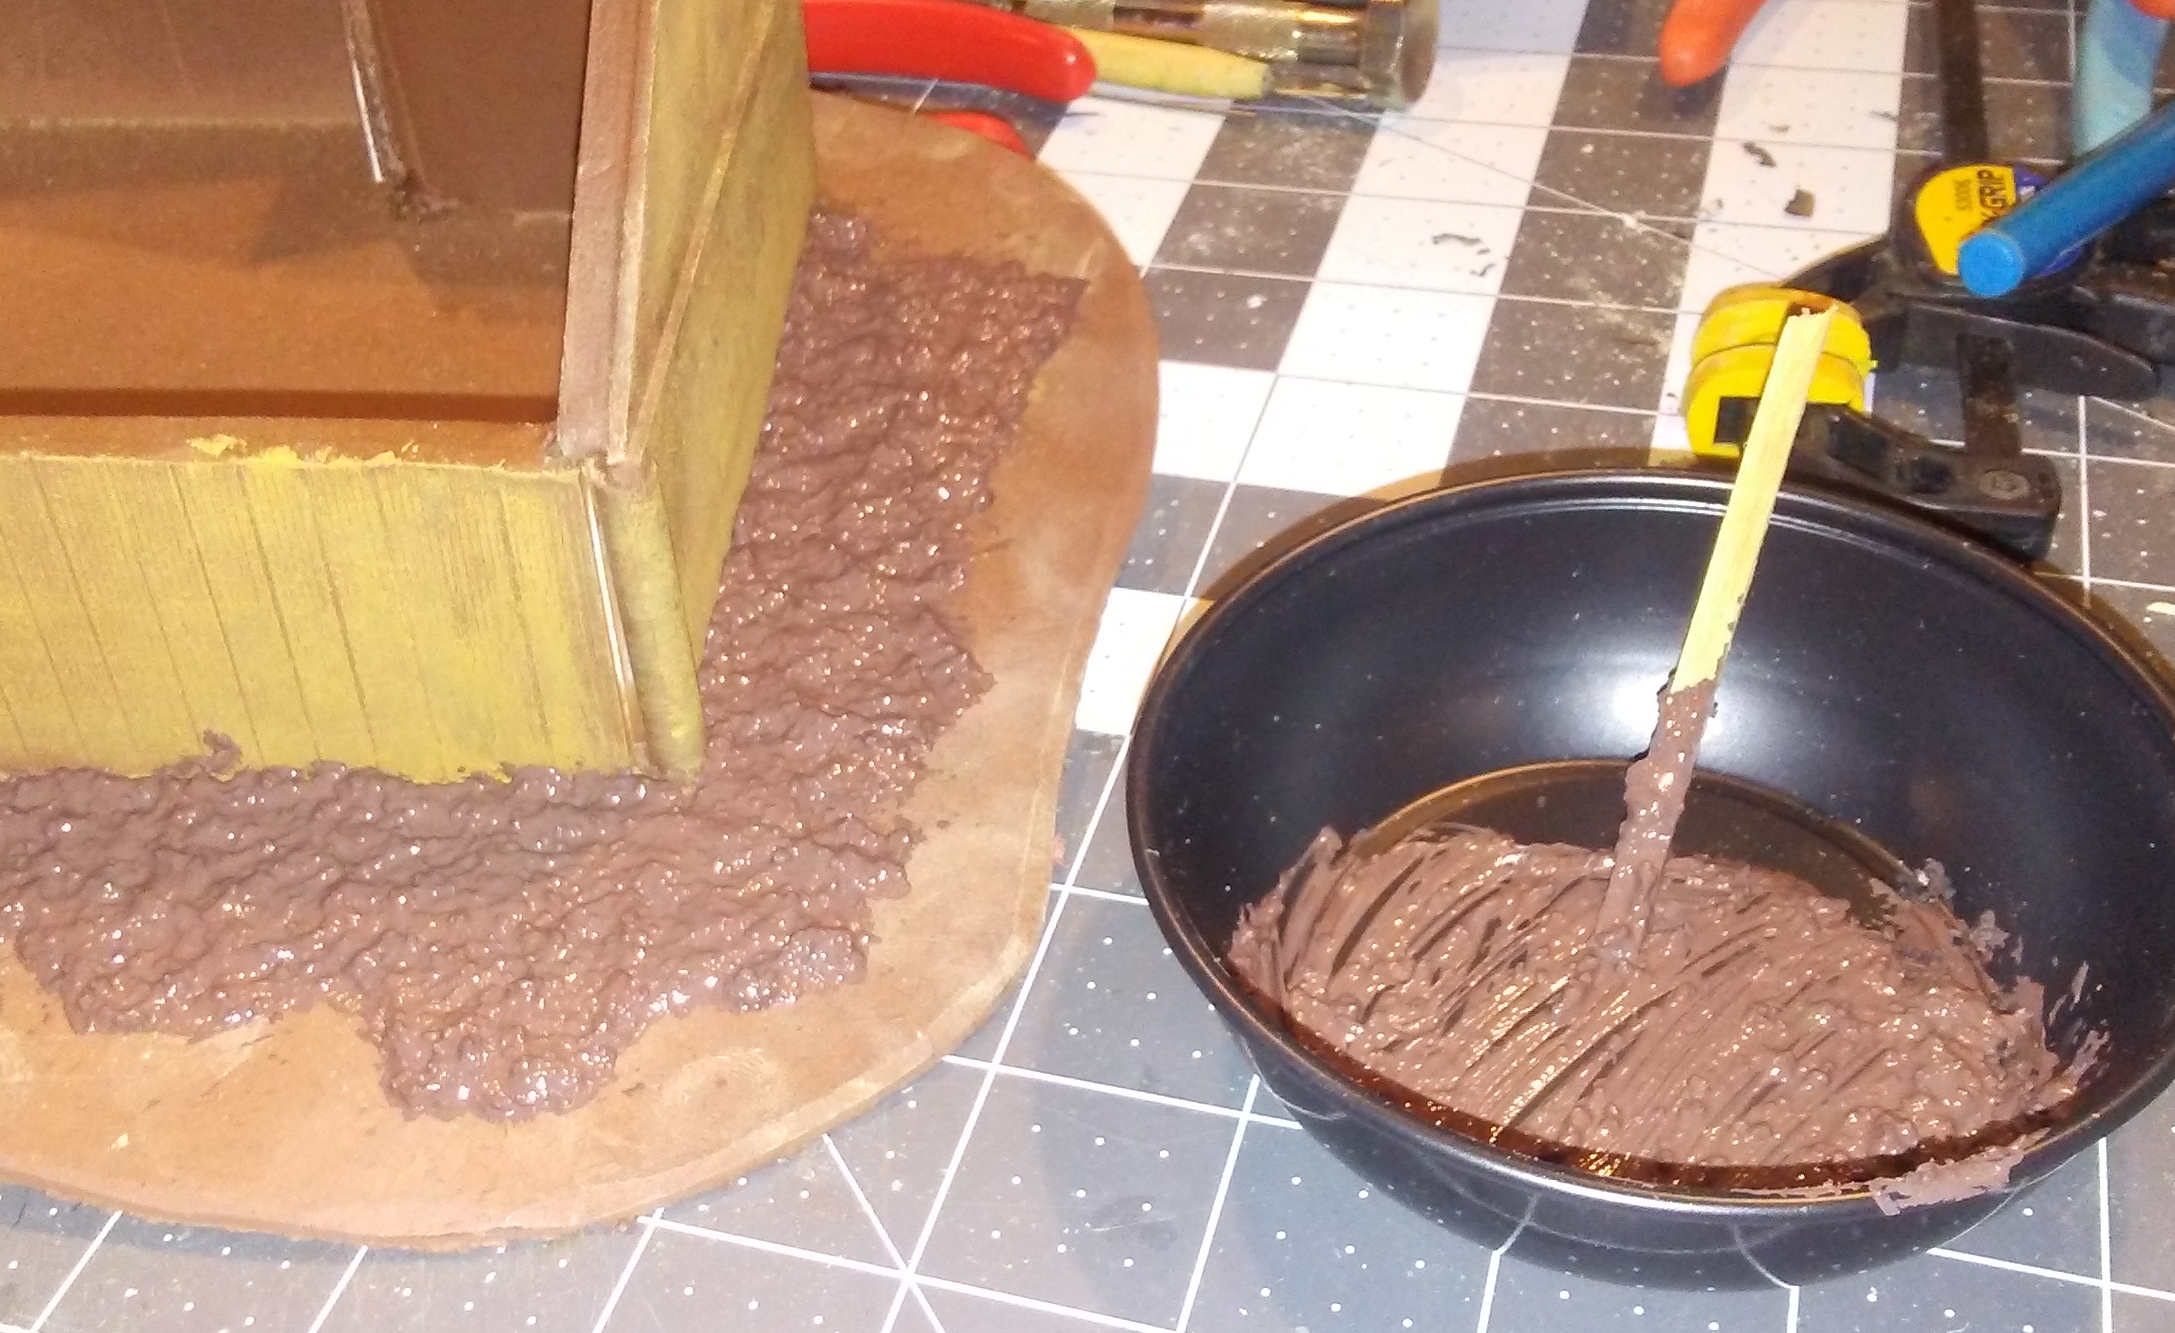 |
| Applying terrain goop (filler, paint and sand). |
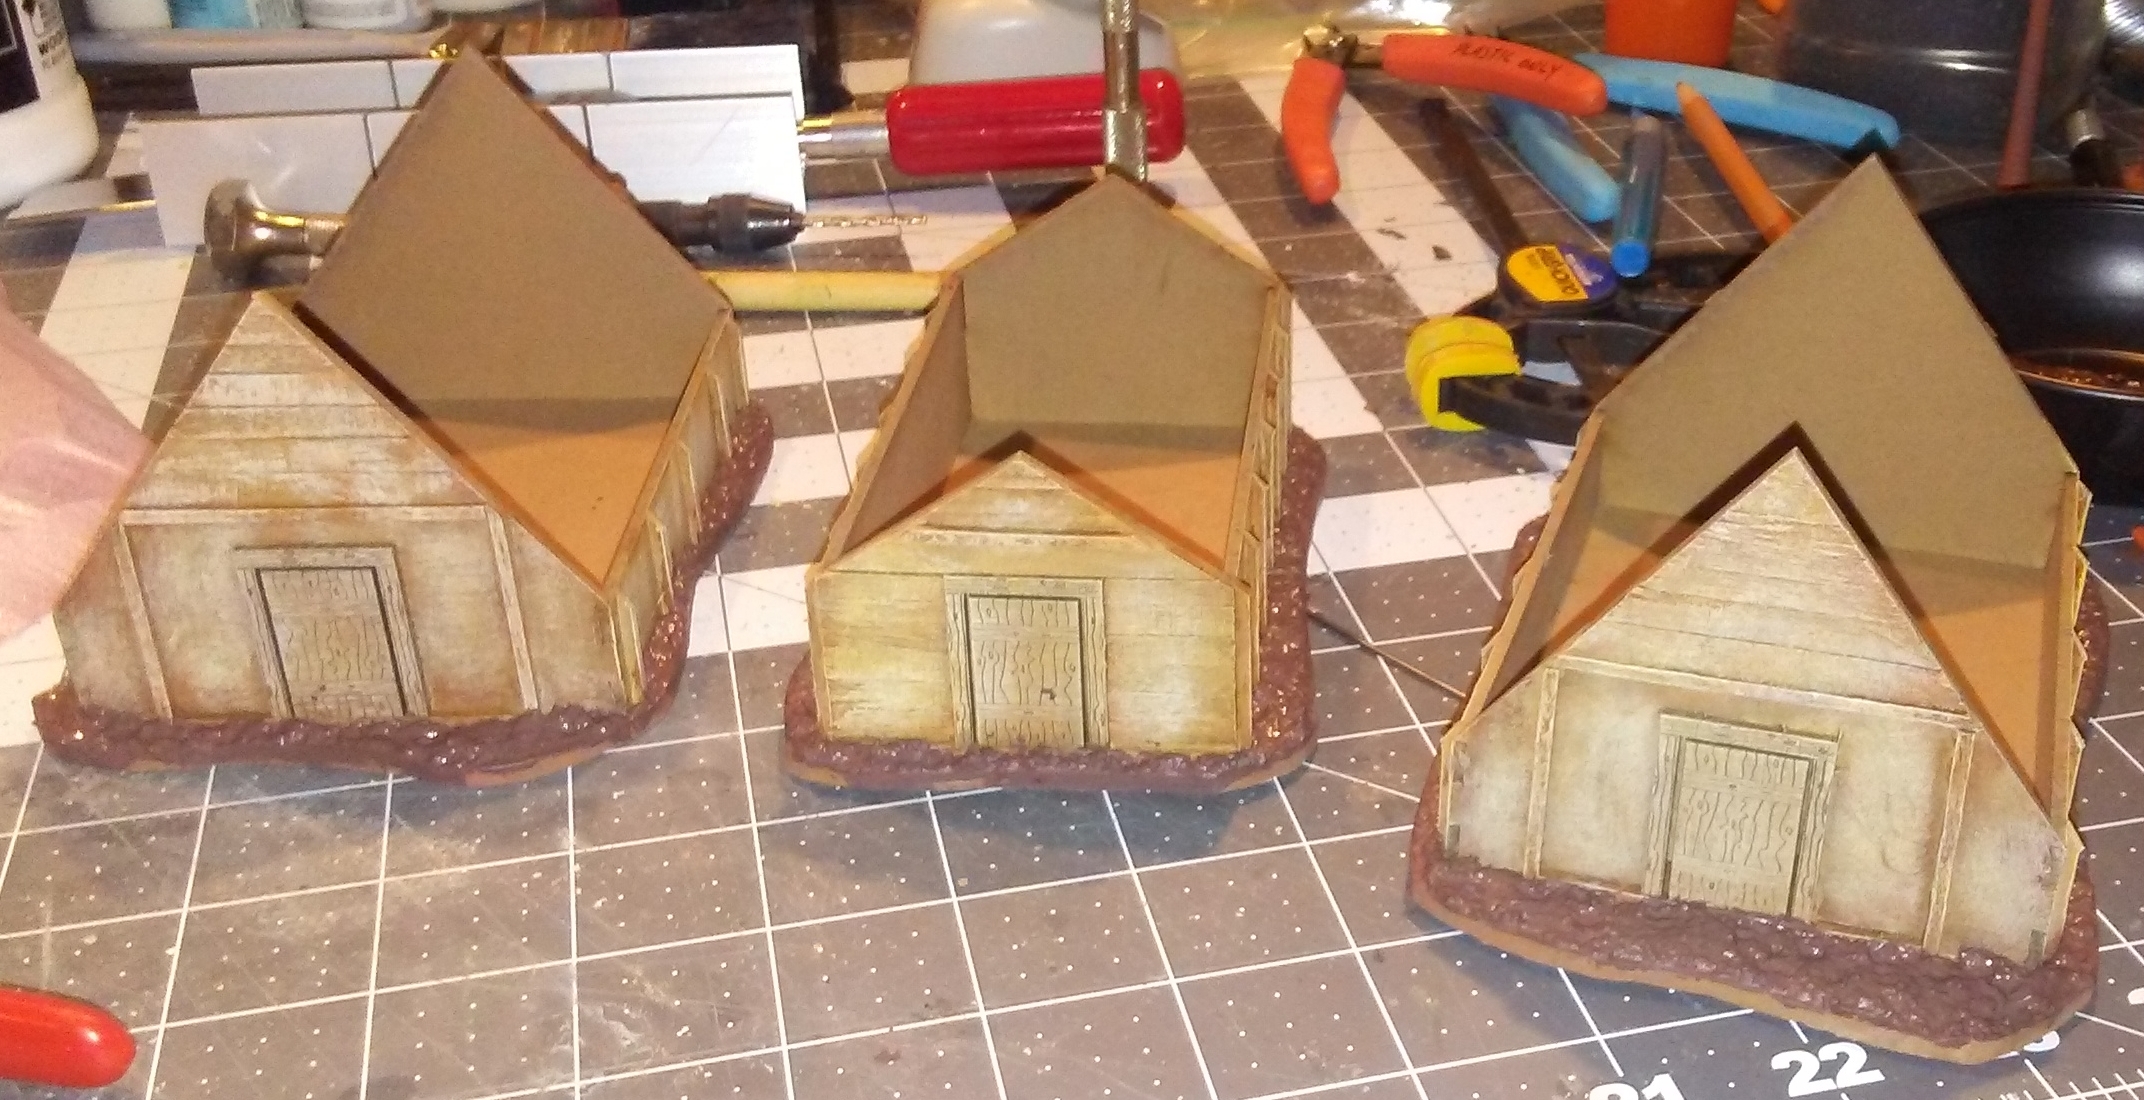 |
| After applying various drybrushes of lighter browns. |
And that's it - the houses are finished.
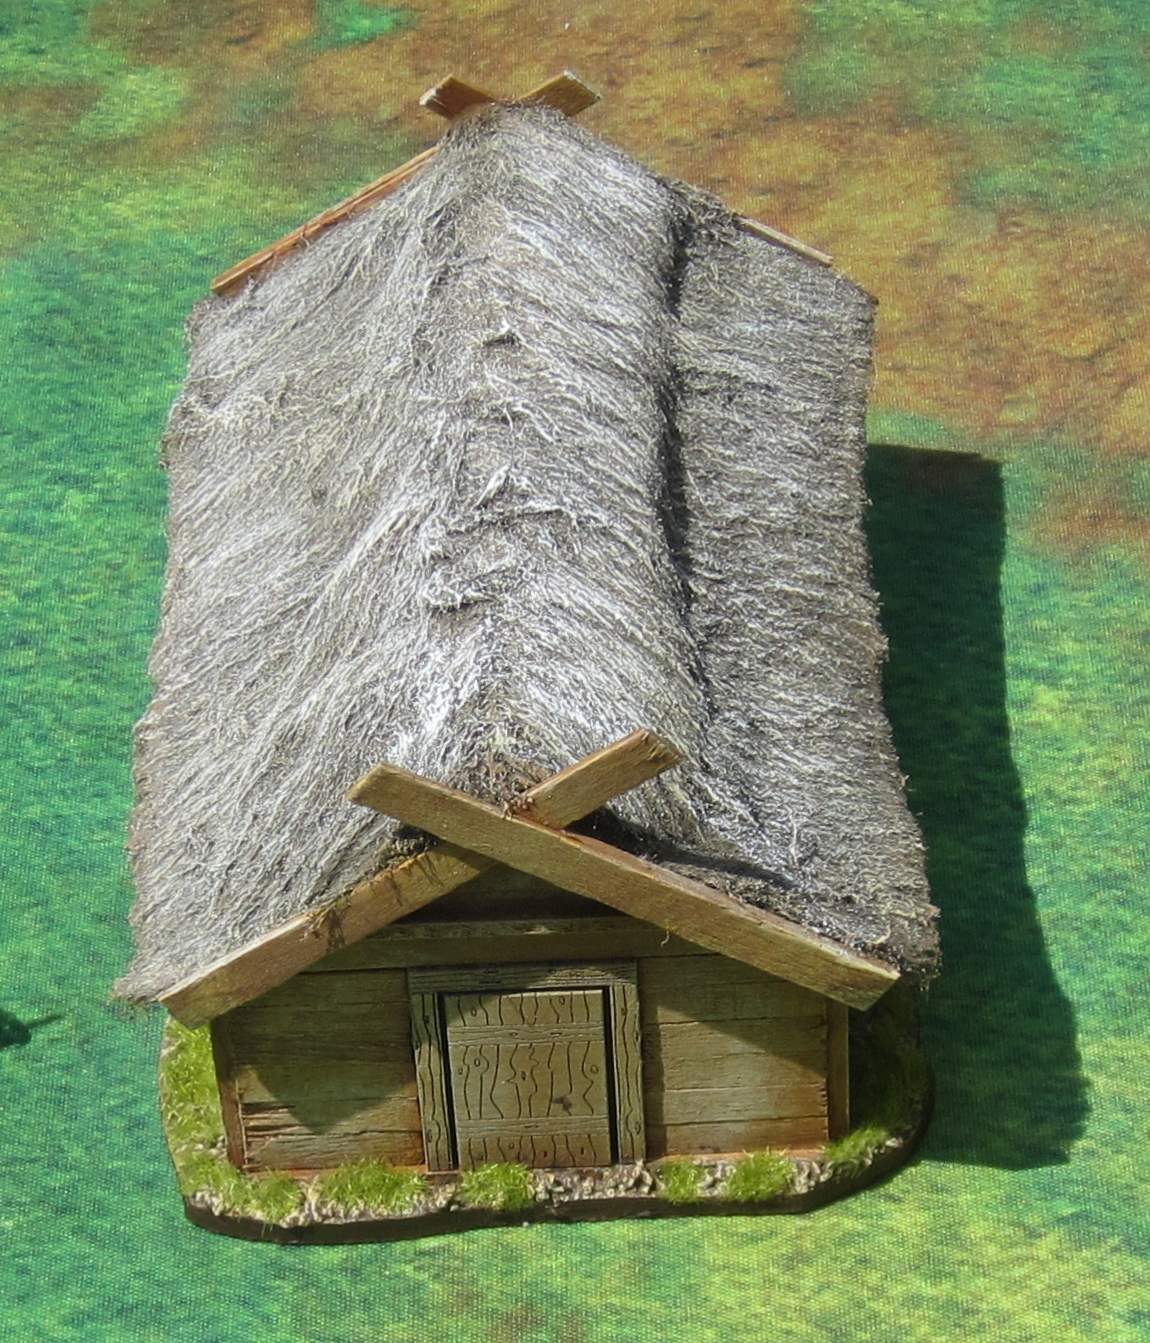 |
| The completed longhouse. |
 |
| A completed grub hut. |
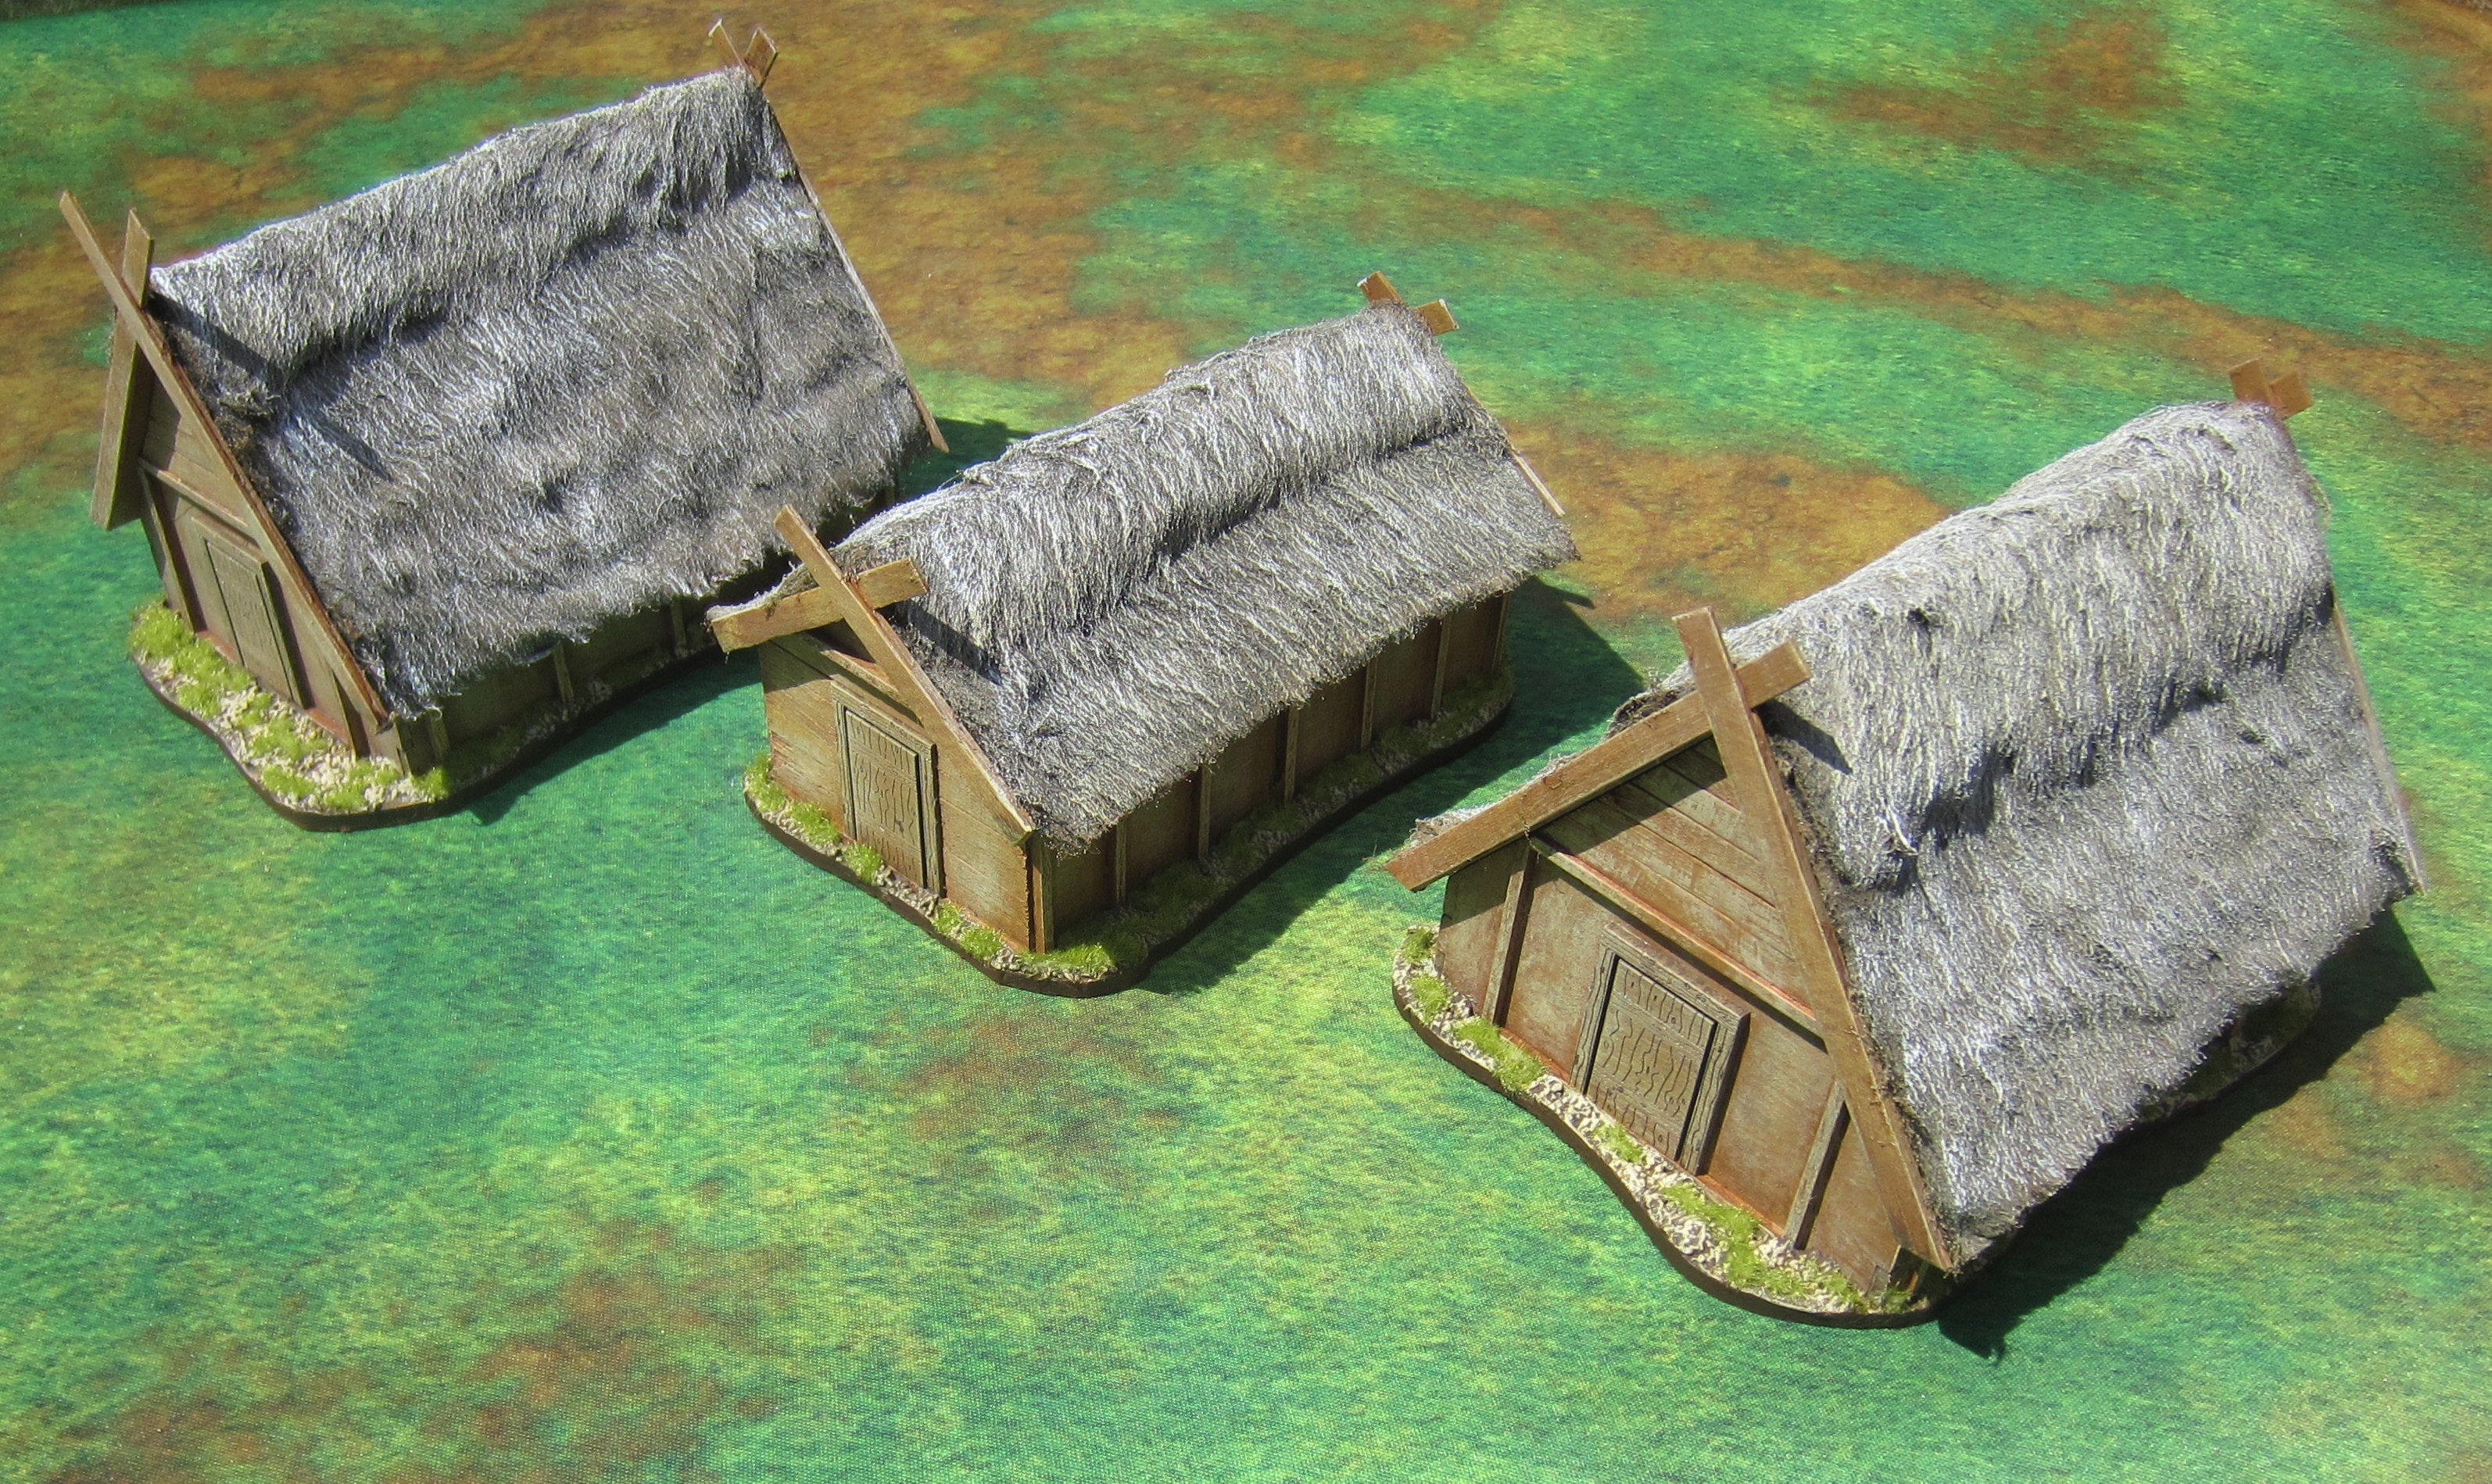 |
| The completed buildings. |
Here's a couple of pictures with the Warbases buildings beside some of my
scratch built buildings and a 4Ground house.
 |
| Warbases buildings besides a scratch-built house (left). |
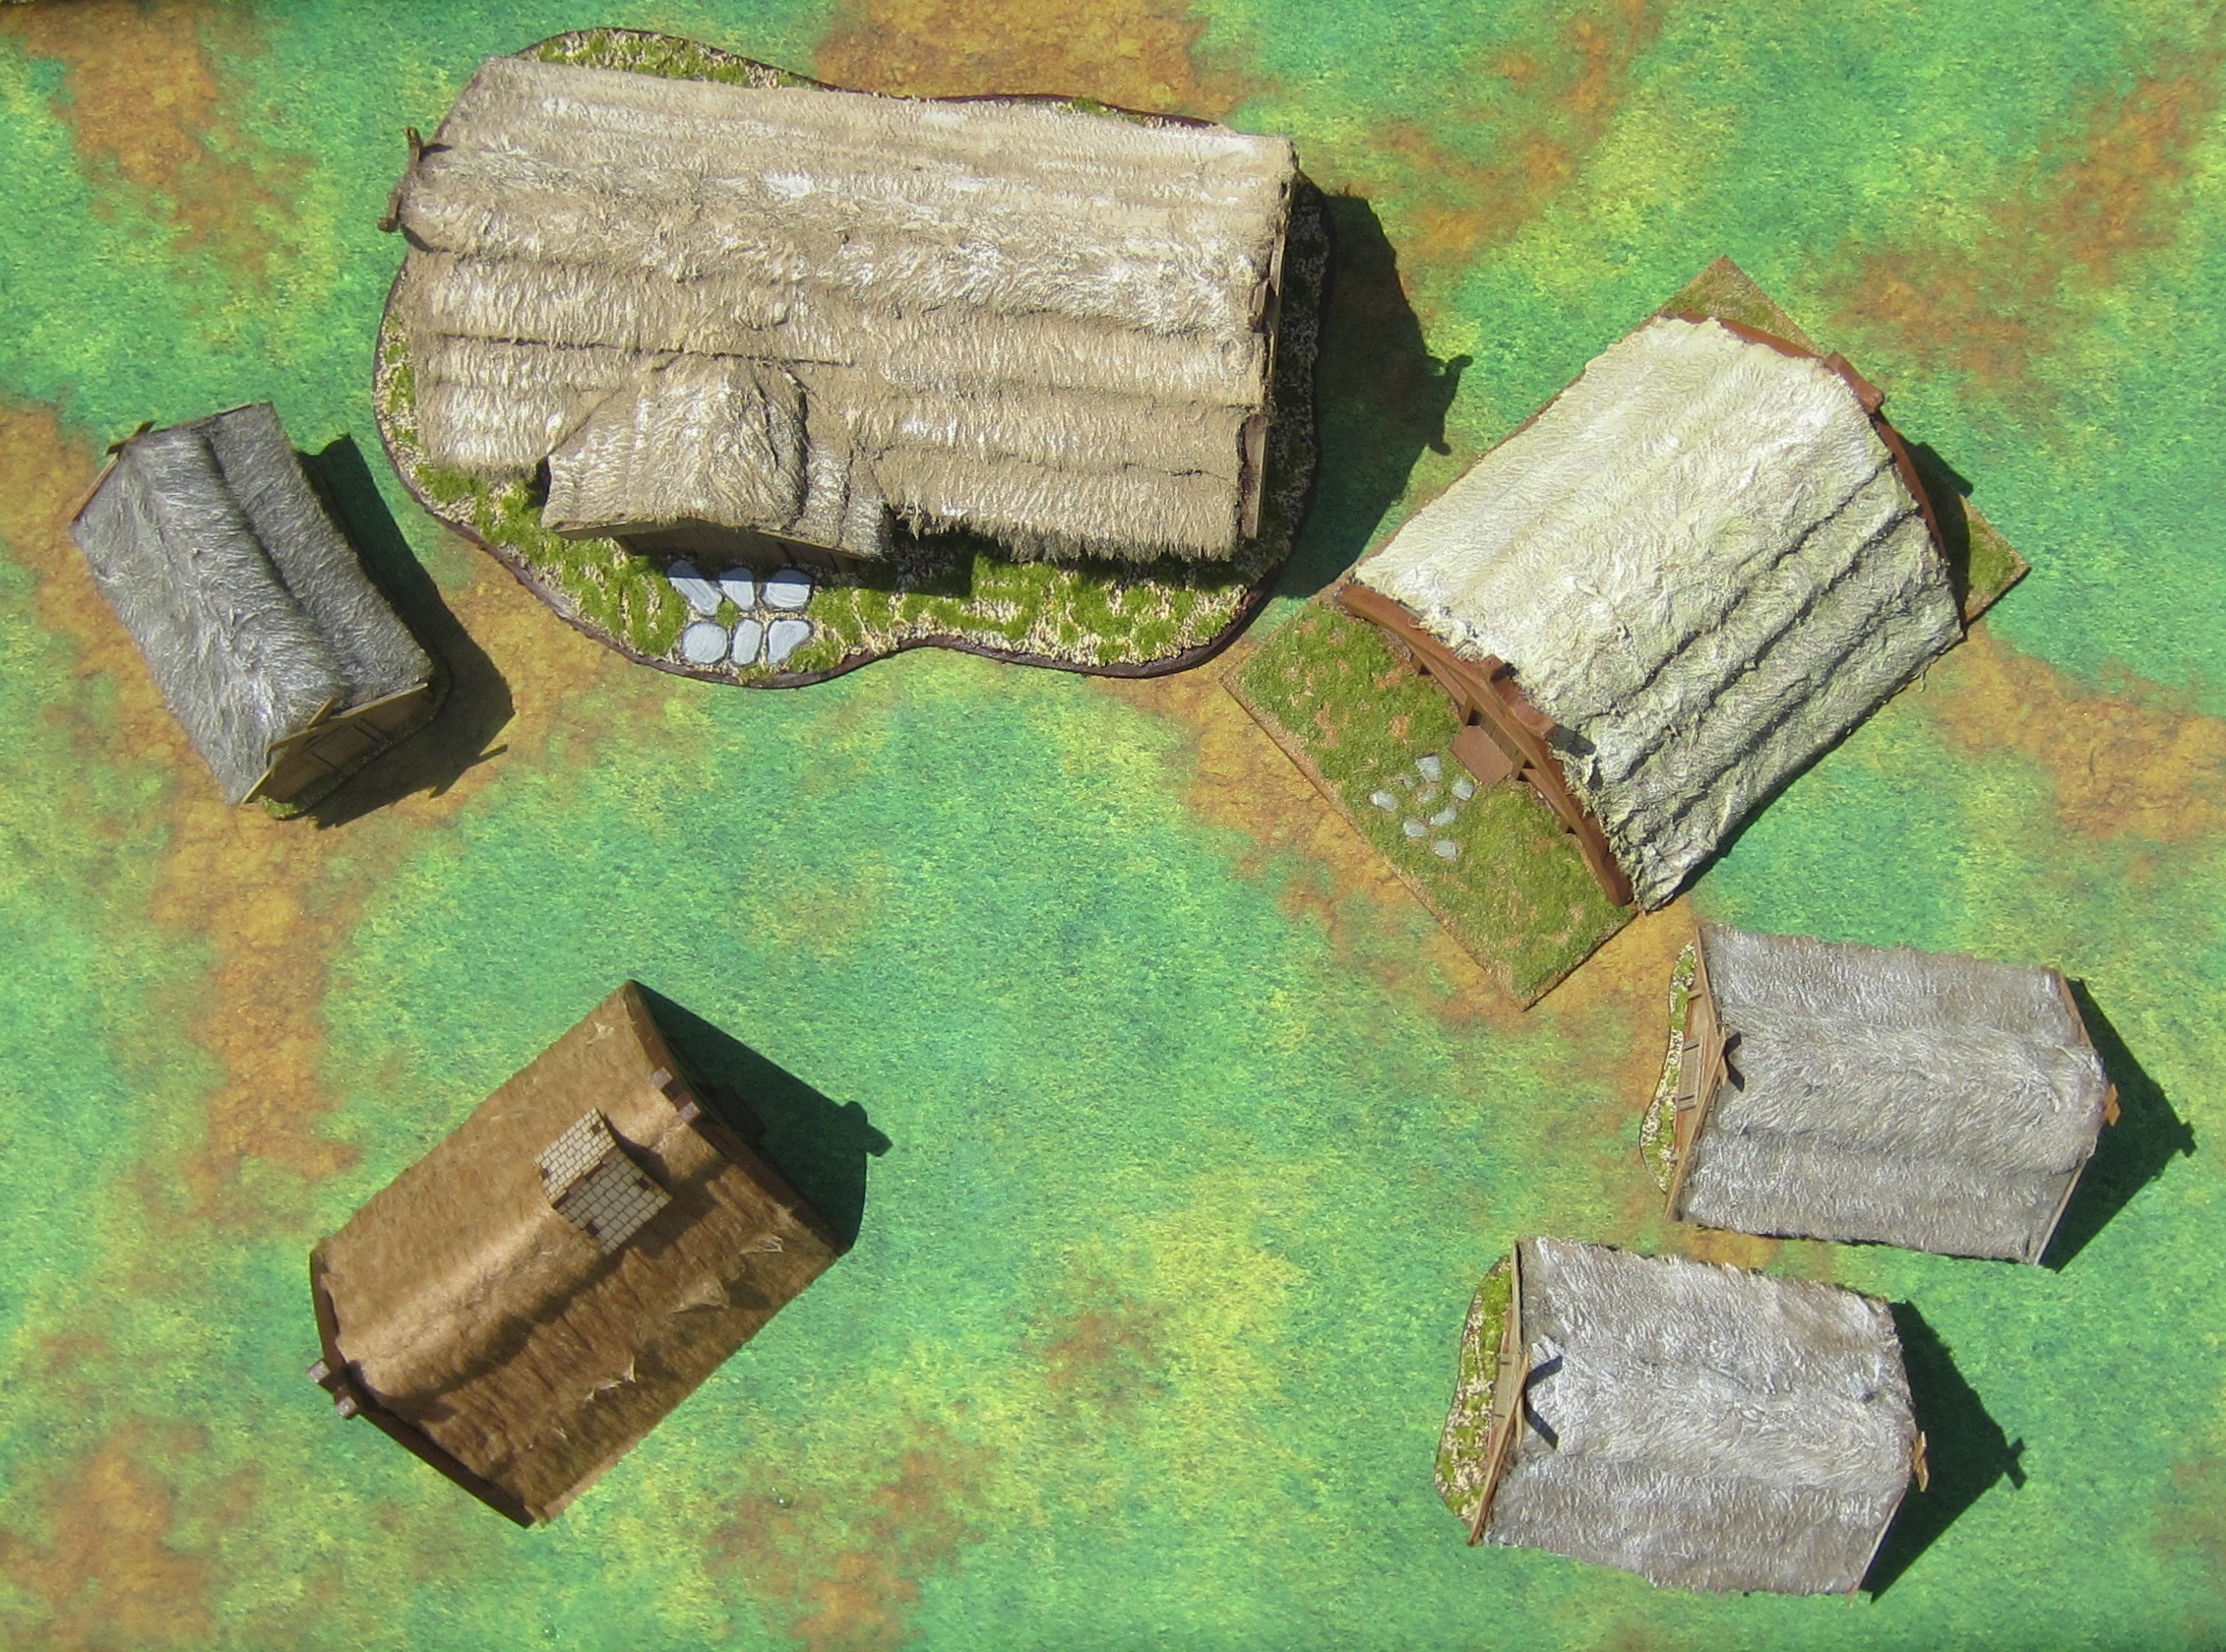 |
| Warbases buildings with 4Ground (lower left) and scratch-built buildings (upper center and right). |
As with most things in life, you get what you pay for. The Warbases buildings are inexpensive and very basic. But therein lies their value, at least to me. They save me from having to build the basic structure of a building, and allow me to get to the part that I truly enjoy - the detailing and customizing. Including assembly, I think I probably spent no more than three hours on these buildings in total, spread out over a few days to let the paint and glue dry in between steps. They can be finished in a variety of ways, so each builder can make them his own. Give them a try, I do not think you'll be disappointed.
Sharp-eyed readers may notice that my
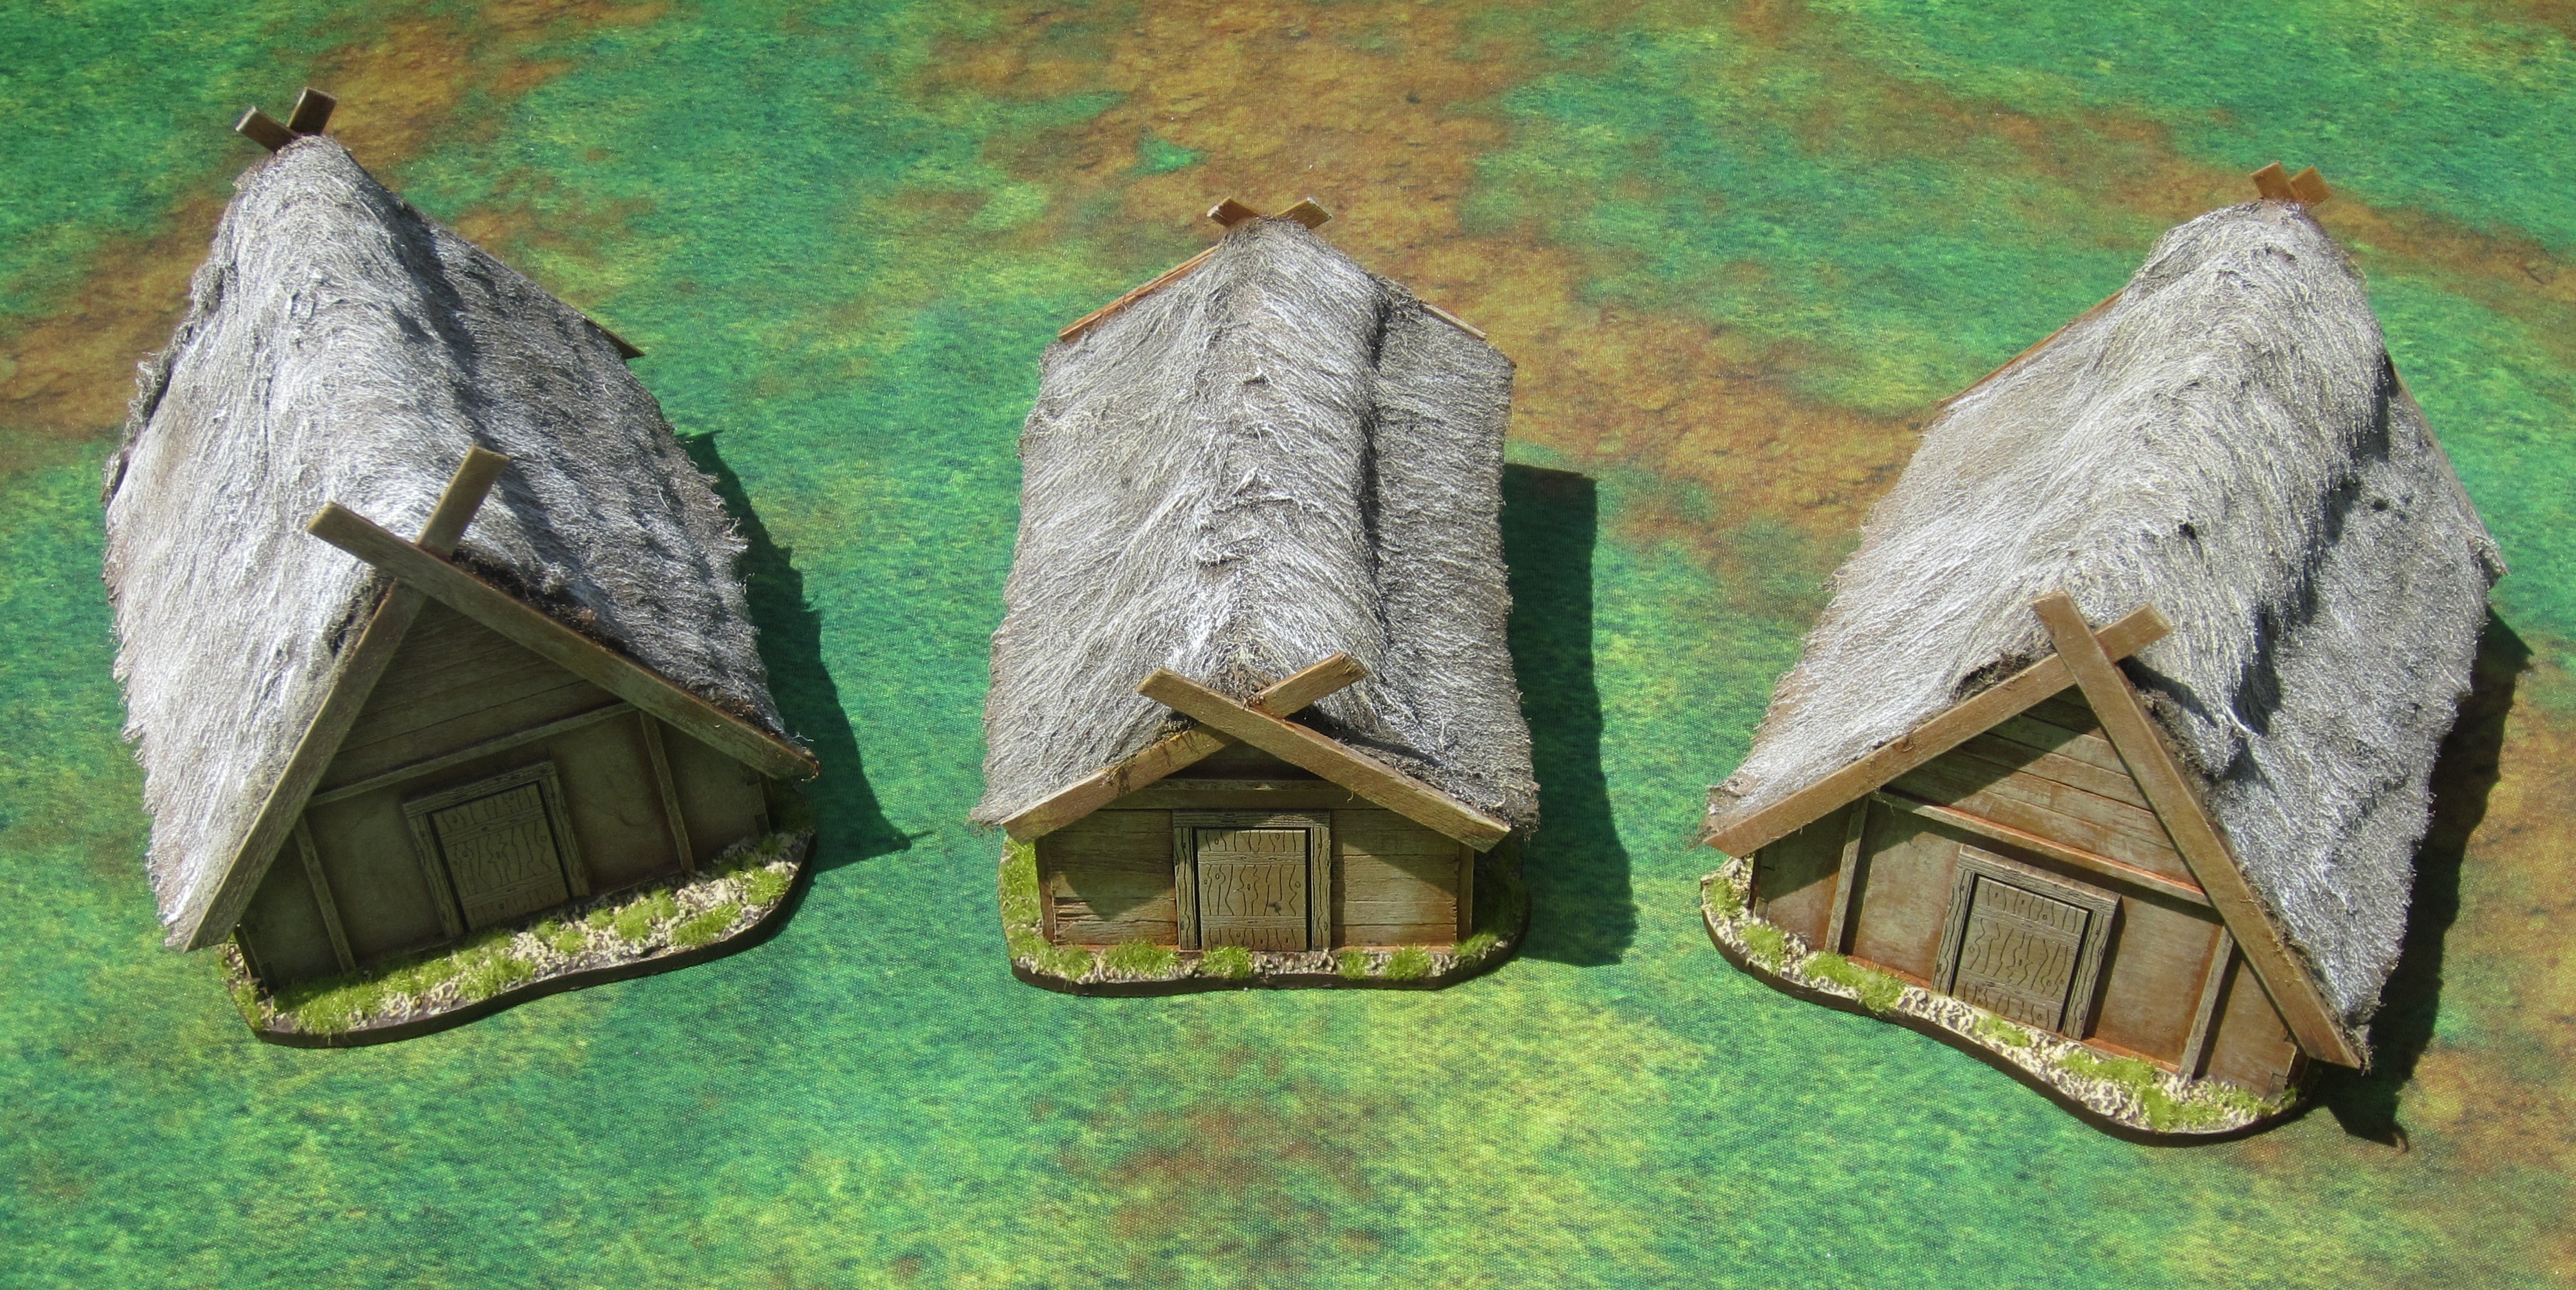
Viking hall is completed (top center in the previous photo). I did not take a lot of pictures of the final stages, so it will not get its own blog post (it was really just a case of finishing the base and painting the building and roof). Here's a photo of the completed building, which will (at least for now) be the central building of my Dark Ages Viking village.
'Til next time.




No comments:
Post a Comment