I finished the bases on the figures using my standard technique. I know that everyone has their own preferred method of basing figures, and I do not claim that mine is any better than anyone else's, but it works for me. I find it results in a good-looking base that is detailed and durable enough for a gaming figure.
Step 1: Coat the base in glue.
I use a wood or carpenter's glue, but you can also use white or PVA glue. I find the wood glue is a little thicker and covers better than the white glue. I have used TiteBond as well as Gorilla Glue with good results.
Step 2: Dip in sand.
I have a small tub of fine sand I use for basing. I am not sure where I got it - I think it may have come from the kids' sandbox when they were younger. I just take the figure with the glue on the base and dip it into the sand deep enough for the base to be fully covered. Then I pull it out and tape on the figure to knock off the excess glue.
Step 3: Dab on "Scenic Cement."

I then dab on a product made by Woodland Scenics, called Scenic Cement. As far as I can tell, it is basically watered-down PVA glue with a wetting agent to break surface tension. (You can probably make your own from water, glue and a drop of dishwashing detergent.) The wetting agent allows the glue to completely saturate the sand, rather than just sit on the top, and creates a very solid bond that will prevent the sand from flaking off the base.
Step 4: Dip in sand, again.
After the glue has been dabbed on the base, I dip the figure on the sand again and knock off the excess. This fills out the glue and raises the surface of the sand to better hid the edge of the molded base the figures are standing on.
Step 5: Dab on some more scenic cement.
Step 6: Tint the sand with ink.

If you are making bases for other environments, you can use any color ink. I've also black ink for when I am making asphalt or modern city bases.
Step 7: Allow to dry completely!

Before you move on to the next stage (drybrushing and adding grass) let the bases dry completely. If you don't, you'll knock some of the sand off when you are drybrushing. This is the hardest part for me, since I am very impatient. I usually let the bases dry overnight - I set them aside and work on something else for the rest of the day.
Step 8: Apply the first drybrush.
The specific colors used will depend on what environment your bases will be. The brown base actually works well for a variety of different bases. If it's a desert base, for example, I just use a heavier drybush of the same colors I used for these Vikings. If it's supposed to be a muddy field, then it may not need much other than a slightly lighter brown drybrush. Experiment with the colors until you find a combination that produces the desired results.
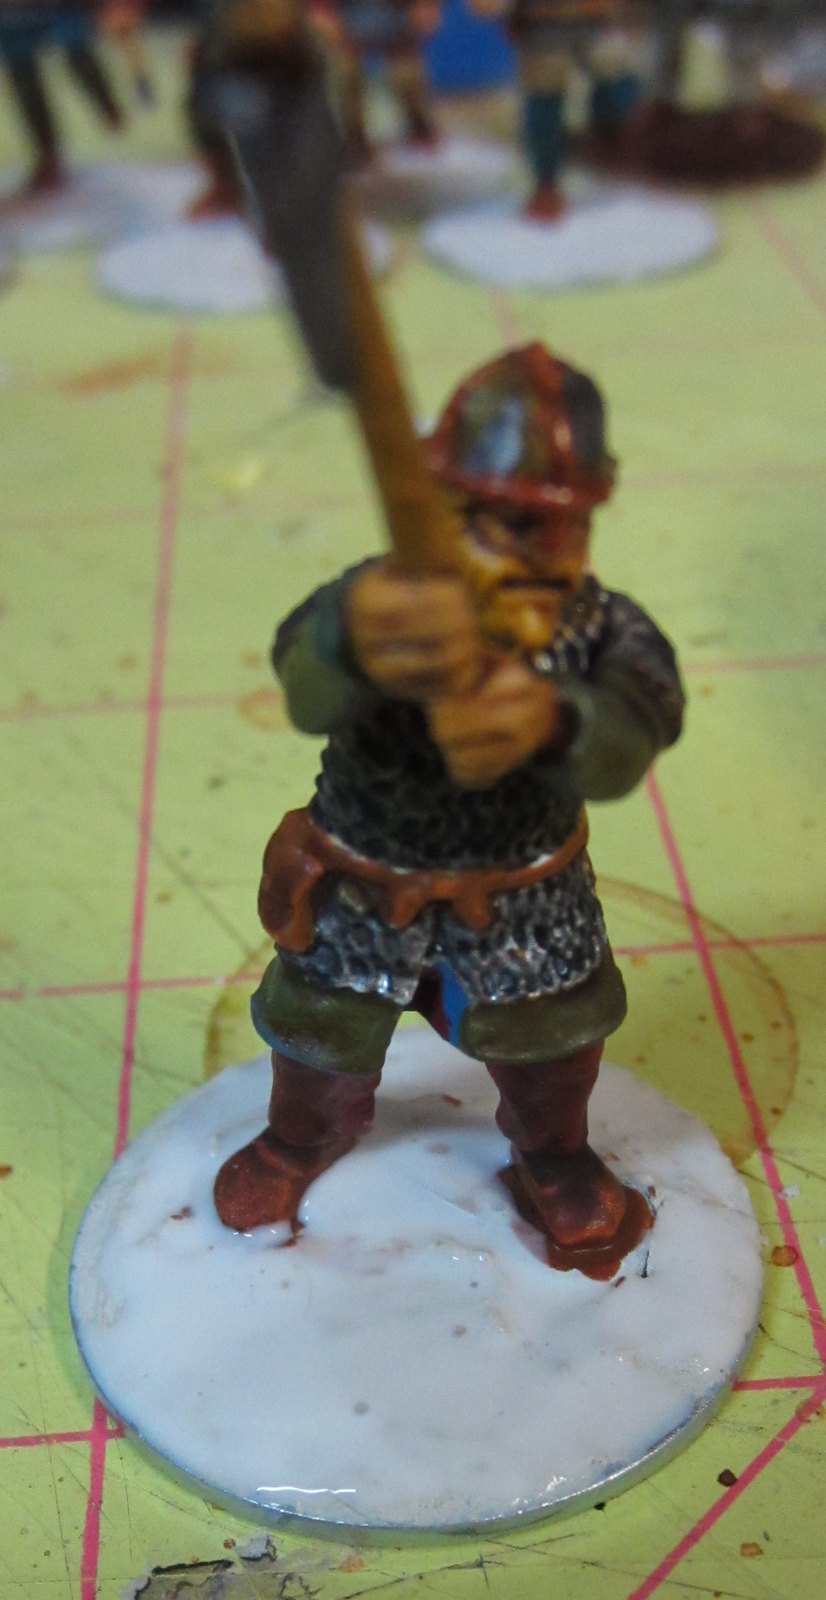
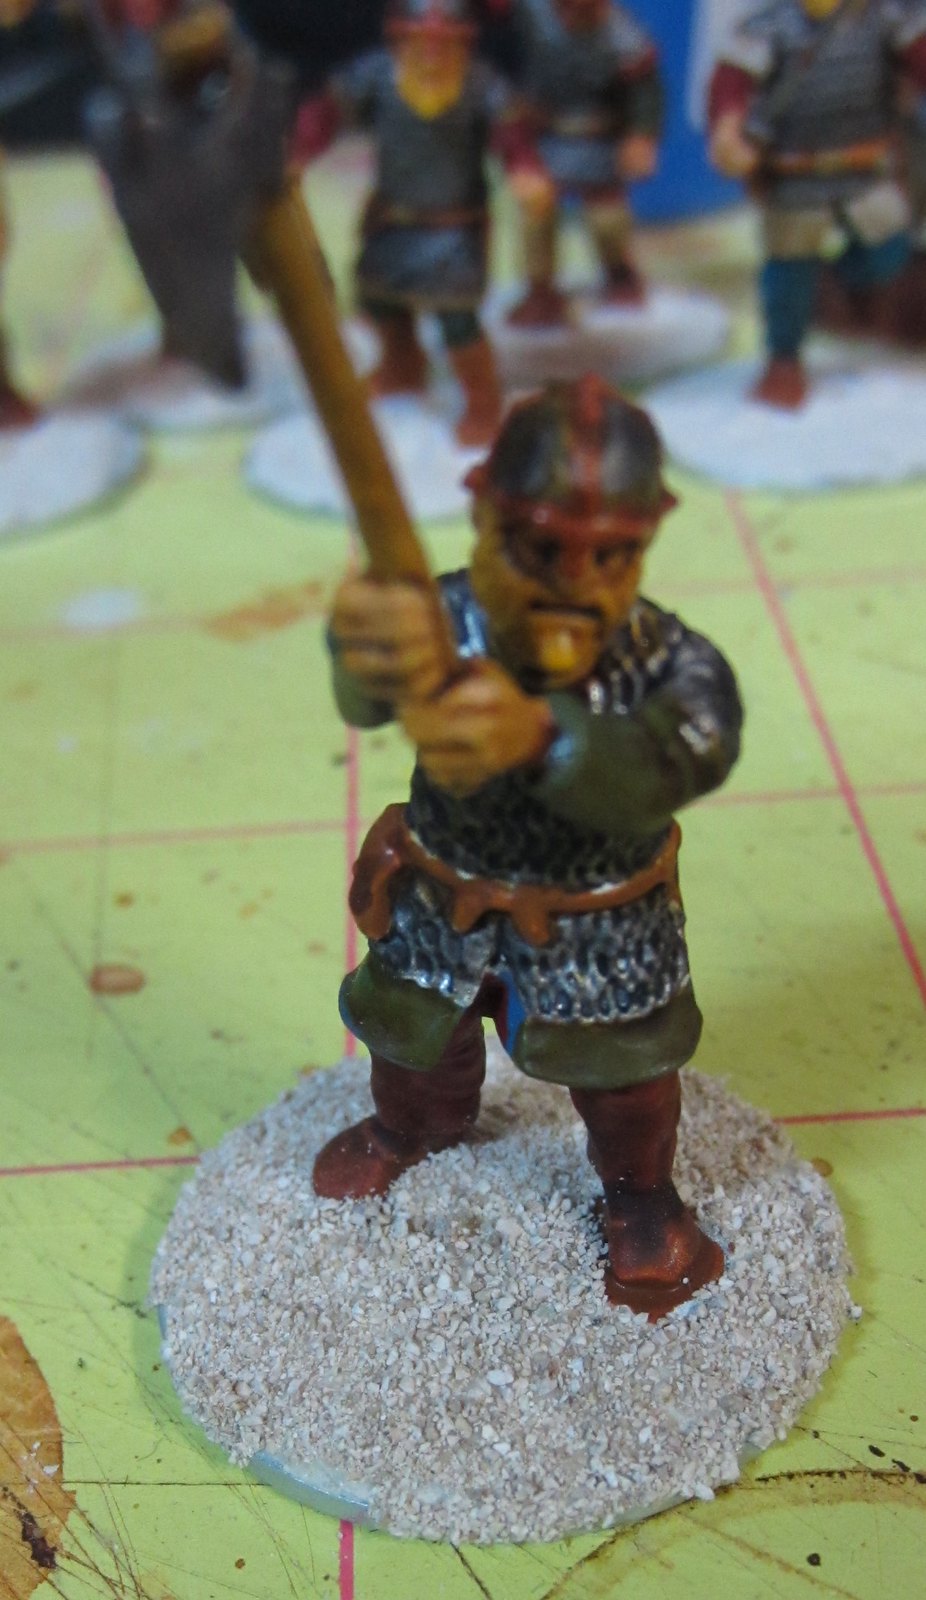
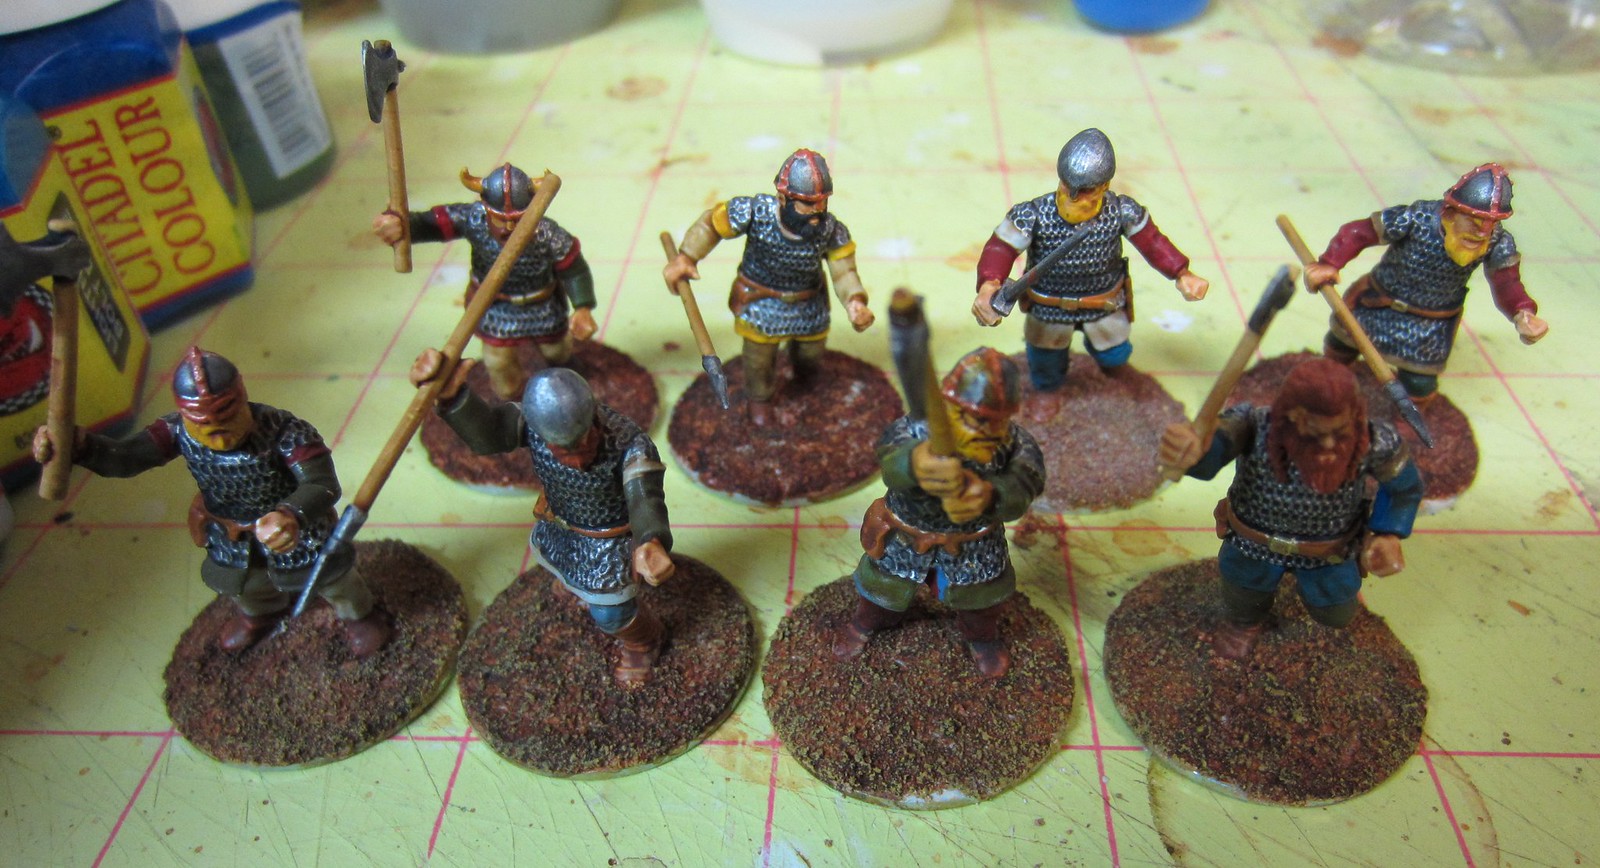
For the Viking bases, I started with a fairly heavy drybrush of Yellow Ochre. The brushed bases are in the first row, with the untouched bases in the back.
Step 9: Apply the second drybrush.
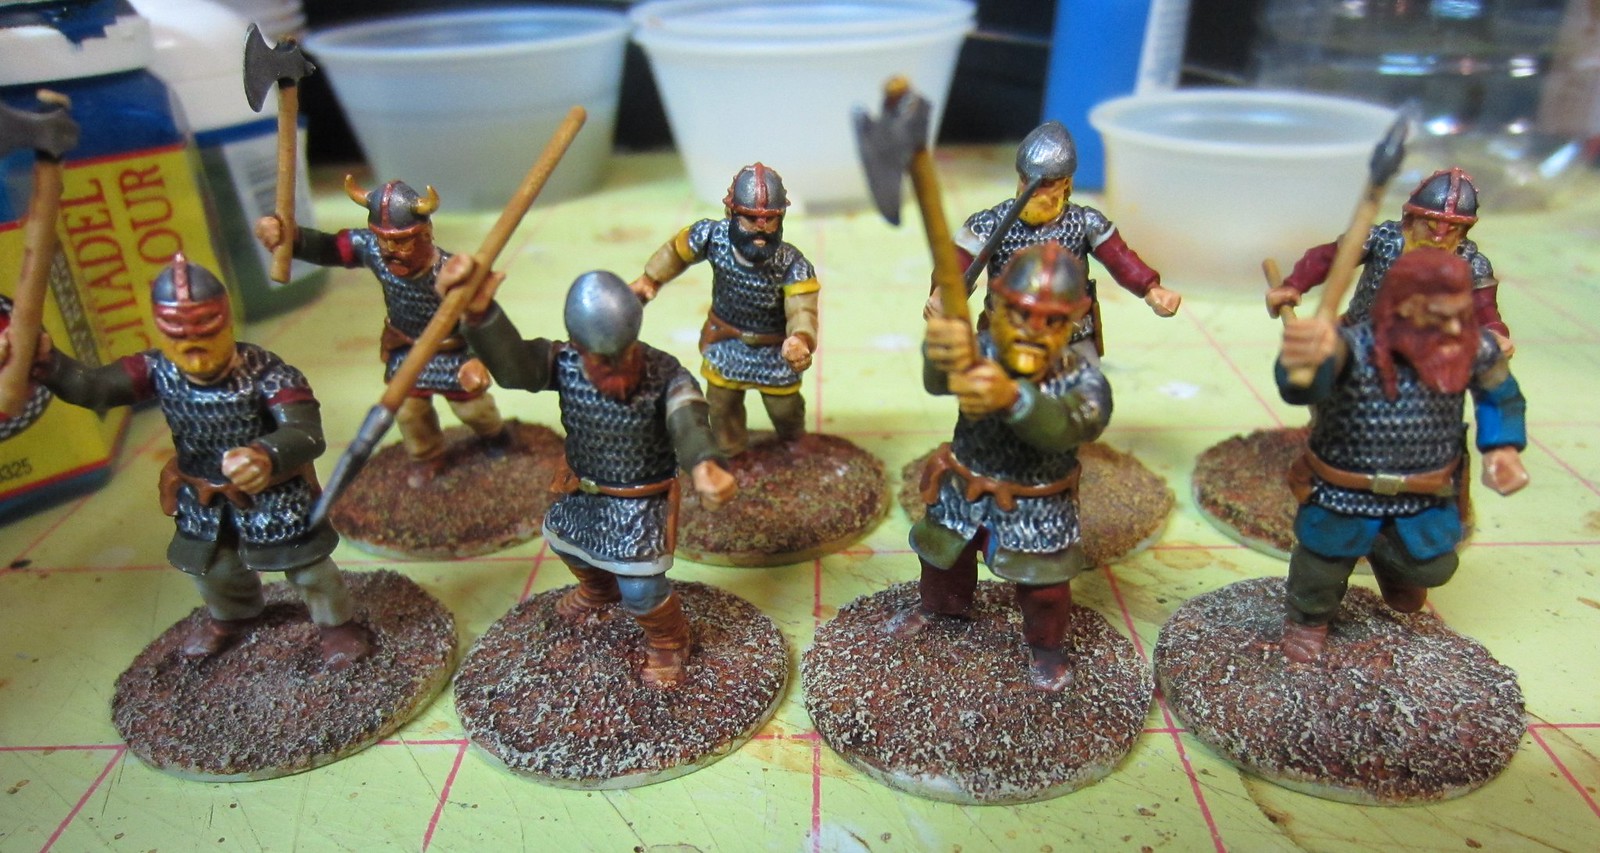
In order to give the bases a little depth, I use a second, lighter drybrush. In this case I used Menoth Base White.
Once again, the front bases have received the second drybrush.
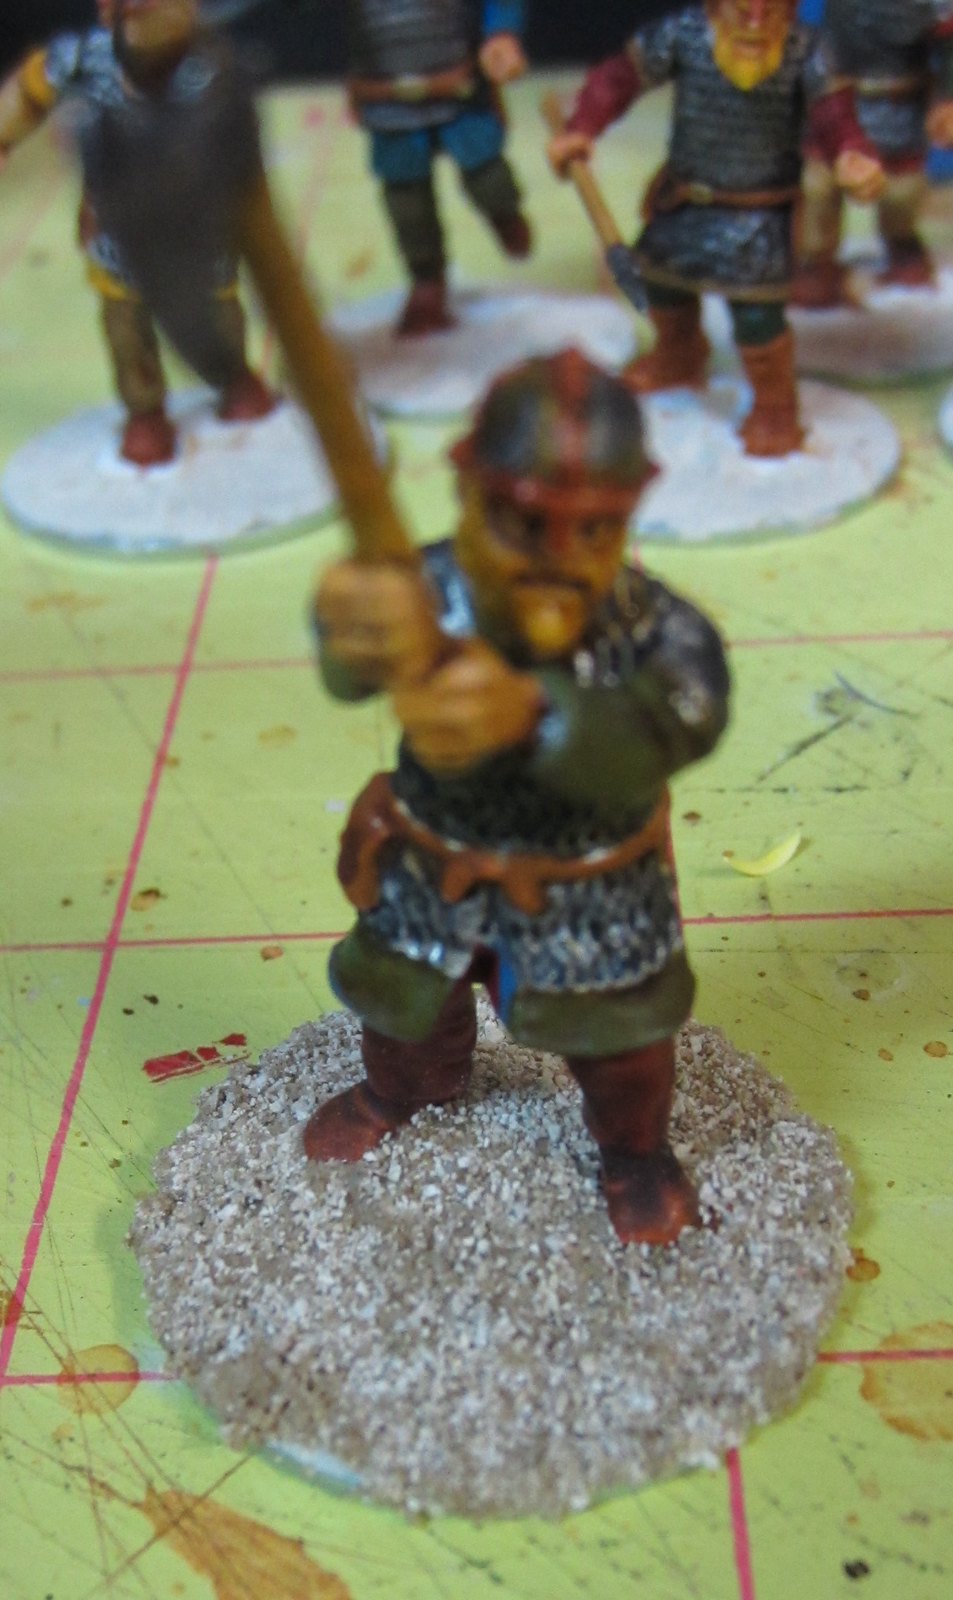
Step 10: Apply the ground cover.
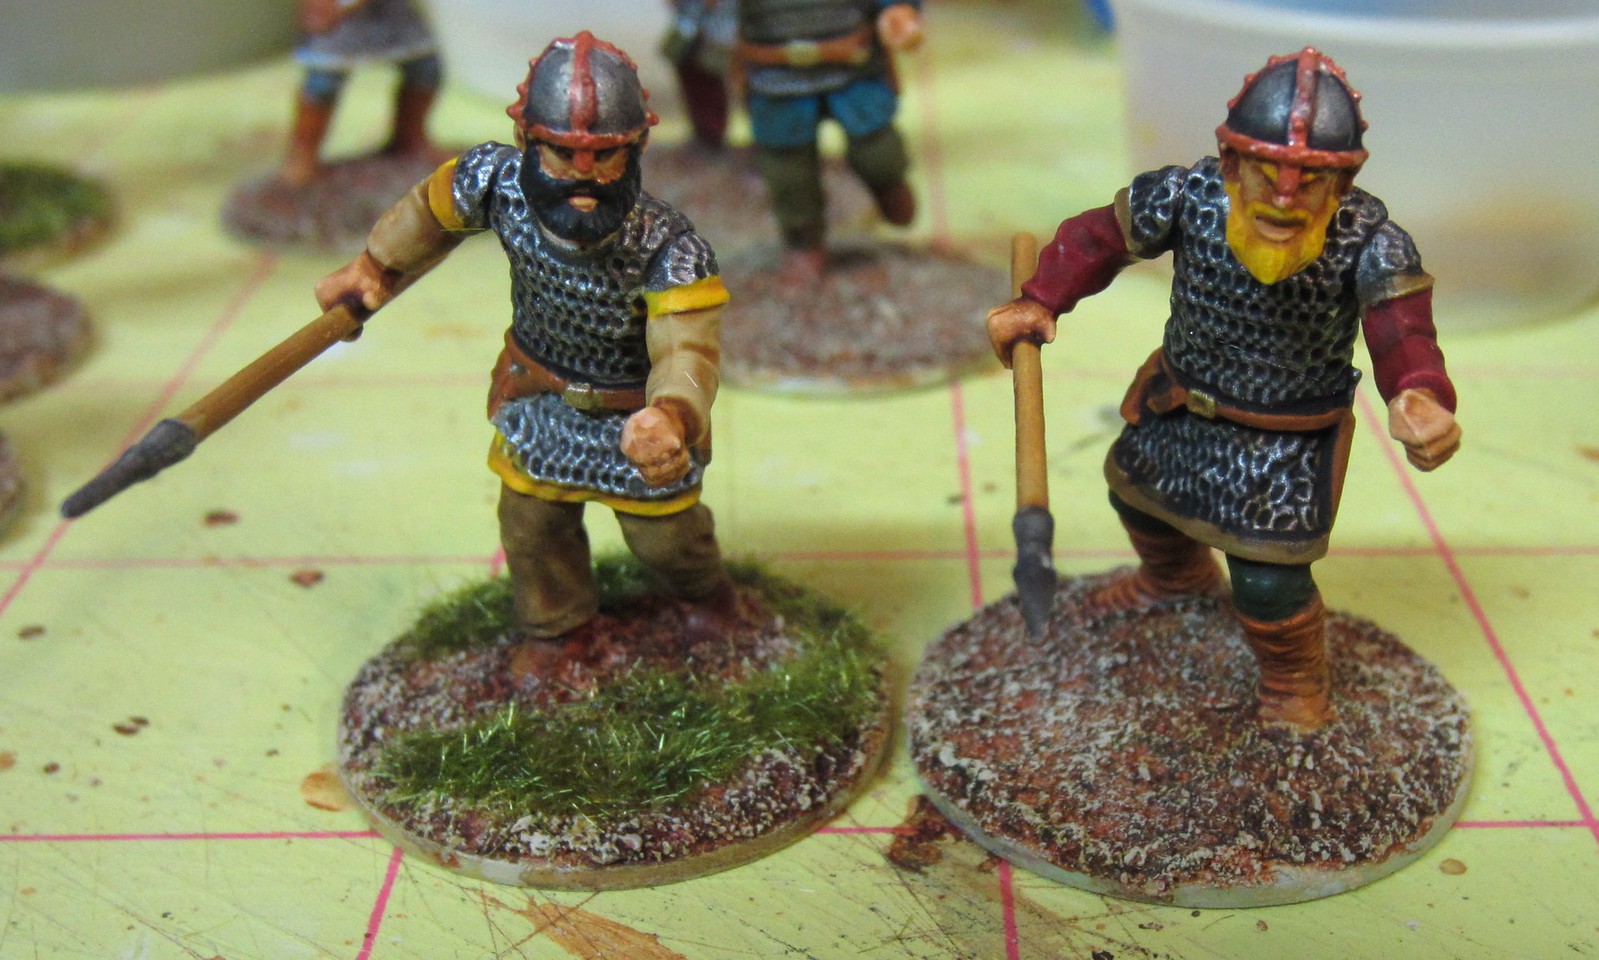
Once the second drybrush is complete, it's time for the ground cover. I used static grass on these bases. I just dab on some super glue in a random pattern on the base. Then I sprinkle the static grass on the base, turn the figure upside down, and tap the bottom of the base. This has the effect of making the static grass "stand" and makes it look more like real blades of grass. The figure on the left has had the static grass applied.
Step 11: Finishing up.
I paint the edges of the bases an appropriate color - in this case Scorched Brown - then spray the entire figure with a matte sealer.
As you can see, I use a variety of colors and paints, from many manufacturers. I just find a color I like, and don't worry too much about who makes it. I mix Privateer paints, Citadel paints and the cheap Apple Barrel or Folk Art colors from Walmart! For scenery and bases, I find it doesn't much matter what you use, as long as the colors blend into something you like.
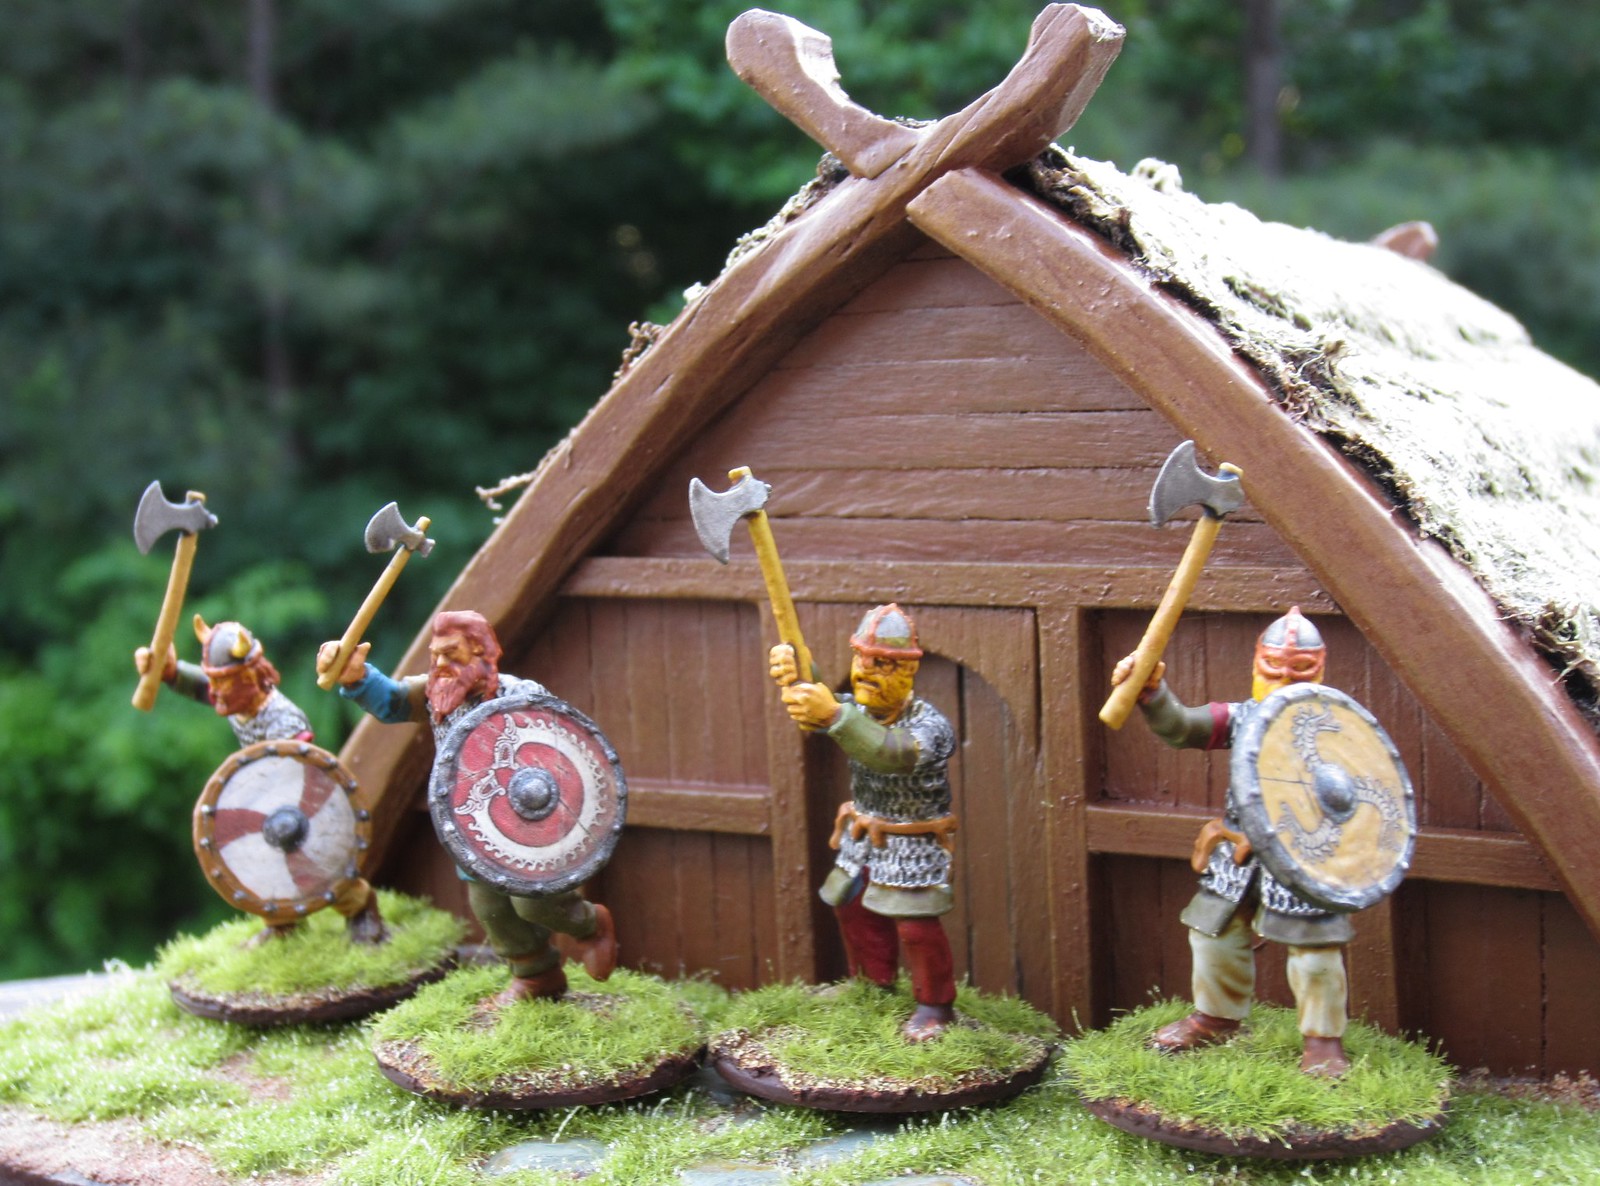
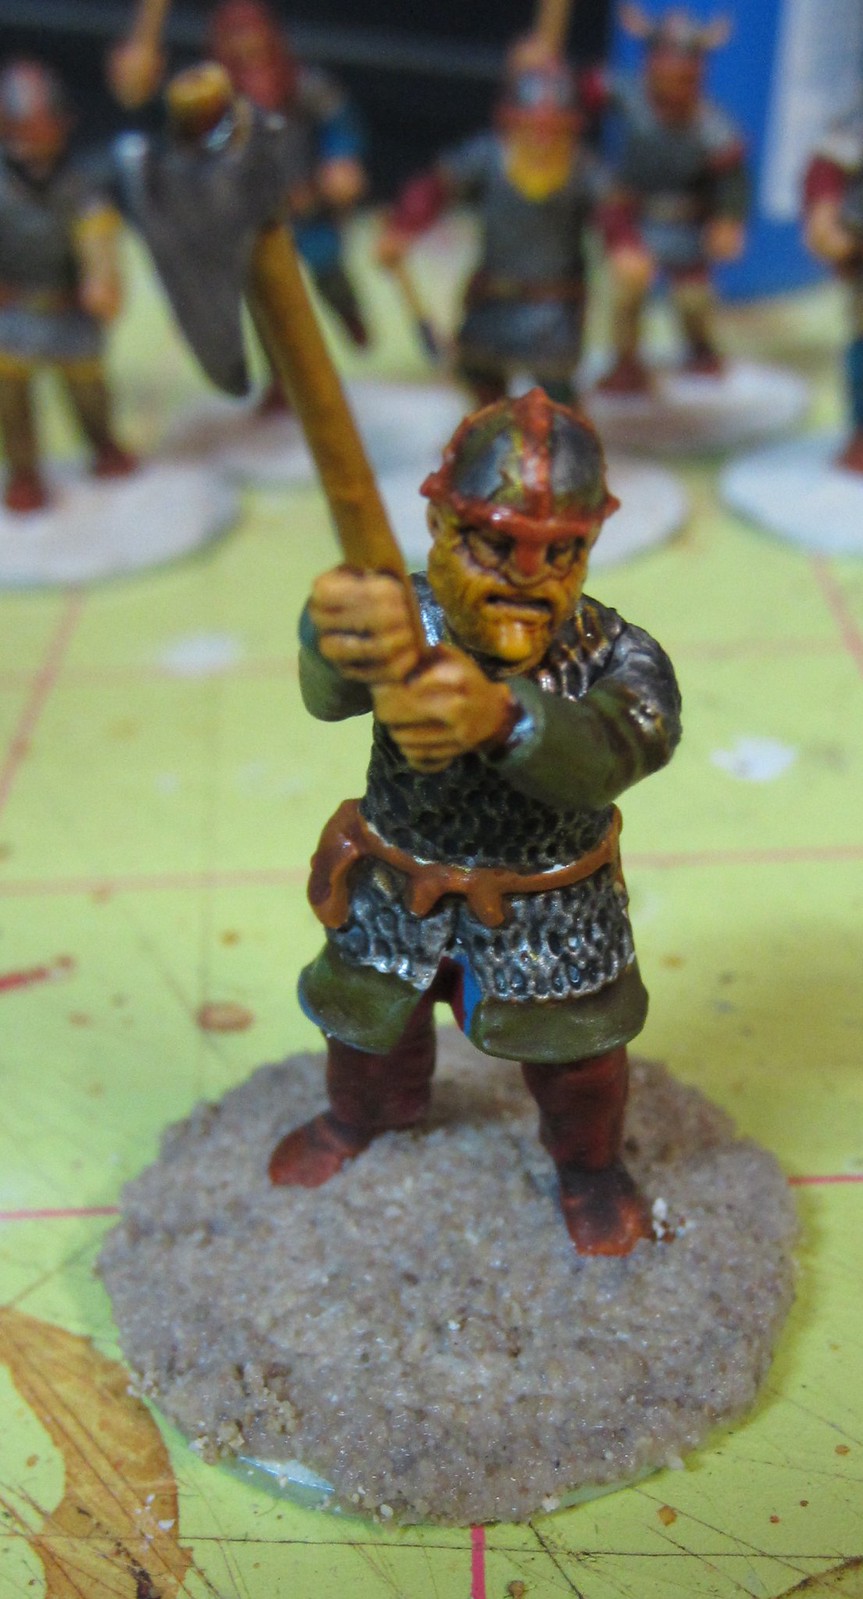
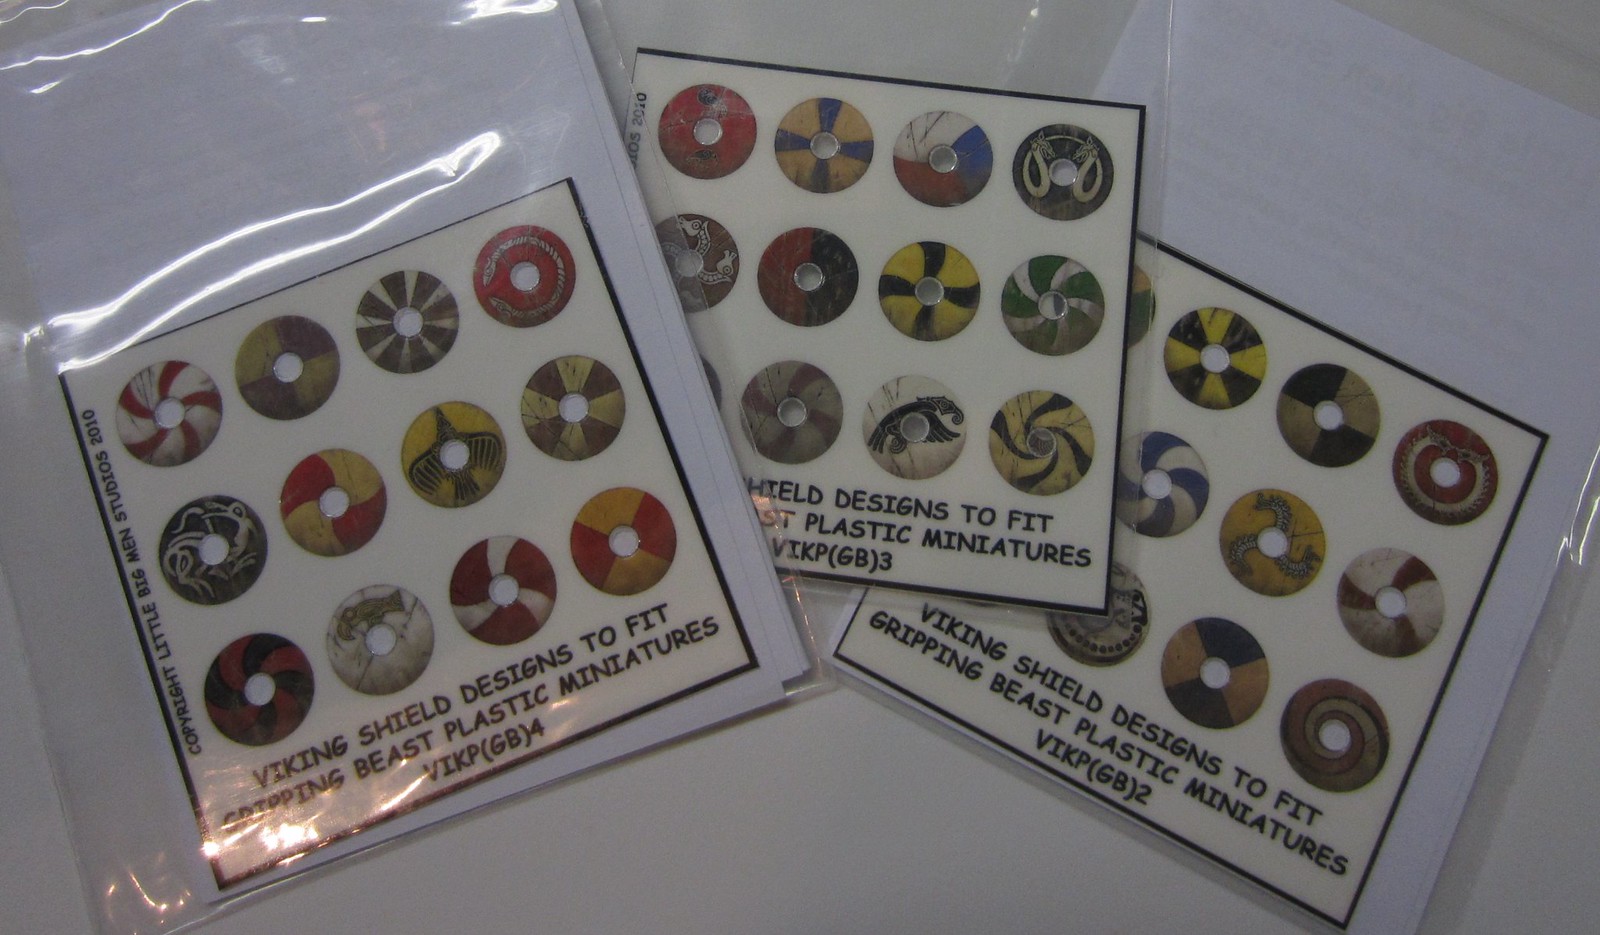
So, after basing, all that was left to finish the figures was adding the shields. I took the easy way out, and ordered some transfers from Little Big Men Studio. They are easy and quick to apply, and look great (much better than I could do by hand).
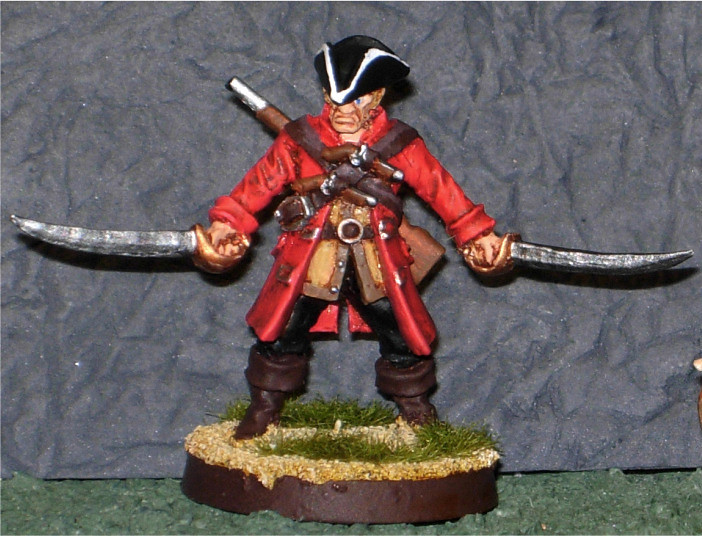
Once those were sorted, I just had to assemble my Viking raiders for a photo op!


Now on to the next 4 points of Vikings. Hopefully, these will not take me as long. There's a Saga event at the local game shop in late June, and that deadline gives me incentive to get the warband done.
'Til next time!


3 comments:
Awesome vikings!!!
I'll just follow you eheh
Great looking guys!
Thanks fort he encouragement guys! I am hard at work on the next several points for the warband and will post those when they are ready.
Post a Comment