Wow, has it really been almost three weeks since I started this blog? I think I may need to rethink my blogging philosophy. My initial conception for the blog was sort of a magazine, with different sections and topics, that I would publish every two weeks or so. But, the reality is that finding the time to put together that sort of volume is not easy. Therefore, I am going to change my approach and see if I can be better about updating the blog. I will try to post shorter, more frequent updates, and just basically share what is going on in my gaming life.
So, on that note, let's talk about Flames of War. Flames of War is a 15mm World War II miniatures game by Battlefront, and I had the chance to try it a couple of weekends ago at my gaming club. John set up a magnificent board for us to play on, and we went at it with an Eastern Front battle pitting Mike's Russians against Rob's Germans, John's Hungarians and Kyle's Italians. Since I do not have my own force (yet) I was given a column of Mike's tanks to lead.
Here are some images I made of the game:
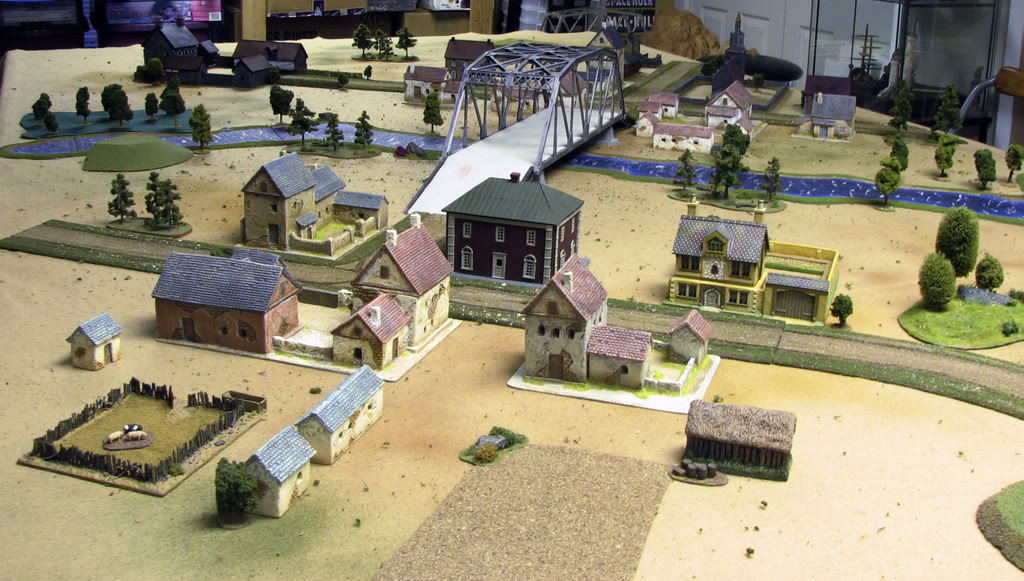

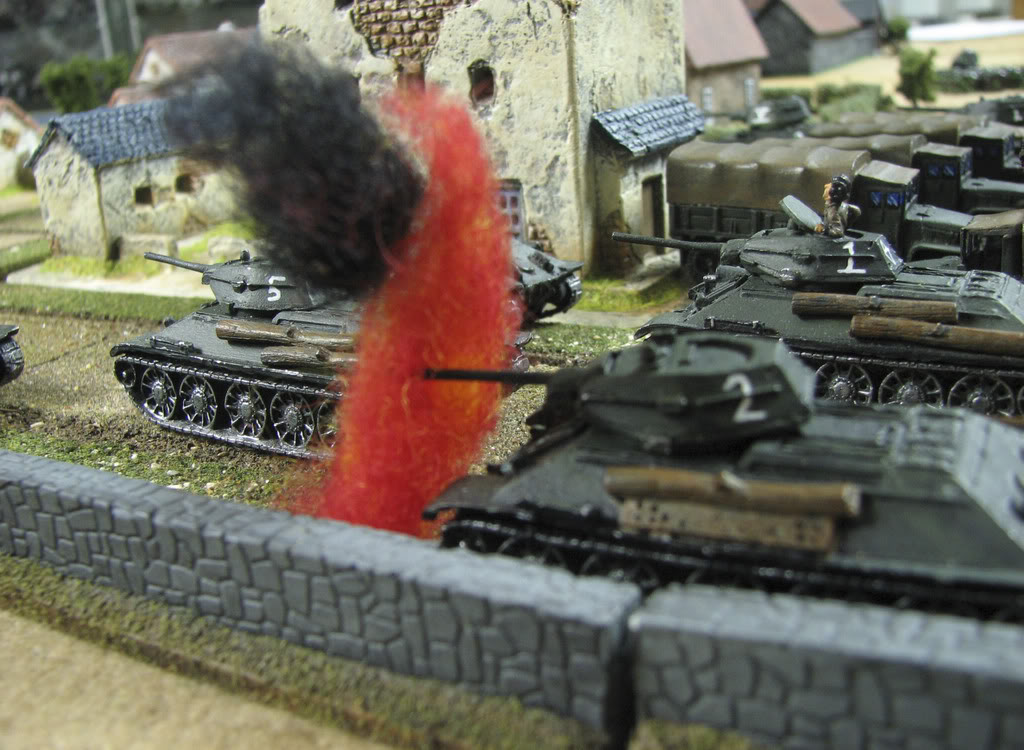
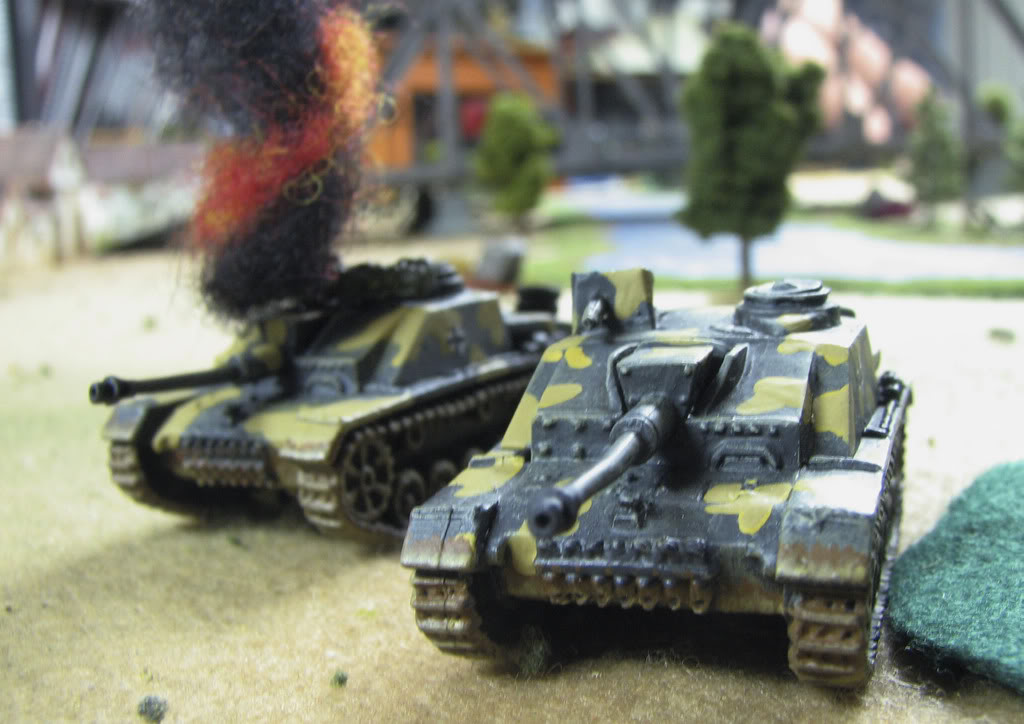
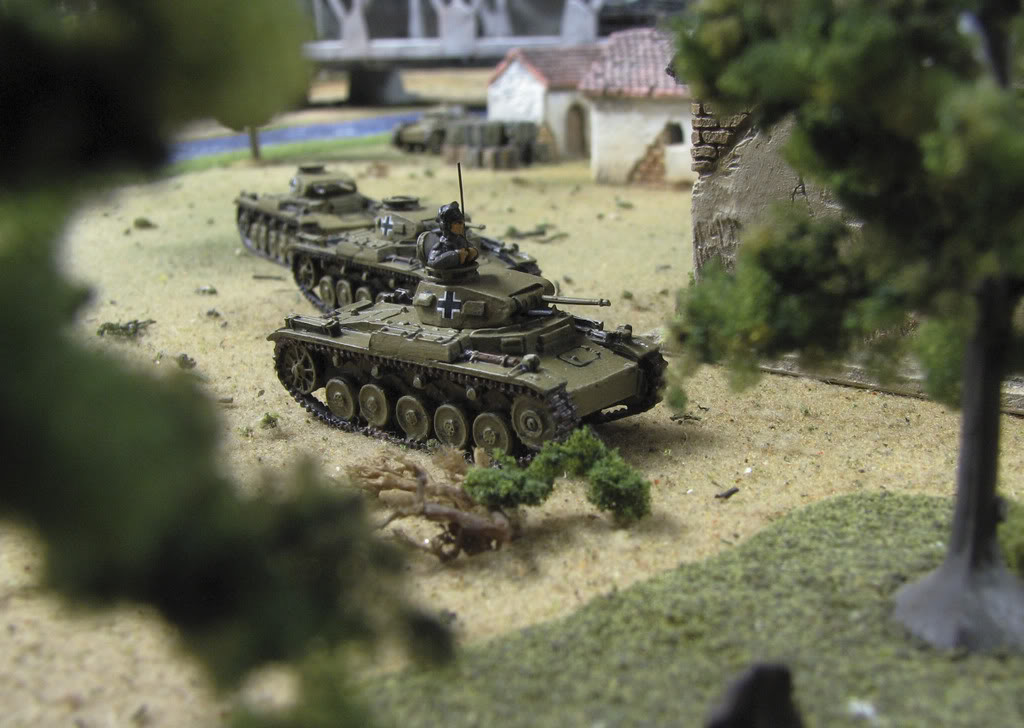
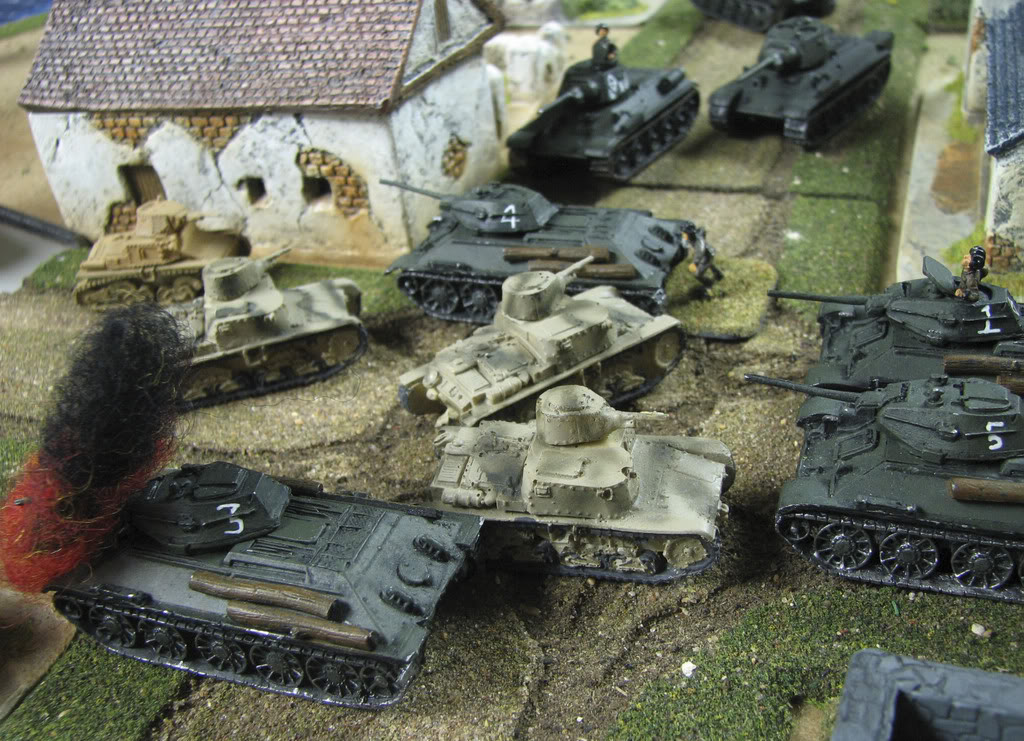
The entire gallery of images is available on my Photobucket site. The game was a complete blast - though the battle was lost for us when my tanks fled the field like scared little girls after taking 50% casualties. This is not an overly complex game, but it is not a simple game either. There are many nuances of fields of fire, firepower, saving rolls, artillery ranging in, etc. that I need to learn more about. But I enjoyed the game IMMENSELY and am looking forward to having another go at it. Thanks John, Mike, Rob and Kyle for an awesome game!
The club is planning to do a D-Day campaign, and we discussed the airborne glider landings at Pegasus Bridge. So, I decided to try my hand at some 15mm terrain building. The first thing I wanted to make was at least one of the gliders on the ground after landing its troops. I looked online for some paper/card models of a Horse glider, thinking that would be the quick and easy way to make one - simply scale the plans down to 15mm, print and assemble. I found a nice-looking kit at Fiddlers Green, so I purchased it, downsized it, printed it and started gluing. That is when I ran into a little trouble.
I printed the design on paper, rather than cardstock, thinking the card I had on hand would be too thick to get the nice rounded shape of the plane in such a small scale. But the paper was not nearly sturdy enough so I tried gluing a piece of card inside the wing to give it support. That seemed to work okay, but the glue soaked through the paper completely and made quite a mess of it. Rather than give up I went to Plan B.
I have never carved a plane from balso wood before, but adopting my usual "How hard can it be?" attitude, and being careful to cut AWAY from the body, I grabbed a sheet of balsa wood I had on hand and started carving out the wing and tail shapes. I glued several sheets of balsa together to get the thickness I wanted for the fuselage and started shaping that as well. In the images below you can see the original attempt at paper wings as well. I ended up using the paper plans as templates for the wing and tail to get the right shape, so all was not lost.
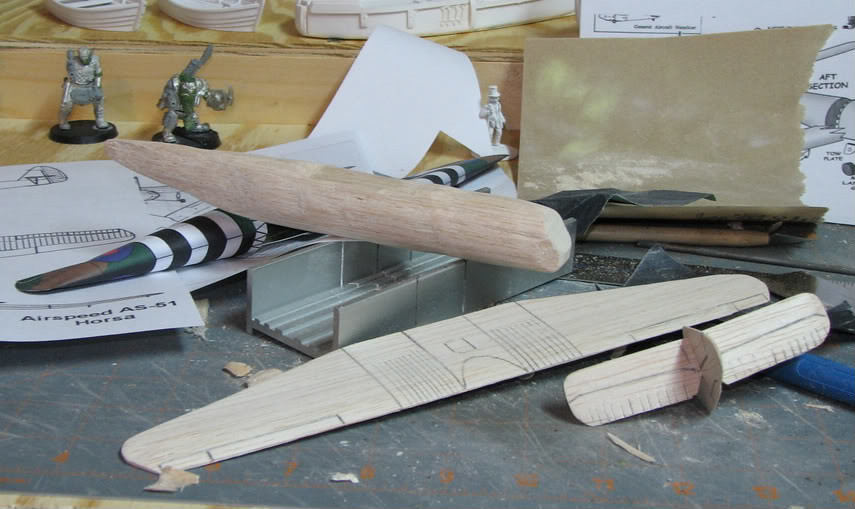
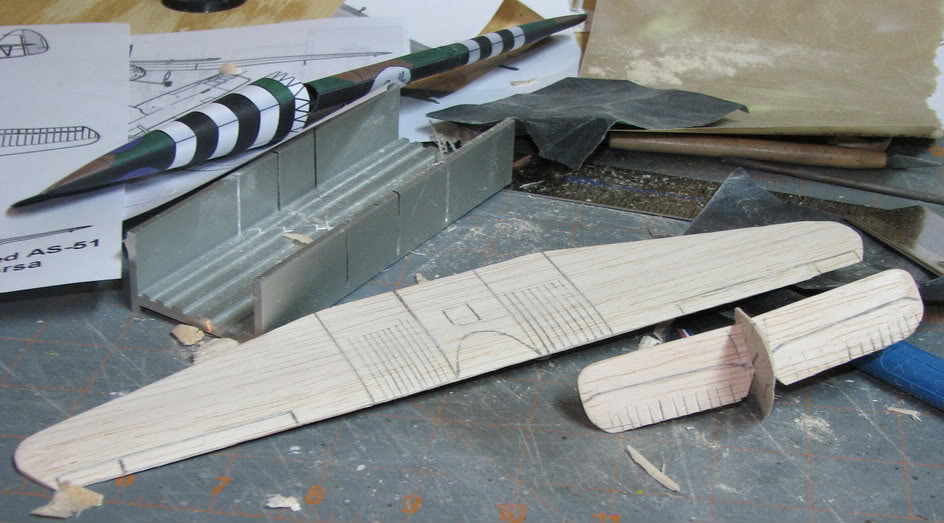
I will post more images when the model is complete, but I think it is coming along quite nicely, especially for a first effort. It is perfectly to scale, and looks like a Horsa glider. The fuselage does look a little "lumpy" at places, but I am chalking that up to stress damage caused by a hard landing!
Til' next time!


No comments:
Post a Comment