Monday, July 28, 2014

Saga - Battle of Brunanburh mega-battle!

This past Saturday was the Saga mega-battle at Giga-Bites cafe, organized by Dave Parente. It was a scenario based on the Battle of Brunanburh in 937 between an Anglo-Saxon (and allied) force and an invading Welsh and Norse-Gael army. The battle (and scenario) are described in the Hail Caesar rules from Warlord Games. As an aside, one of the things I love most about historical gaming is the history. This is a battle I knew nothing about prior to this game, and I enjoyed learning about what really happened, almost as much as playing the game itself.

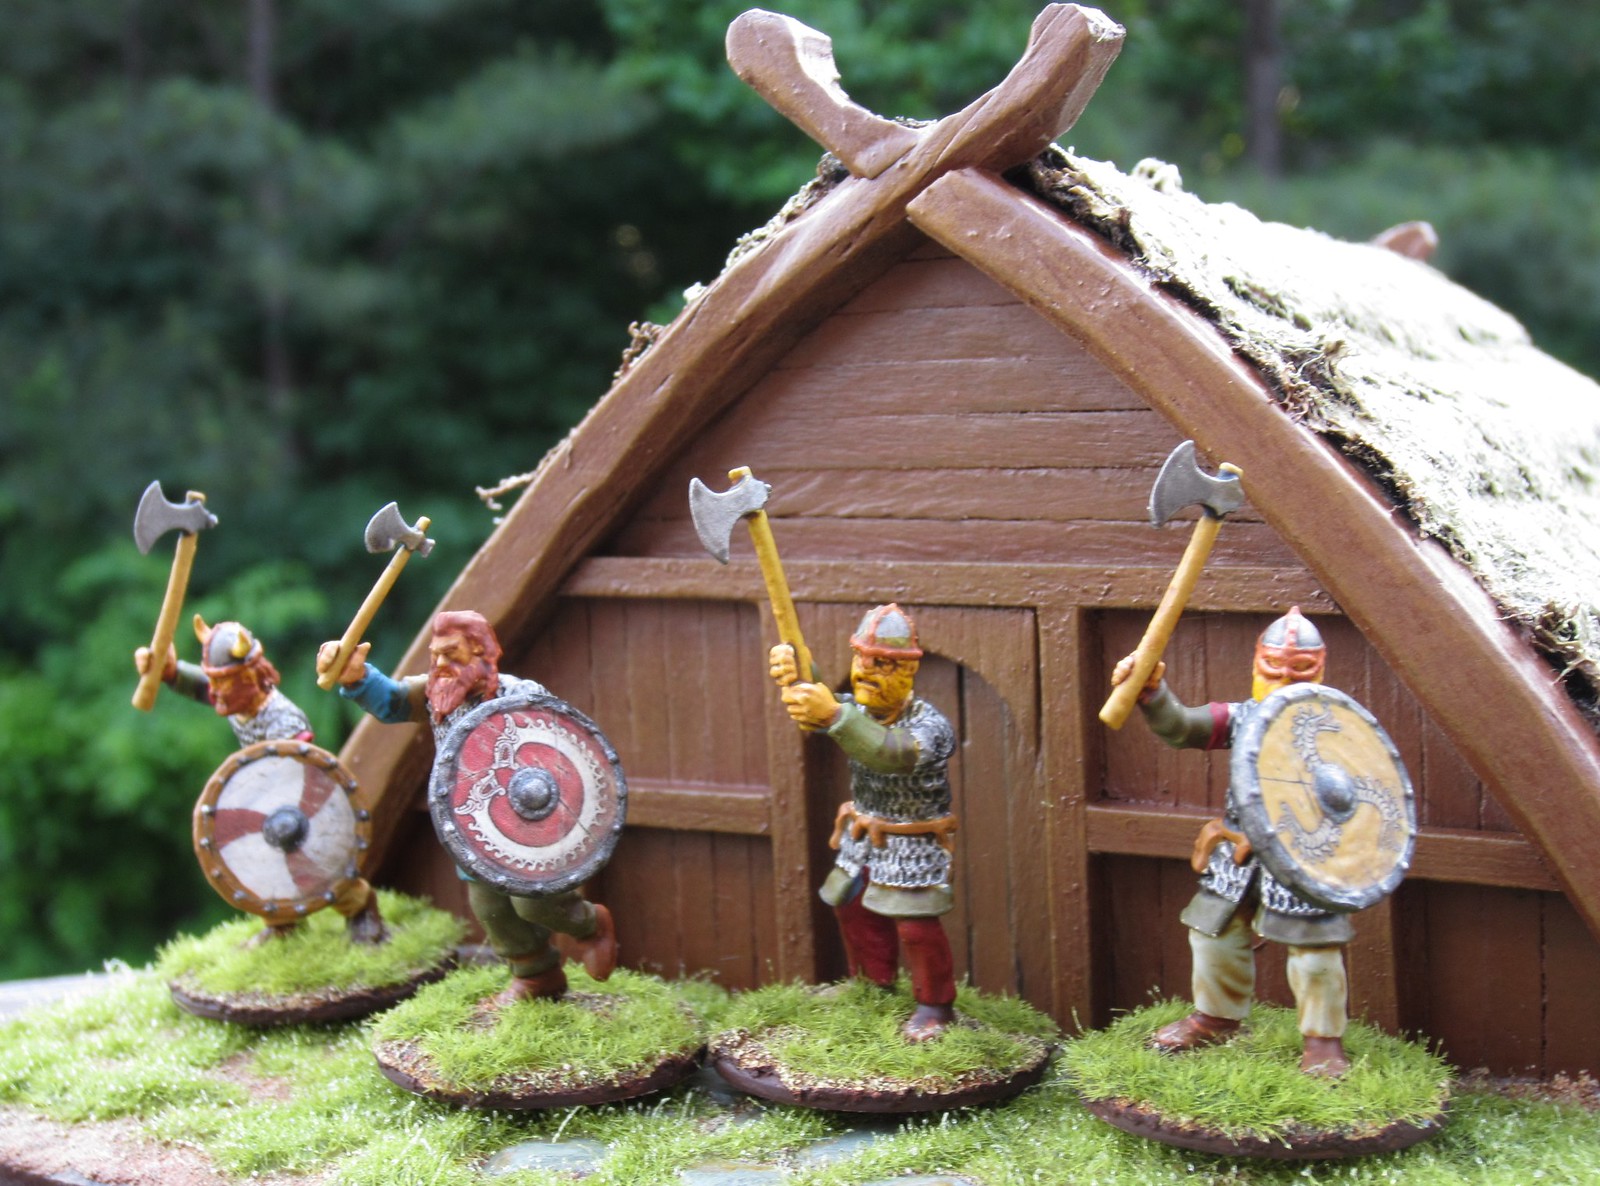
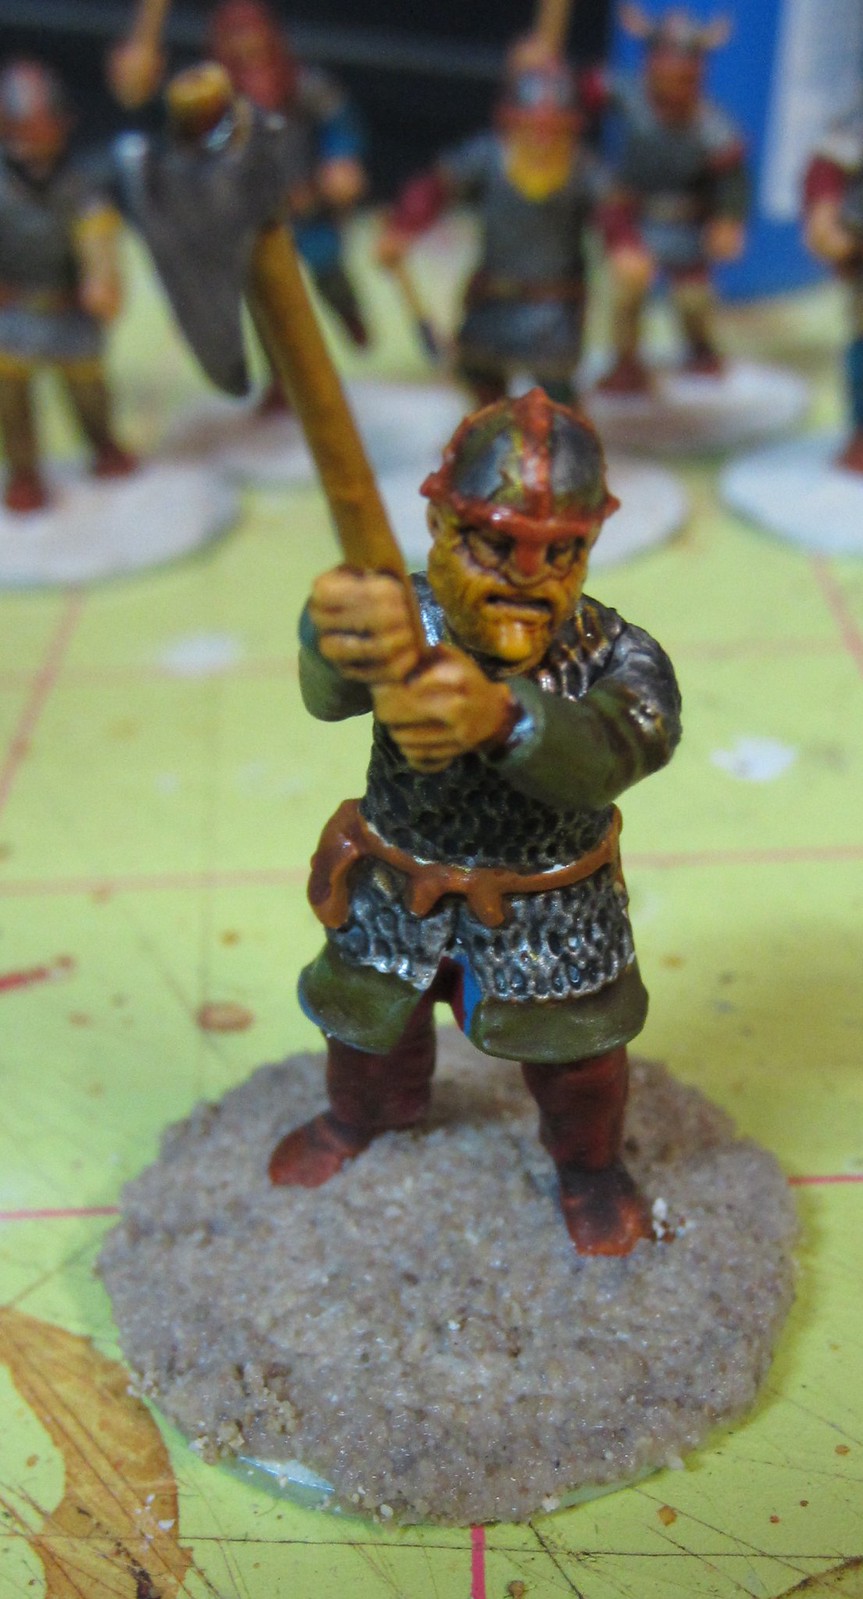
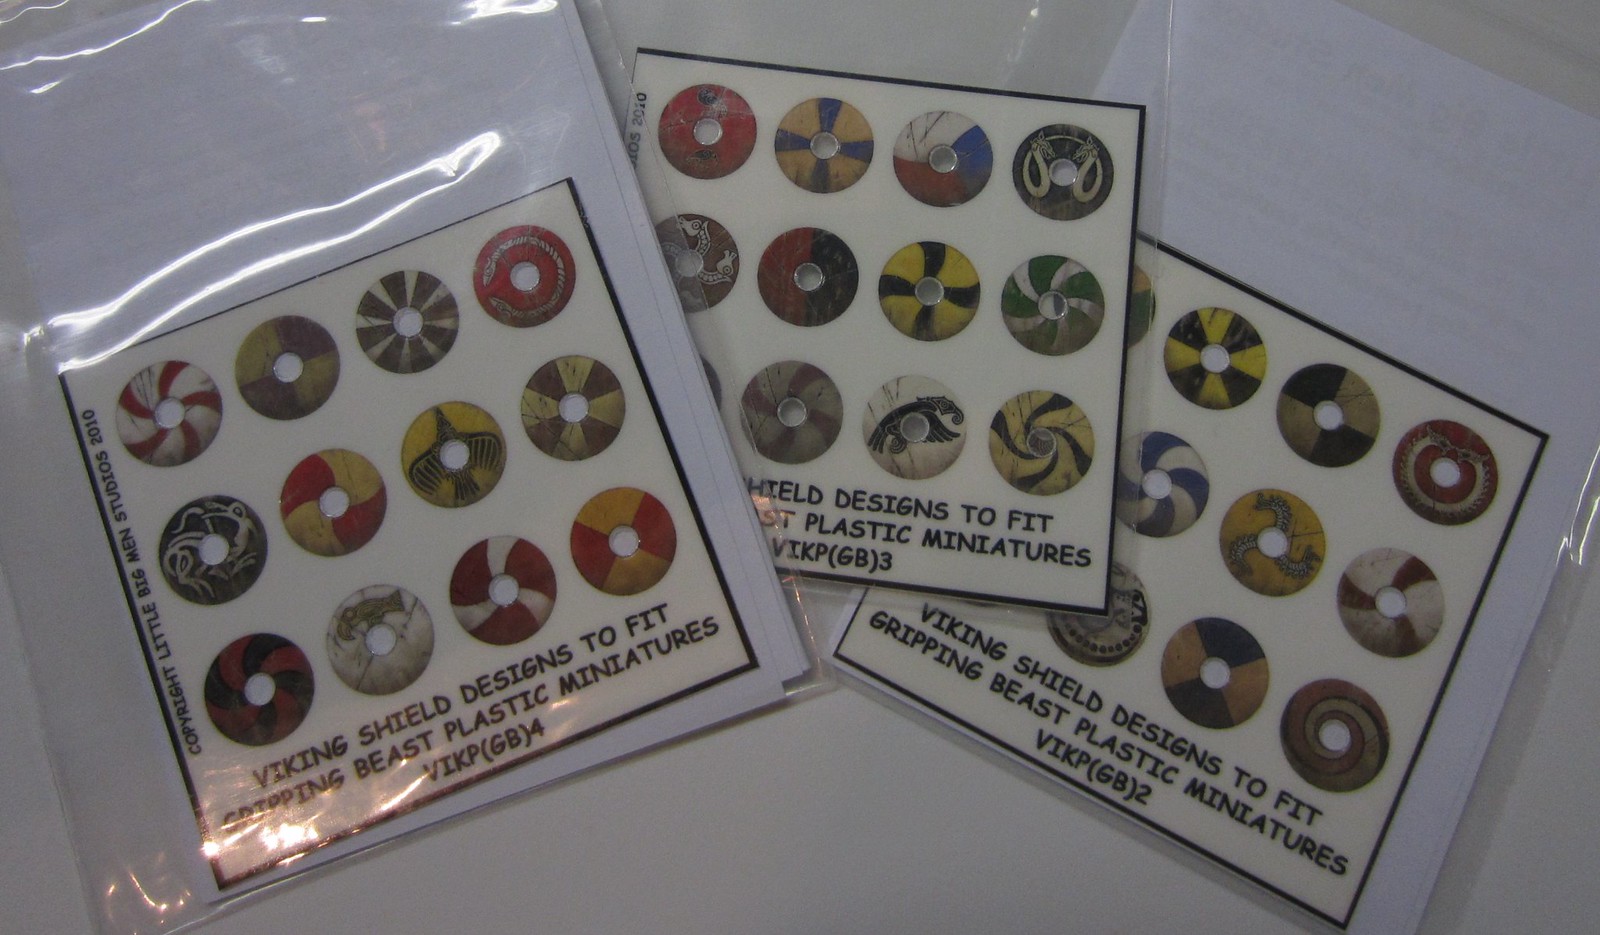
We (the Durand clan) had been looking forward to this for a while. I'd been able to get a couple more points completed for my Vikings, despite my arm injury. and Iya and Lucas both wanted to have a go with Saga and see what the excitement was about. (Iya had a practice game with Richard last weekend, but Lucas had never played before.)

In typical Durand family fashion, we went all in - turning up at Giga-bites in costume:

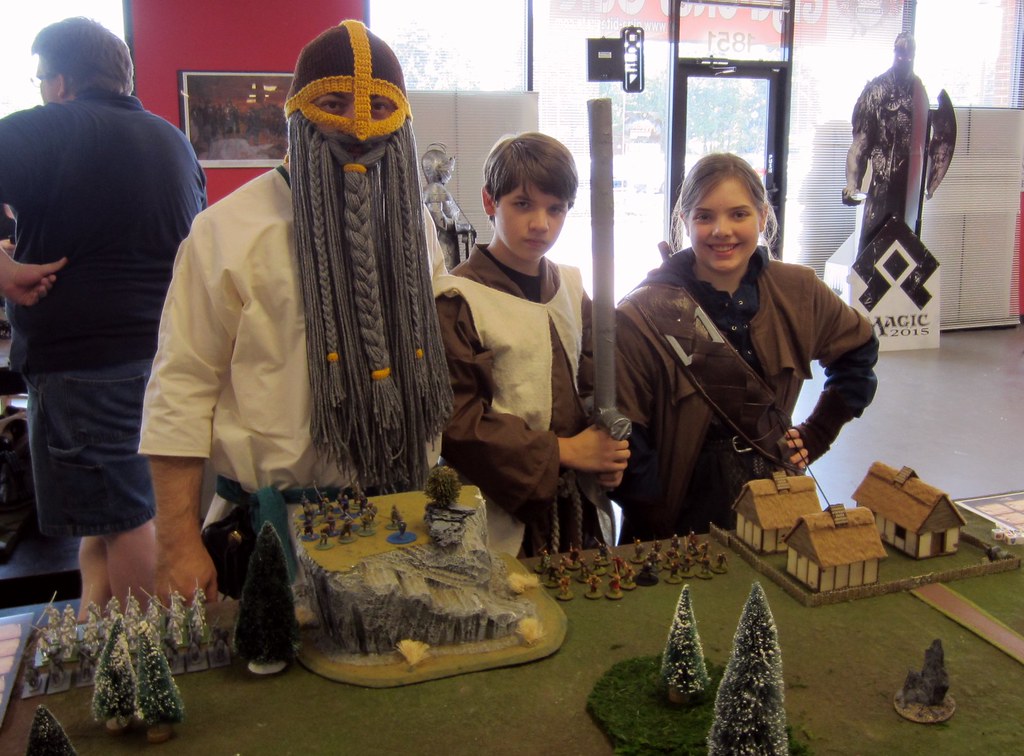
Papa Viking accompanied by Lucas and Iya.

My daughter crocheted the beard and helmet for me as a Christmas present a few years ago, and is the crafty genius behind all of our costumes. She just finished the tunic I am wearing on the morning of the big game. We did get some strange looks at the McDonald's where we ate after the game!

Dave sets up the field of battle!

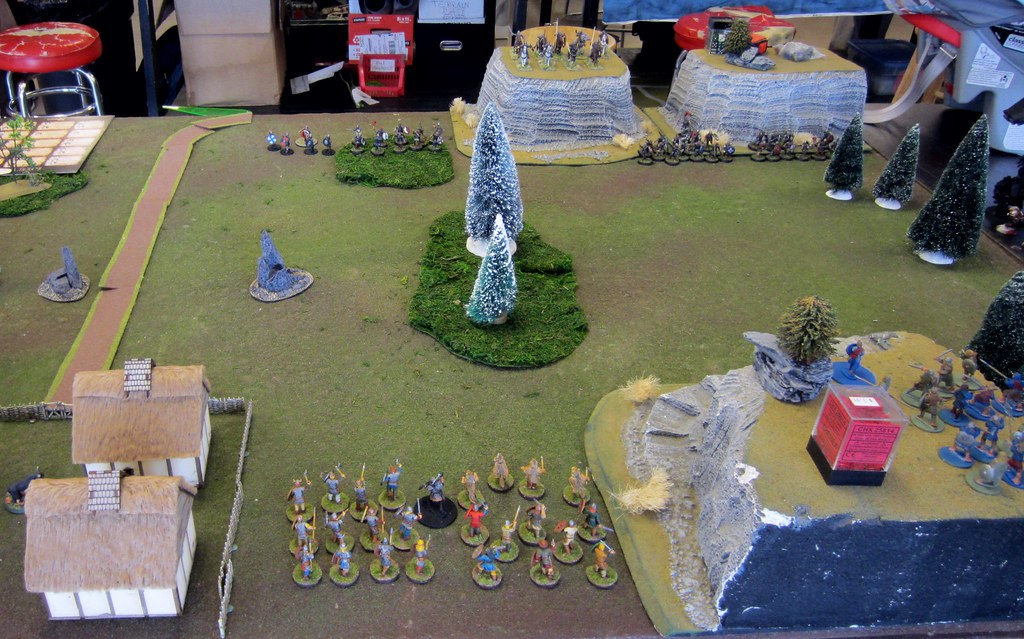
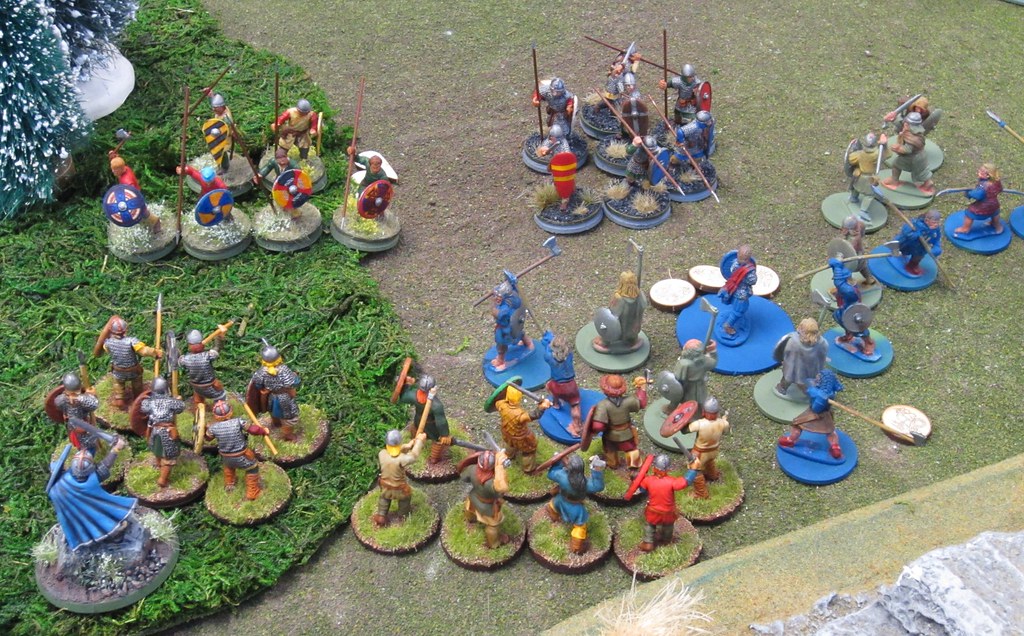
In all, seven brave souls showed up with their various Saga armies, ranging from fully painted to unpainted (as you will see in the photos), and divided up as follows:

Aethelstan's Defending Army:

  • Richard took the defenders' right flank, with Breton cavalry and a small mercenary Viking force:

Richard's Bretons and their warlord (right rear).

  • Brian held the center, with his Anglo-Danish. (Unfortunately my image of Brian's assembled host is blurry, but I have other "action shots" further down.)

  •  Sean commanded his Anglo-Saxons on the left.

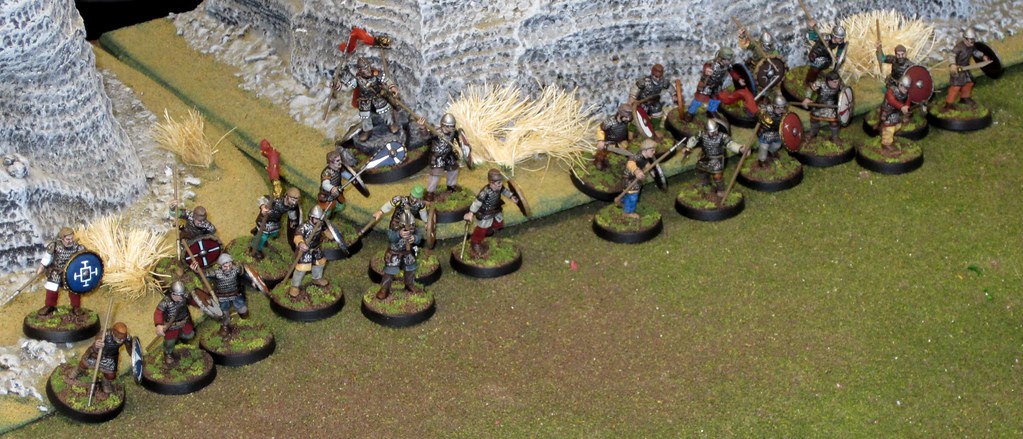
Sean's Anglo-Saxons, led by Aethelstan.


Total defending forces:
Breton mounted warlord
1 unit of 8 mounted hearthguard
Viking warlord
1 unit of 4 Hearthguard

Anglo-Danish warlord
2 units of 6 Hearthguard
1 unit of 8 warriors
Aethelstan
2 units of  12 warriors

Aethelstan prepares to defend his kingdom against the invaders.

Olaf Guthfrithson's Invaders:
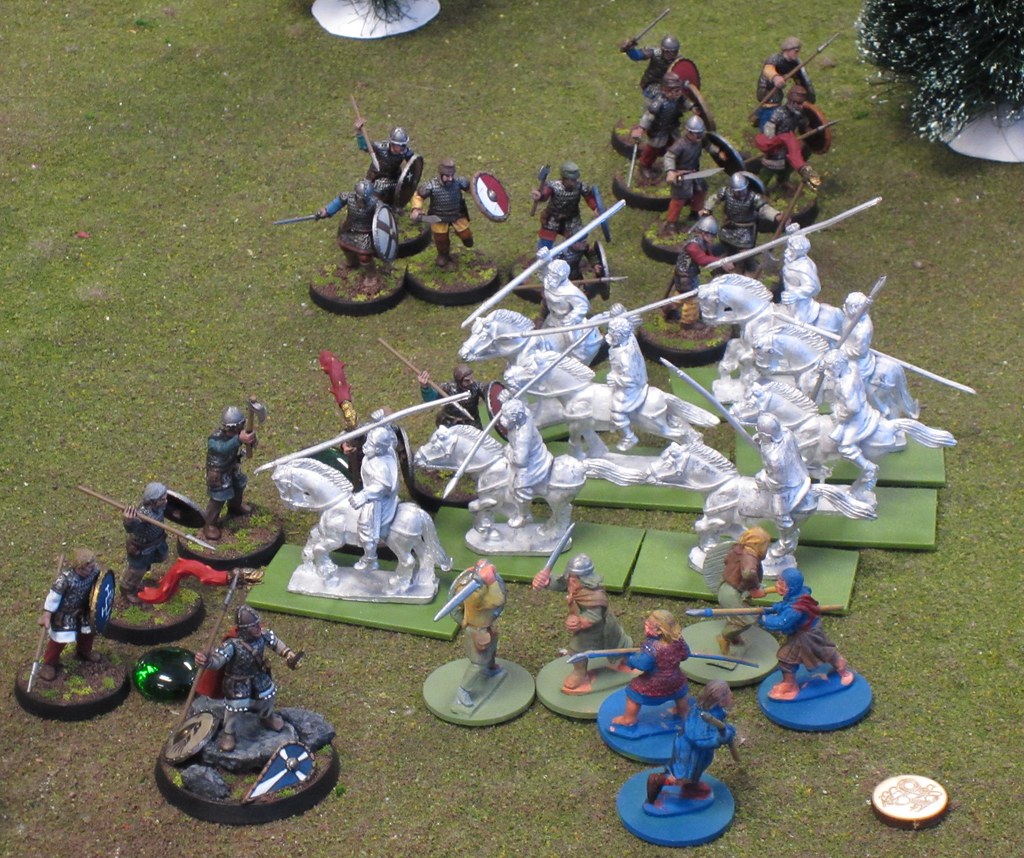
  • My daughter Iya took the Strathclyde Welsh cavalry on the right.
  • Dave commanded the center with his Norse-Gaels.
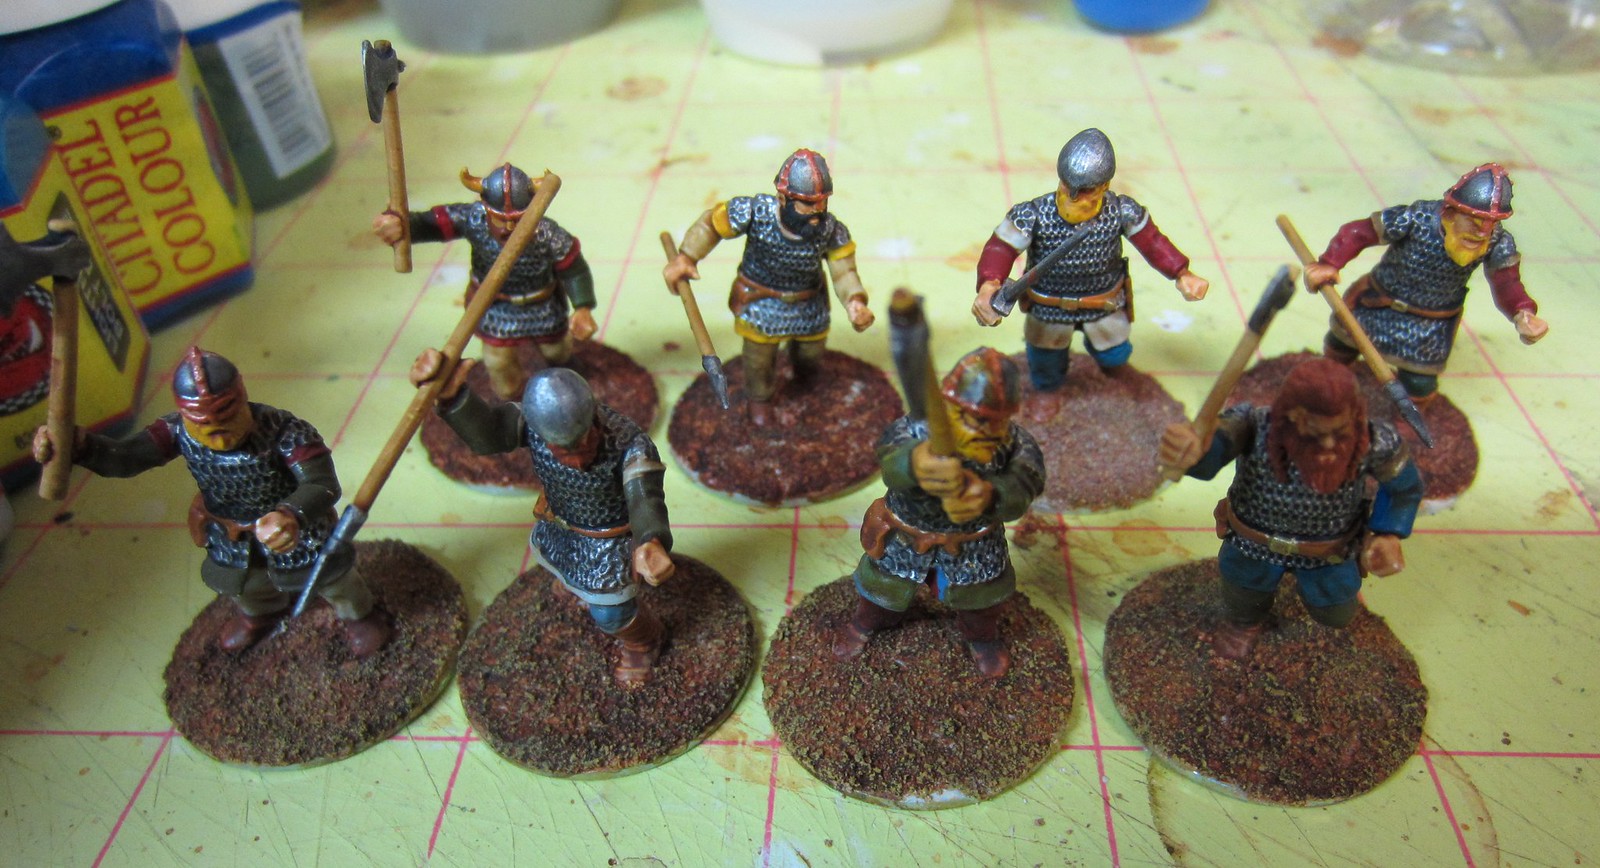
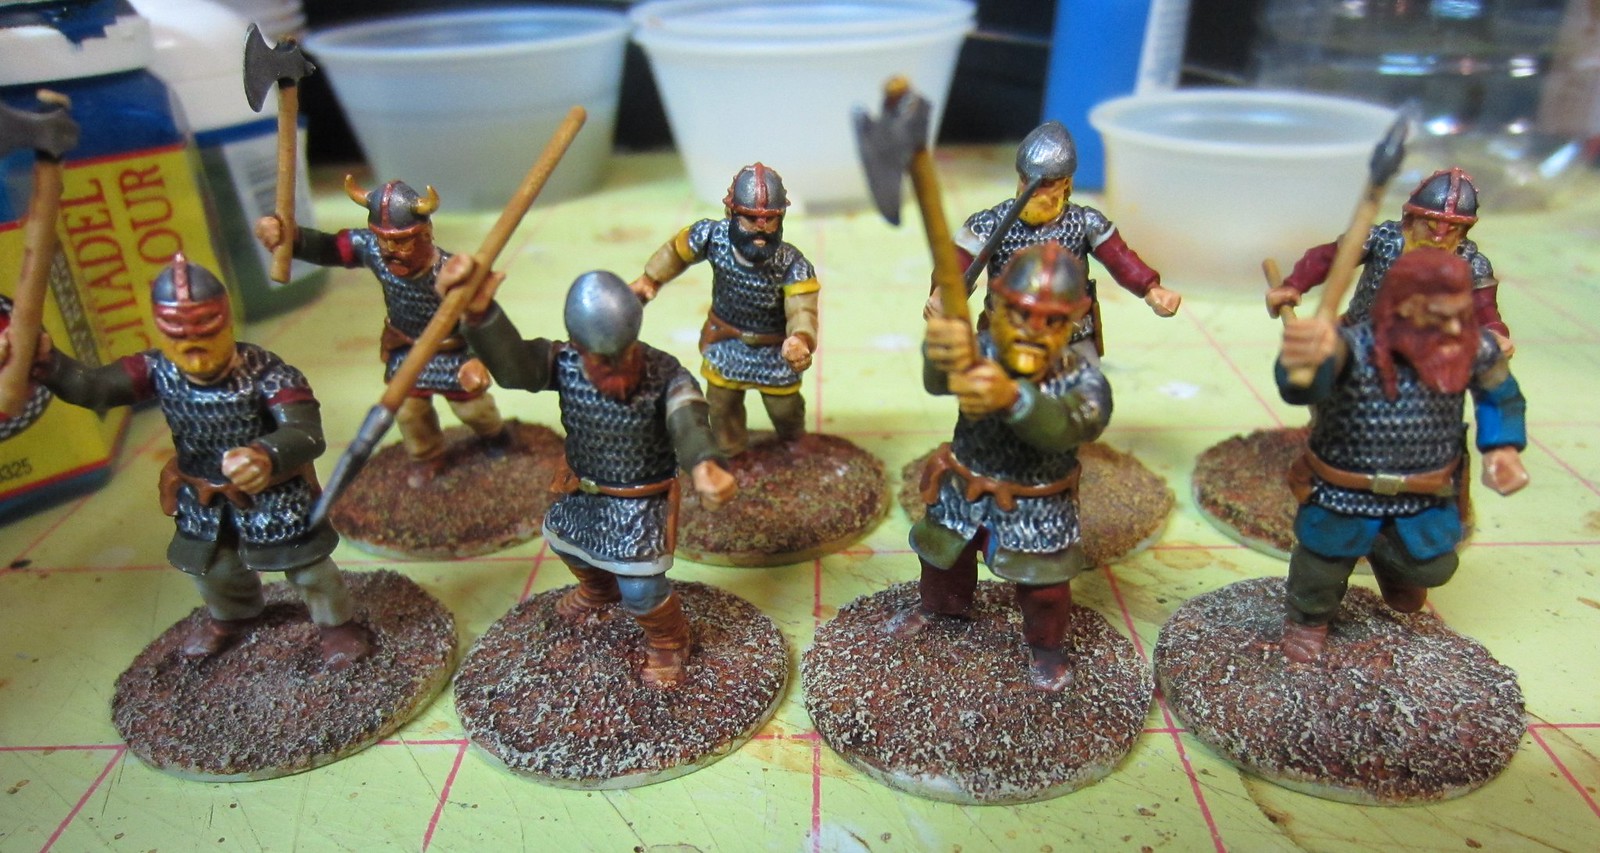
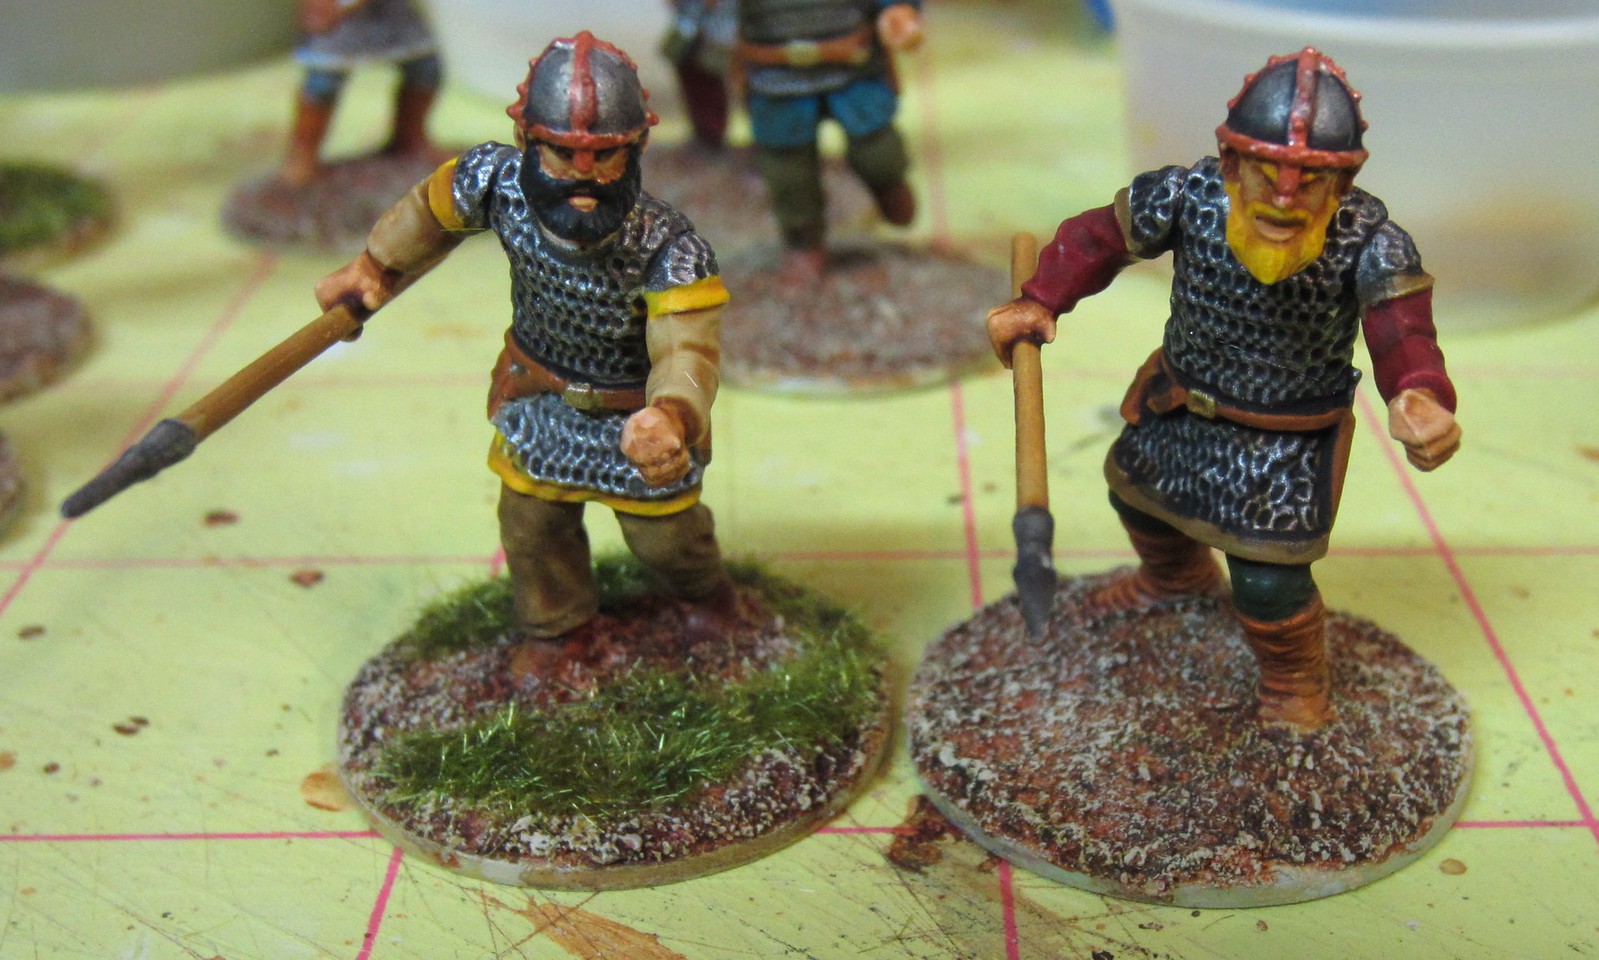
  • My son Lucas and I each had a force of Vikings on the left.

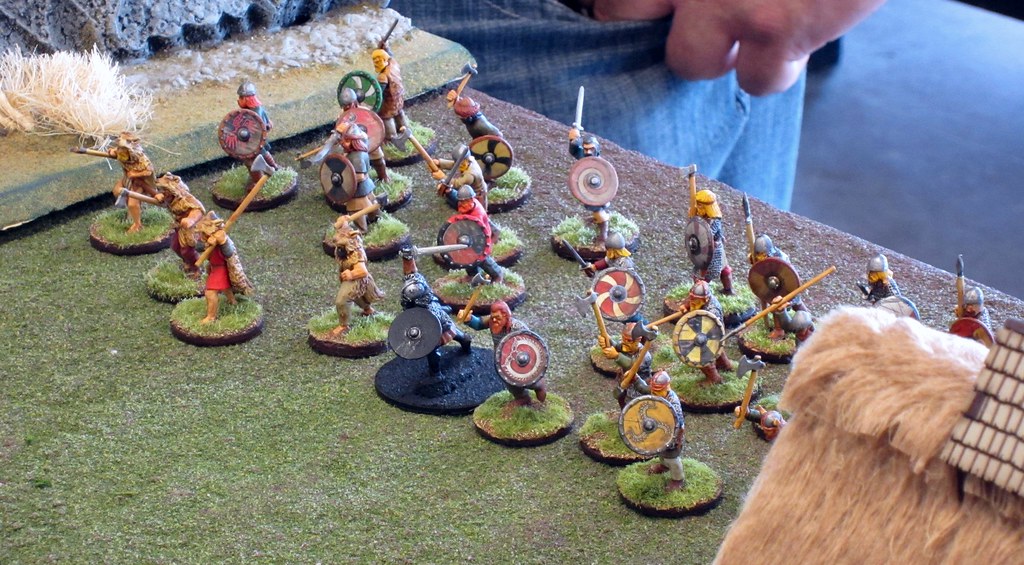
Lucas' and my Vikings.

Olaf's invaders:
Owen 1, King of Strathclyde
2 units of 4 mounted Hearthguard
2 units of 8 mounted warriors
Norse-Gael warlord
2 units of 8 warriors

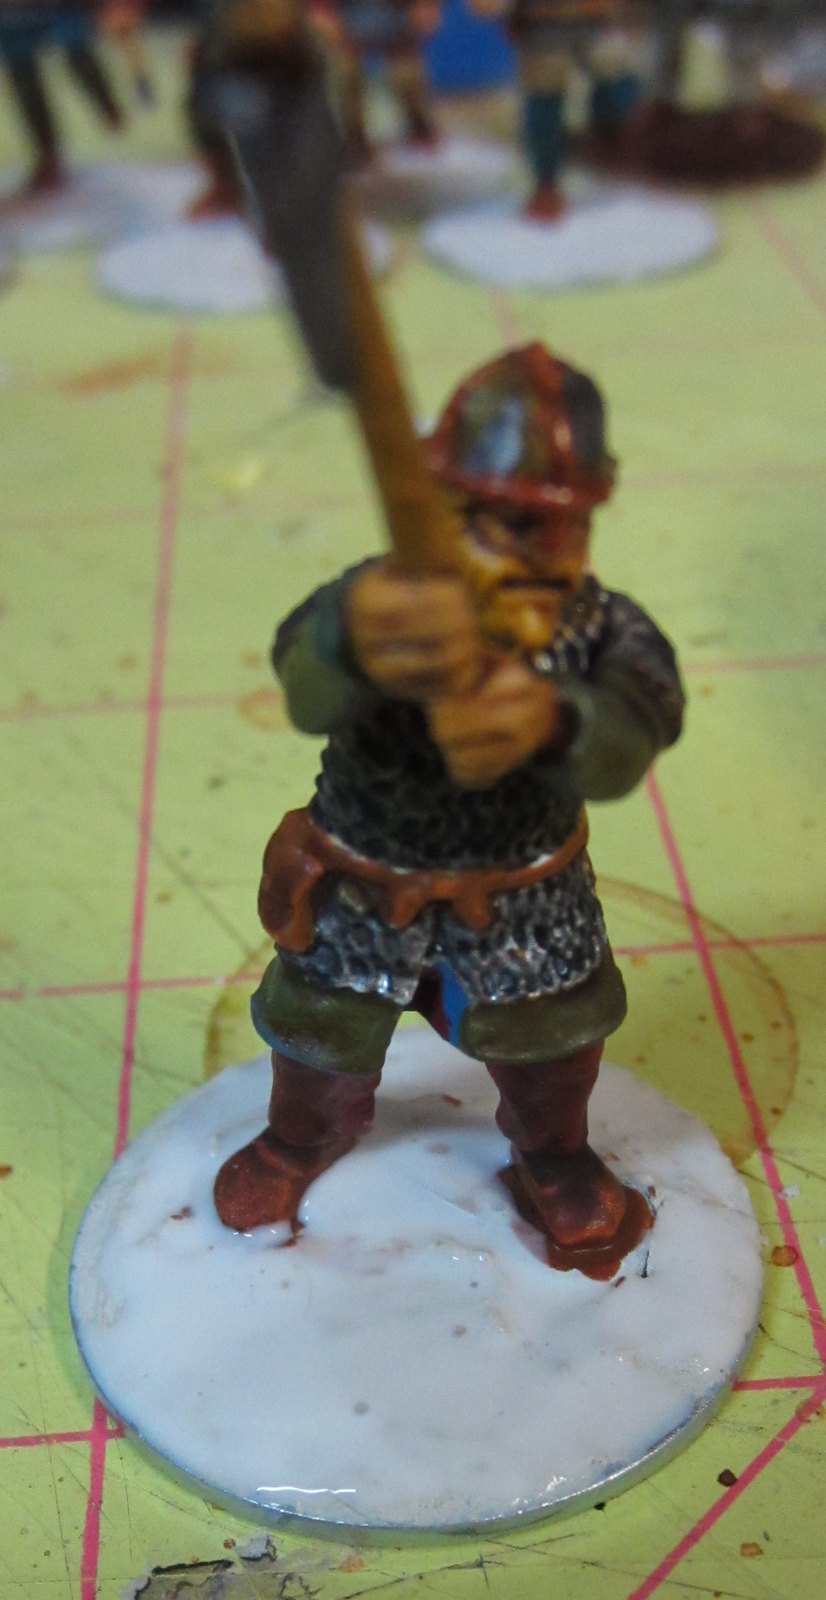
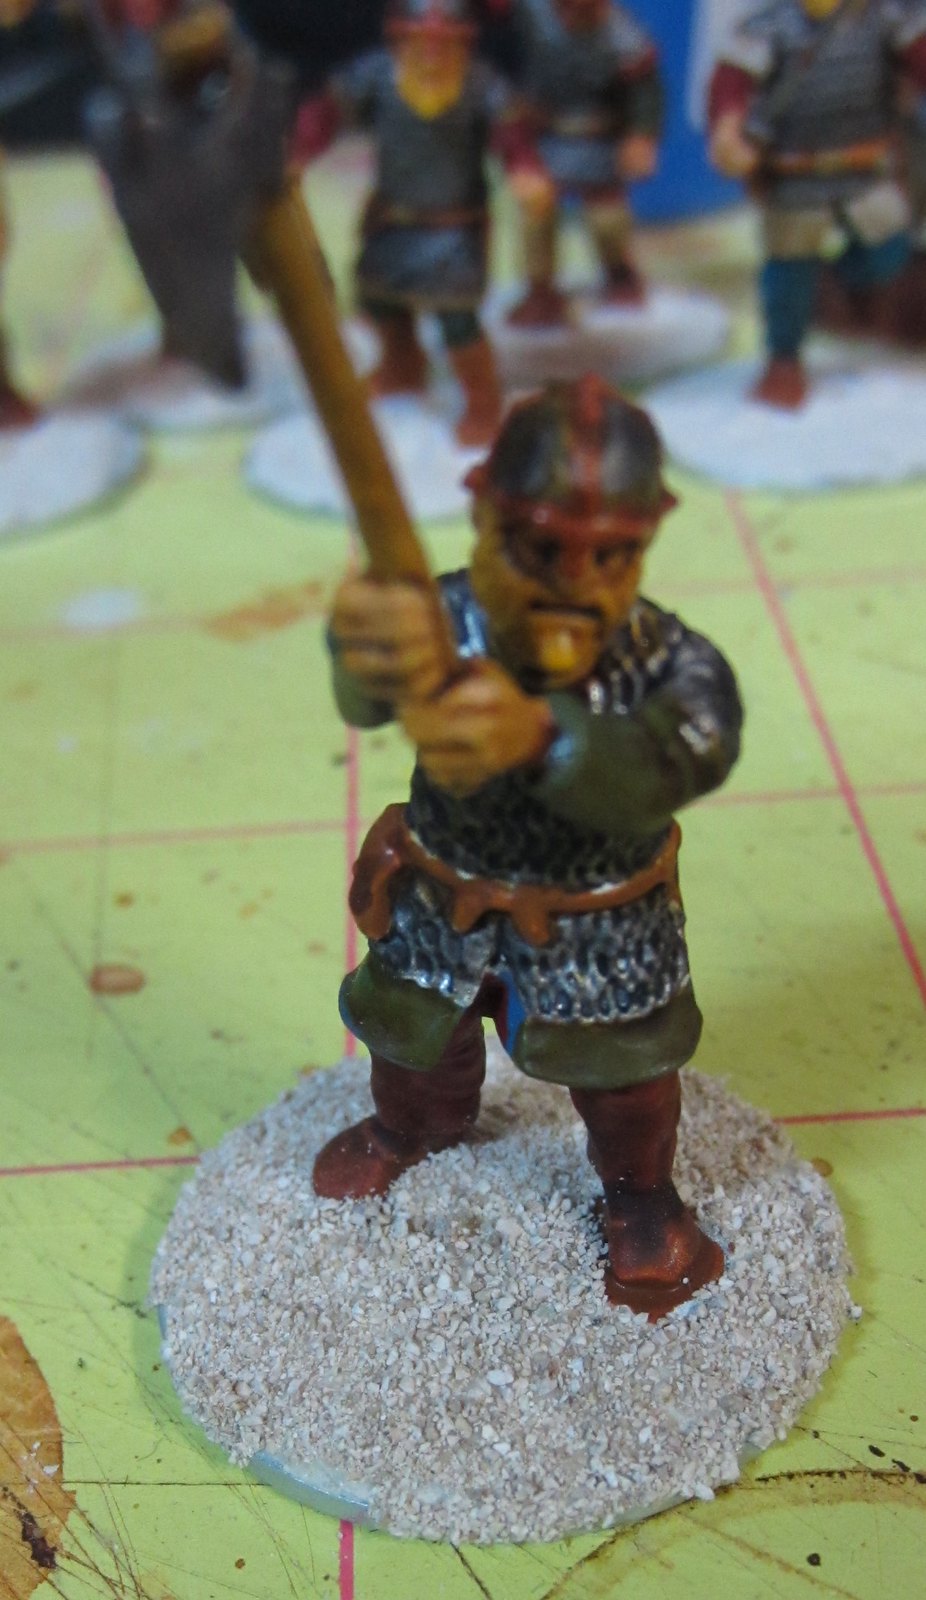
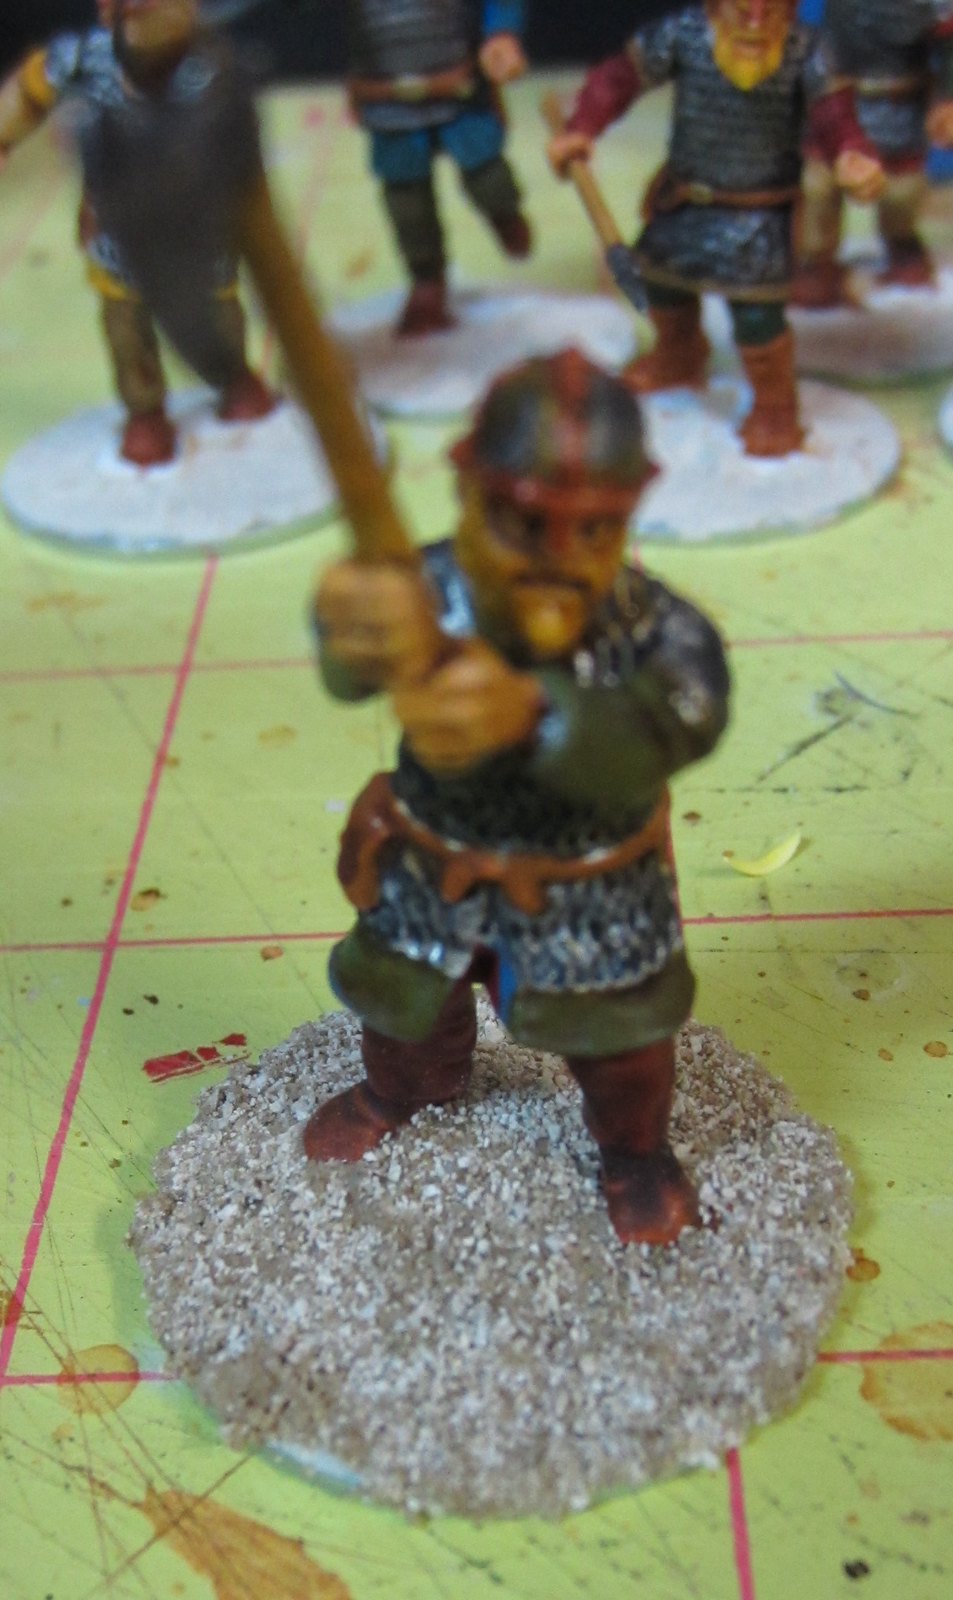
Viking warlord (Lucas)
1 unit of 6 Hearthguard
1 unit of 8 warriors

Viking warlord (Henry)
1 unit of 4 bersekrers
1 unit of 6 Hearthguard

The left flank of the invading force.

We chose to use alternating activations, rolling for initiative and then proceeding in order, alternating between the assaulting and defending forces.

The first couple of turns were spent maneuvering, with some rather ineffective javelin-throwing, as the various warlords moved their forces into position.

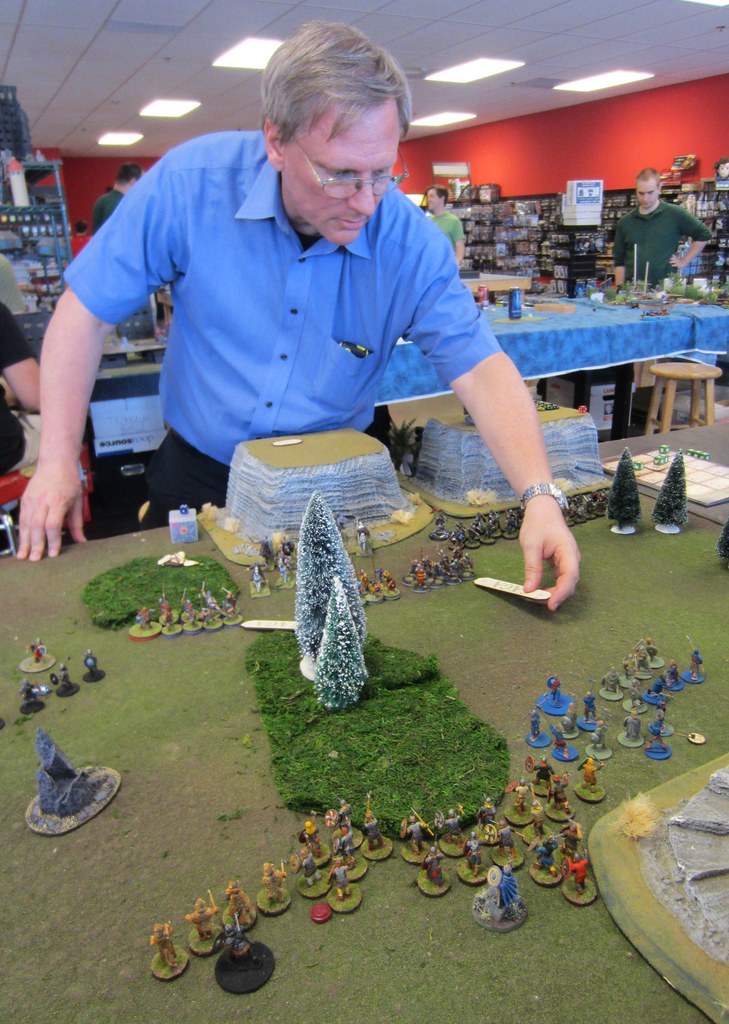
Brian measures the advance of his Anglo-Danes.

Iya measures her cavalry advance under Dave's watchful gaze.

Vikings charge!

Anglo-Danes (top) advance into the center.

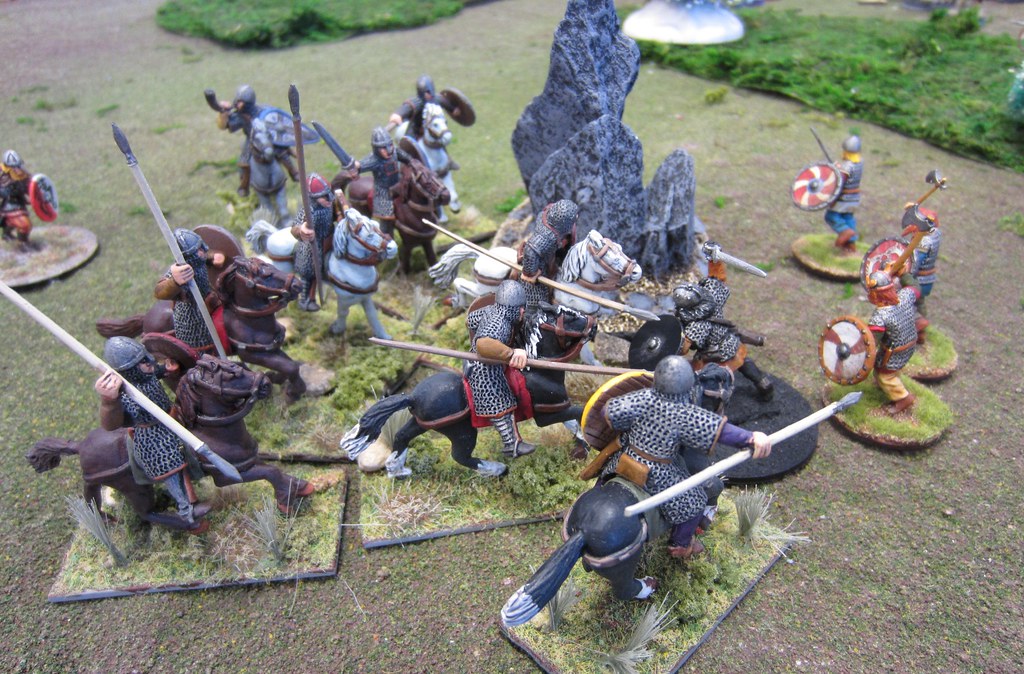
Following the first few turns of maneuvering, the battle devolved into charge and counter-charge, especially in the center as units were sent into the meatgrinder of combat.
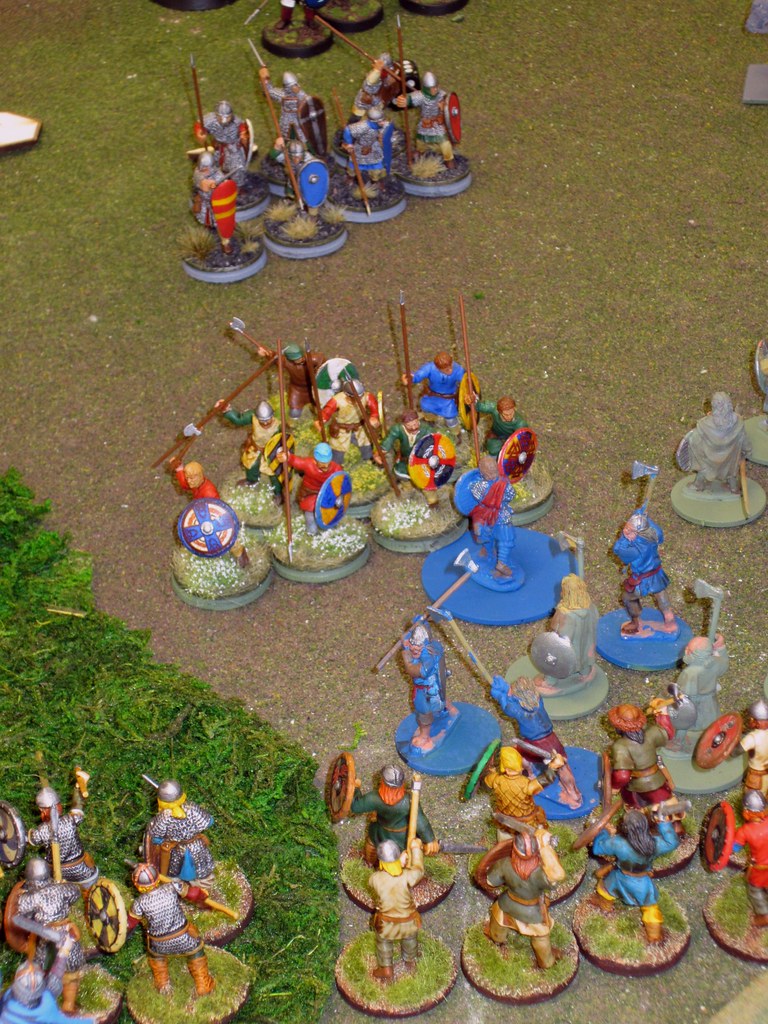
Battle is joined as the Anglo-Danes attack the Norse-Gael.

Lucas' Vikings attack (and eliminate) a unit of Anglo-Dane warriors (bottom).

Sean rolls attack dice against Iya's mounted Welsh.

Iya's Welsh cavalry charges the Angl0-Saxons in the center.

Facing the enemy across the field of battle.

Lucas' Vikings hold the center after killing the Anglo-Danish warlord.

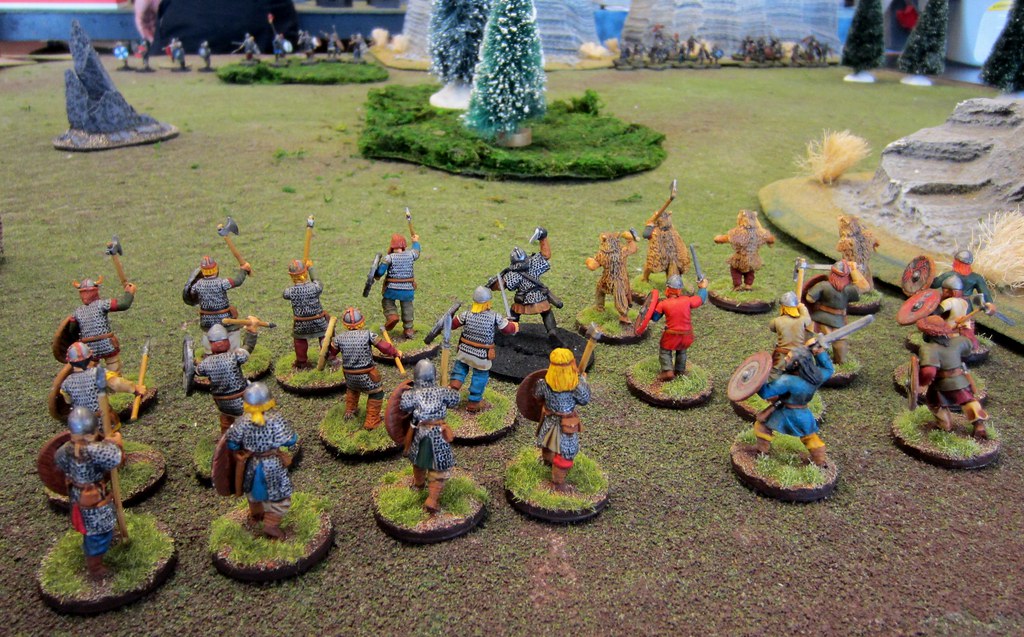
On the left flank, my Berserkers charged the traitorous Vikings facing them, managing to wipe out the enemy unit, but being destroyed in turn. The Bretons charged my surviving Viking warlord, and while they did not kill him, they managed to isolate him by killing off some of his remaining Hearthguard. On his turn, he bravely charged the enemy Viking leader, only to be cut down. (Proving the argument that painted figures roll better dice!)

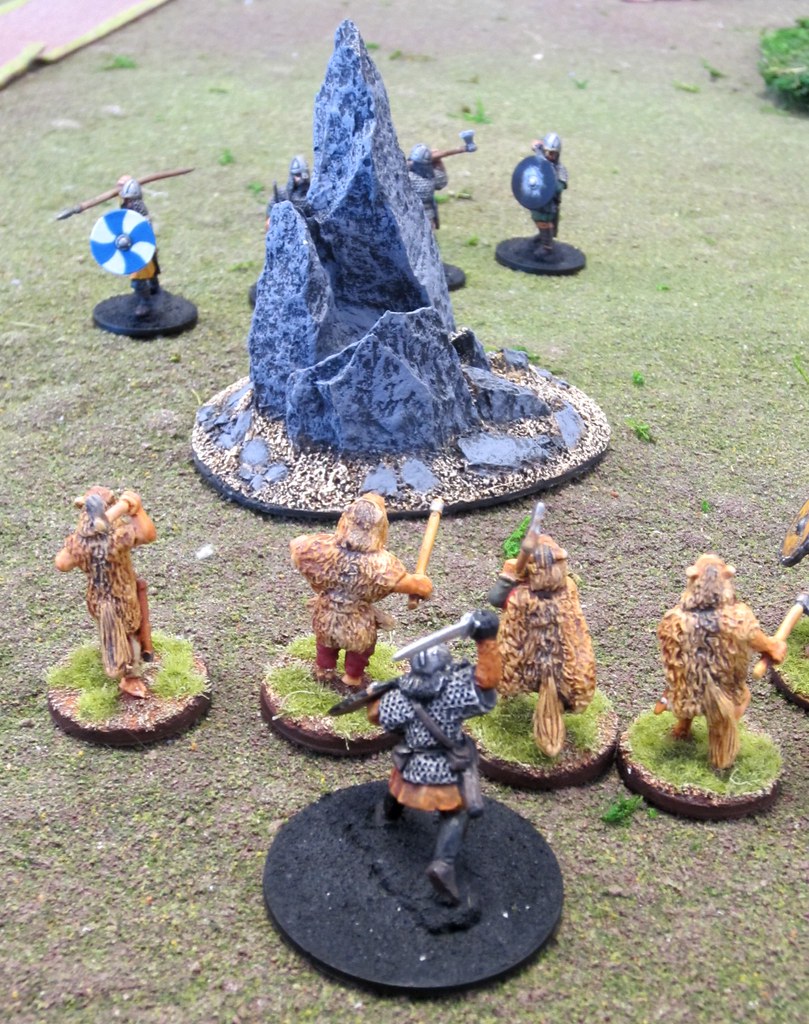
Berserkers advance ahead of their warlord.

Bretons swarm my Viking warlord.

Death of a warlord!

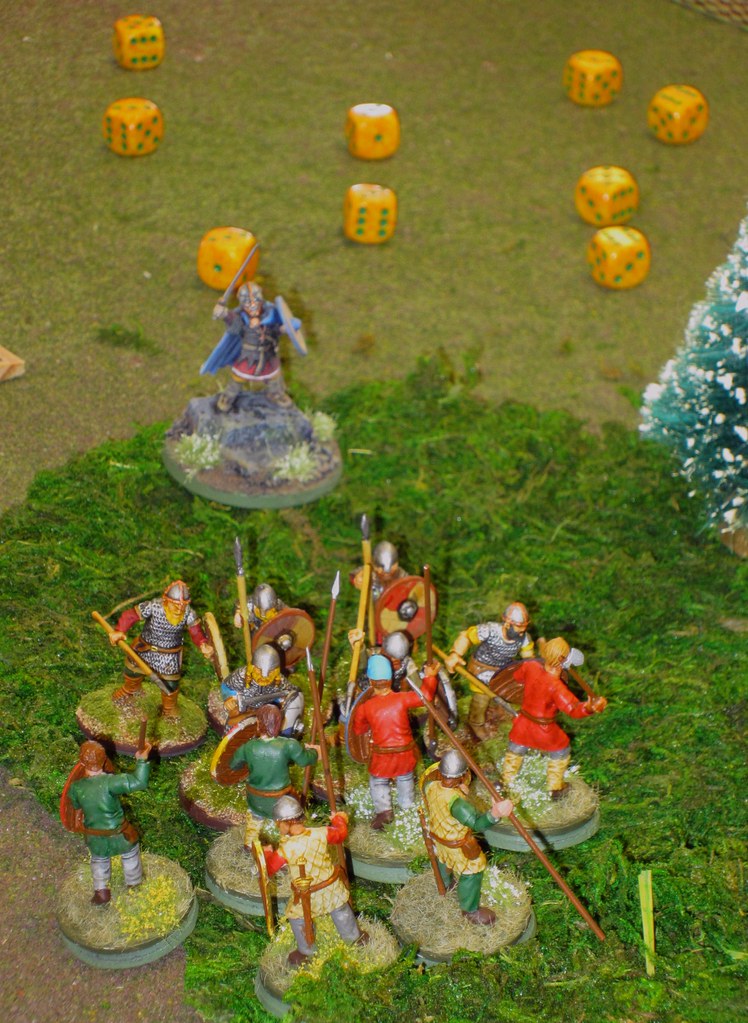
In the end, after all the bloodshed, the victory went to the defenders! We tallied up victory points for enemy troops killed, and the final result was 43 pts for the victors, and 38 pts for the invaders. As the sun set on a very bloody battlefield, Aethelstan's forces held the field as the invaders retreated to lick their wounds and plot revenge!

Observations: One thing that I did not like, is that what is in my opinion one of Saga's strengths was somewhat missing in the multi-player dynamic. Saga's activation mechanic encourages, I'd almost say requires, players to interrupt their opponent's actions to prevent or modify their actions. Being engaged throughout the whole turn, rather than being able to "tune out" during your opponent's activations as in many I-go-you-go games, is one of Saga's best features. In the multi-player game, when the opposing general on the other side of the battle was moving, there was a sense of not being connected to the battle. Also, the turns (with seven players commanding eight forces) seemed to run a little long. I would love to try this again with just four players (two per side) to see if fewer player makes the game more manageable, and more interactive, like the two-player games are.

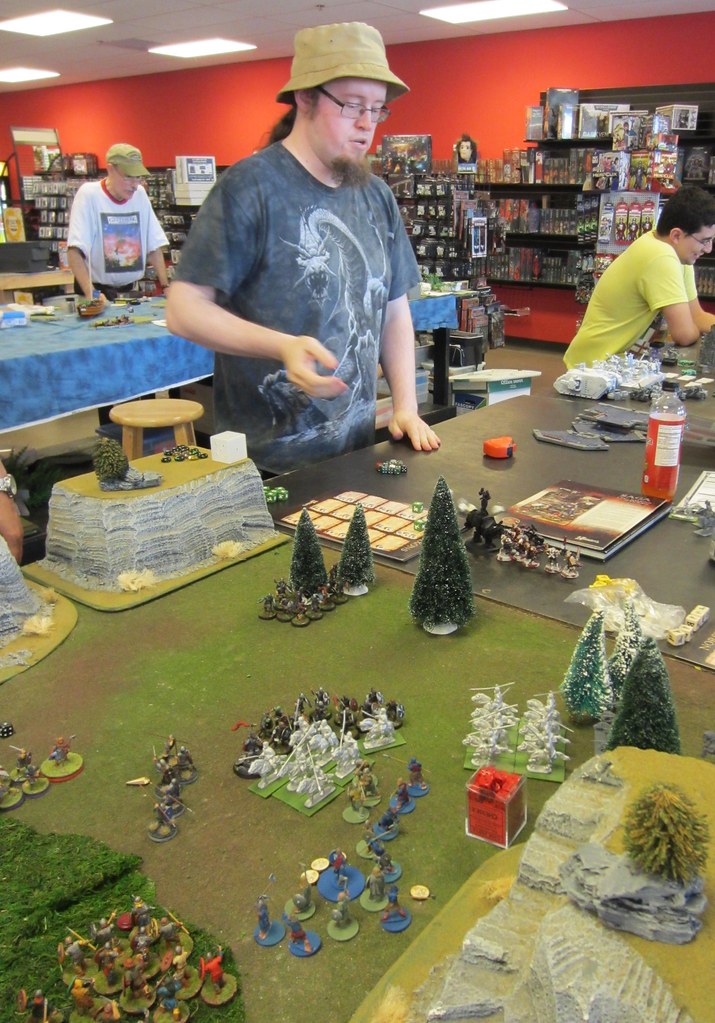
Having said that, I feel the game was a huge success! Despite the fact that I was the only general to have his troops wiped out to the man (!), I had a blast. The sportsmanship and fellowship exhibited by Dave, Richard, Brian and Sean is second to none, and Giga-bites has a terrific group of Saga gamers developing

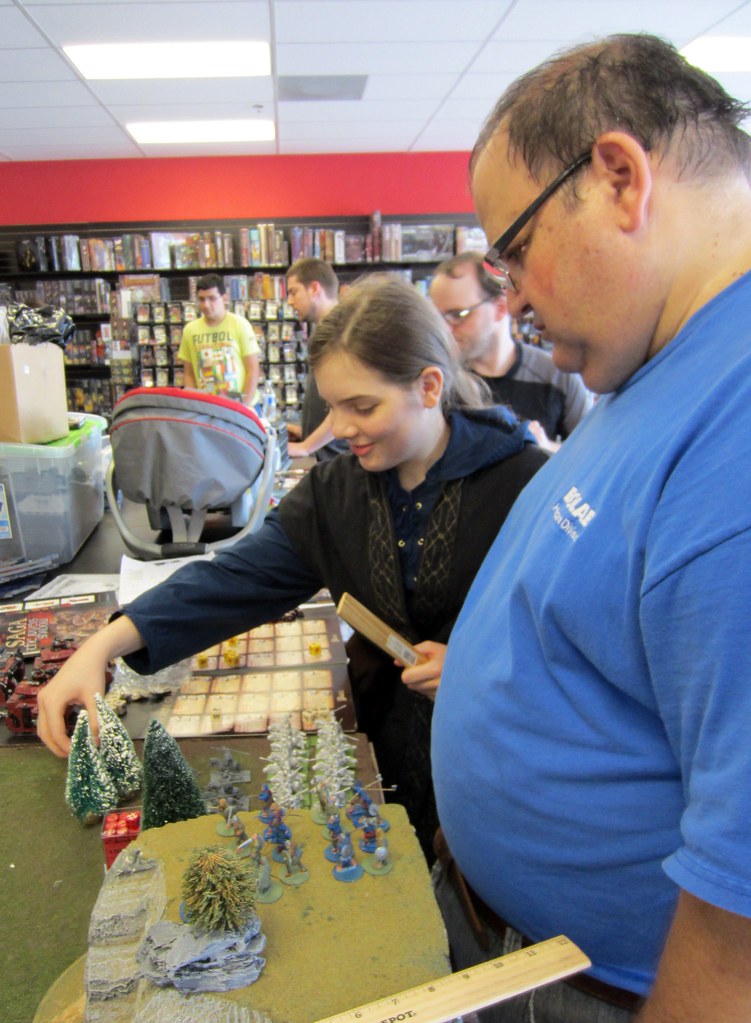
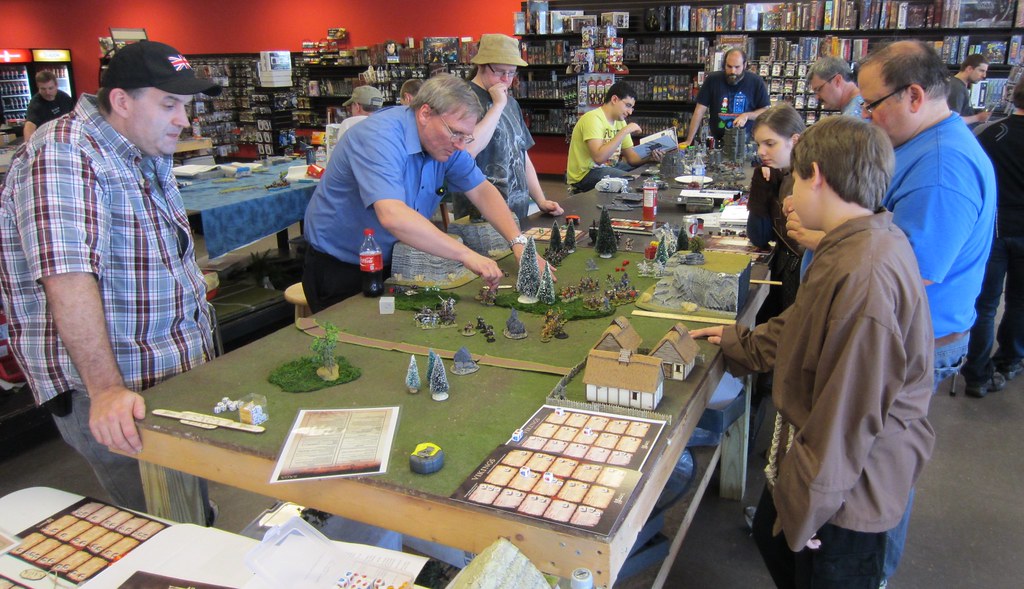
Concentrated gamers.

In fact, Richard is organizing a Saga tournament for some time in September, and I am eagerly looking forward to that.

Iya and Lucas both enjoyed themselves tremendously, and we spent much of the ride home discussing what faction each of them would like to collect and play for Saga. Two new converts to the cause! :)

Next time, I'll share some photos of what I have been able to accomplish, in terms of painting some points for my Vikings, while only having one good arm. And hopefully, now that the brace is completely off my pace will accelerate. My goal is to have all 8 points of vikings painted (I currently have five, with my warlord, 12 archers and 16 warriors left to go) by the time of Richard's tournament. I also want to have at least 6 points of a second warband painted (probably Welsh or Anglo-Saxon) for one of the kids to use.

Wednesday, May 28, 2014

Star Trek: Attack Wing - Tholian Web OP

I ran  the Star Trek:Attack Wing Tholian Web OP at Giga-Bites Cafe this past Saturday. It was great fun to see the players maneuver their fleets as the web closed in on them.

We had a good mix of fleets represented, with a couple of Borg fleets, a Romulan warbird fleet, and a pair of Federation fleets.

Here's the action:

Romulan warbirds close in on a Borg sphere backed up by fighters and a mine-dropper.


Federation starships bracket a Borg sphere prior to blasting it into atoms!

What to do, what to do?

Federation strike force.

Borg sphere!
 
Pair of Borg spheres prepare to engage the enemy!

The warbirds de-cloak to attack!


Good sportsmanship and good competition.

Concentration!

I hope that's an evade!

Measuring range.

Another Borg sphere about to bite the dust!

Dueling minefields (the disabled token is just to differentiate ownership).

Hmmm, I think you are just withing range!

Federation strike force moves into a cloaked minefield!

Good fellowship and competition among siblings.

Assigning a target lock.

Federation starships move against a Borg sphere.

That attack is gonna hurt - I think a Defiant class was killed on that roll.

Two Borg spheres vs. a sphere and a Valdore.

Romulan warbirds track down a Borg sphere that has strayed from its escort.

Measuring range before unleashing a barrage!

OK, now where do the web tokens go?
The Tholian Web closes in!

That's gonna be close!

The Enterprise can't quite make the turn and is destroyed by the Web!


It was a close event, with four players ending up 2-1, so the winner was determined on points. The winning fleet combined a strong Borg sphere with cloaked mines and fighters, and finished with 276 points to the second place finisher's 245.

All in all, this was one of my favorite OP scenarios so far. I loved the tension building as the Webs kept shrinking the playing area. The only regret is that since I was running the event, I did not get to play. But that will be remedied Friday when the store runs another event - and this time I get to play!

'Til next time!

Monday, May 26, 2014

Saga Viking warband - Basing and completion!

It took a little longer than I would have liked, but I was finally able to polish off the first 2pts of Viking hearthguard for my Saga warband.


I finished the bases on the figures using my standard technique. I know that everyone has their own preferred method of basing figures, and I do not claim that mine is any better than anyone else's, but it works for me. I find it results in a good-looking base that is detailed and durable enough for a gaming figure.

Step 1: Coat the base in glue.


I use a wood or carpenter's glue, but you can also use white or PVA glue. I find the wood glue is a little thicker and covers better than the white glue. I have used TiteBond as well as Gorilla Glue with good results.

Step 2: Dip in sand.


I have a small tub of fine sand I use for basing. I am not sure where I got it - I think it may have come from the kids' sandbox when they were younger. I just take the figure with the glue on the base and dip it into the sand deep enough for the base to be fully covered. Then I pull it out and tape on the figure to knock off the excess glue.


Step 3: Dab on "Scenic Cement."


I then dab on a product made by Woodland Scenics, called Scenic Cement. As far as I can tell, it is basically watered-down PVA glue with a wetting agent to break surface tension. (You can probably make your own from water, glue and a drop of dishwashing detergent.) The wetting agent allows the glue to completely saturate the sand, rather than just sit on the top, and creates a very solid bond that will prevent the sand from flaking off the base.


Step 4: Dip in sand, again.


After the glue has been dabbed on the base, I dip the figure on the sand again and knock off the excess. This fills out the glue and raises the surface of the sand to better hid the edge of the molded base the figures are standing on.

Step 5: Dab on some more scenic cement.

I repeat the dabbing on of the scenic cement. Again, this completely saturates the sand with the glue mixture.


Step 6: Tint the sand with ink.

I put a few drops of a dark borwn ink on the base. The ink spreads throughout the base where it has been wetted with the scenic cement. I think you could probably use a wash for this, but I like the deep brown look created by using ink. I buy mine at Michael's.

If you are making bases for other environments, you can use any color ink. I've also black ink for when I am making asphalt or modern city bases.


Step 7: Allow to dry completely!


Before you move on to the next stage (drybrushing and adding grass) let the bases dry completely. If you don't, you'll knock some of the sand off when you are drybrushing. This is the hardest part for me, since I am very impatient. I usually let the bases dry overnight - I set them aside and work on something else for the rest of the day.


Step 8: Apply the first drybrush.


The specific colors used will depend on what environment your bases will be. The brown base actually works well for a variety of different bases. If it's a desert base, for example, I just use a heavier drybush of the same colors I used for these Vikings. If it's supposed to be a muddy field, then it may not need much other than a slightly lighter brown drybrush. Experiment with the colors until you find a combination that produces the desired results.

For the Viking bases, I started with a fairly heavy drybrush of Yellow Ochre. The brushed bases are in the first row, with the untouched bases in the back.


Step 9: Apply the second drybrush.


In order to give the bases a little depth, I use a second, lighter drybrush. In this case I used Menoth Base White.

Once again, the front bases have received the second drybrush.


Step 10: Apply the ground cover.


Once the second drybrush is complete, it's time for the ground cover. I used static grass on these bases. I just dab on some super glue in a random pattern on the base. Then I sprinkle the static grass on the base, turn the figure upside down, and tap the bottom of the base. This has the effect of making the static grass "stand" and makes it look more like real blades of grass. The figure on the left has had the static grass applied.

Step 11: Finishing up.

I paint the edges of the bases an appropriate color - in this case Scorched Brown - then spray the entire figure with a matte sealer.

As you can see, I use a variety of colors and paints, from many manufacturers. I just find a color I like, and don't worry too much about who makes it. I mix Privateer paints, Citadel paints and the cheap Apple Barrel or Folk Art colors from Walmart! For scenery and bases, I find it doesn't much matter what you use, as long as the colors blend into something you like.

So, after basing, all that was left to finish the figures was adding the shields. I took the easy way out, and ordered some transfers from Little Big Men Studio. They are easy and quick to apply, and look great (much better than I could do by hand).


Once those were sorted, I just had to assemble my Viking raiders for a photo op!


Now on to the next 4 points of Vikings. Hopefully, these will not take me as long. There's a Saga event at the local game shop in late June, and that deadline gives me incentive to get the warband done.

'Til next time!