 |
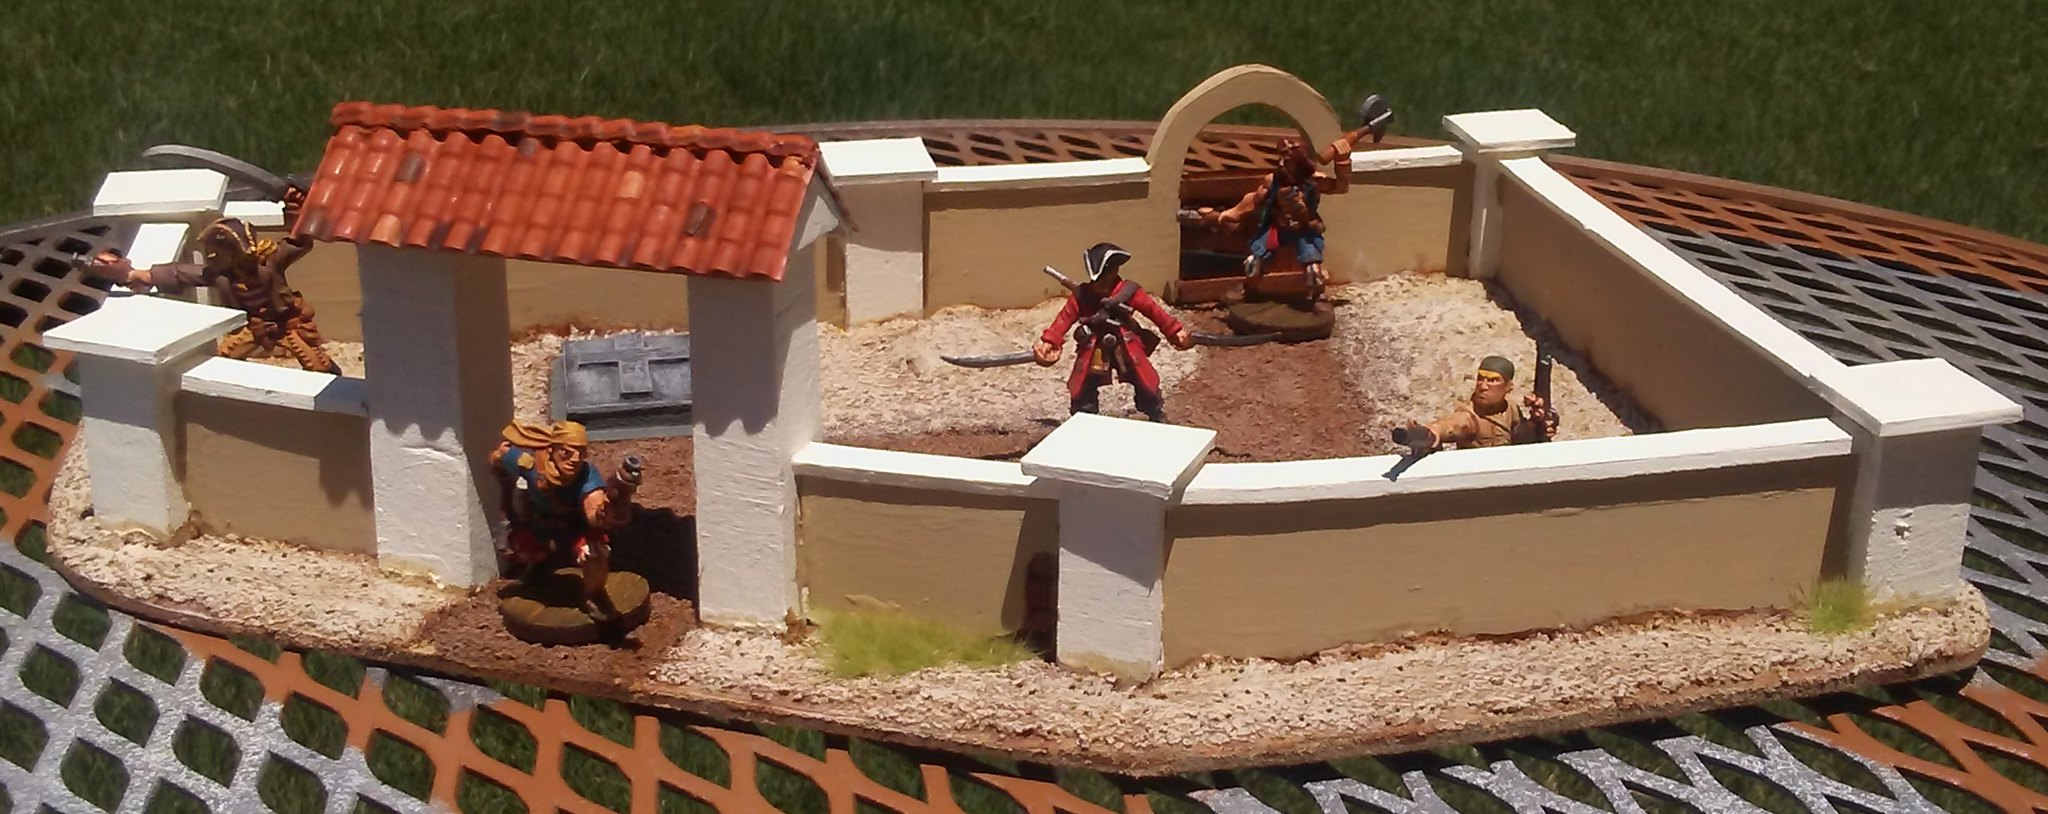
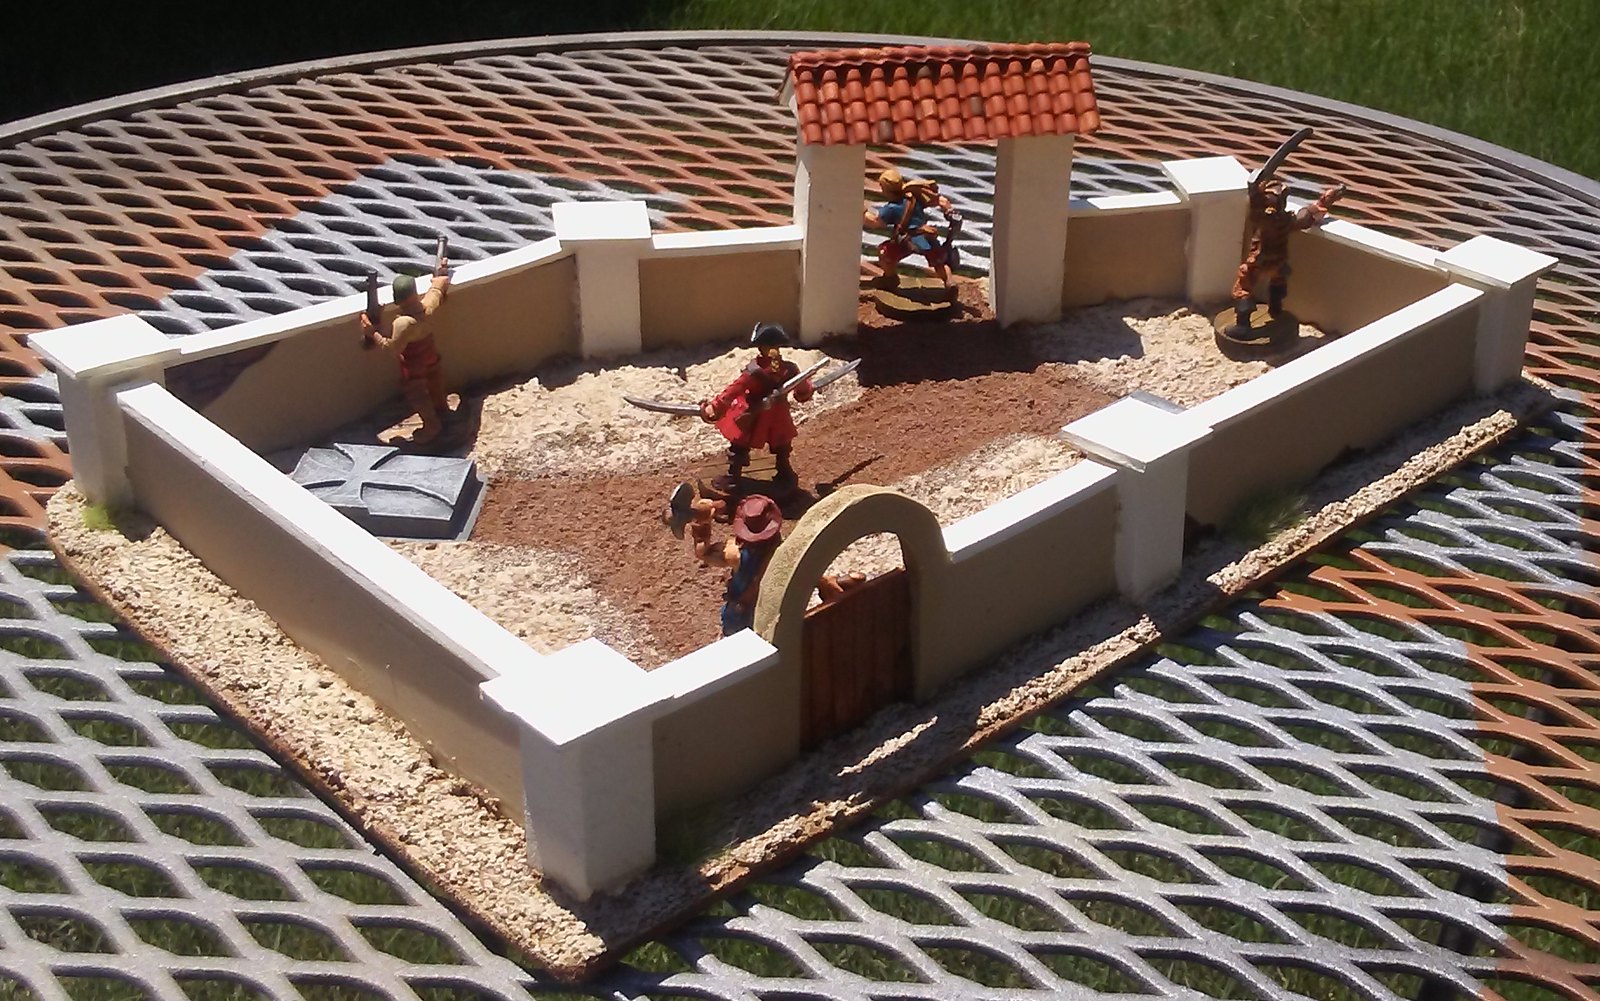
| The completed cemetery. |
A cemetery!
The first step was to cut out a piece of MDF board to the desired size. I did this by eye, not bothering to measure. I also cut some smaller bases at the same time, that I'll use when I make some more modest buildings for the poorer section of town. I spray painted the underside of the bases, hoping to seal them so they would not warp. This did not work, and the end product (which you'll see) does have a slight warping issue.
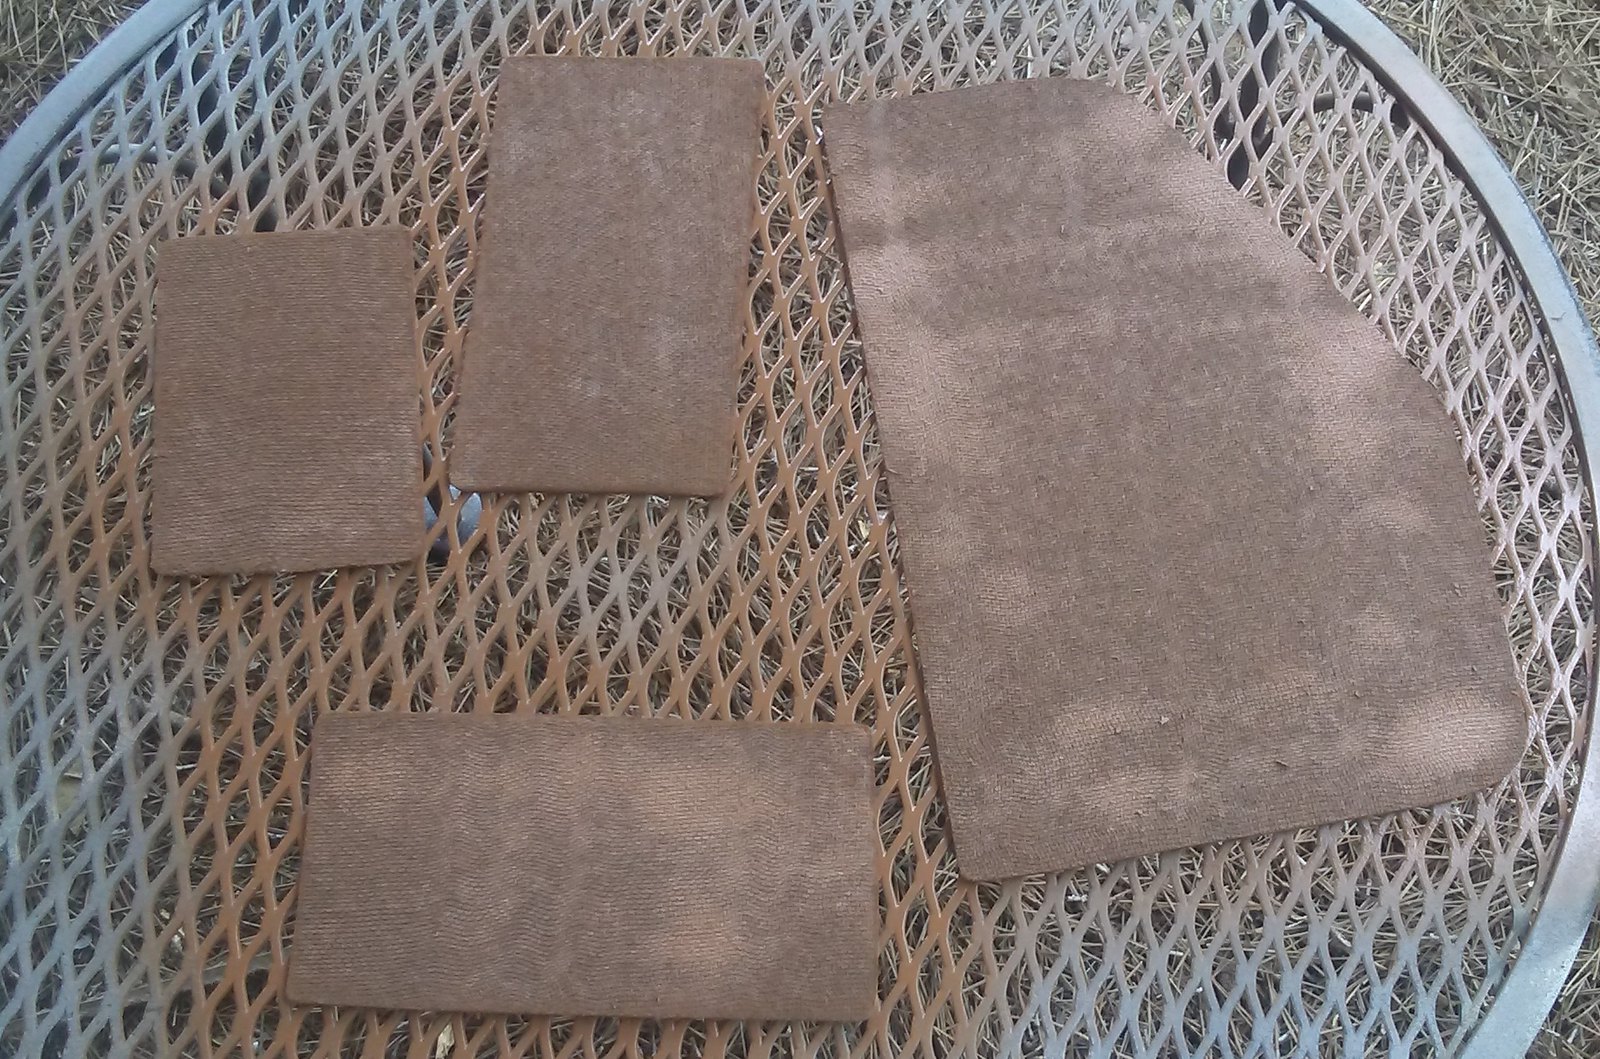 |
| MDF bases spray painted brown. |
I starting preparing the parts I would need to make the cemetery wall. I cut out corner pillars from pink foam insulation. I also cut tops for the pillars, as well as top for the walls, from thick card.
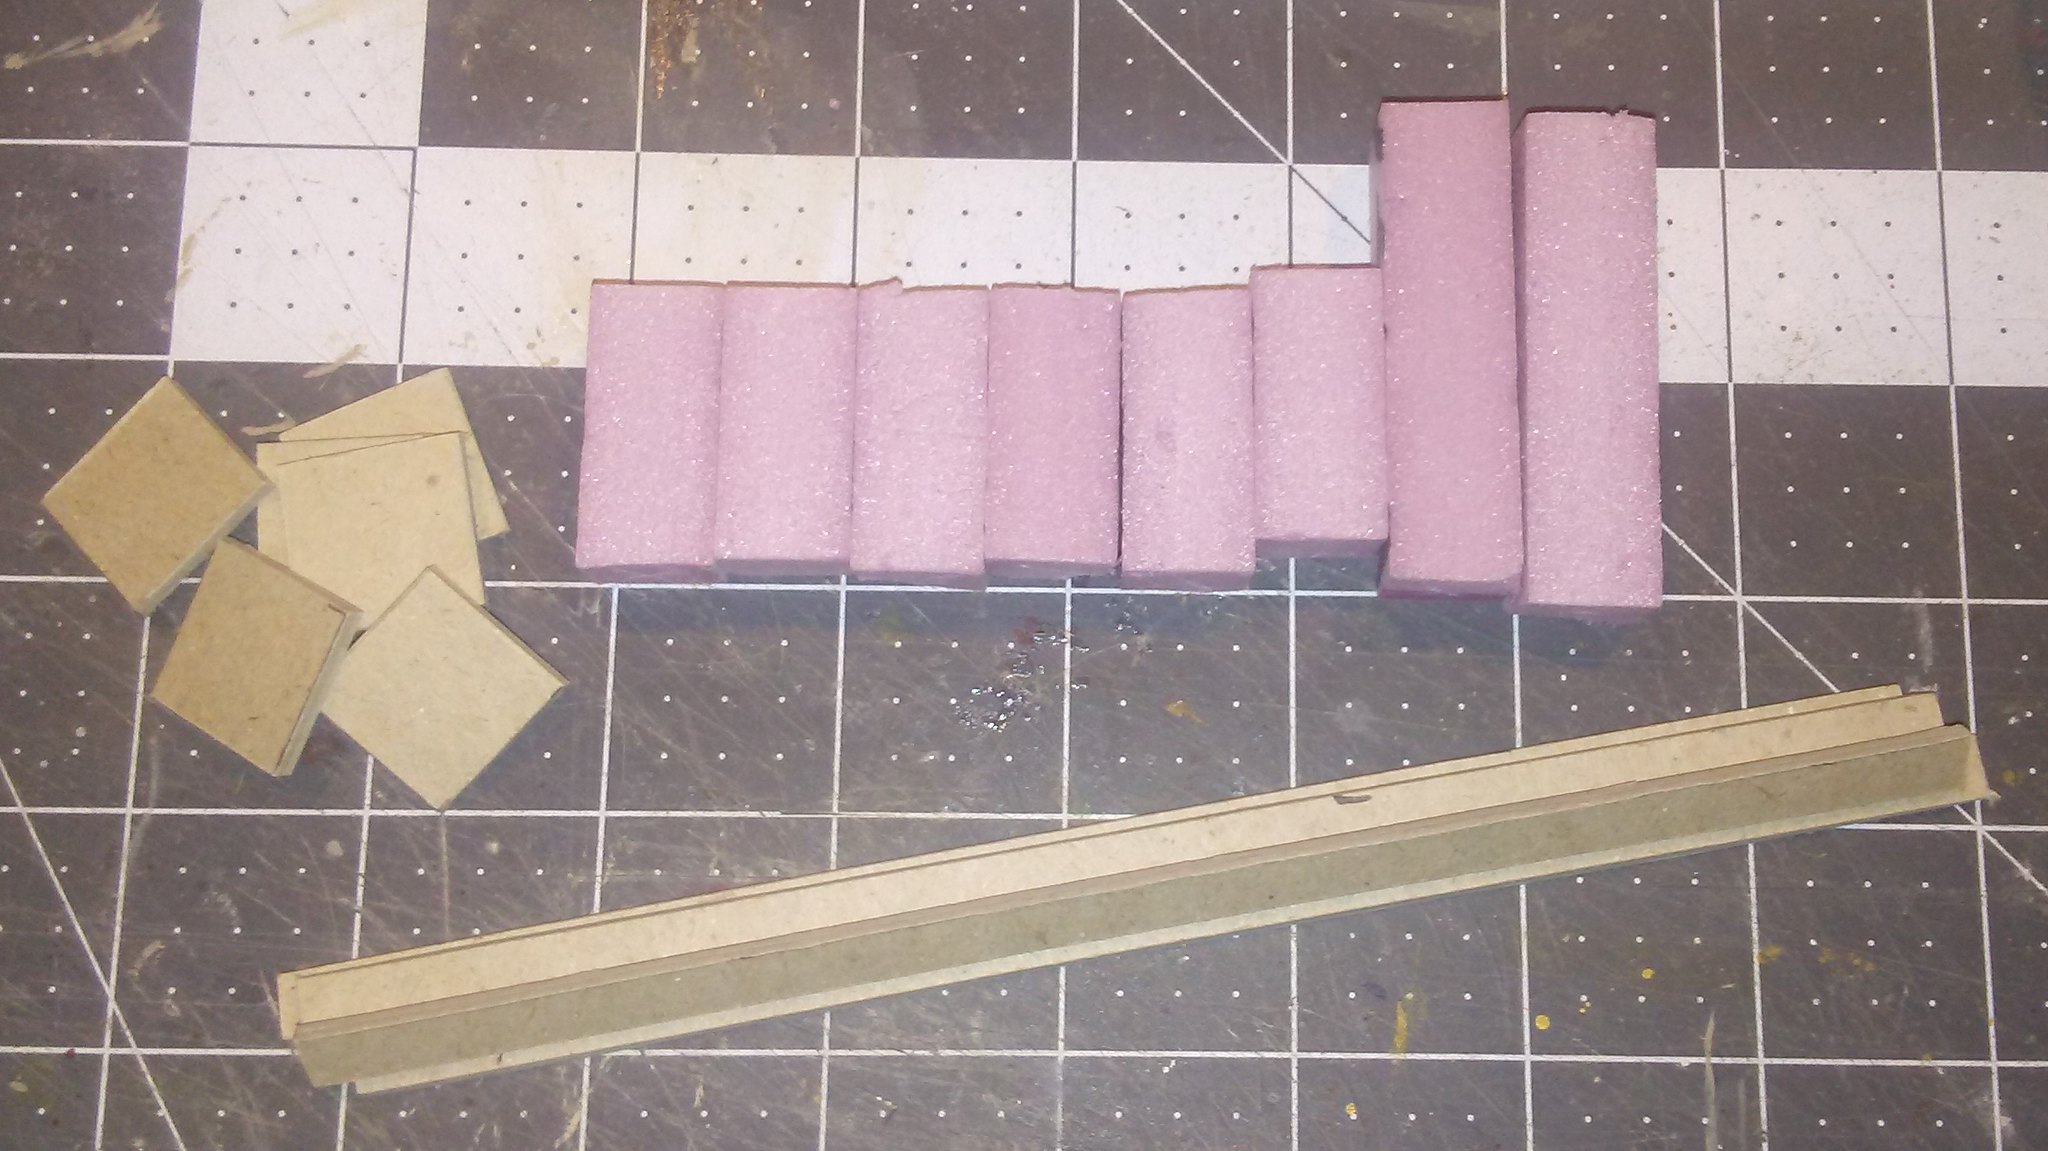 |
| Pillars and tops cut and ready. |
I also began to prepare the graves, I decided that there would be several common graves, and two more impressive tombs. I made these from foam core and cardboard, glued into place.
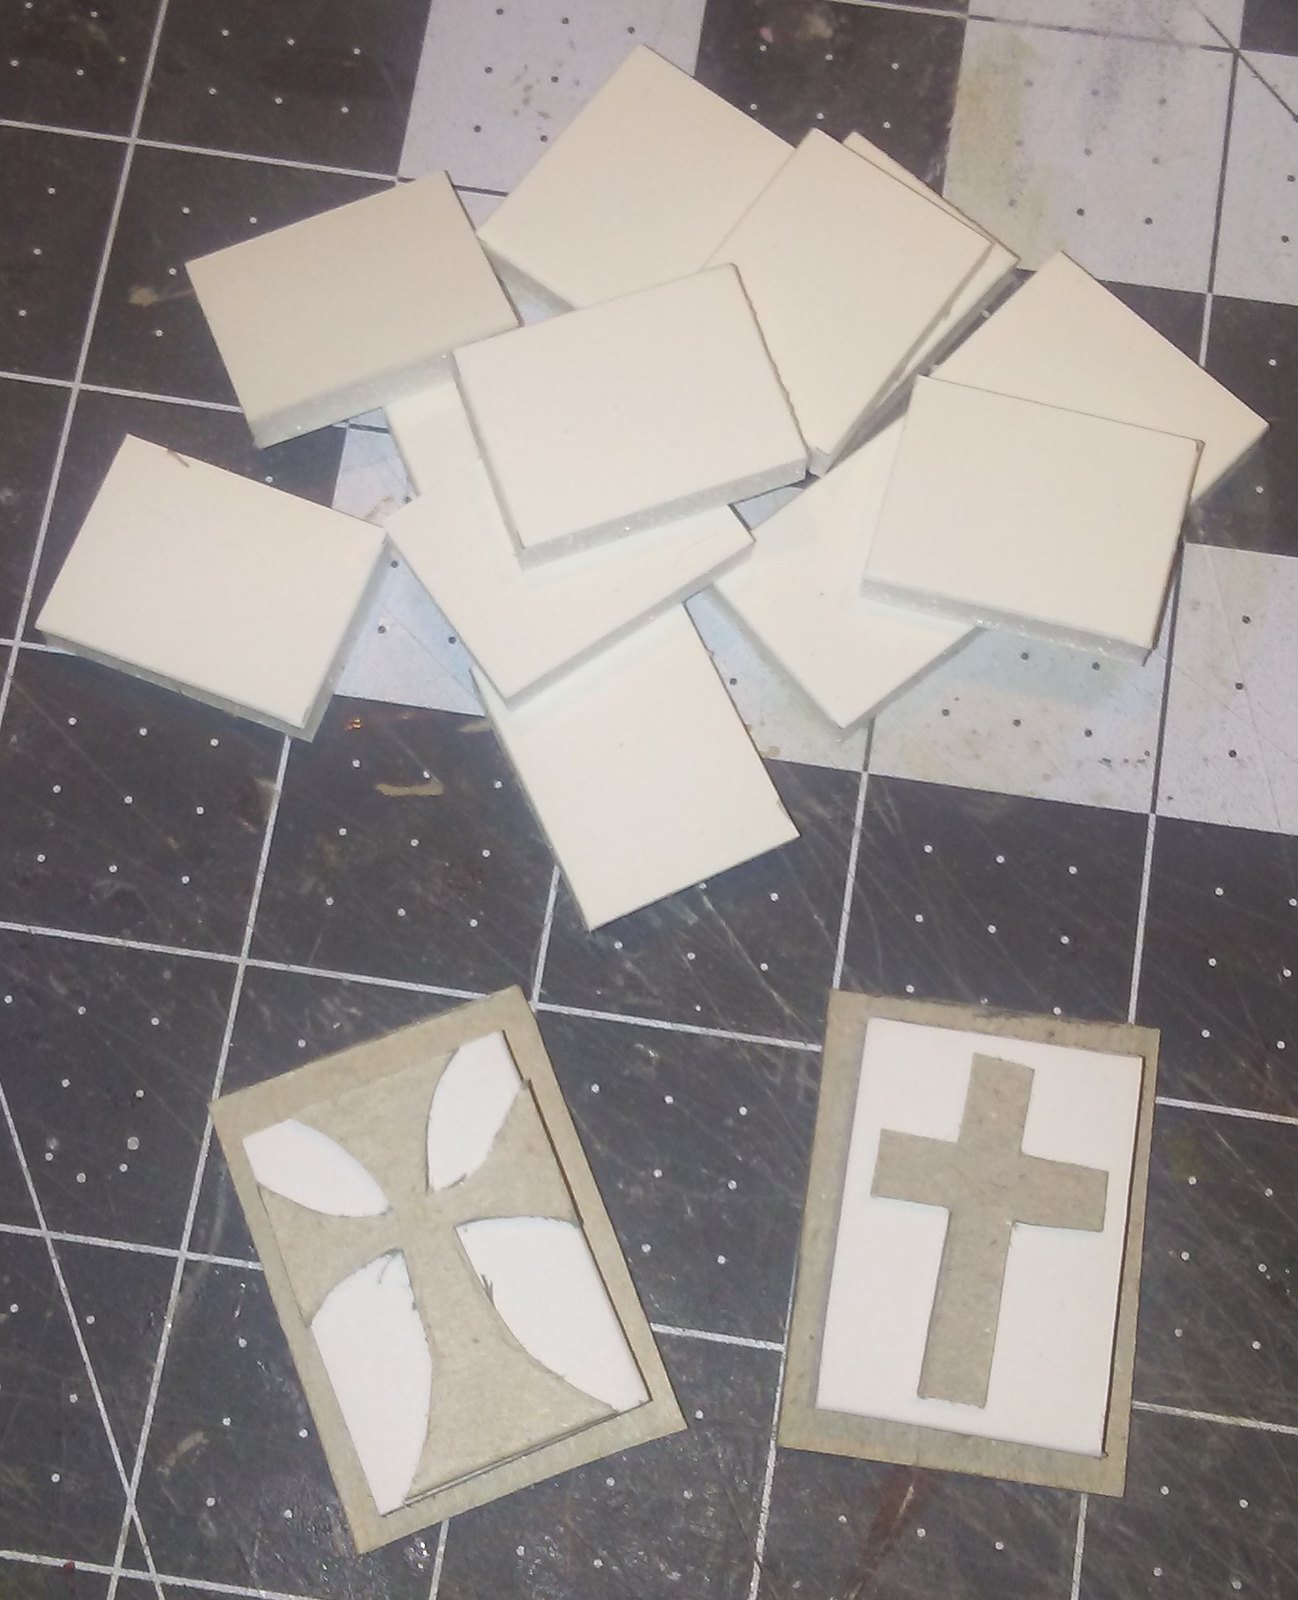 |
| Graves and tombs. |
I did not want the common graves to have such sharp edges. I removed one side of the card covering from the foamcore, then shaped the sides of the mound to have a slope.
 |
| Carved grave mounds. |
I also made a bunch of grave markers from small pieces of foam and rounded coffee stirrers. (In the end I decided not to use the grave markers. The were a little fiddly, and I felt they'd just break or interfere with being able to put figures in the cemetery. Sometimes you need to make adjustments and accept that we're making gaming terrain rather than display terrain.)
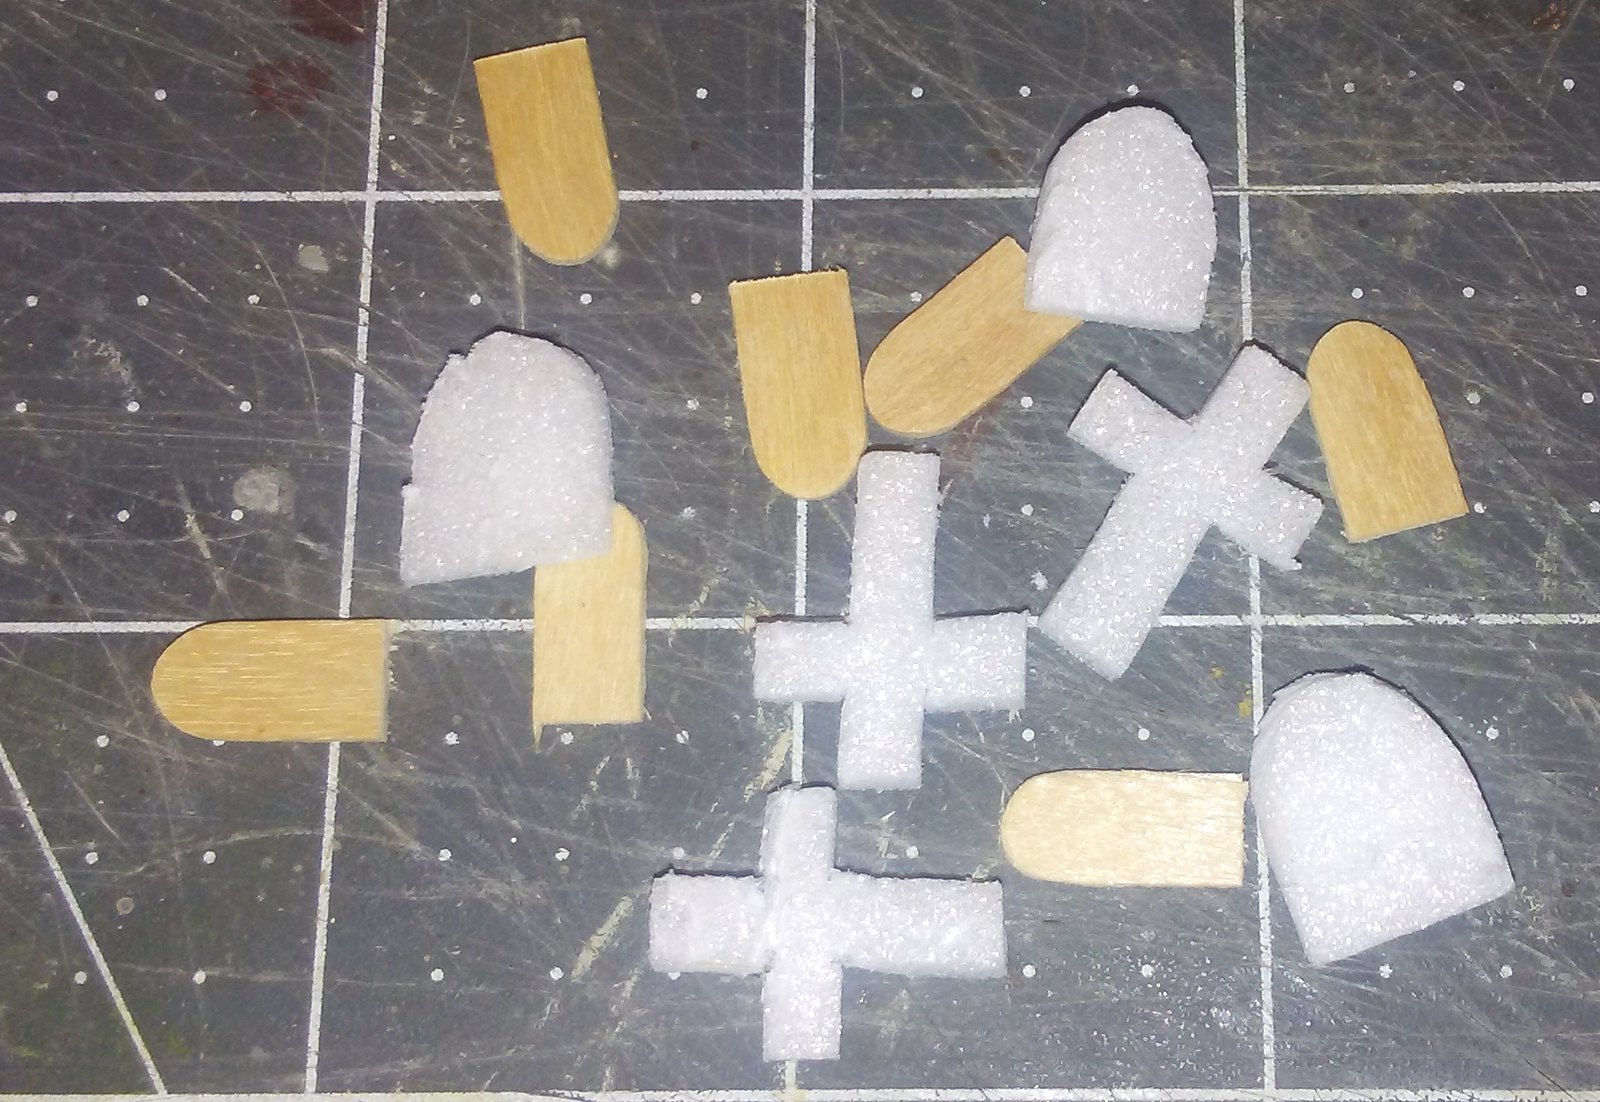 |
| Grave markers. |
Now onto the cemetery walls! I glued the pillars in place. Then I cut sections of foamcore into 1" tall strips and cut them to fit in between the pillars. In the rear of the cemetery, I made a gate for the caretaker and grave diggers to use.
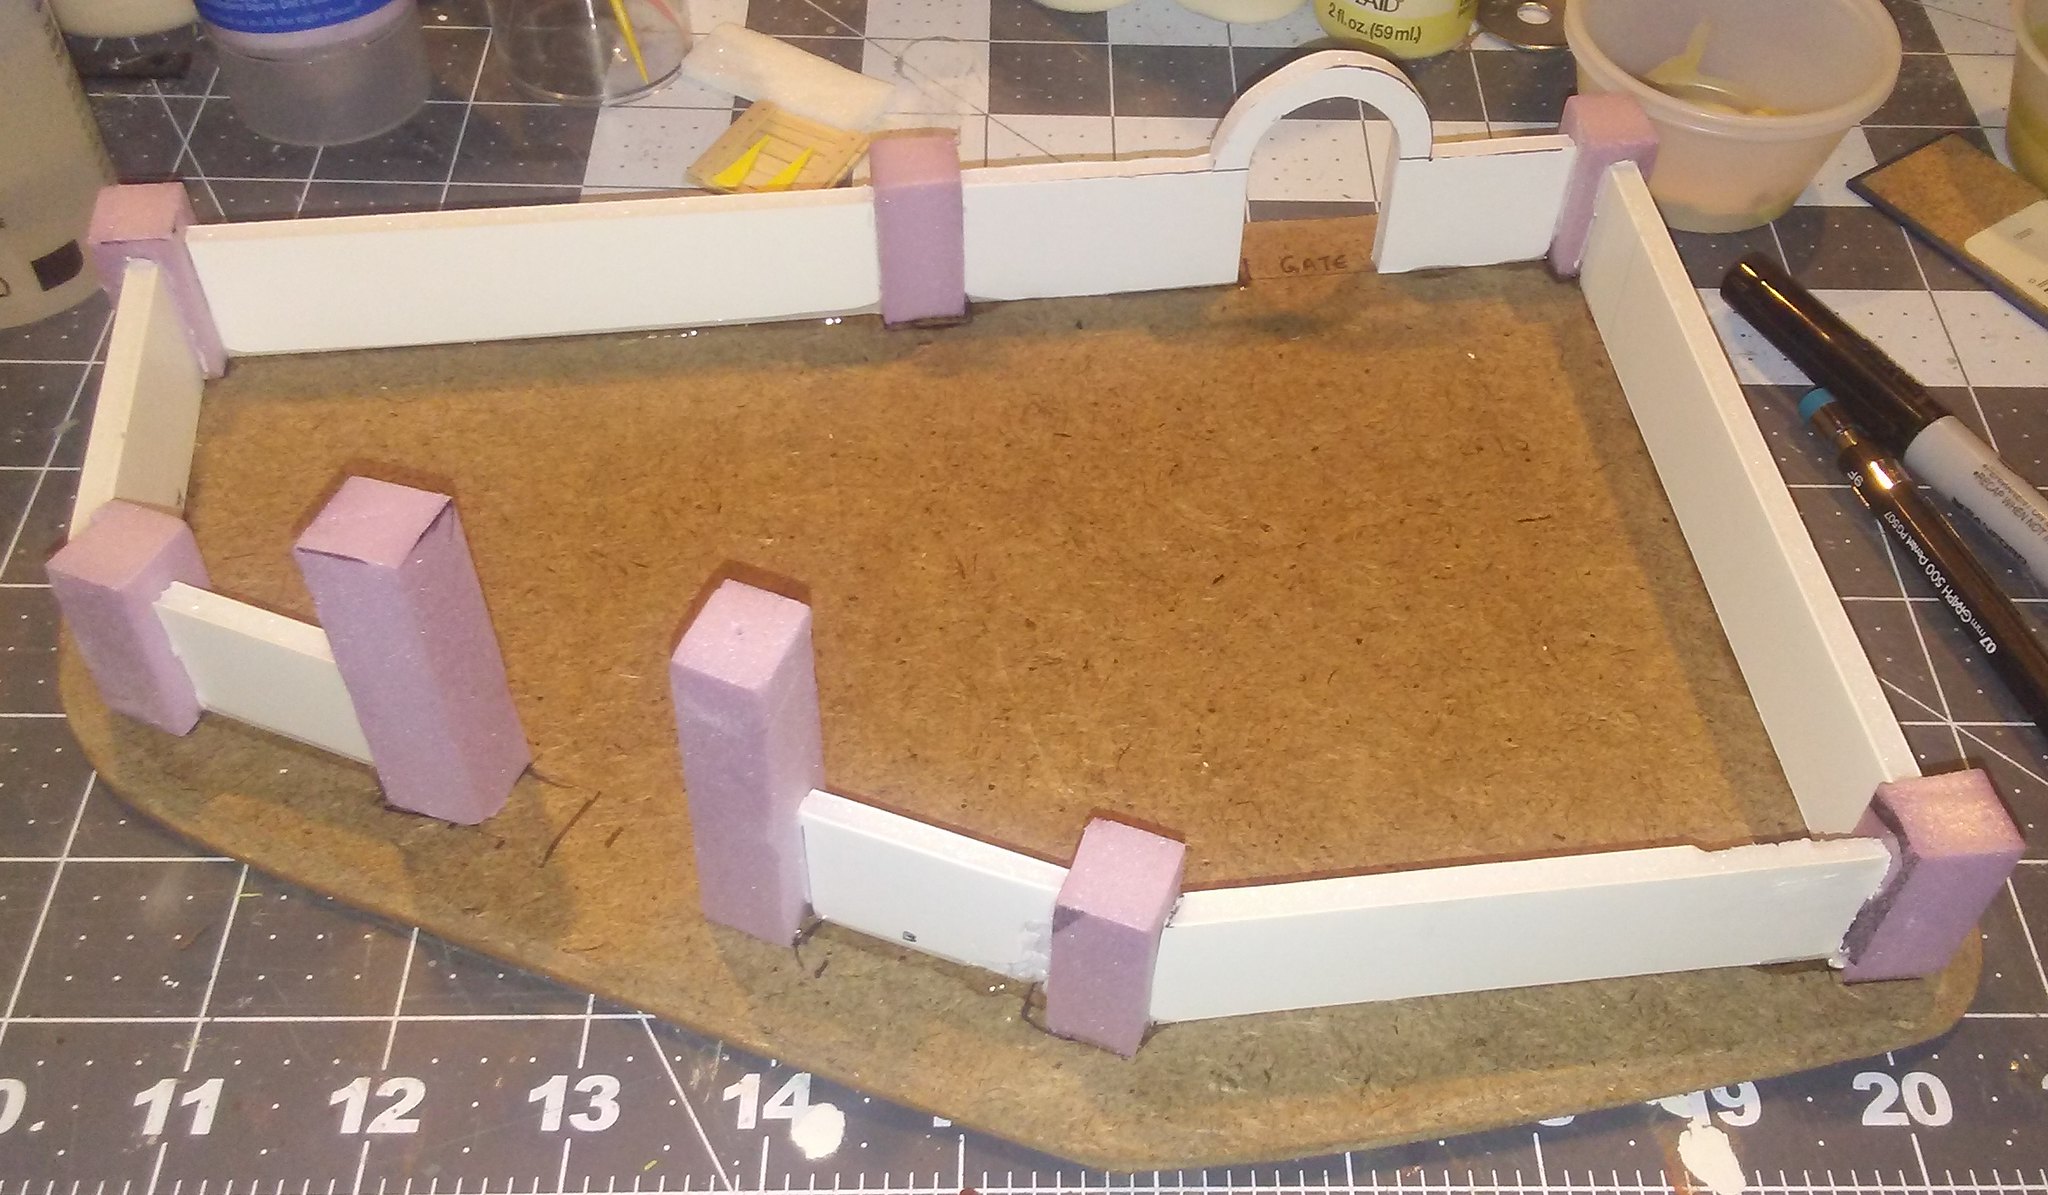 |
| Cemetery wall in place. |
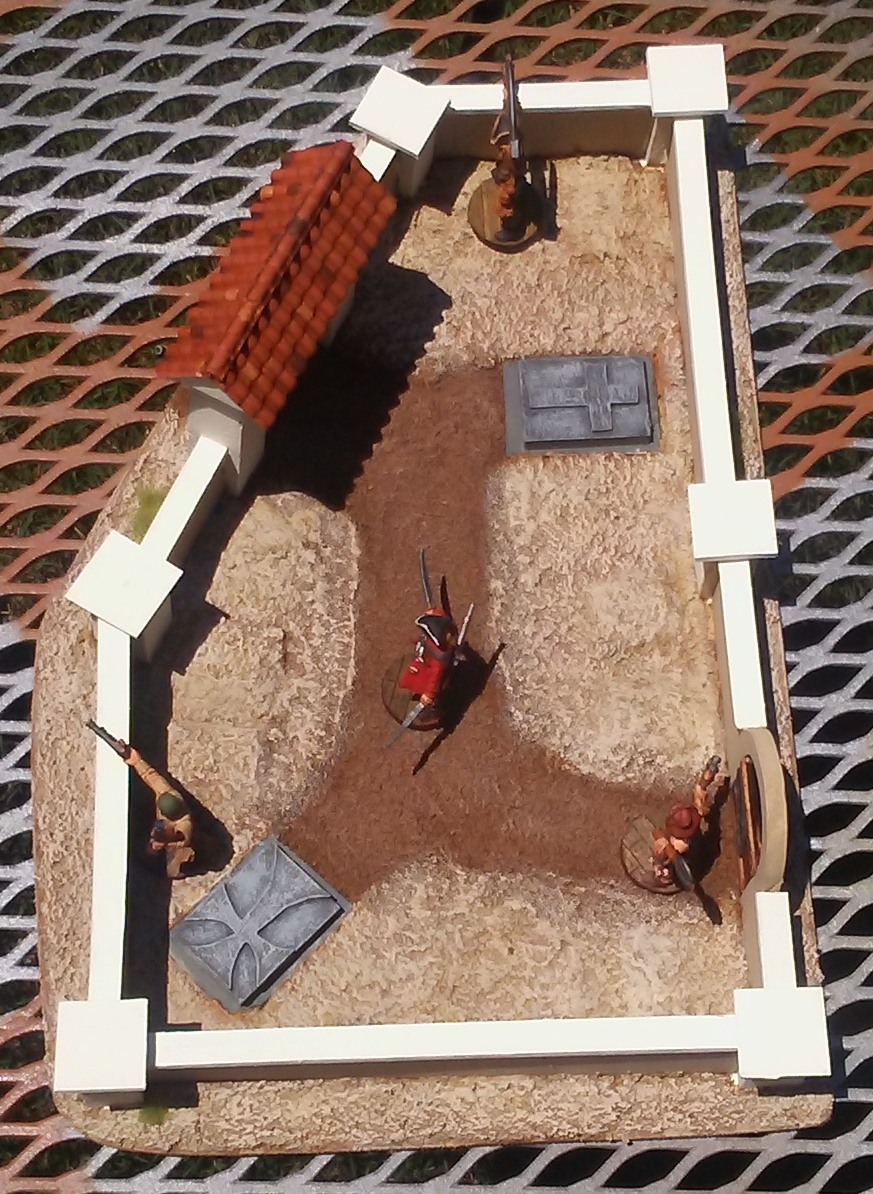
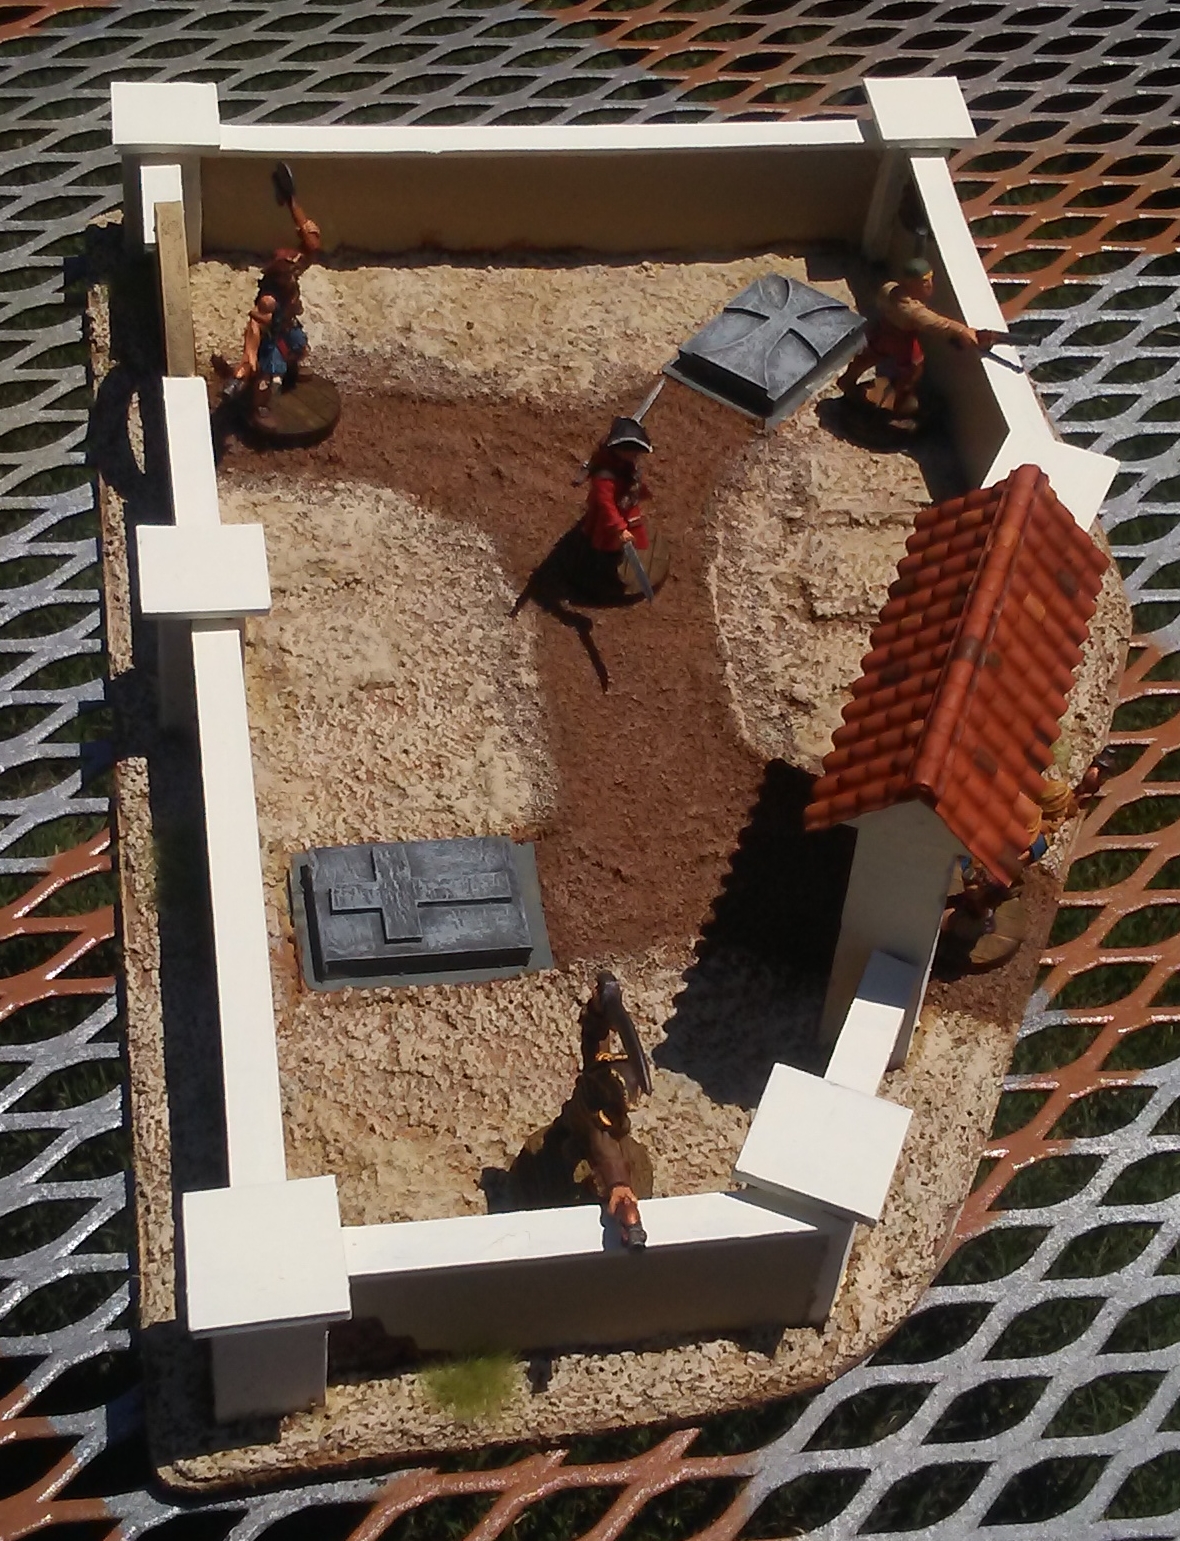
I arranged the graves in a nice pattern, and glued them directly to the base board. For the rear gate, I cut a small rectangle of balsa wood and scribed planks into it.
 |
| Graves placed. |
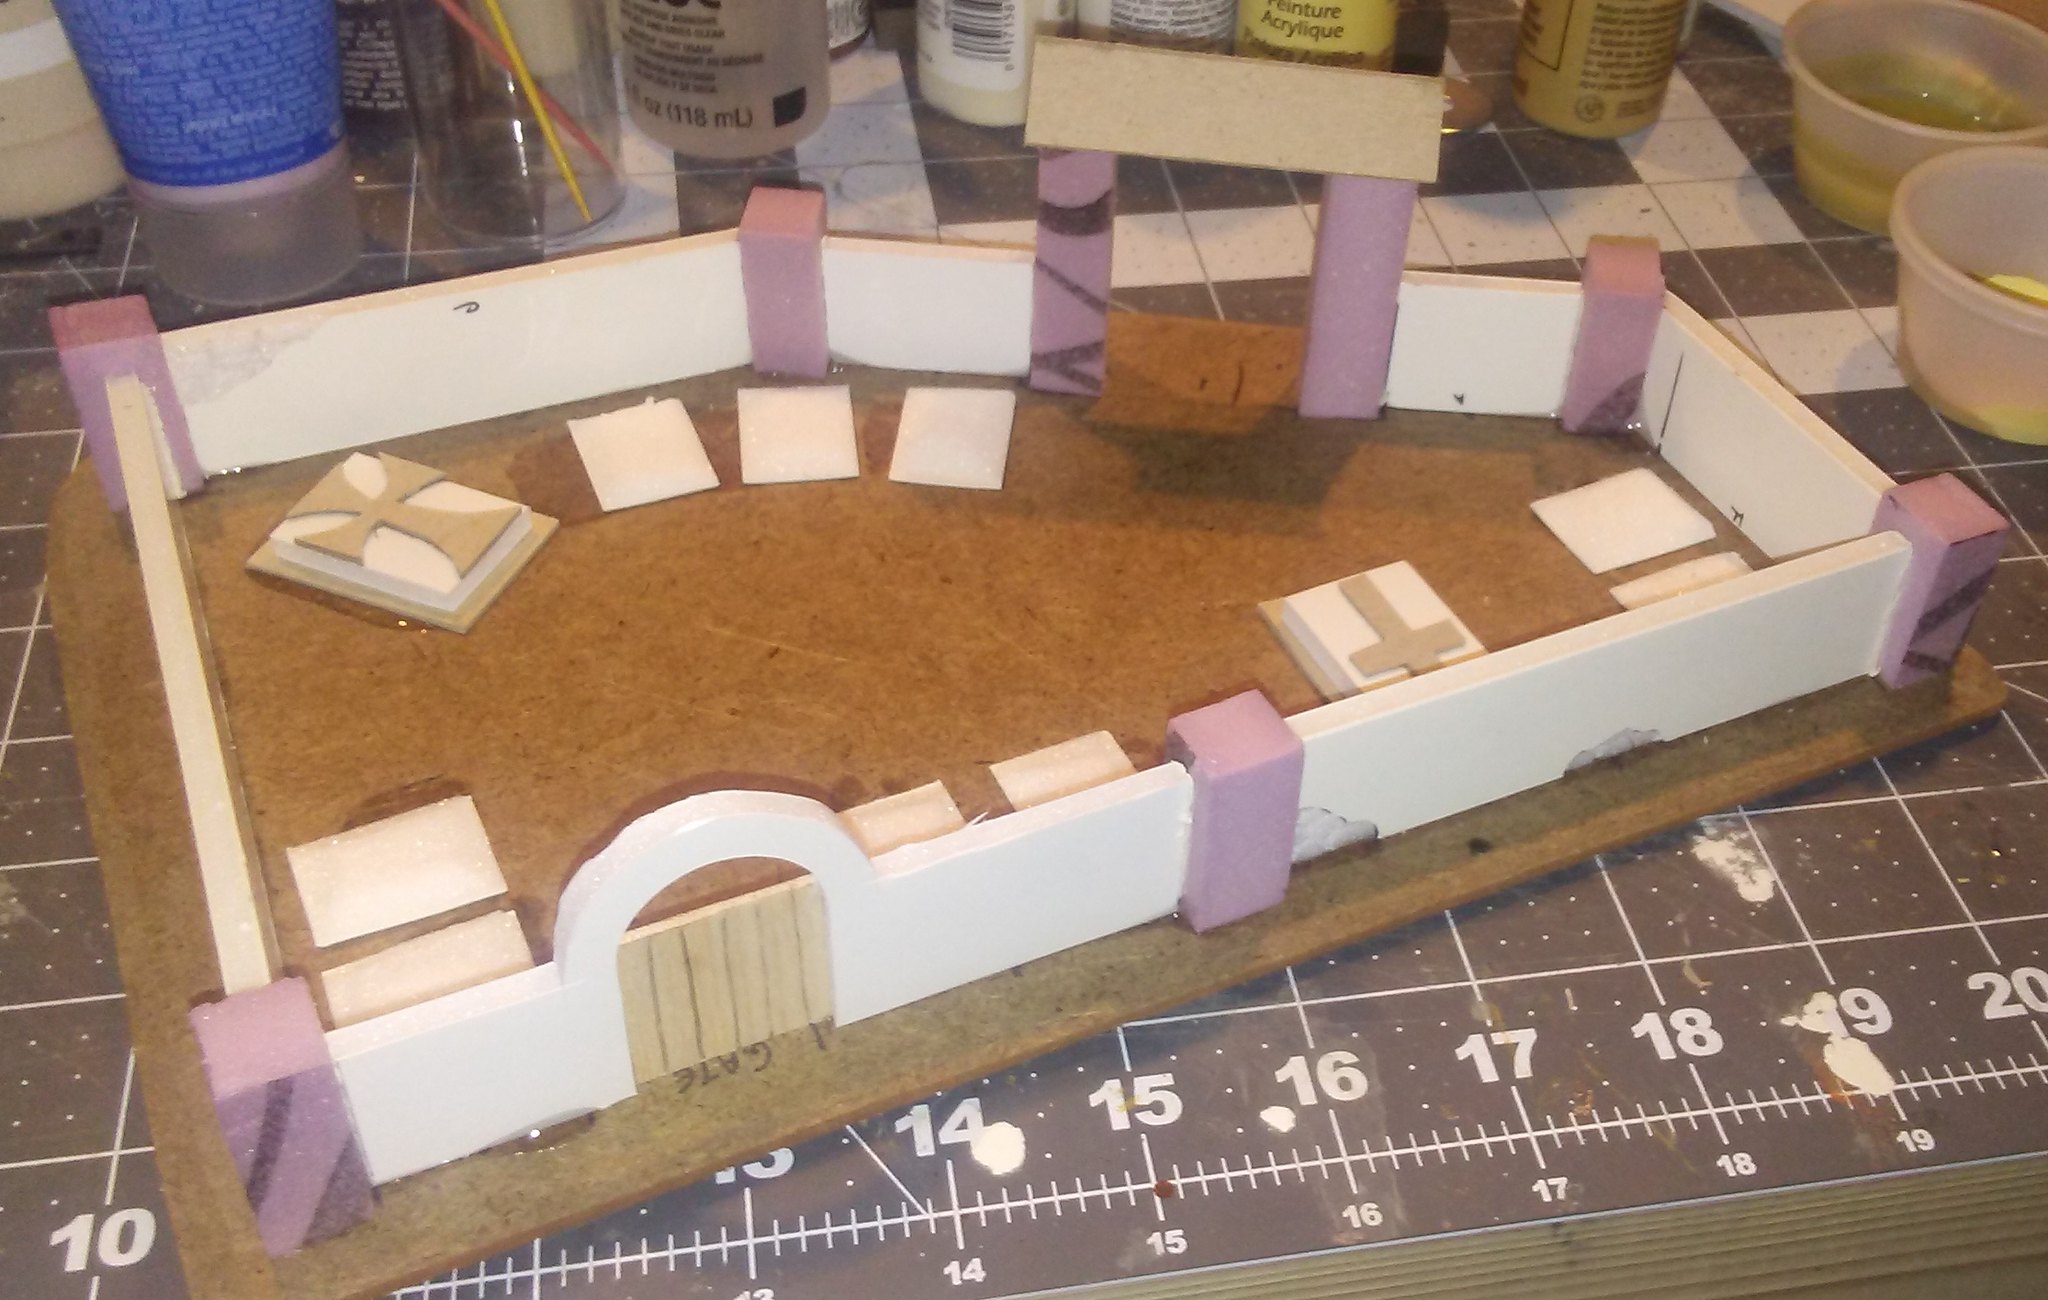 |
| Rear view showing grave arrangement. |
The next step was to glue the cardboard tops to the walls and pillars. I also made a slope top for the main entrance.
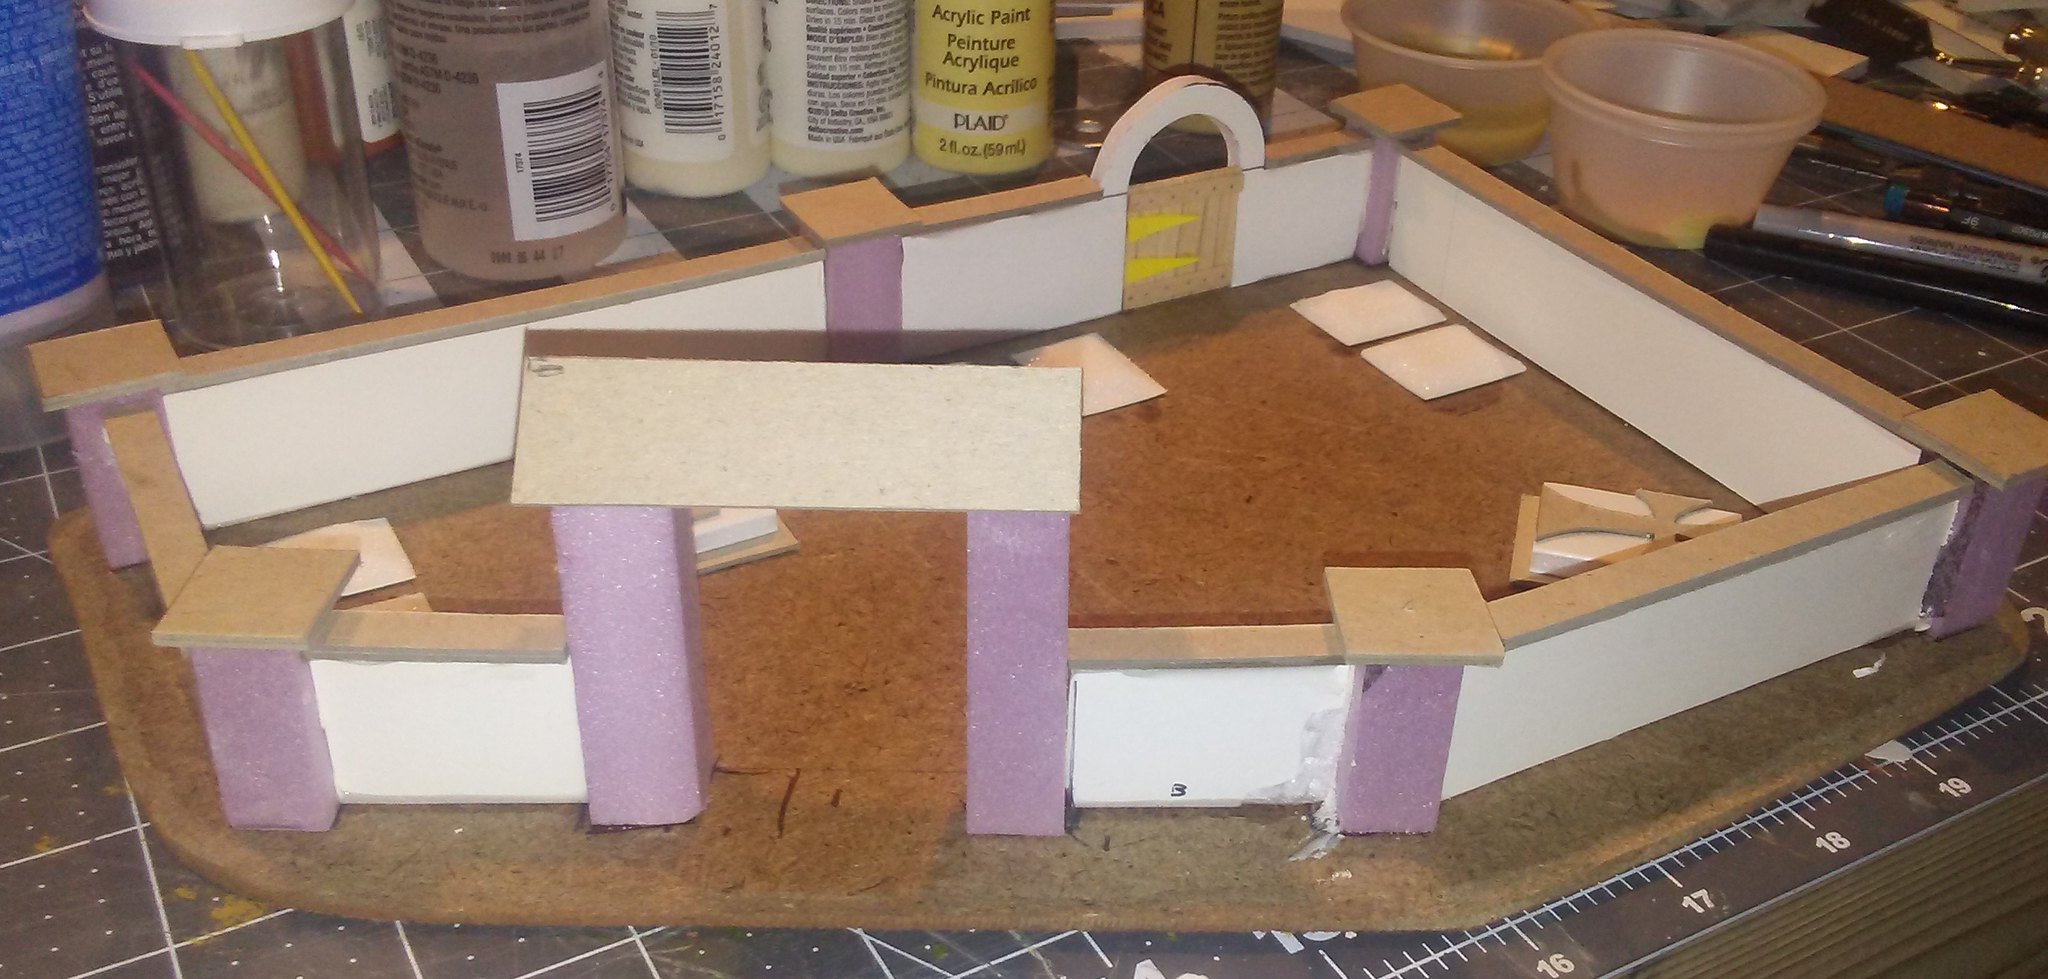 |
| Walls covered. |
I wanted to give the walls some character, so I carved out parts where the mud covering is flaking and the bricks and stones underneath can be seen.
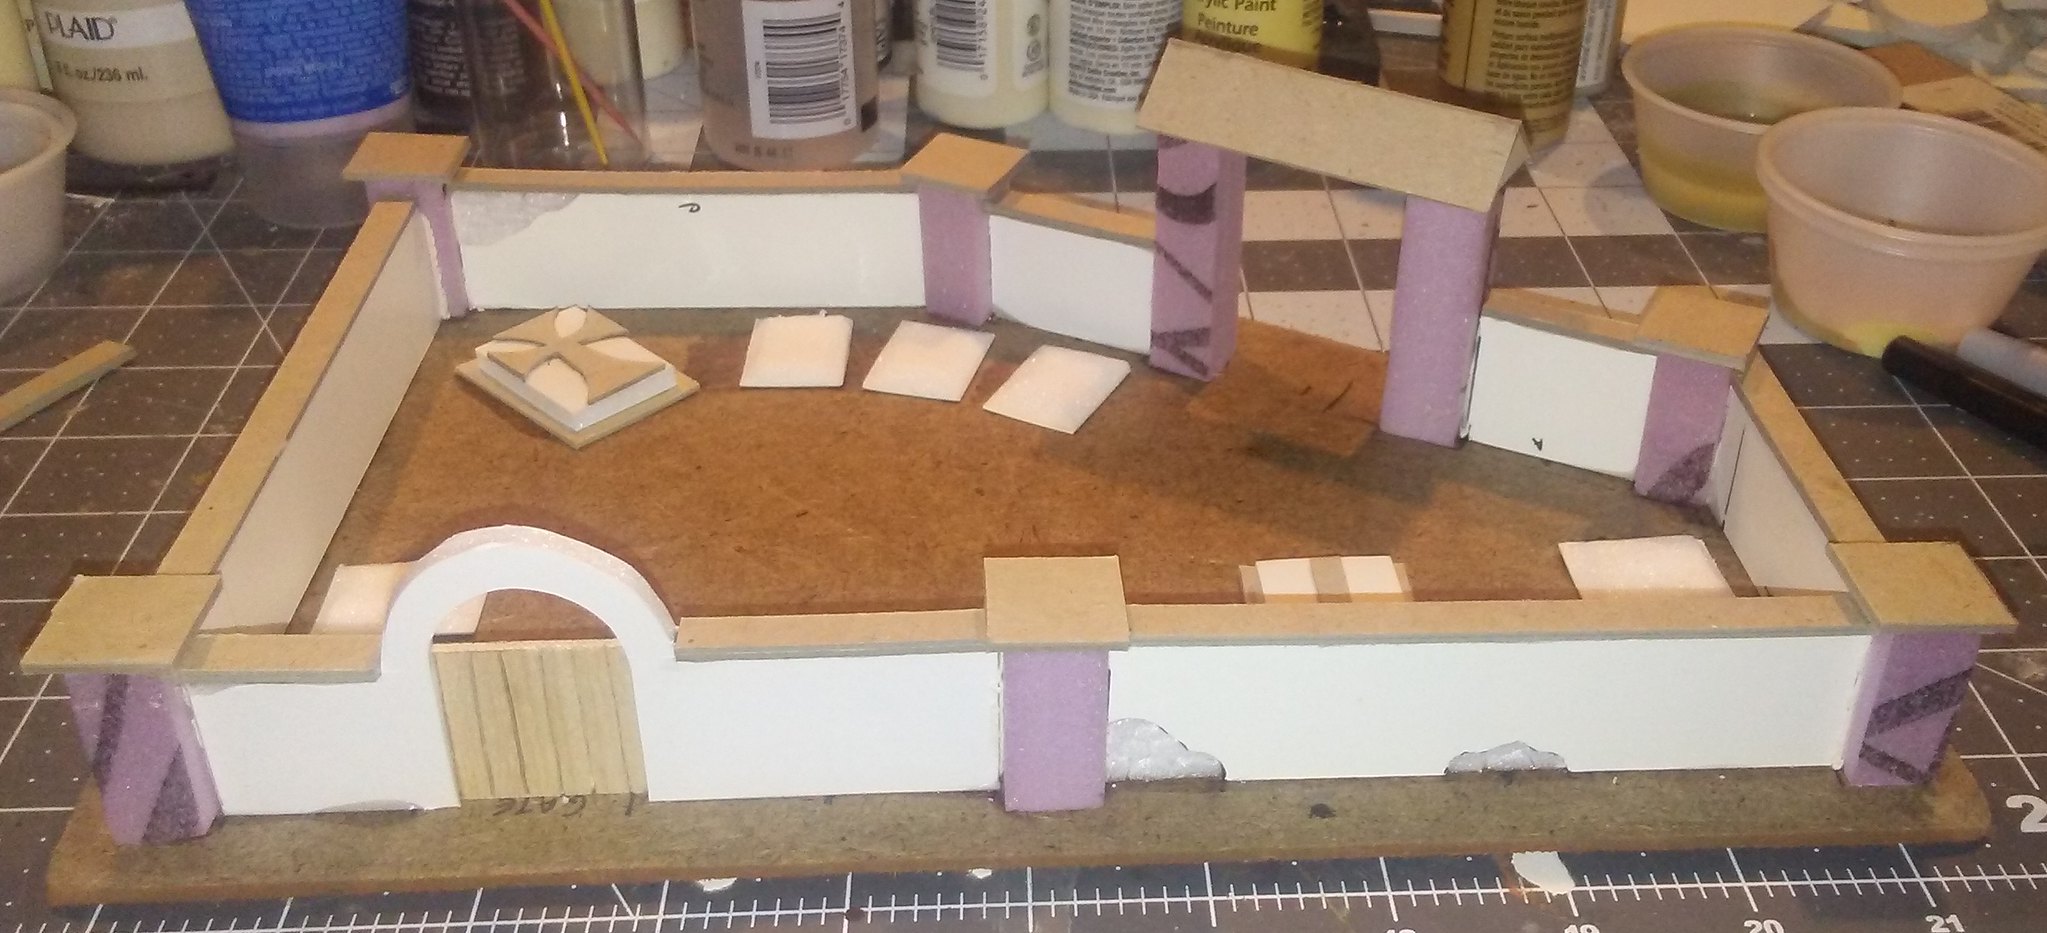 |
| Carved walls and rear gate. |
I covered the main entrance in the same Plastruct Spanish tile I use for all my roofs.
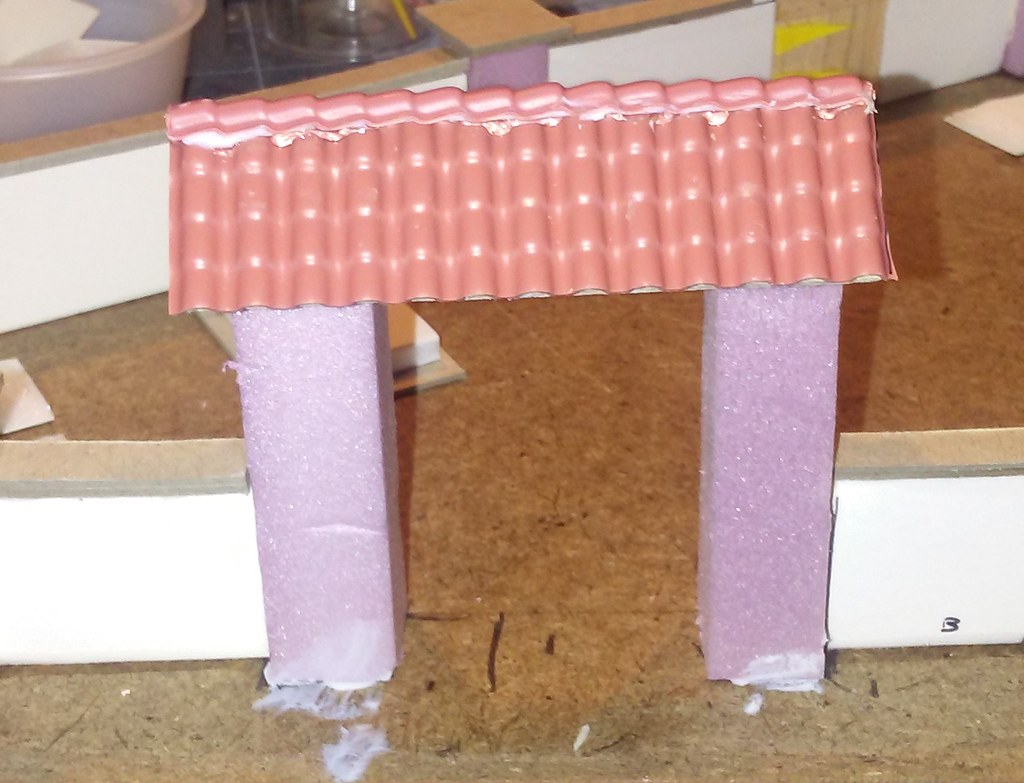 |
| Main entrance covered with tiles. |
I gave the pillars and the tops of the walls a coat of Light Ivory craft paint
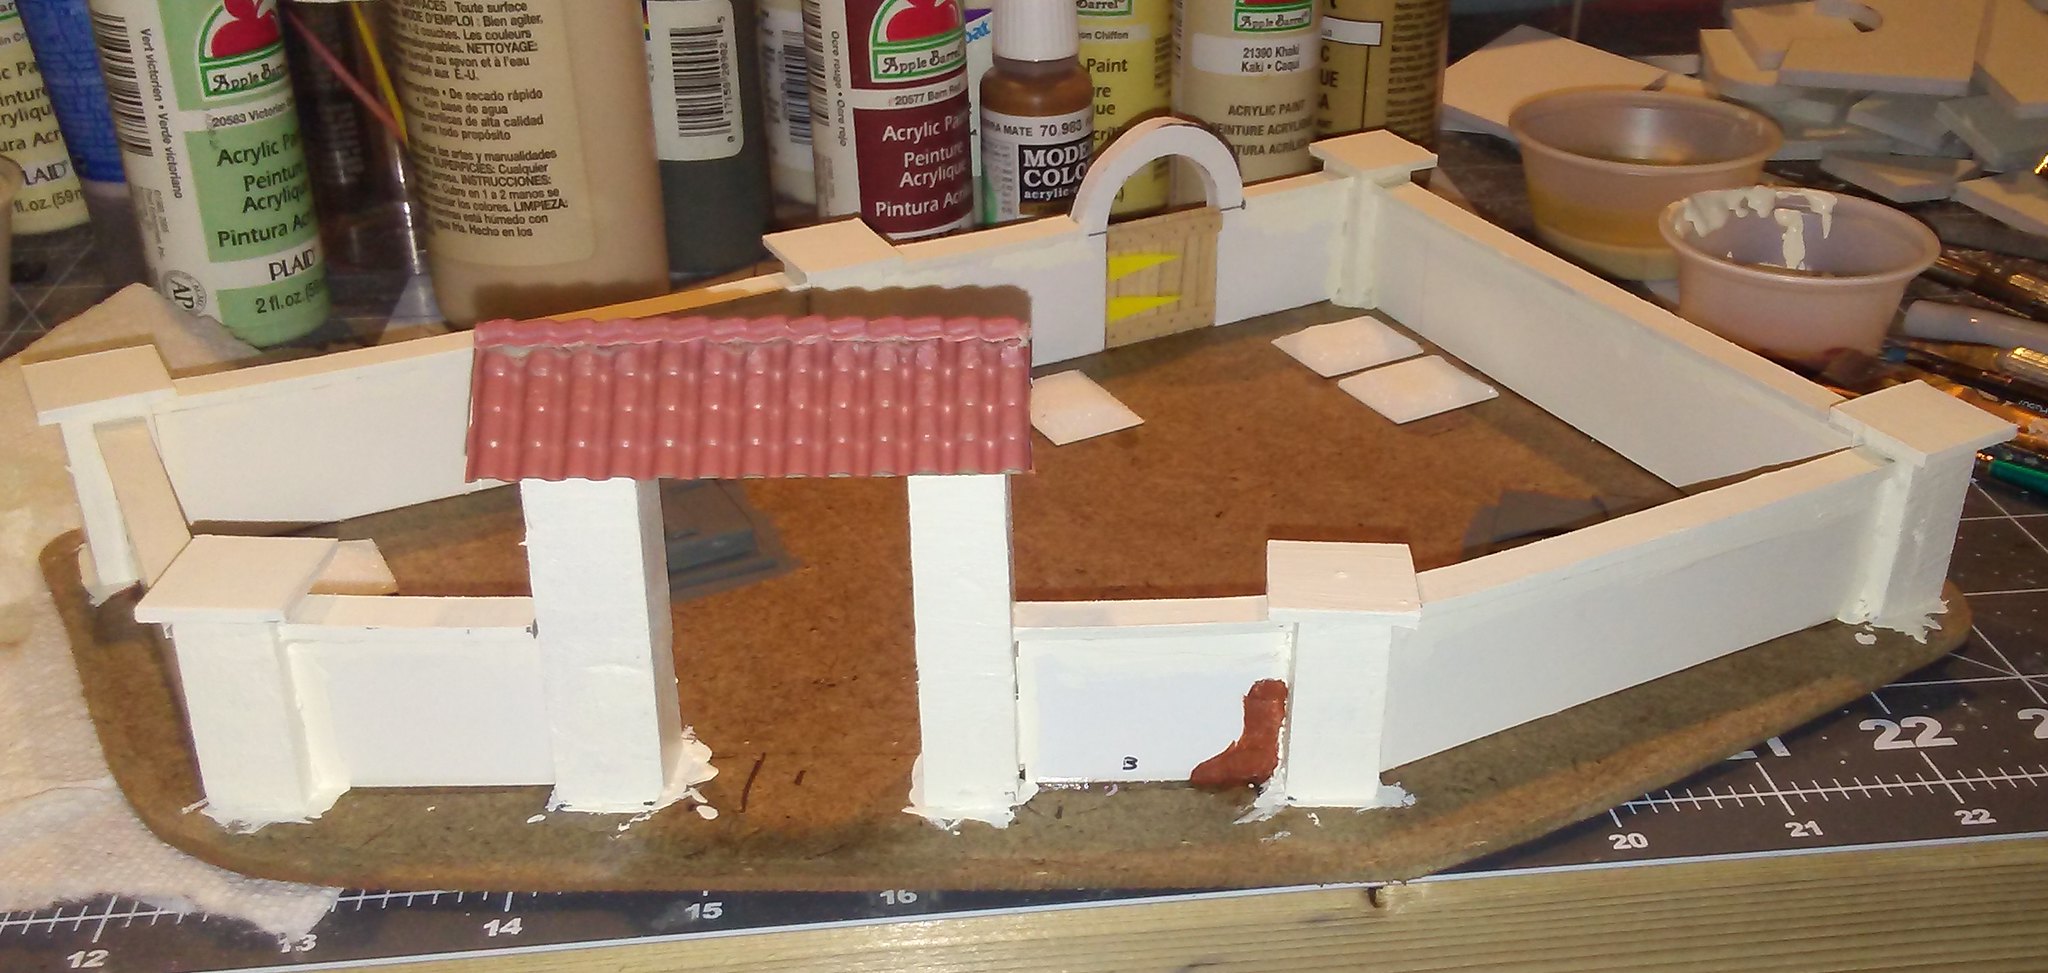 |
| First application of paint. |
I blended a dark red and a light brown to get a nice color for the bricks.
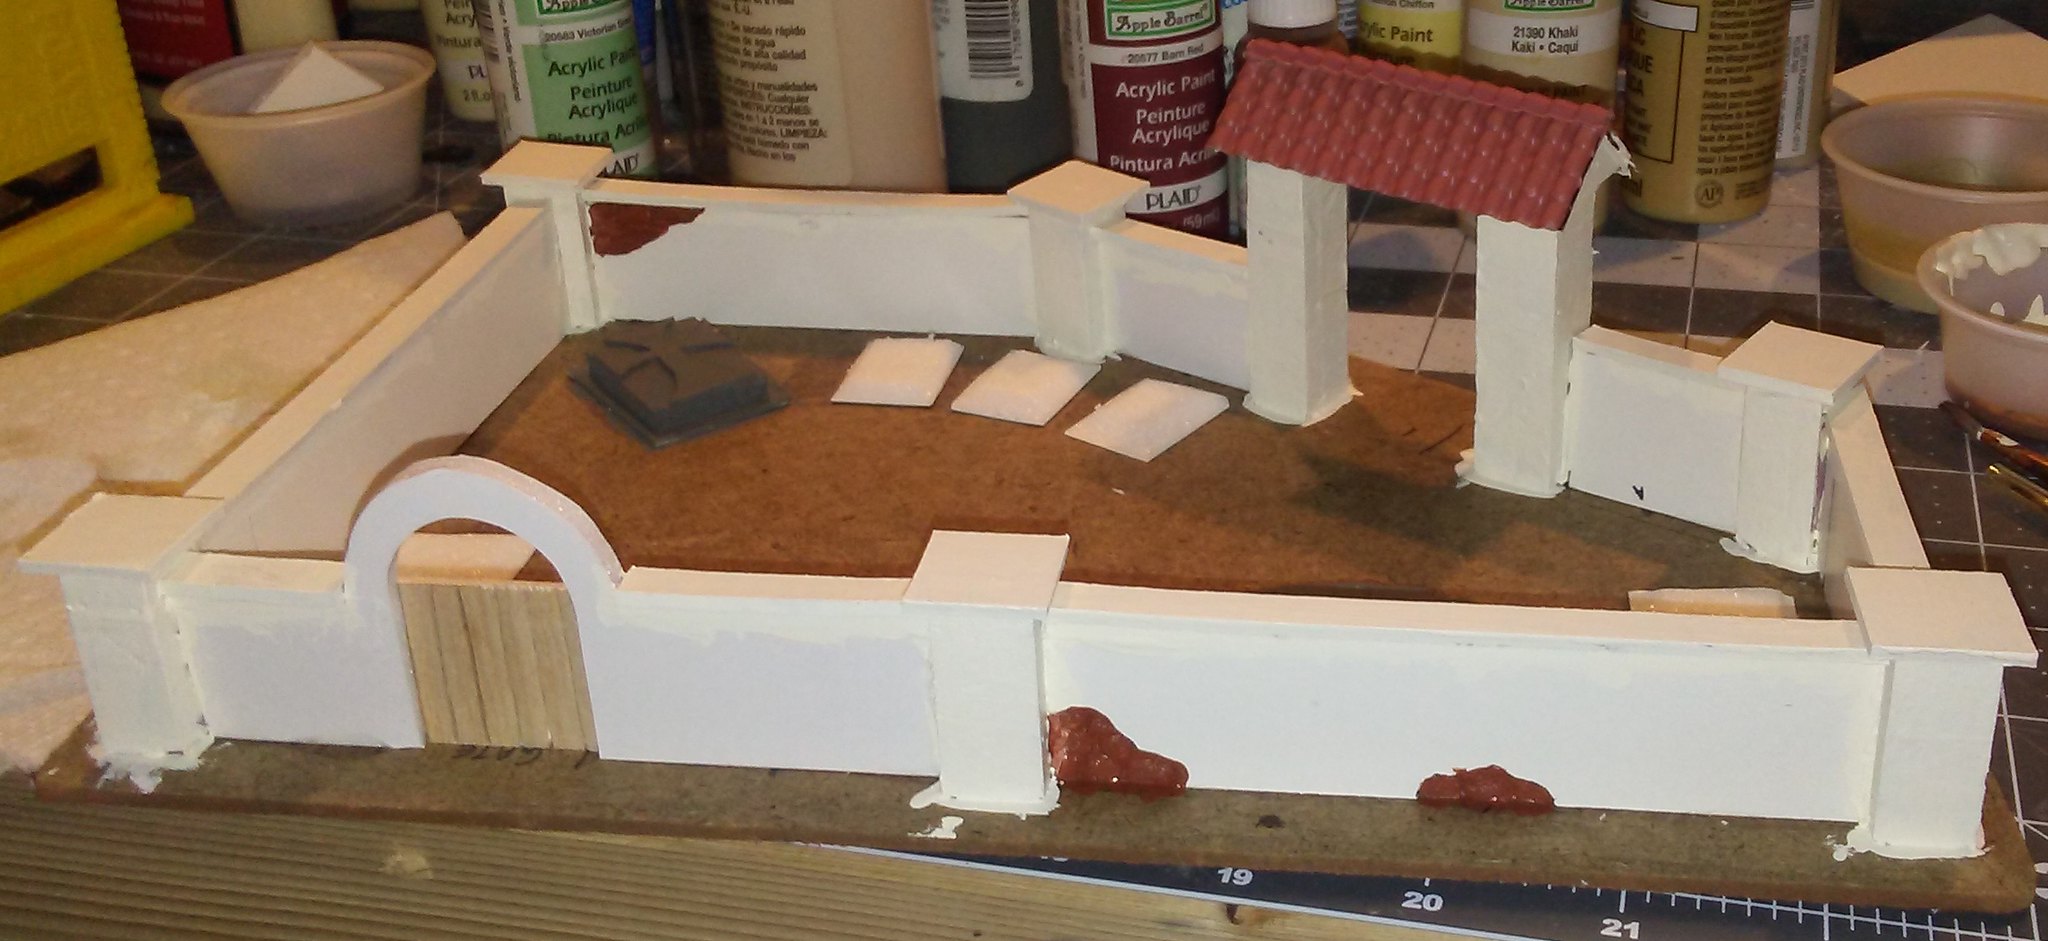 |
| Painted bricks in walls. |
After painting the walls themselves with a khaki craft paint, I made a batch of my usual filler/paint/sand terrain goop (see details in this post), and applied it to the base board. I left a "path" in the center of the cemetery and going to the two important tombs.
 |
| Ground cover "goop" applied. |
In the path, I just painted on some wood glue (regular PVA would work just as well) and sprinkled on some Woodland Scenics model railroad ballast (regular sand would also work) and shook off the excess. I dripped some Woodland Scenics Scenic Cement over the ballast, and sprinkled on a second layer, also shaking off the extra. I followed that with some more scenic cement to really lock everything down.
 |
| Path through cemetery. |
I stained the rear gate with my usual alcohol ink, and then left the cemetery to dry completely overnight.
 |
| Cemetery front gate. |
 |
| Cemetery rear gate. |
 |
| Impressive tomb in cemetery. |
Once the ground cover was fully dried, I drybrushed a light brown color (Camel) over it, followed by a lighter drybrush in Linen. I also painted some of the Spanish tiles on the entrance and gave it a brown wash (Gryphone Sepia from GW/Citadel).
 |
| First drybrush (Camel). |

Once that all dried, I just added some tufts of grass from Army Painter, and the cemetery was done!
So, what's next? Yesterday I received a small sailing vessel made by Thomarillion. It's a resin cast, so the first thing I did was give it a wash in dishwasher detergent to rinse away all the mold release, and leave it to dry. Now all it needs is some rigging and a coat of paint, and it'll be ready to sail the Caribbean.
Oh, and that shelf with pistols and cutlasses (from Ziterdes)? I have plans for that as well!
For ease of navigation, I added an index page to the blog with quick links to many of the most popular posts, which should make it easier to find anything you're looking for.
'Til next time!


No comments:
Post a Comment