On Labor Day I was able to gather with some gaming friends at Giga Bites Cafe in Marietta for some more Clash of Spears action.
There were four of us, and we decided to fight a four-player battle, with each player bringing 900 points of troops. Each leader would only be able to activate units from their own warband, but initiative bidding would be handled per team. The active team could choose one of its units to activate, then the other team, etc. In that way, the two warlords would have to confer and work together to decide which of their units to activate and when, but once the decision was made, the owning player would direct their own troops.
With our choices of warbands determined, the teams actually formed up quite nicely.
A combined force of Greeks (under Bryan) and Romans (led by Brett) would try and subjugate the noble tribe of Gauls (with Noah leading), with my Celt-Iberians coming to their aid. With that settled, battle was joined!
 |
| At the end of the engagement phase, the tokens are ready to be revealed. Both armies advanced fairly uniformly across the front. The mules served to mark the objectives. |
 |
| On the right flank of the tribesmen's line, the Gallic force massed in strength. |
 |
| The left flank (held by the Celt-Iberians) faces Bryan's beautifully painted Greeks, while Noah's Gauls would square off against Brett's Romans. |
 |
| Combat began towards the center, where the Celt-Iberian slingers drew first blood, whittling down the opposing Greek slingers. |
 |
| The brave Celt-Iberians can barely see the tops of the enemy spears, indicating the presence of cowardly Greeks hiding behind the hill. |
 |
| Not too much else happened that turn, as the forces worked to position themselves for the next round of combat. (Note however, Noah's cunningly placed cavalry unit. They were about to ride into glory and history!) |
 |
| Note the arrows that indicate the path of the Gallic charge into legend! |
 |
| Stage 1 of the charge led the horses straight into a unit of Greek spearmen. The charging cavalry win the combat, forcing the few surviving spearmen to fall back. |
 |
| The second part of the charge took the cavalry into the side of a second Greek unit. In the ensuing combat, the Greek spearmen were routed and destroyed. |
 |
| The surviving slingers, as well as the spearmen who made it unscathed through the cavalry's initial attack, lost their nerve and fled. Alas, the brave Gallic horsemen were themselves destroyed - their courageous charge having taken its toll on their fatigue. |
 |
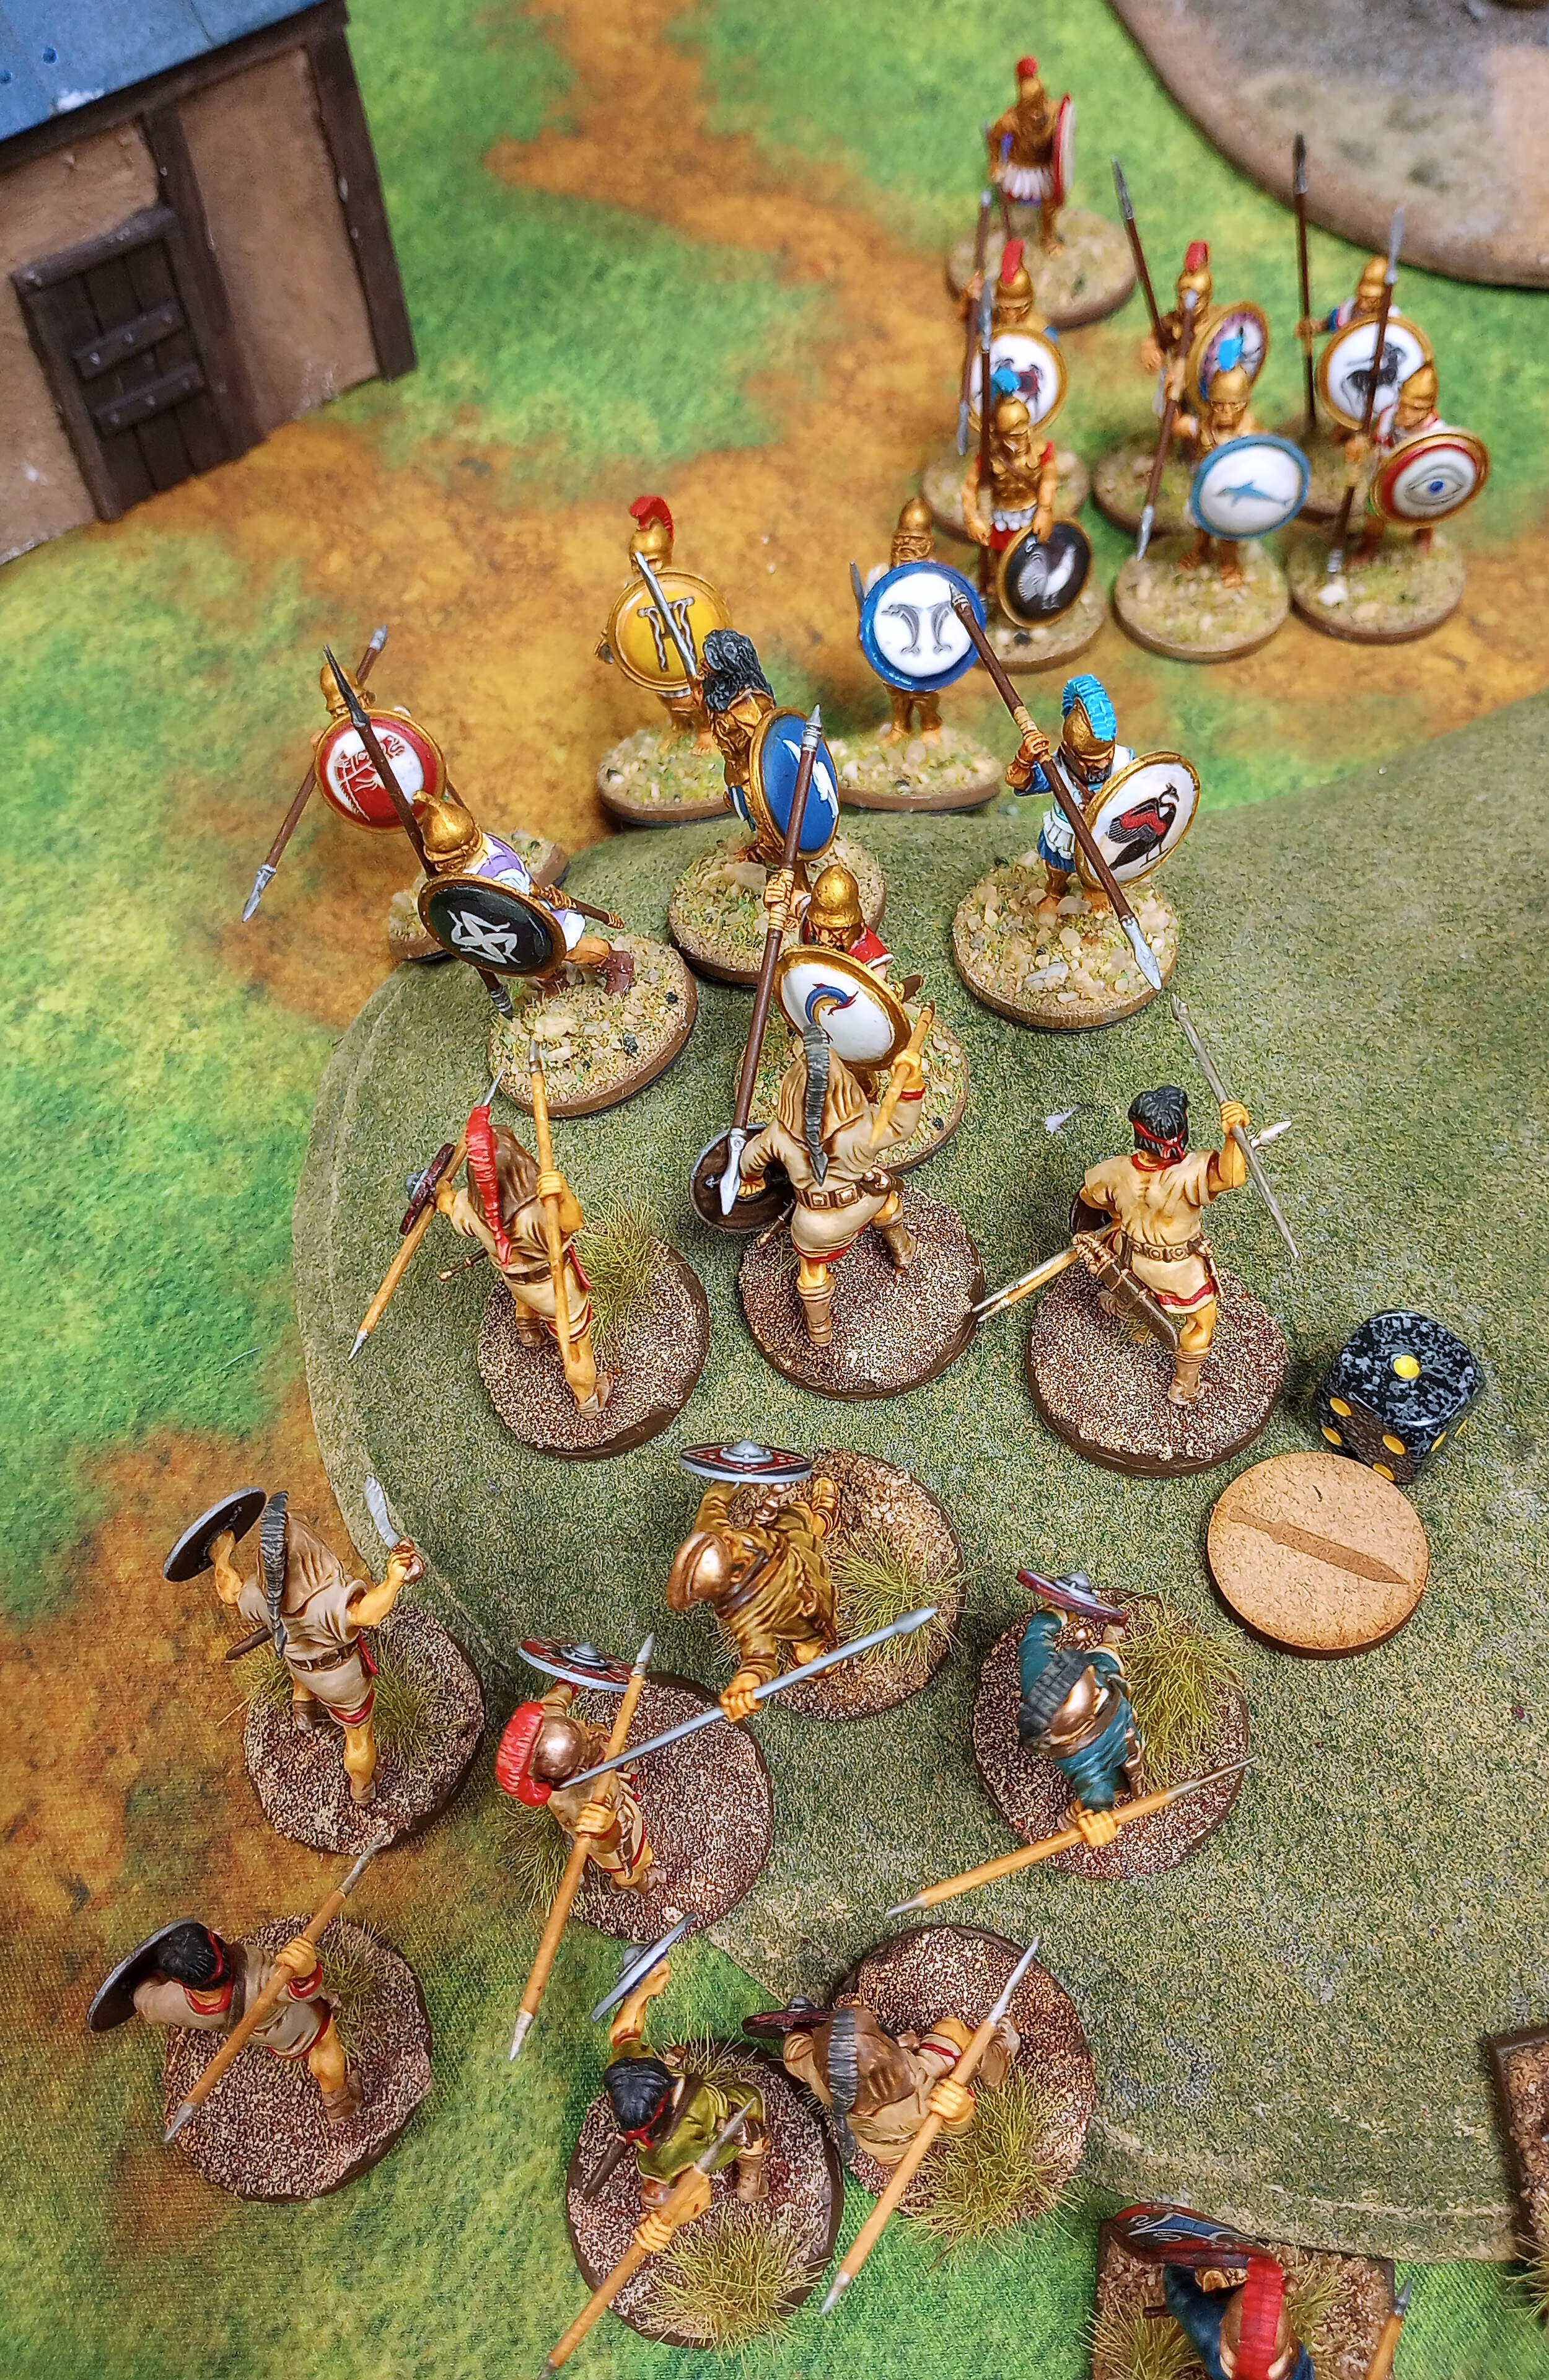
| Meanwhile, on the left flank, the unit of Celt-Iberian nobles manage to catch the vile Greek leader poking his head out too far from behind a building and unleash a barrage of javelins! |
 |
| I don't normally post photos of my dice rolls, but come on, this is a thing of beauty. The Greek leader failed saves meant he suffered enough wounds to kill him, but he called on his gods and they answered. After rolling again, he survived, albeit with only one wound remaining. |
 |
| At the end of turn 2, the effects of the Gallic cavalry charge can be seen, as the lighter Greek screening troops have been chased from the battlefield. |
 |
| Another end of turn 2 shot, showing more of the right flank, where the Gallic infantry was facing very tough Roman opposition. |
 |
| Having been caught out after attacking the Greek leader, the Celt-Iberian nobles face the wrath of the opposing cavalry, losing half their number. |
 |
| Again on the left, the hill would be site of many a bloody combat. In this instance the Greek spearmen were able to score some kills on the caetrati, forcing them back. |
 |
| Turning our attention back to the right flank, the well-armored Gallic nobles advance against the Roman legionnaires. |
 |
| Hoping to replicate the efforts of their mounted comrades, Gallic warriors charge into the fray! Unfortunately, it was not to be, as they were defeated by the disciplined Roman formation. |
 |
| Not wanting to seem cowardly in front of his men, the Gallic chieftain himself charges the Roman line. His attacks have some effect, but the unit survives mostly intact. |
 |
| Not to be outdone by his ally, the Celt-Iberian leader charges around the field, catching his wounded Greek counterpart and challenging him to battle! |
 |
| Another view of the leader duel, just because it was a great cinematic moment in the game between two really nicely painted models (if I do say so myself). |
 |
| This time, the Greek's fickle gods abandoned him, and he was defeated! |
 |
| Celt-Iberian scutarii and Greek spearmen face off trying to claim the mule. |
 |
| The scutarii are repulsed, leaving the hill to their enemies. |
 |
| By the end of the turn, the Greeks had successfully pushed back the Celt-Iberian advance, but the fighting had taken its toll and they broke. On the right, the Gauls had suffered at the hands of the Romans, but still hung tough for the moment. |
|
 |
| The Roman line having finally broken, they were more vulnerable to stones fired by the slingers and took some casualties. |
 |
| The caetrati also targeted the disordered Romans, destroying the unit. |
 |
| At the end of turn four, the Gauls failed their force break test - unable to bear more punishment at the hands of the Romans they flee. The Romans passed their break test, but their commander saw the writing on the wall and conceded the field to the tribesmen. |
 |
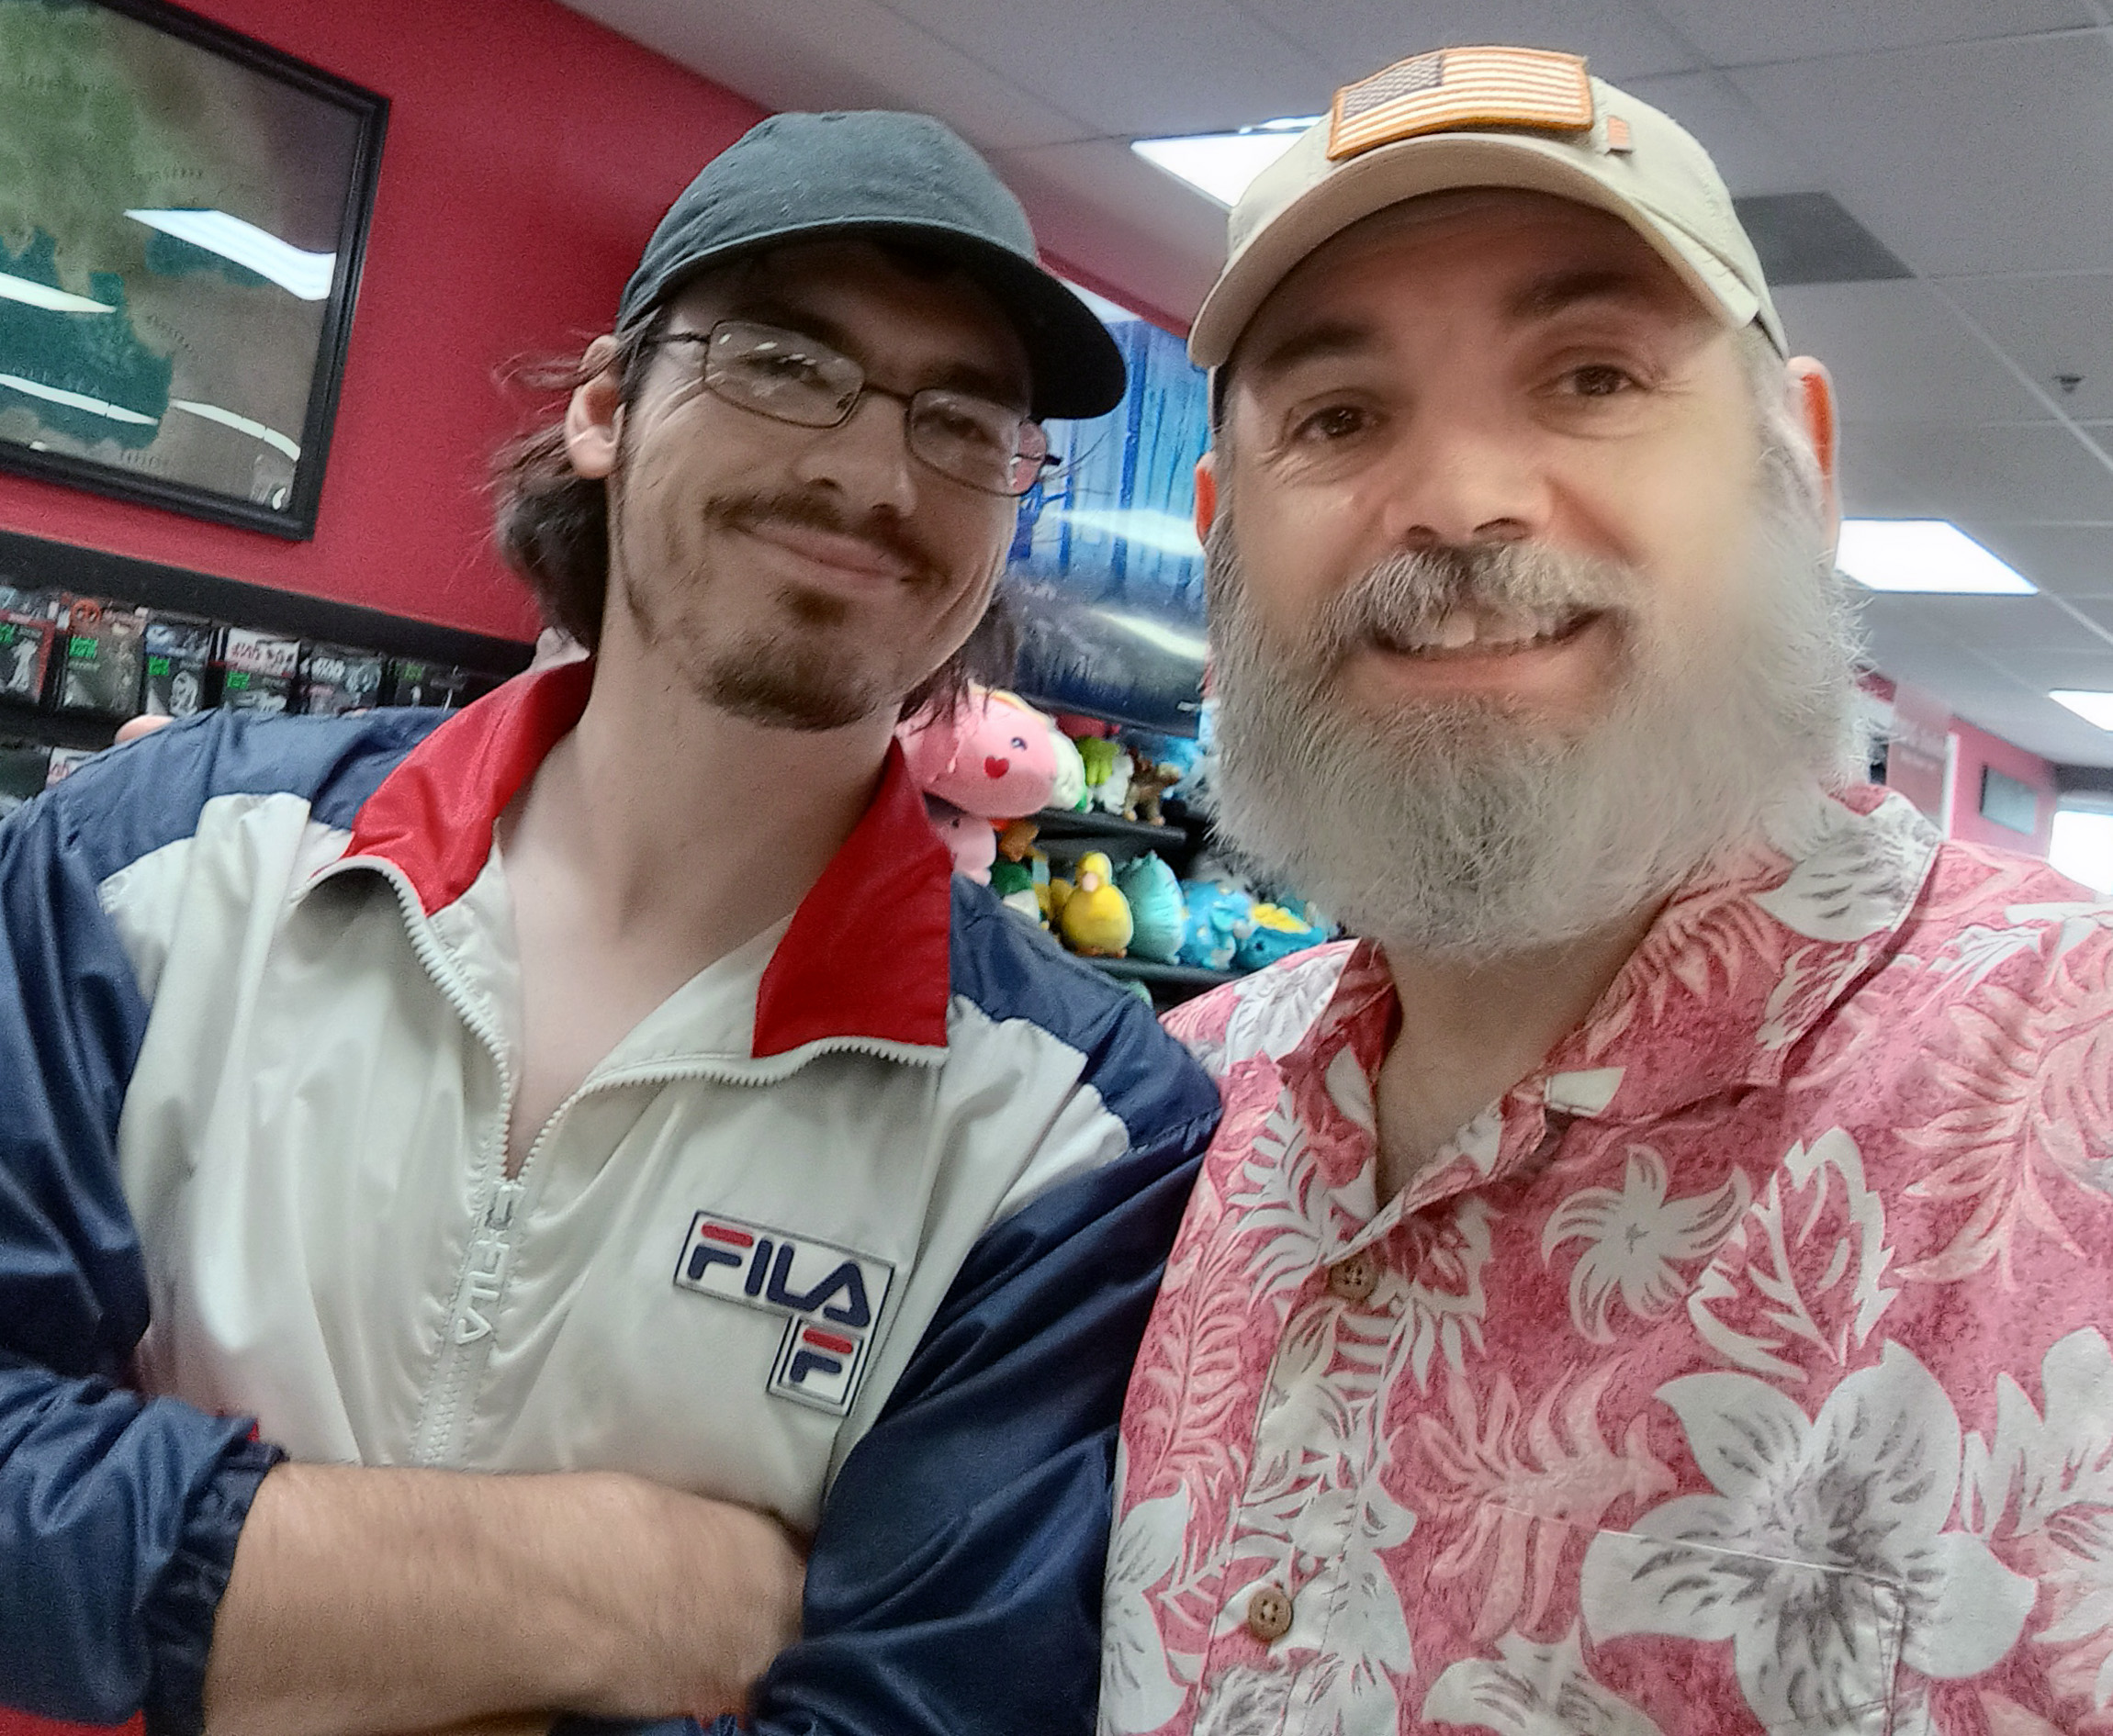
| The Greek (Bryan on the left) and Roman (Brett on the right) commanders after the battle. Wait! Why are they so happy? They lost! Do they know something I don't know? |
 |
| The victorious chieftains! The leaders of the Gallic warriors (Noah on the left) and Celt-Iberians (vacation-mode Santa on the right) after their hard-won victory. |
Another great day of Clash of Spears is in the books. We all had a great time and enjoyed the fellowship and friendly, mostly, competition. For me, personally, it was really nice to game with Bryan again after a too-long hiatus, and to make new gaming friends in Brett and Noah. I am really looking forward to playing with them again as we continue to Clash!
'Til next time!


