After months of conflicting schedules and just general busyness, I was finally able to get to my friend David's house last weekend for a bit of wargaming. He invited another gamer, his neighbor Stephen, and we enjoyed a day of Black Power action, recreating a British raid on a colonial stronghold during the Revolutionary War.
When we arrived, we found that David had already set up the field of battle, and prepared the forces. Stephen and I would command the British troops, and a band of privateers, while David led the colonial rebels.
On the left flank, Stephen was in charge of the privateers, accompanied by some Royal Marines. They would assault the rebel fort. On the right, Stephen led a column of infantry, while I commanded another column of infantry and a small detachment of cavalry. Stephen had played using
Warlord Games'
Black Powder rules before, so we let him control the bulk of the British forces, while I concentrated on learning the rules.
Here you see the peaceful village, unaware of the destruction that is about to visit them.
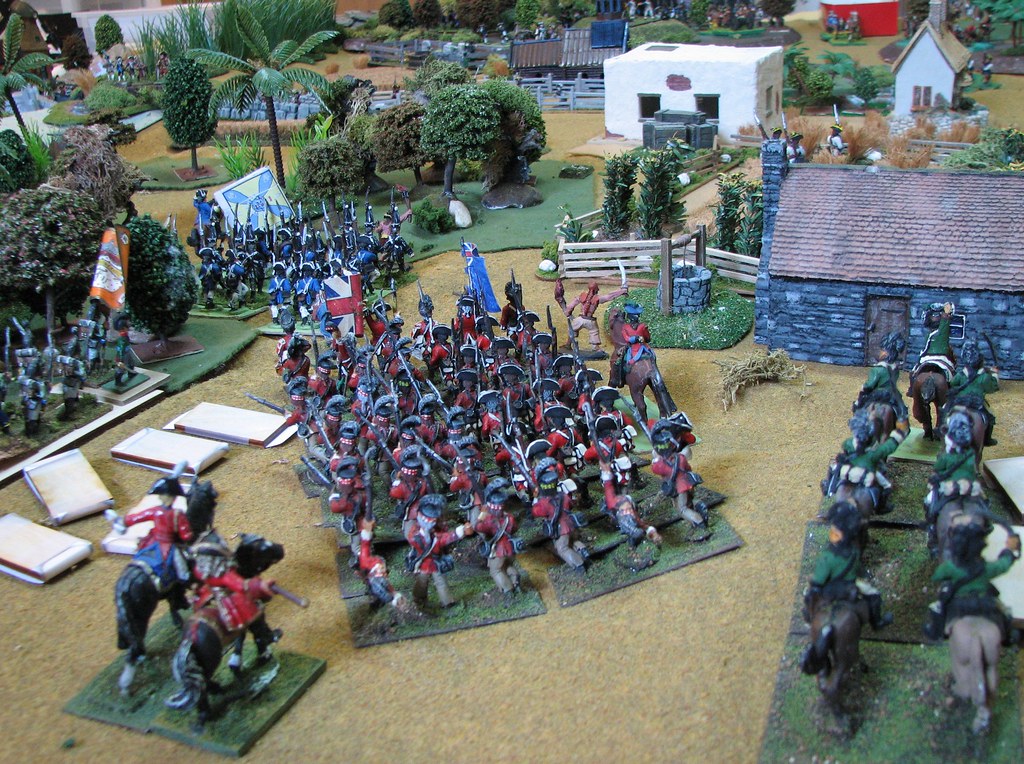
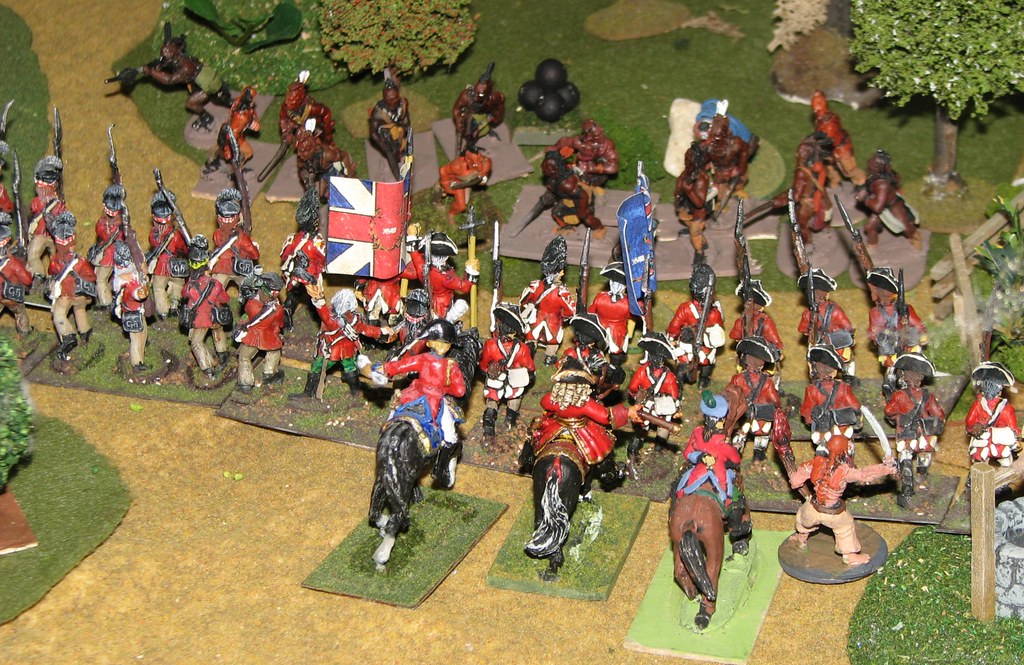
The British forces begin the advance along the right flank.
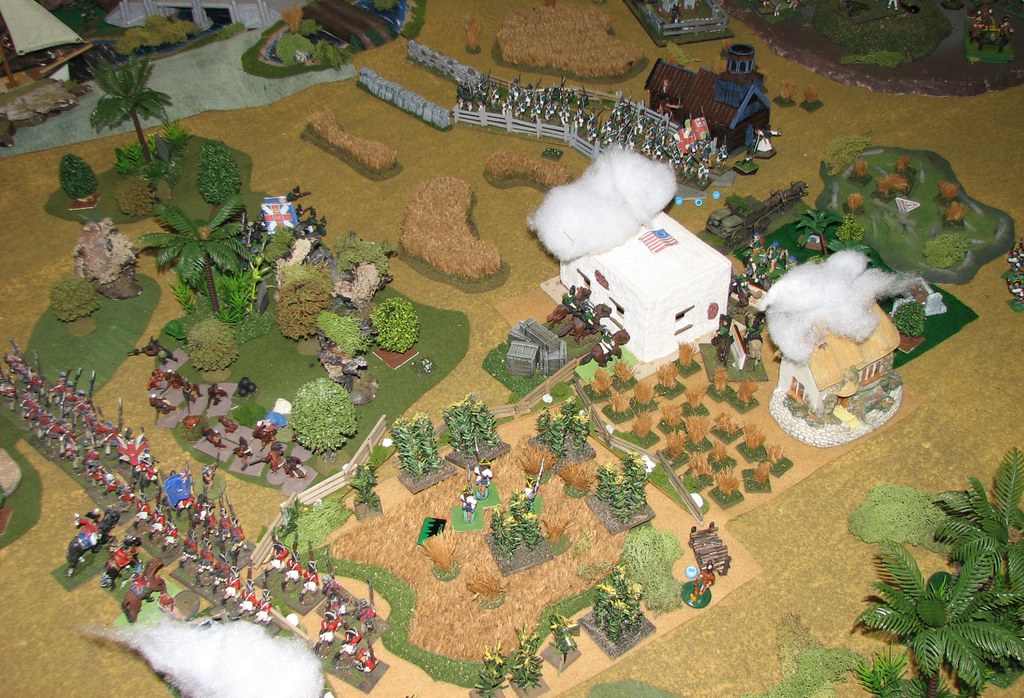
An overview of the field. The privateers and marines are at the top, assaulting the fortress. The advancing infantry and cavalry are at the bottom.
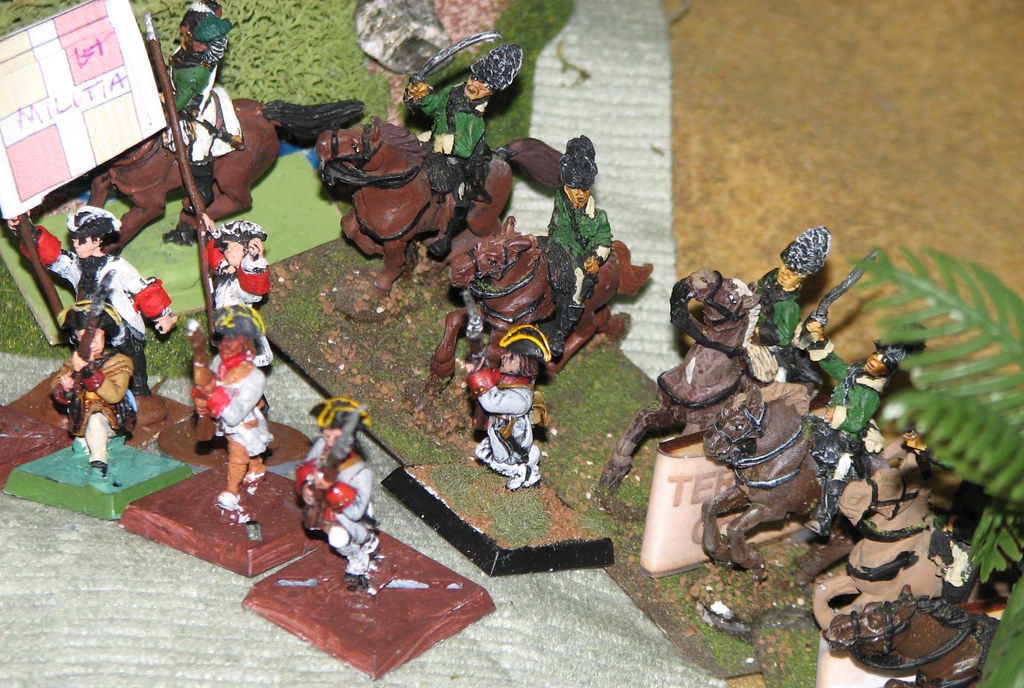
In the middle of the field, some hearty militiamen wait for the inevitable...
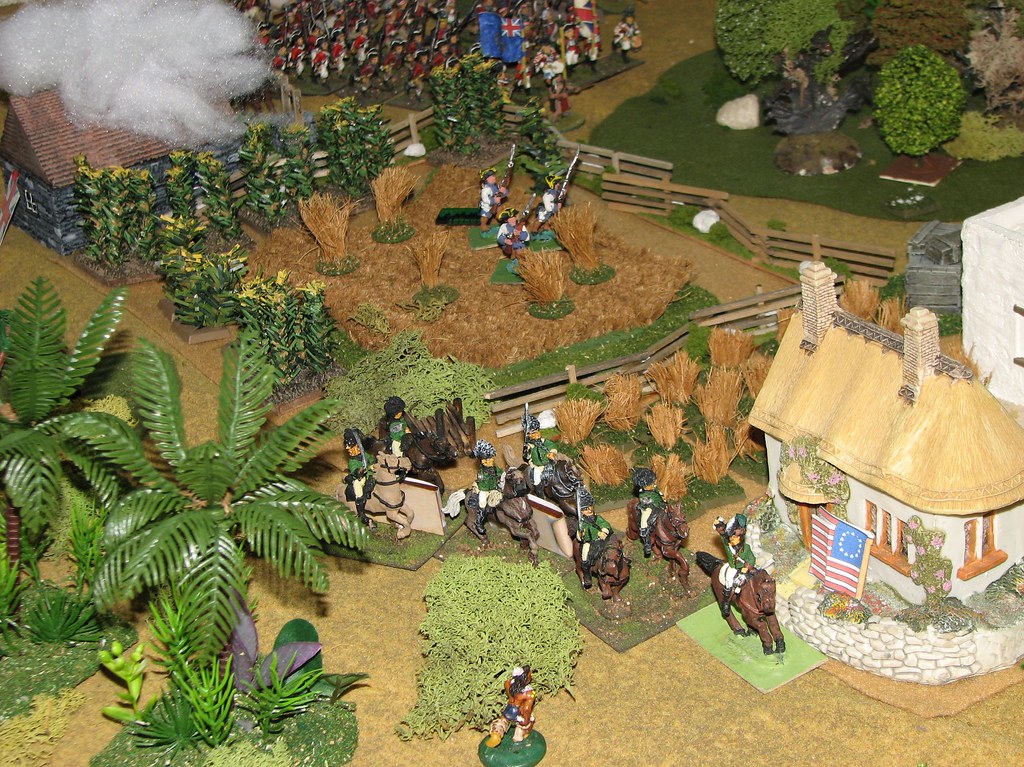
After burning the first home (which unfortunately turned out to belong to a local royalist... ooops!) the cavalry advance on the next homestead.
Some natives gather and concentrate behind the woods, waiting for the moment to strike.
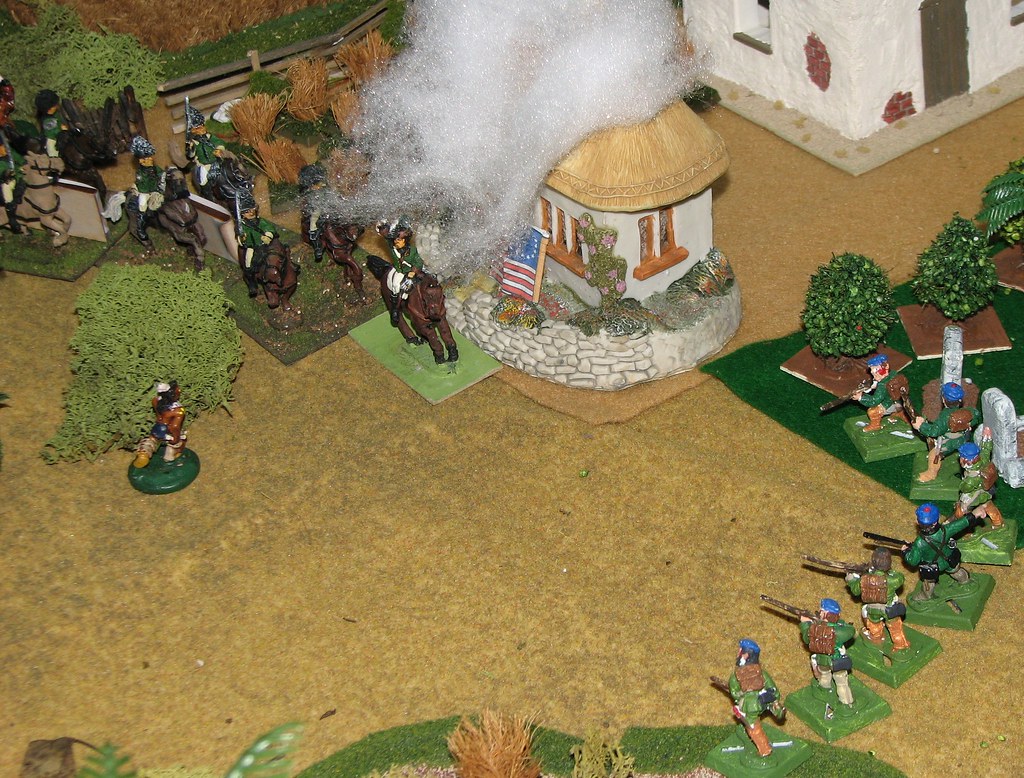
Meanwhile the cavalry torches another home, this one at last belonging to a rebel. But the forces of independence have a small unit attempt a counterattack.
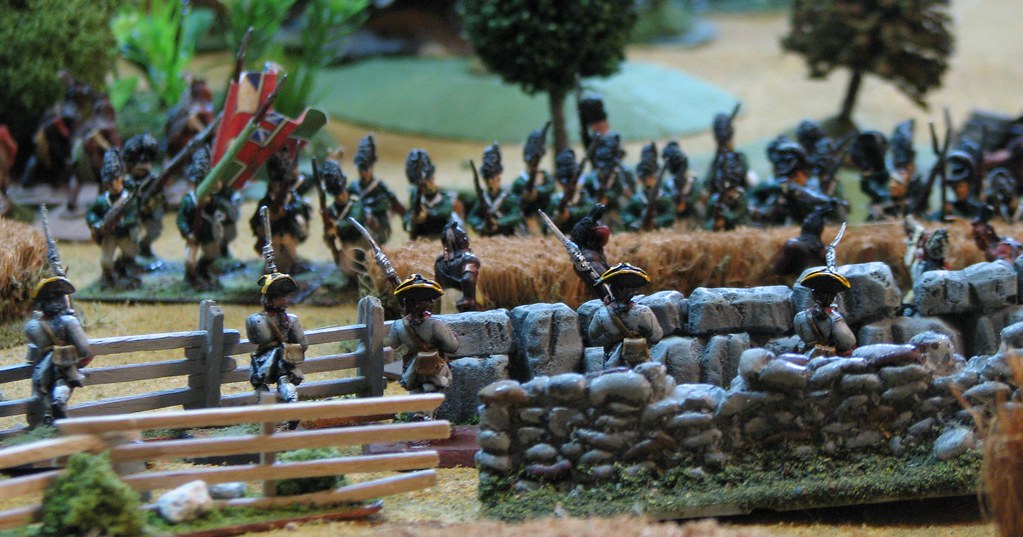
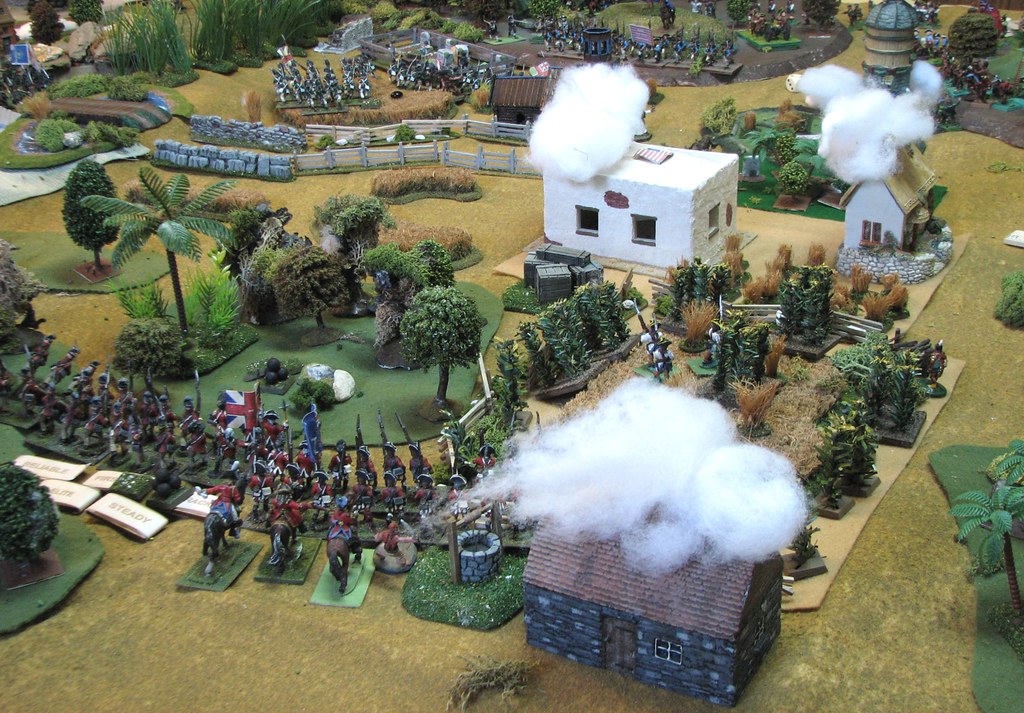
In the center, the British forces finally arrive at the wall. Natives wait in the cornfield as the militia prepares to receive the attack.
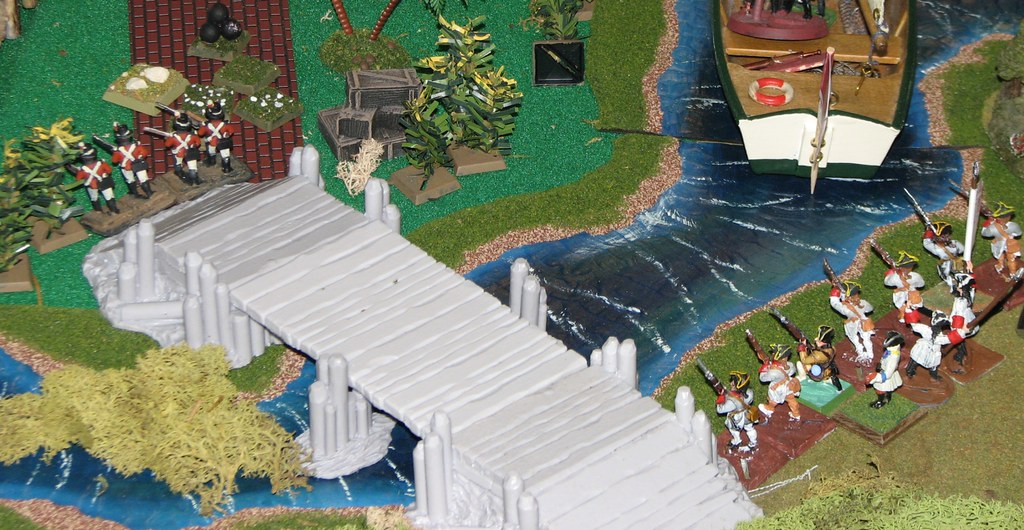
To the north, the Royal Marines have made landfall, but find their way across the bridge blocked by a ragtag unit of rebels.
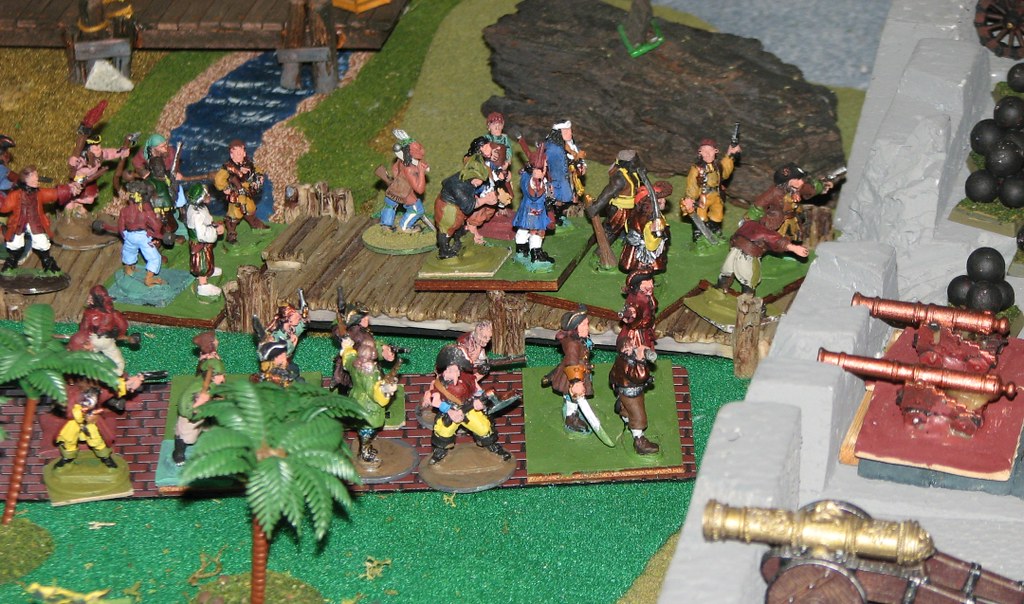
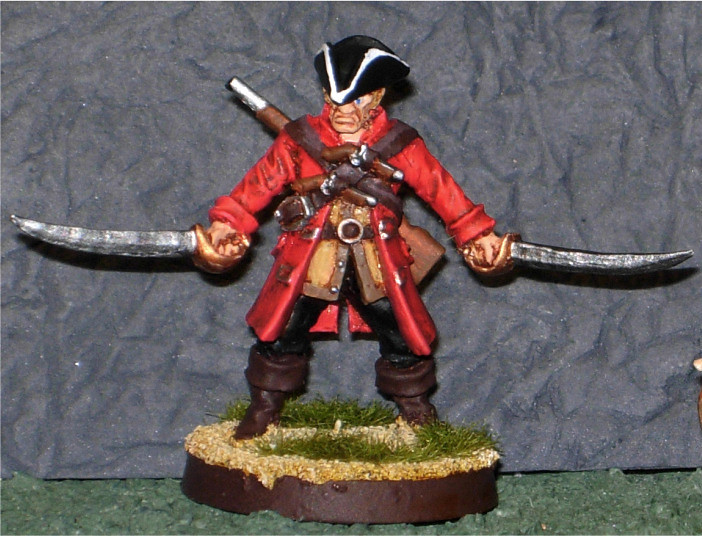
Meanwhile, the privateers (really no more than a bunch of pirates) assault the fortress.
The natives must be driven from the woods - whatever the cost.
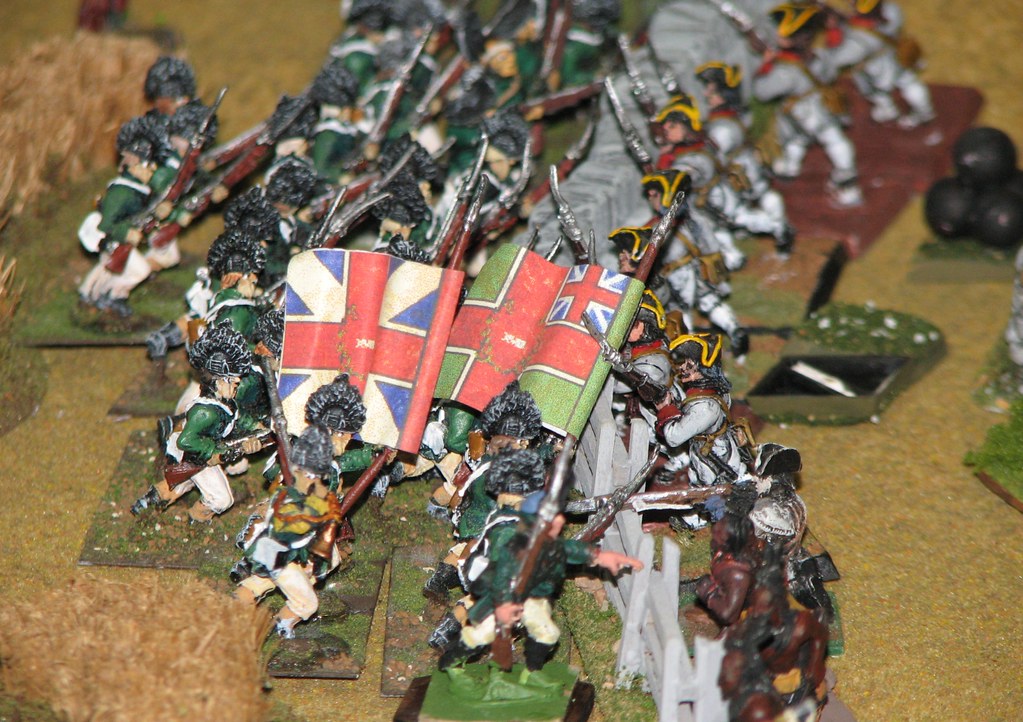
The British are charging in multiple locations as once, as the center column makes contact with the rebels - driving them off!
On the bridge, however, the marines are driven back. Cowards!
This overview of the right flank shows the successes of the British advance. Three houses are burning (though only one belonged to a rebel... someone is sure to file a complaint!), the natives are close to being defeated in the woods, and the left column has beaten back the militia, taking a solid defensive position along a road.
One unit of rebels rolls a blunder...
... which moves it into the perfect location to be charged in the rear by the cavalry and destroyed!
By the time we had to stop play, the right side of the board was solidly in control of the British, with four houses burning (50% of them rebel) and the American colonials in retreat.
All in all, it was a very enjoyable game. I like the way the Black Powder rules flow. I will need more practice with them to feel fully comfortable, but it was a good first game for me. David did a great job of hosting and teaching the rules, and it was good to have Stephen on my side to keep David honest. :)
I don't see myself getting into
Napoleonics and large scale horse and musket gaming in a big way, but I am looking
forward to some more Black Power at David's in the near future.
'Til next time.


2 comments:
Fantastic pictures (don't) worry we will lure you into this side of wargaming eventually (resistance is futile) LOL
Holy cow. What a table! AWI isn't my thing but with a table like that I'd play anything.
Post a Comment