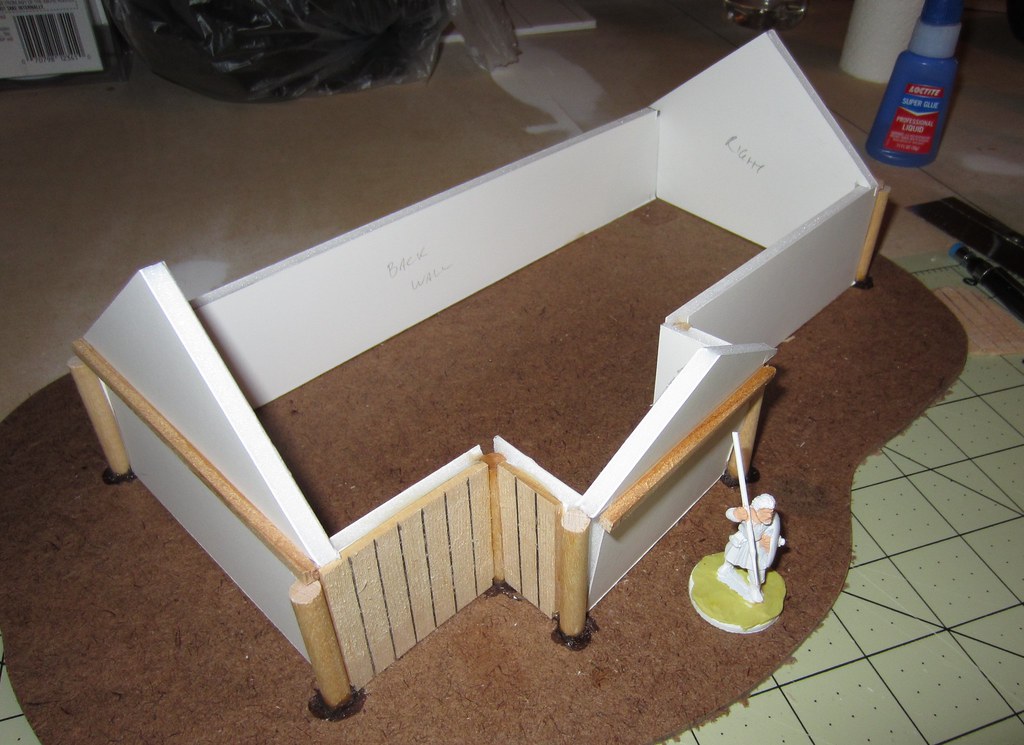
First I measured and cut the ends of the building, and the short wall where the door will be. These were not glued in place yet, simply placed to make sure they'd fit.
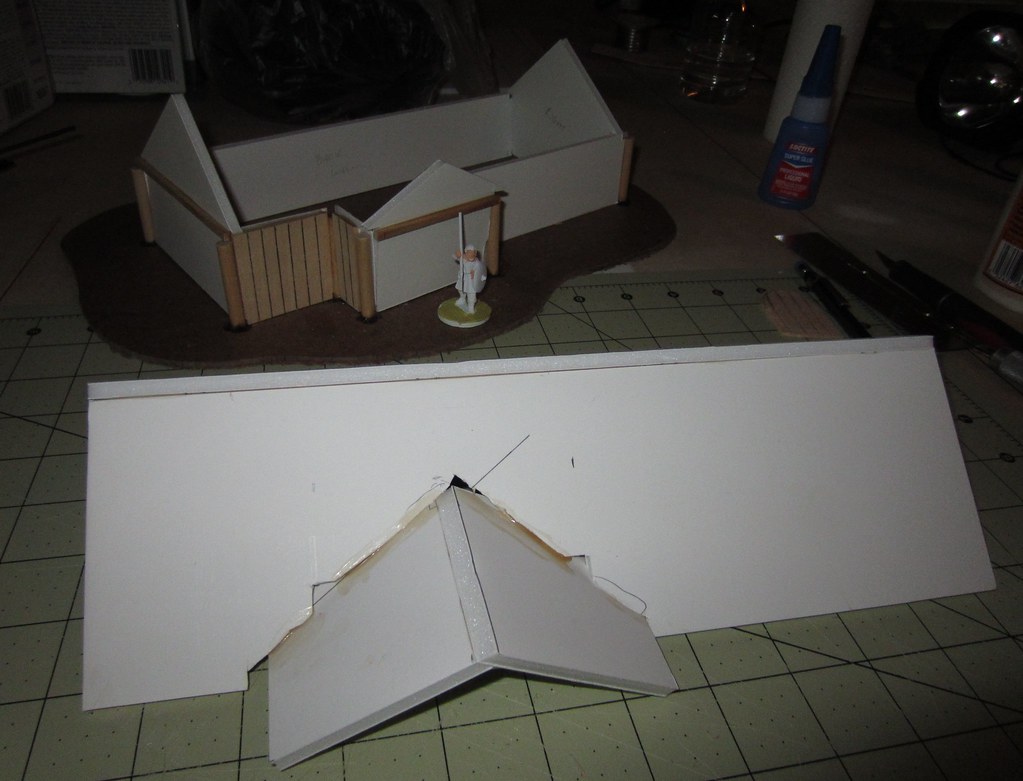
I was debating how to do the roof - whether or not to make it removable. Ease of construction vs being able to put troops actually inside the building during games... In the end I decided to make a lift-off roof. I measured and cut the foamcore, and glued it together. This required a lot of test fitting and trimming to get right.
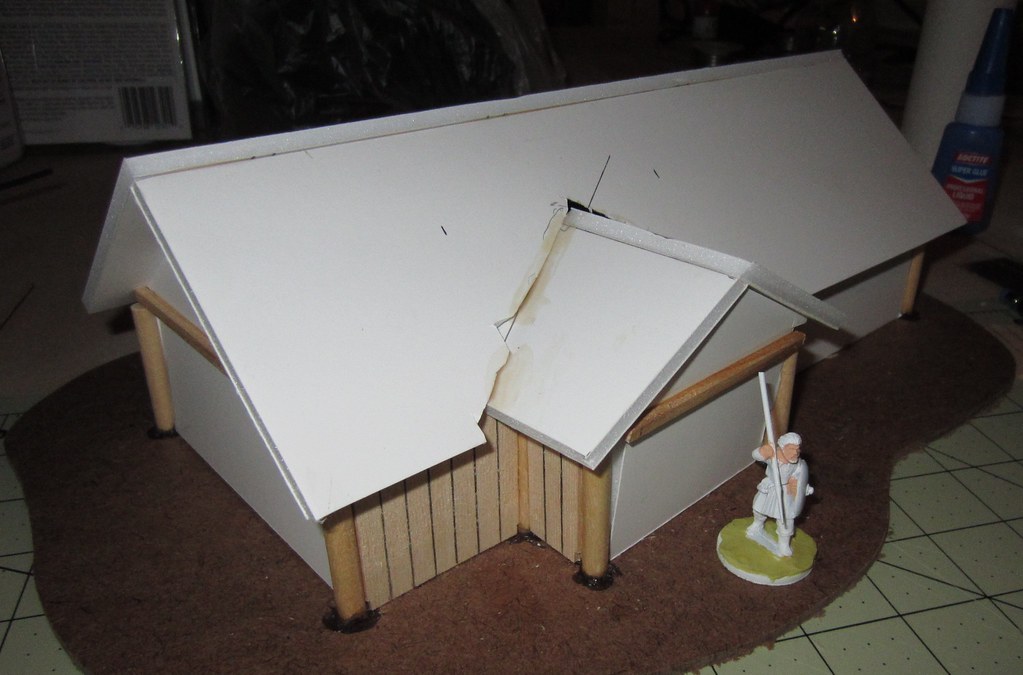
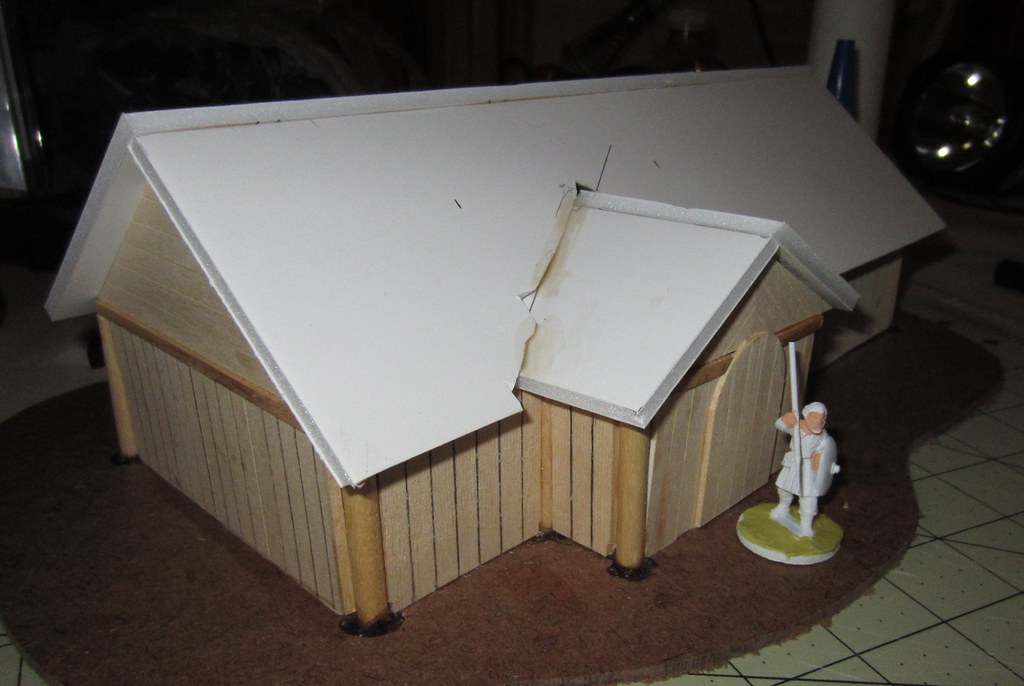
Here you can see that the roof is, indeed, removable. Don't worry about the gaps. While they are larger than I hoped, they'll be completely covered by the teddy bear fur I will use as thatching.
I used balsa wood for the wooden walls. I scribed lines, using a pencil, every 1/4 inch. I also scraped a saw blade edgewise along the wood, to give it a "grain." While this is not visible in the photos, I am hoping it comes out nice after I paint and stain the walls.
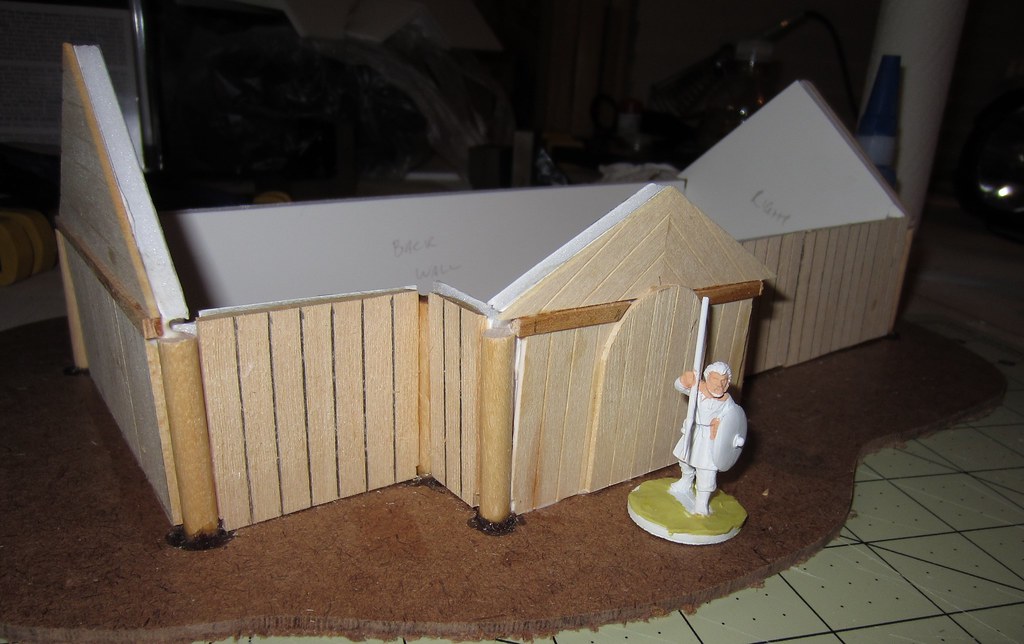
Here you can see the completed walls (the one wall that isn't done yet is the rear wall). Having the roof on the building give a good indication of what the hall will look like when it is complete.

The next steps will be completing the wood on the back of the building, and gluing the fur thatching on the roof. After that, just the landscaping and painting. Hopefully it will be done within the next week or so, but as always, we'll see how "real life" impacts that schedule.
'Til next time!


1 comment:
This is useful! I've linked your work in my article - https://alkony.enerla.net/english/the-nexus/miniatures-nexus/miniature-hobby/miniatures-miniature-terrain-scenery-resources
Post a Comment