It's a fast and furious game of arena combat between various mythical factions and beasts. There is NO ranged combat - it's all close in and personal!
So, what does the game require in terms of terrain- an arena, of course! Filled with plenty of traps, hazards and other dangers.
A quick search of the internet showed that some people were using the Playmobil Roman arena (set 4270) as the basis for their gladiatorial terrain. In fact, the Arena Rex guys themselves take one to conventions!
Since I happen to have one of those arenas taking up space in my basement from my Playmobil-collecting days, that was obviously the easy way to go. I measure the arena, determined that it would fit perfectly on a 3' by 3' table, and set off to gather materials.
I used a 1/2 inch thick sheet of MDF for the base, cut to 3' by 3'. I framed it in 1x2s, making sure to countersink all the screw holes. Since the flat part would be the underside of the board, I wanted to make sure it would not scratch whatever surface it was placed on.
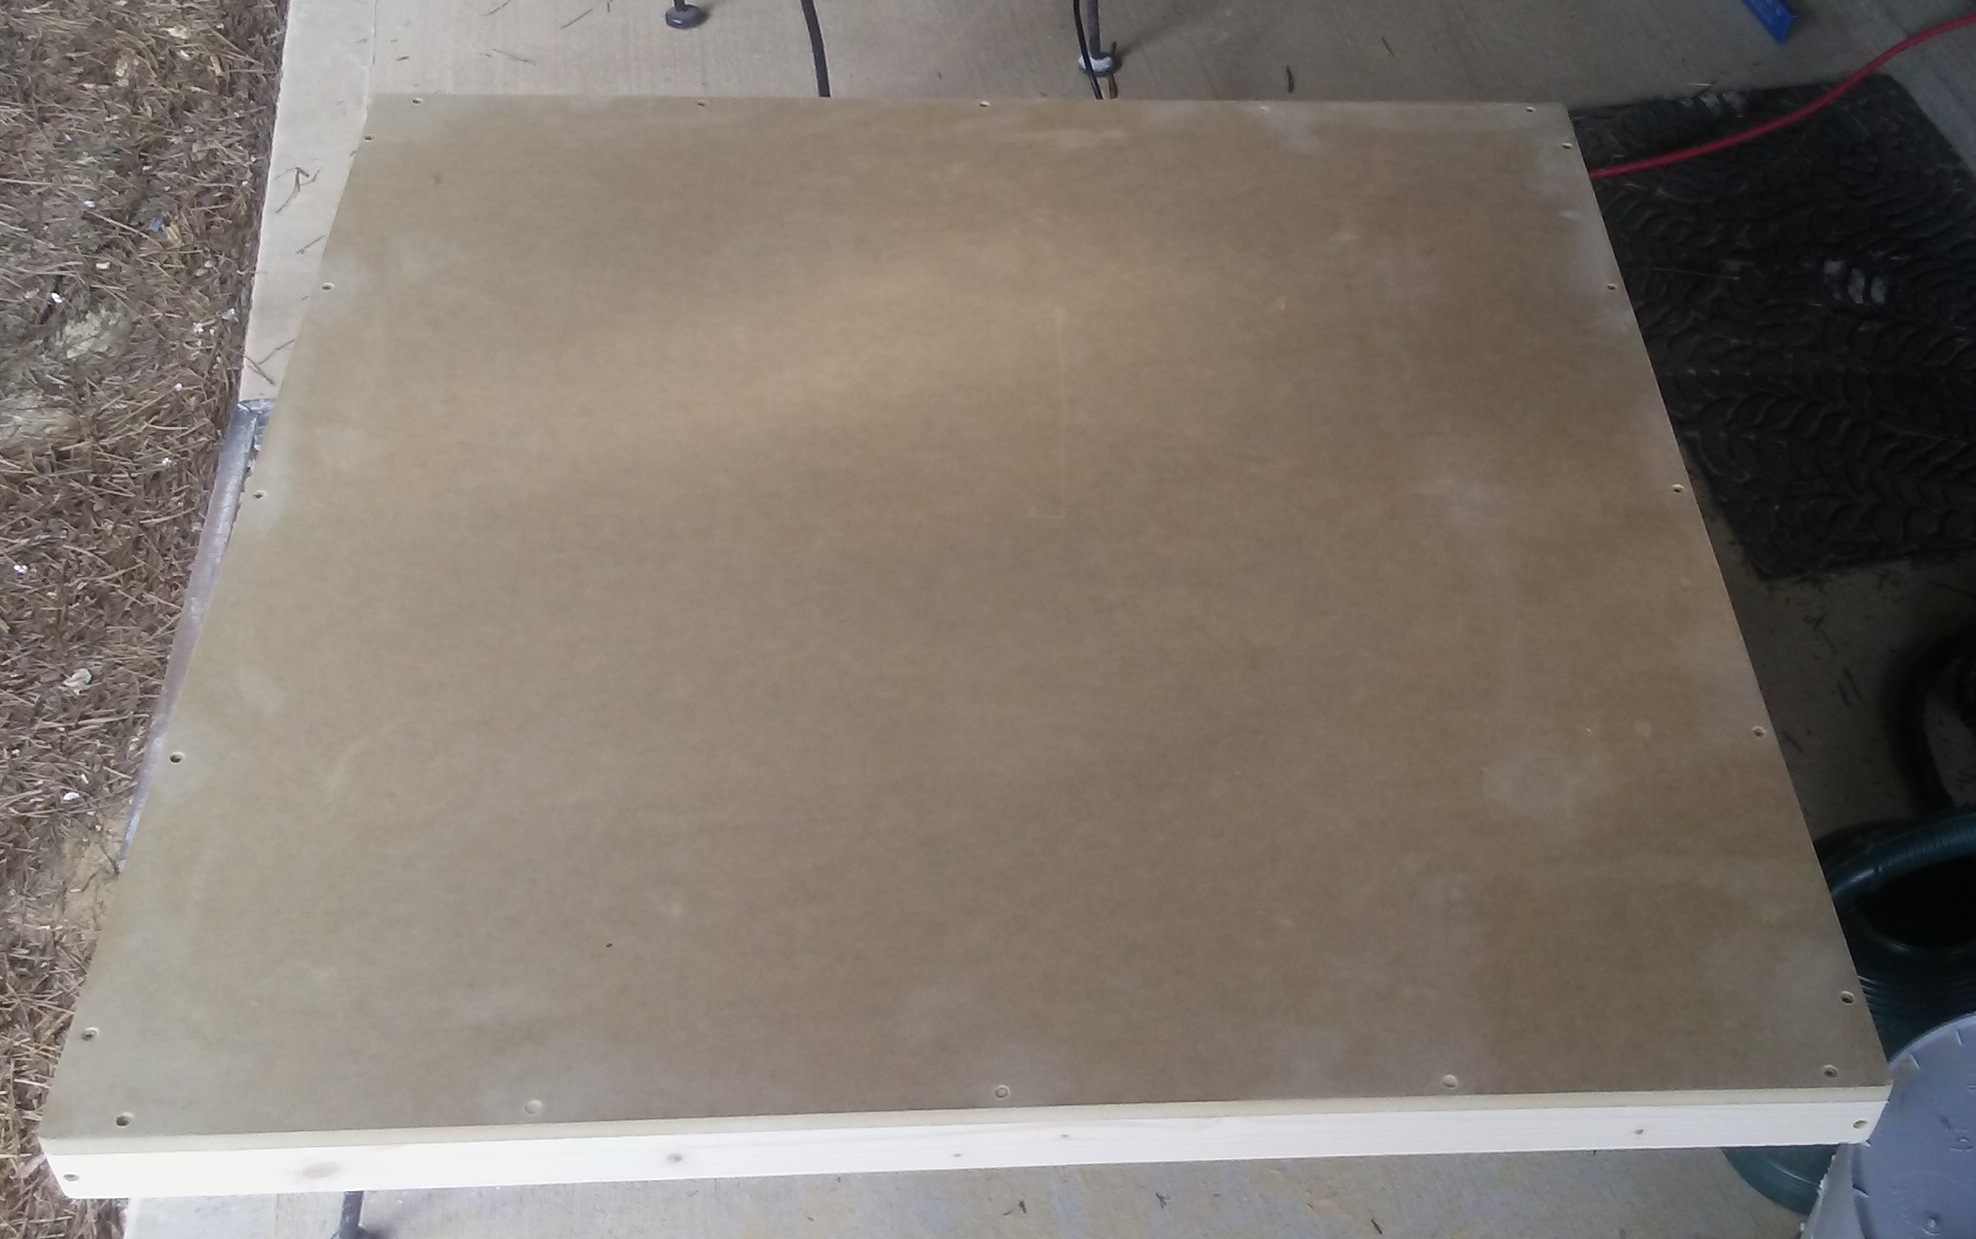 |
| 3' by 3' arena board (bottom view) |
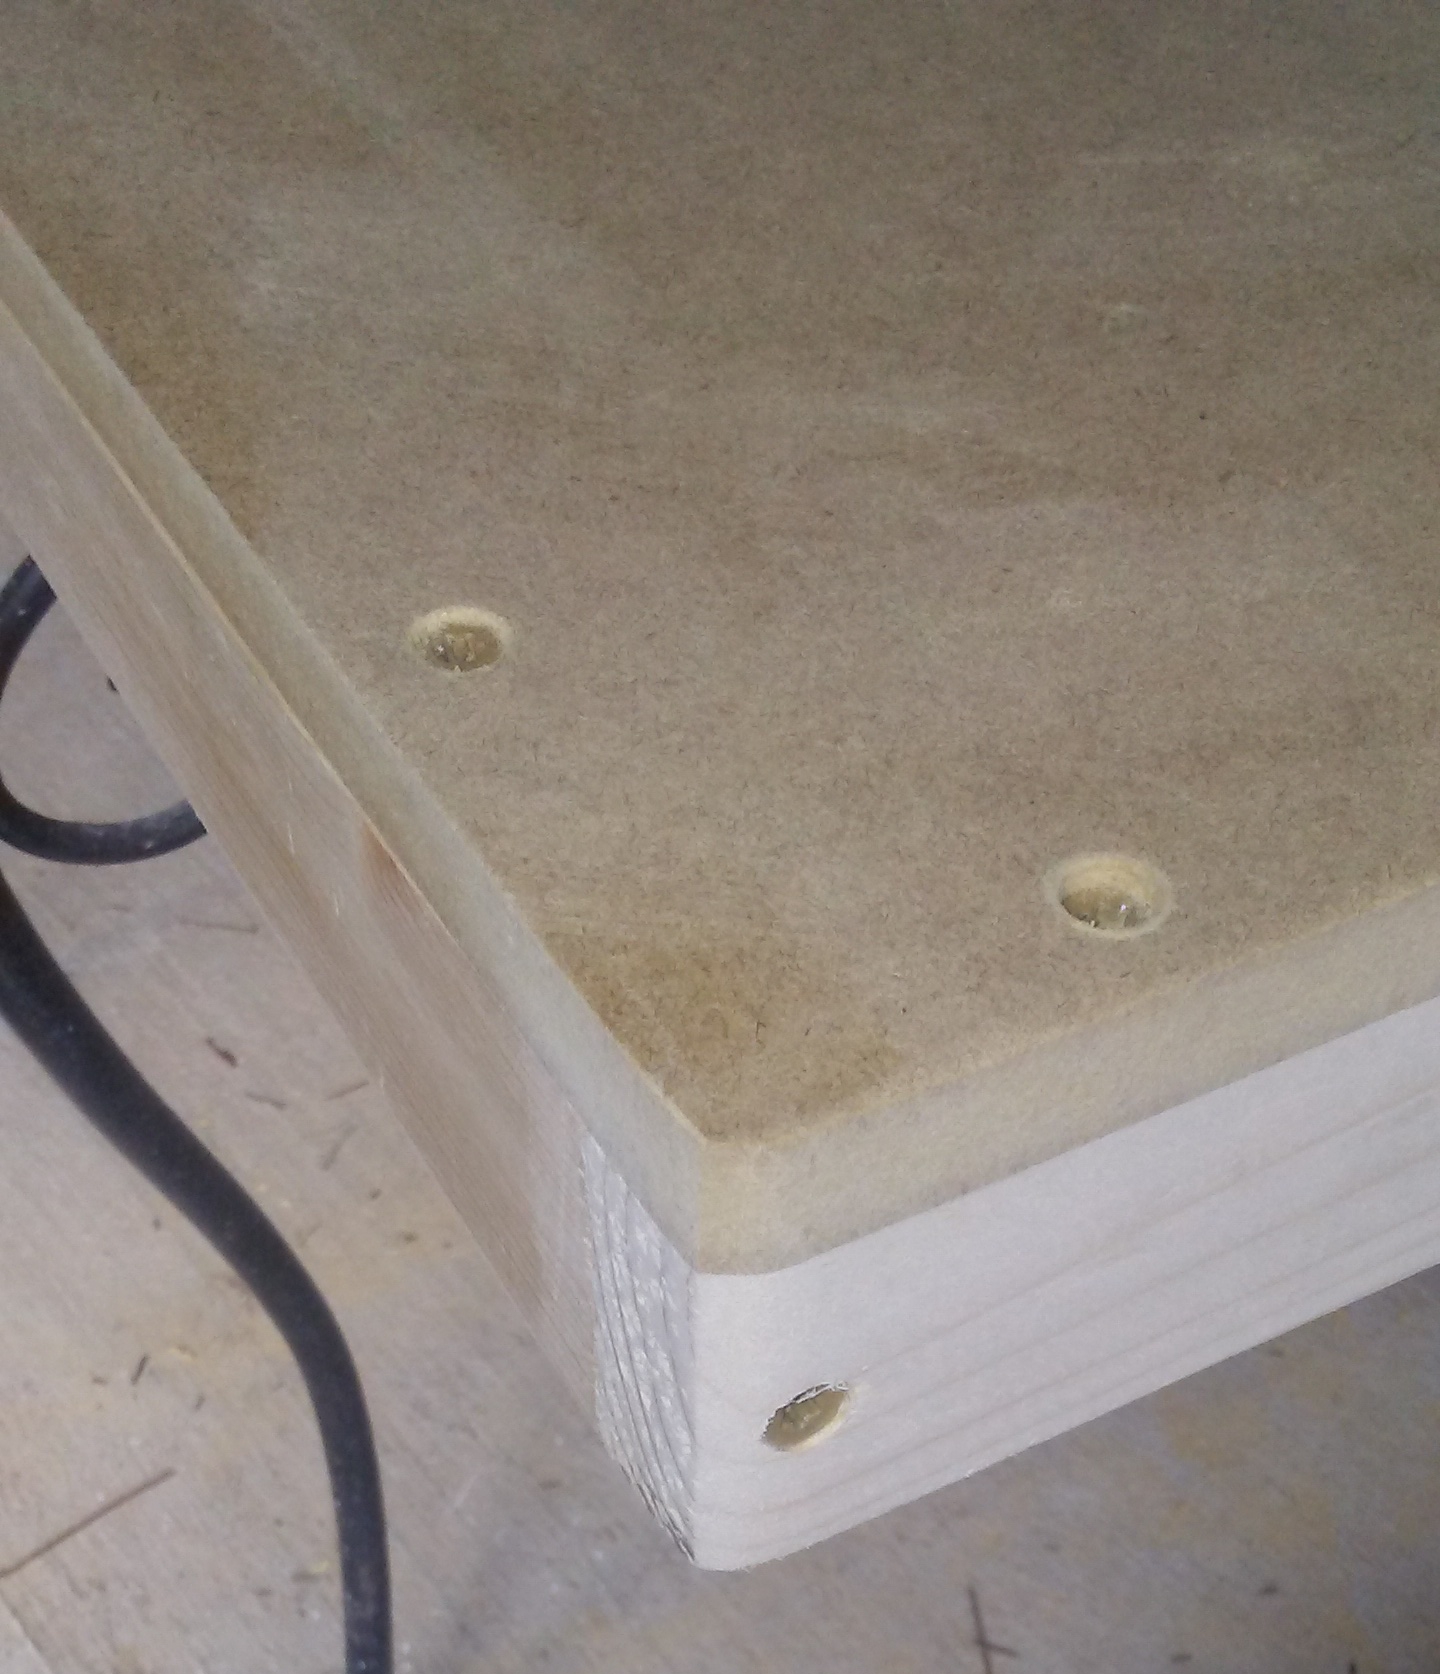 |
| Sanded corner, countersunk screw holes. |
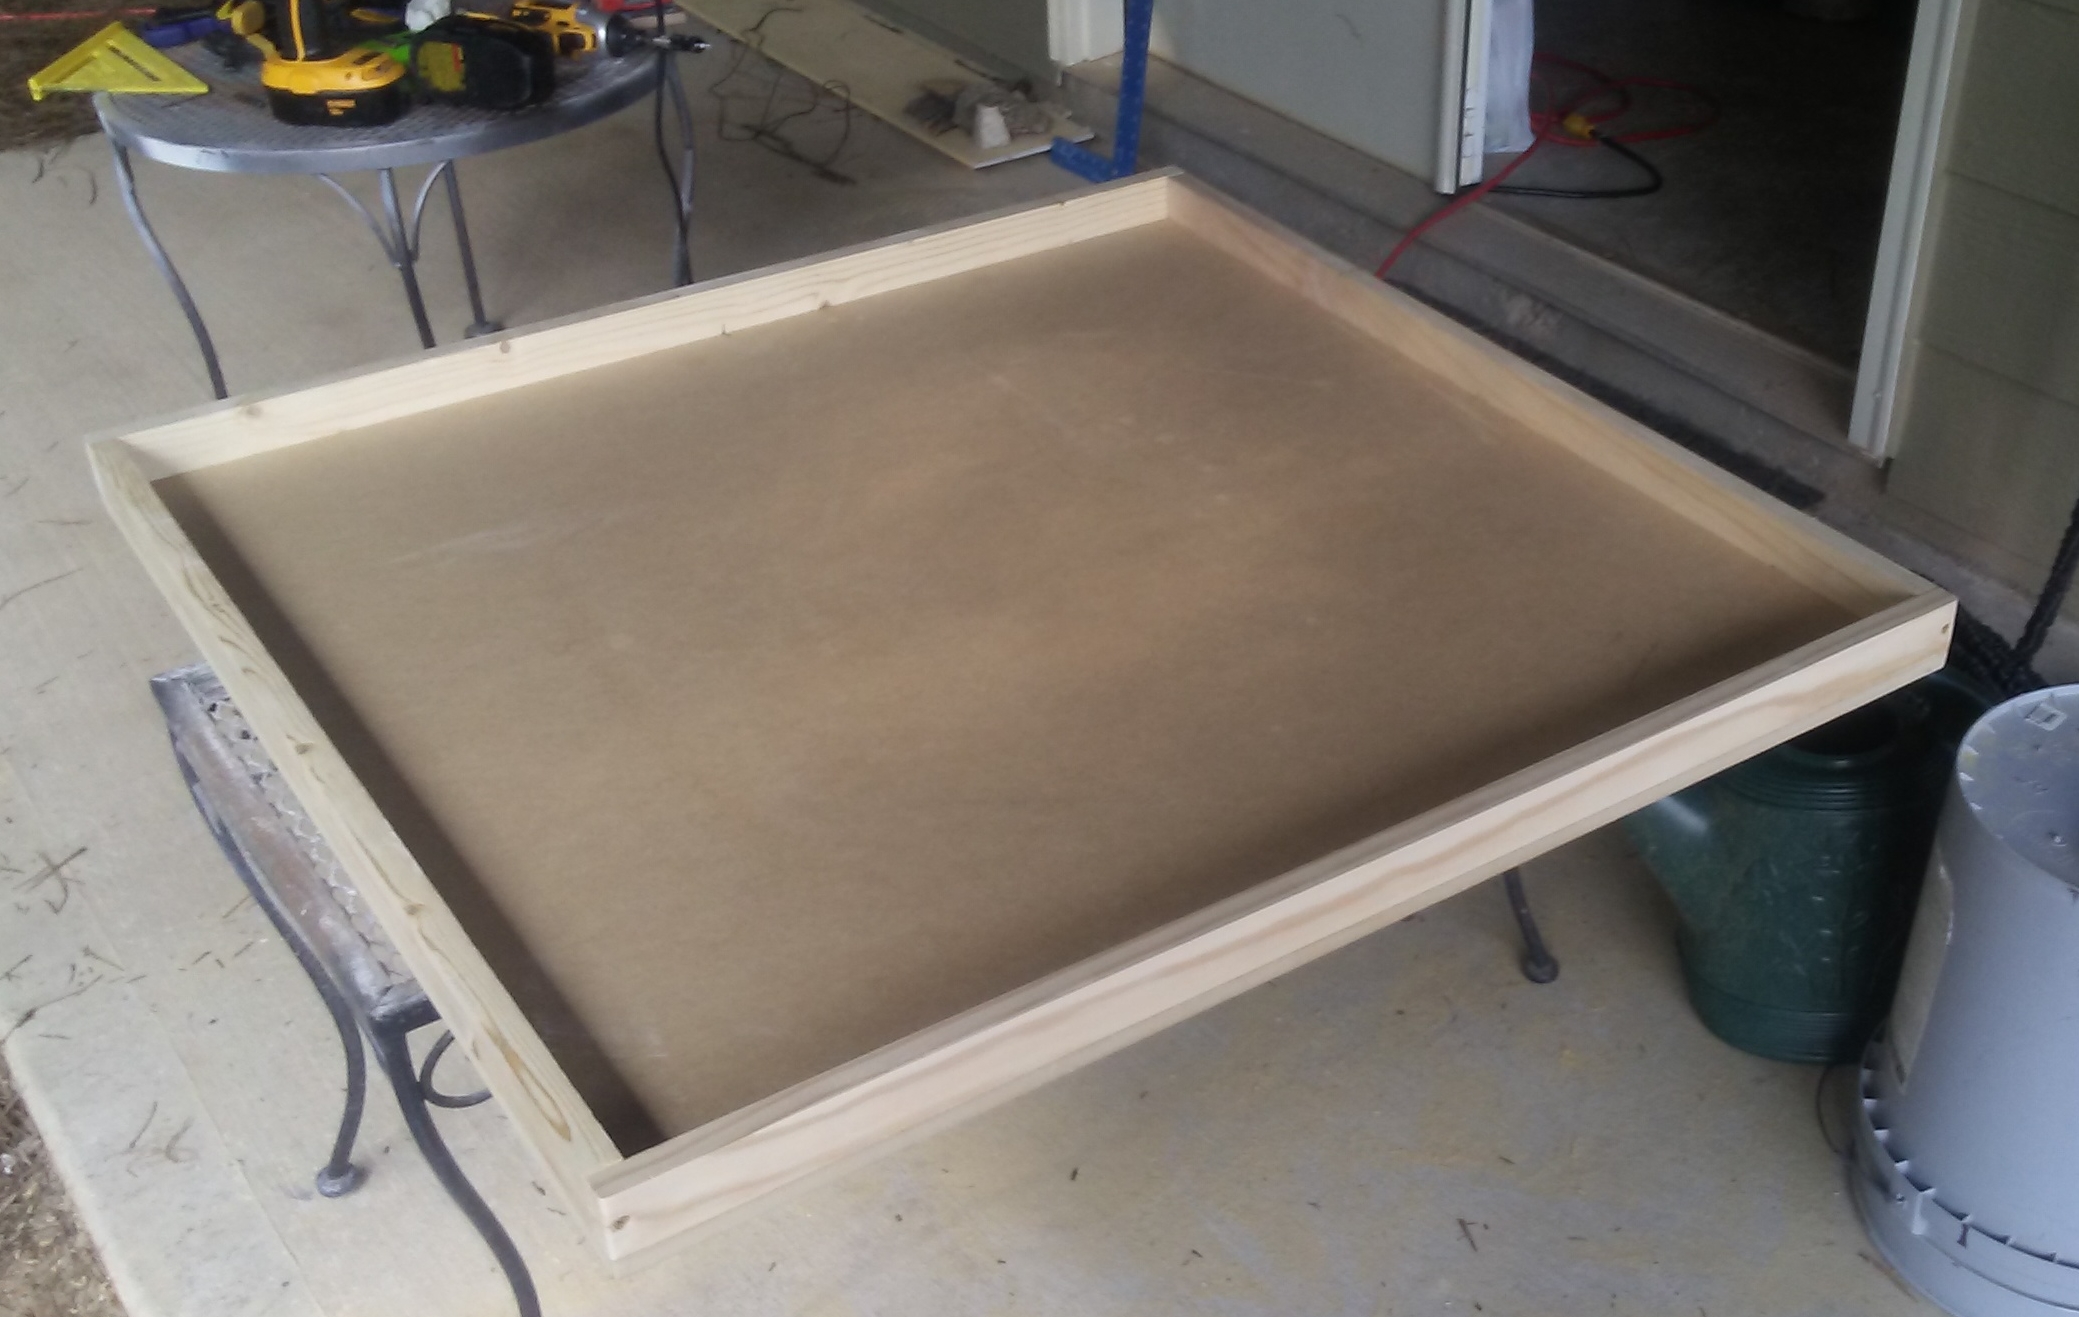 |
| The completed frame, ready for paint. |
I did not like the natural wood color, so I grabbed a can of dark brown spray paint from my stash and covered all the edges that would be visible.
 |
| Painted board. |
The inside area would be filled with insulation foam. I bought a sheet of 1" thick foam (and was amazed at how expensive it has gotten!).
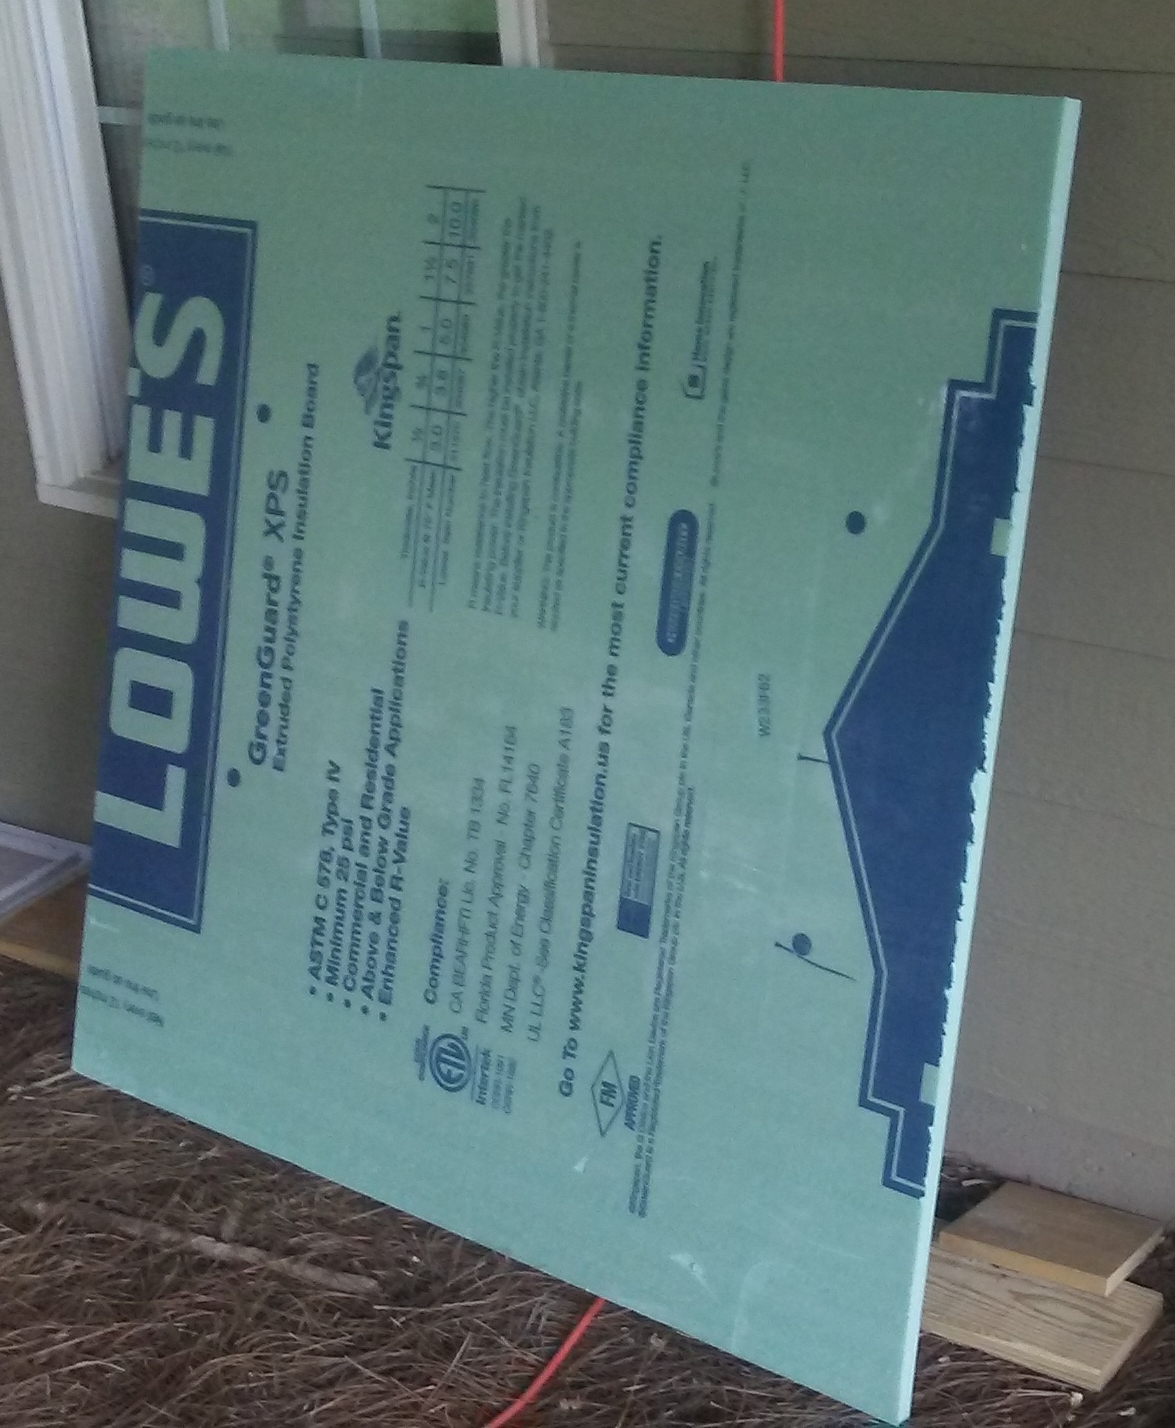 |
| 1" thick insulation foam. |
After some careful cutting and fitting, here's the result:
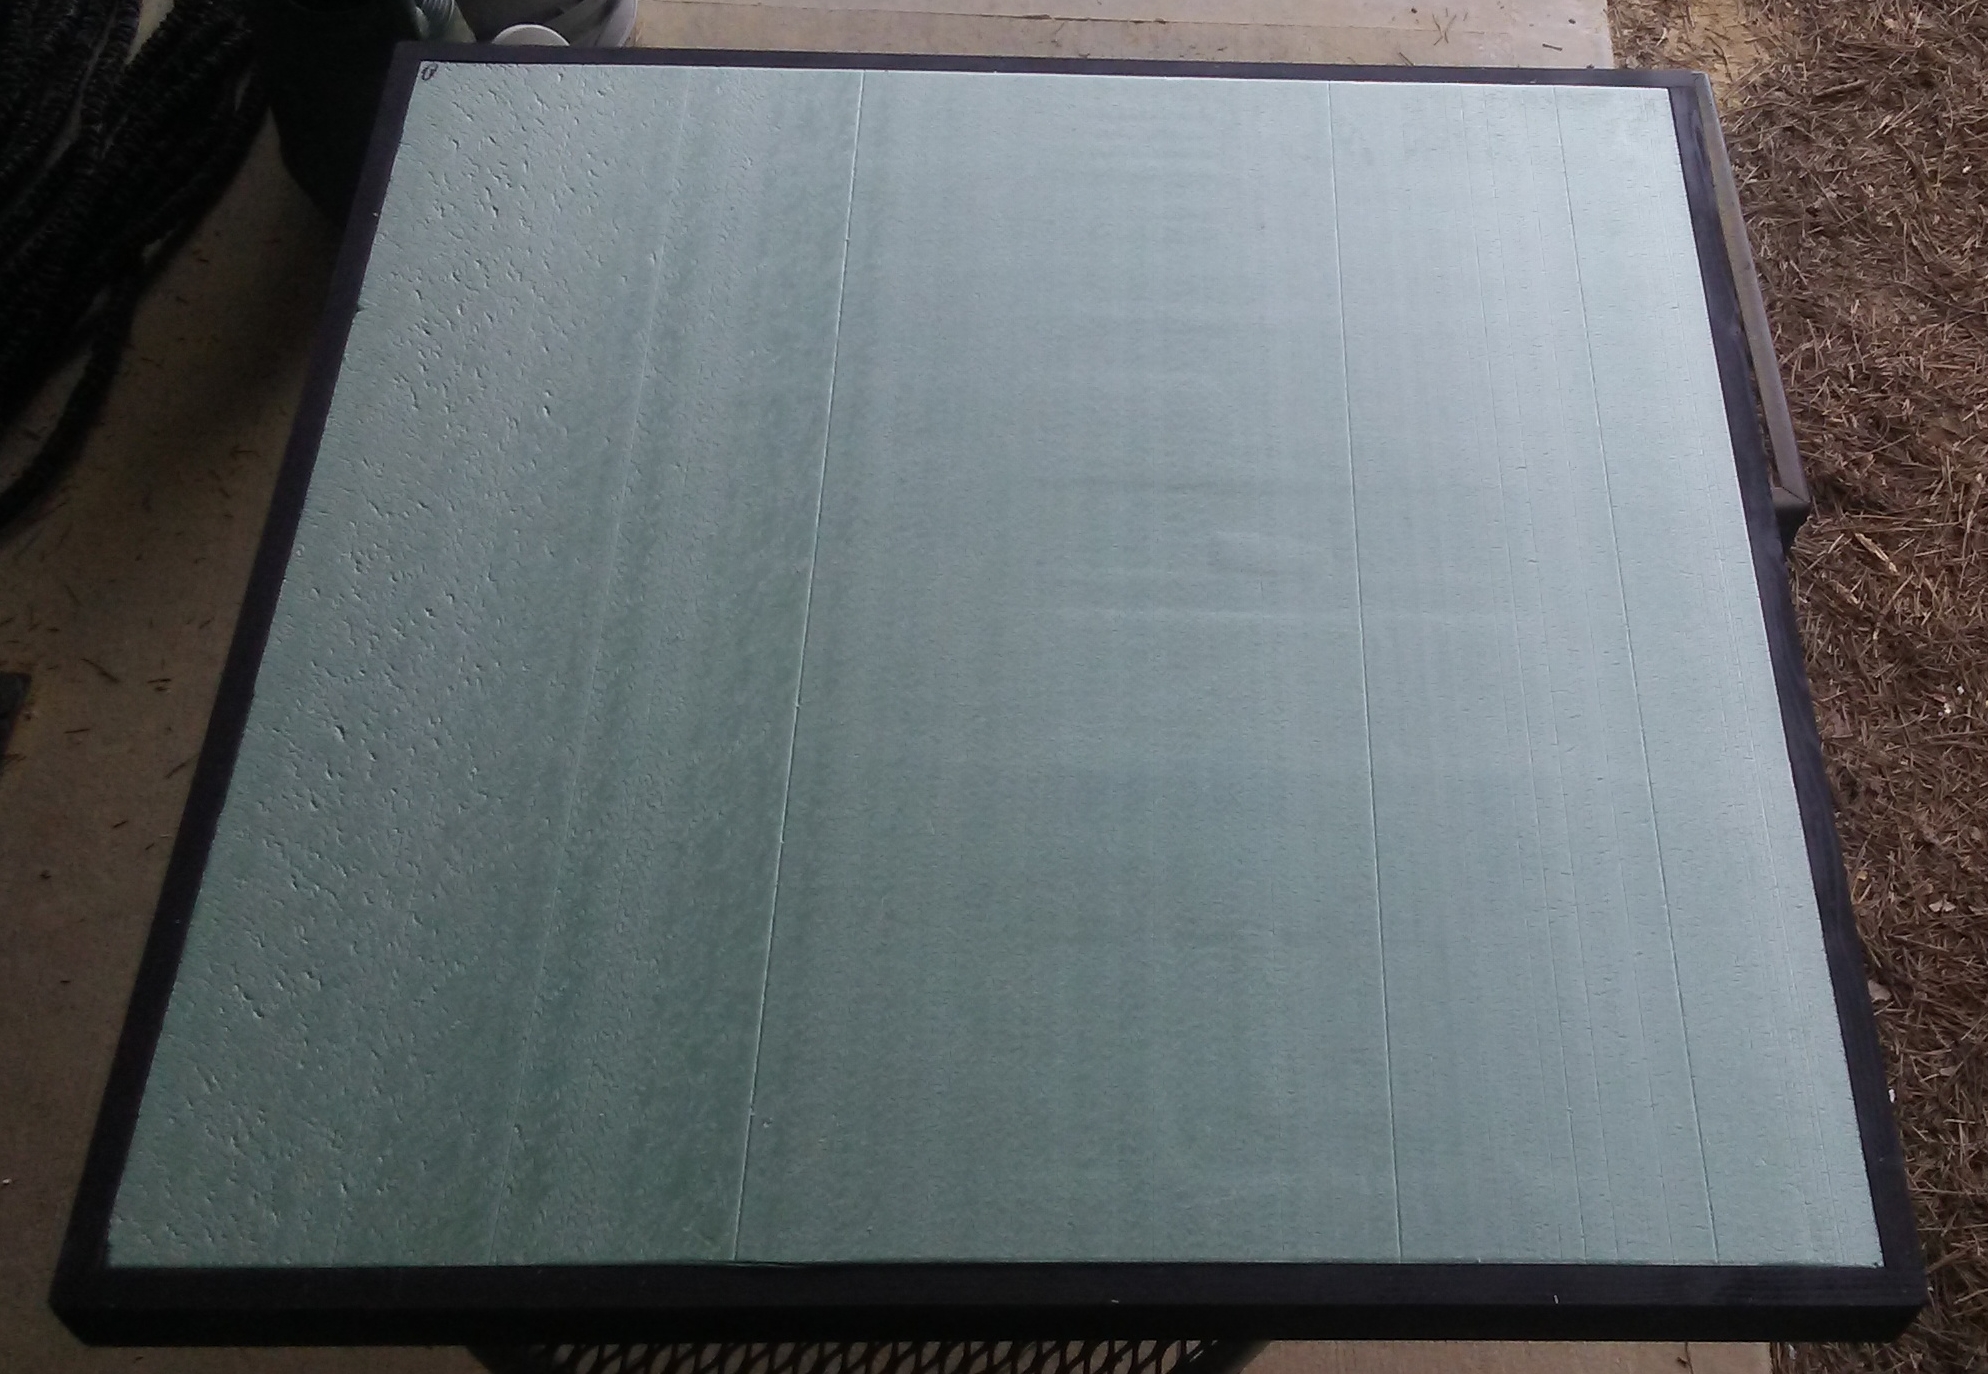 |
| Foam, cut and placed in the board. |
I did not glue the foam into place yet. Pits are an important part of the terrain. Much of the game involves knocking your opponents back with your attacks, and pushing them into a pit can be a very effective way of removing en enemy fighter from play.
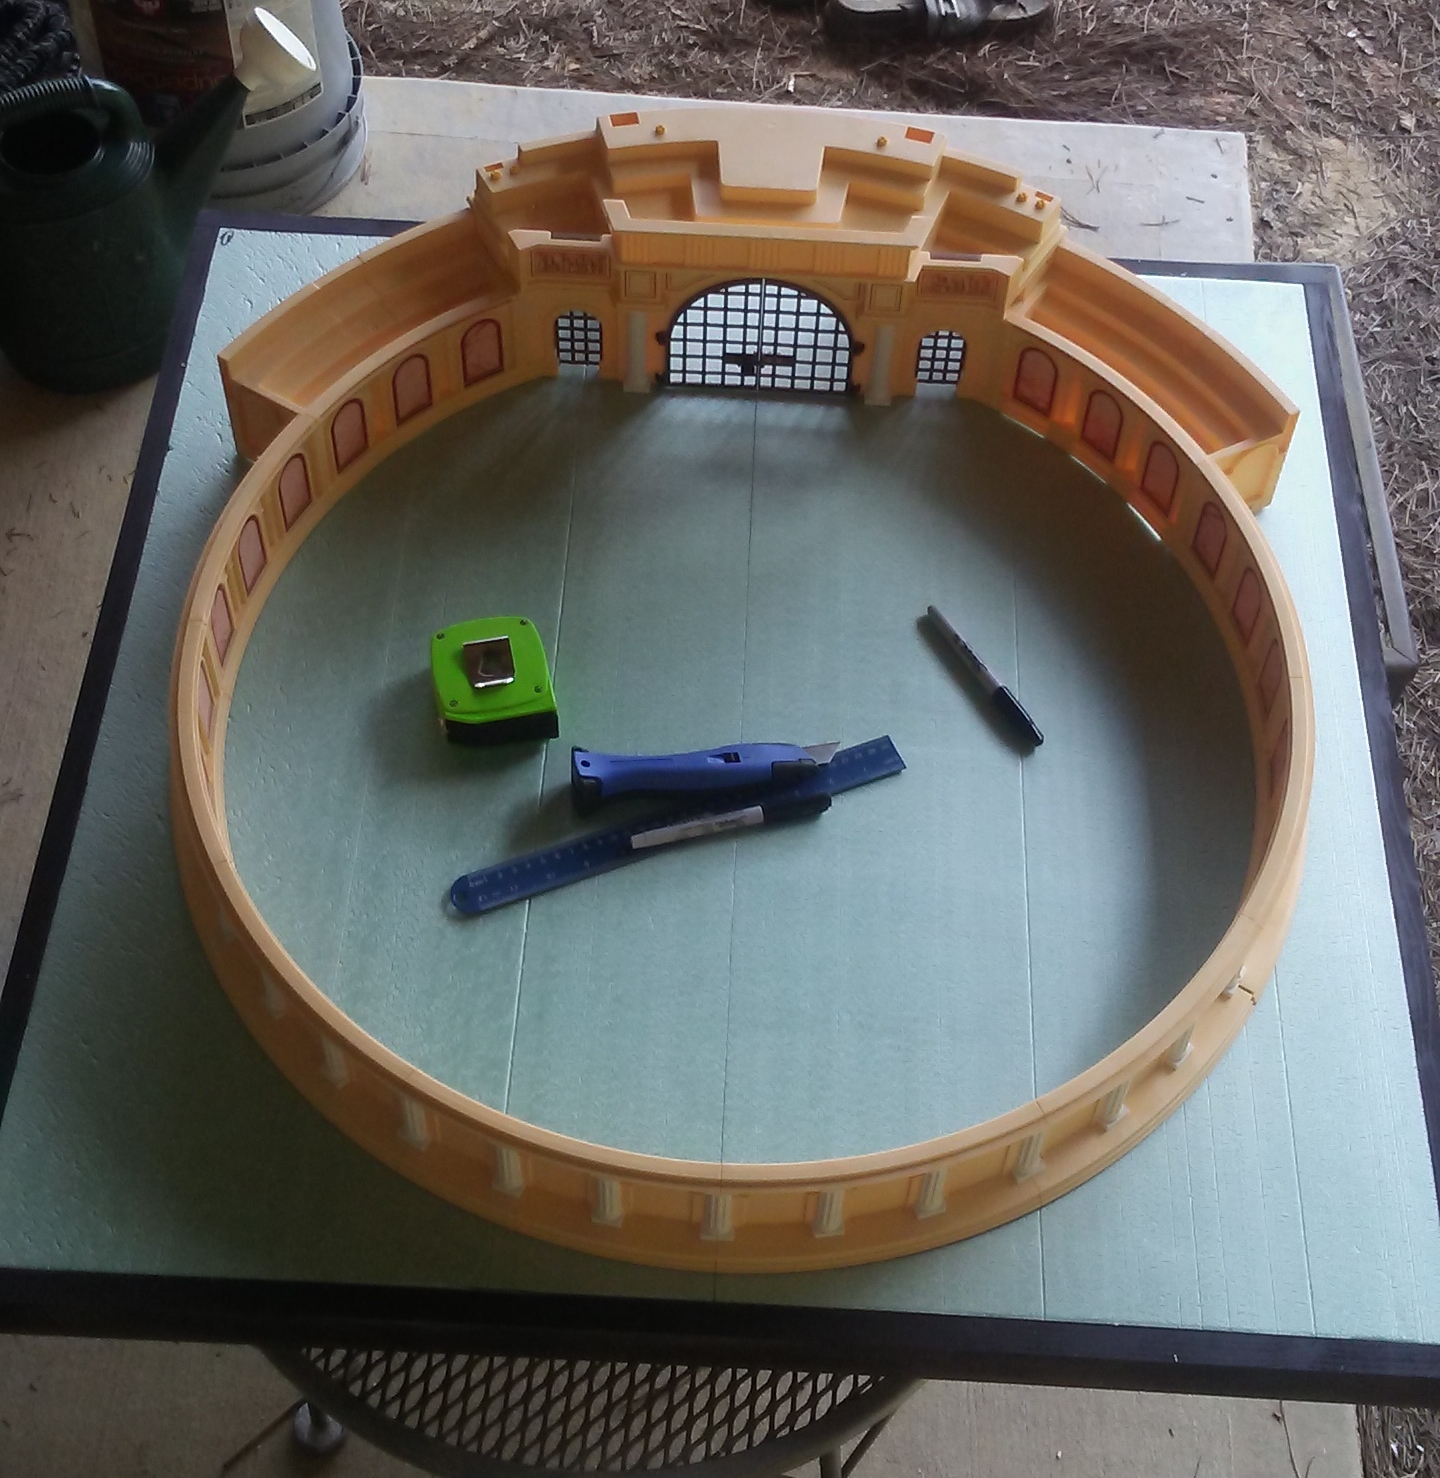 |
| Looking good so far. |
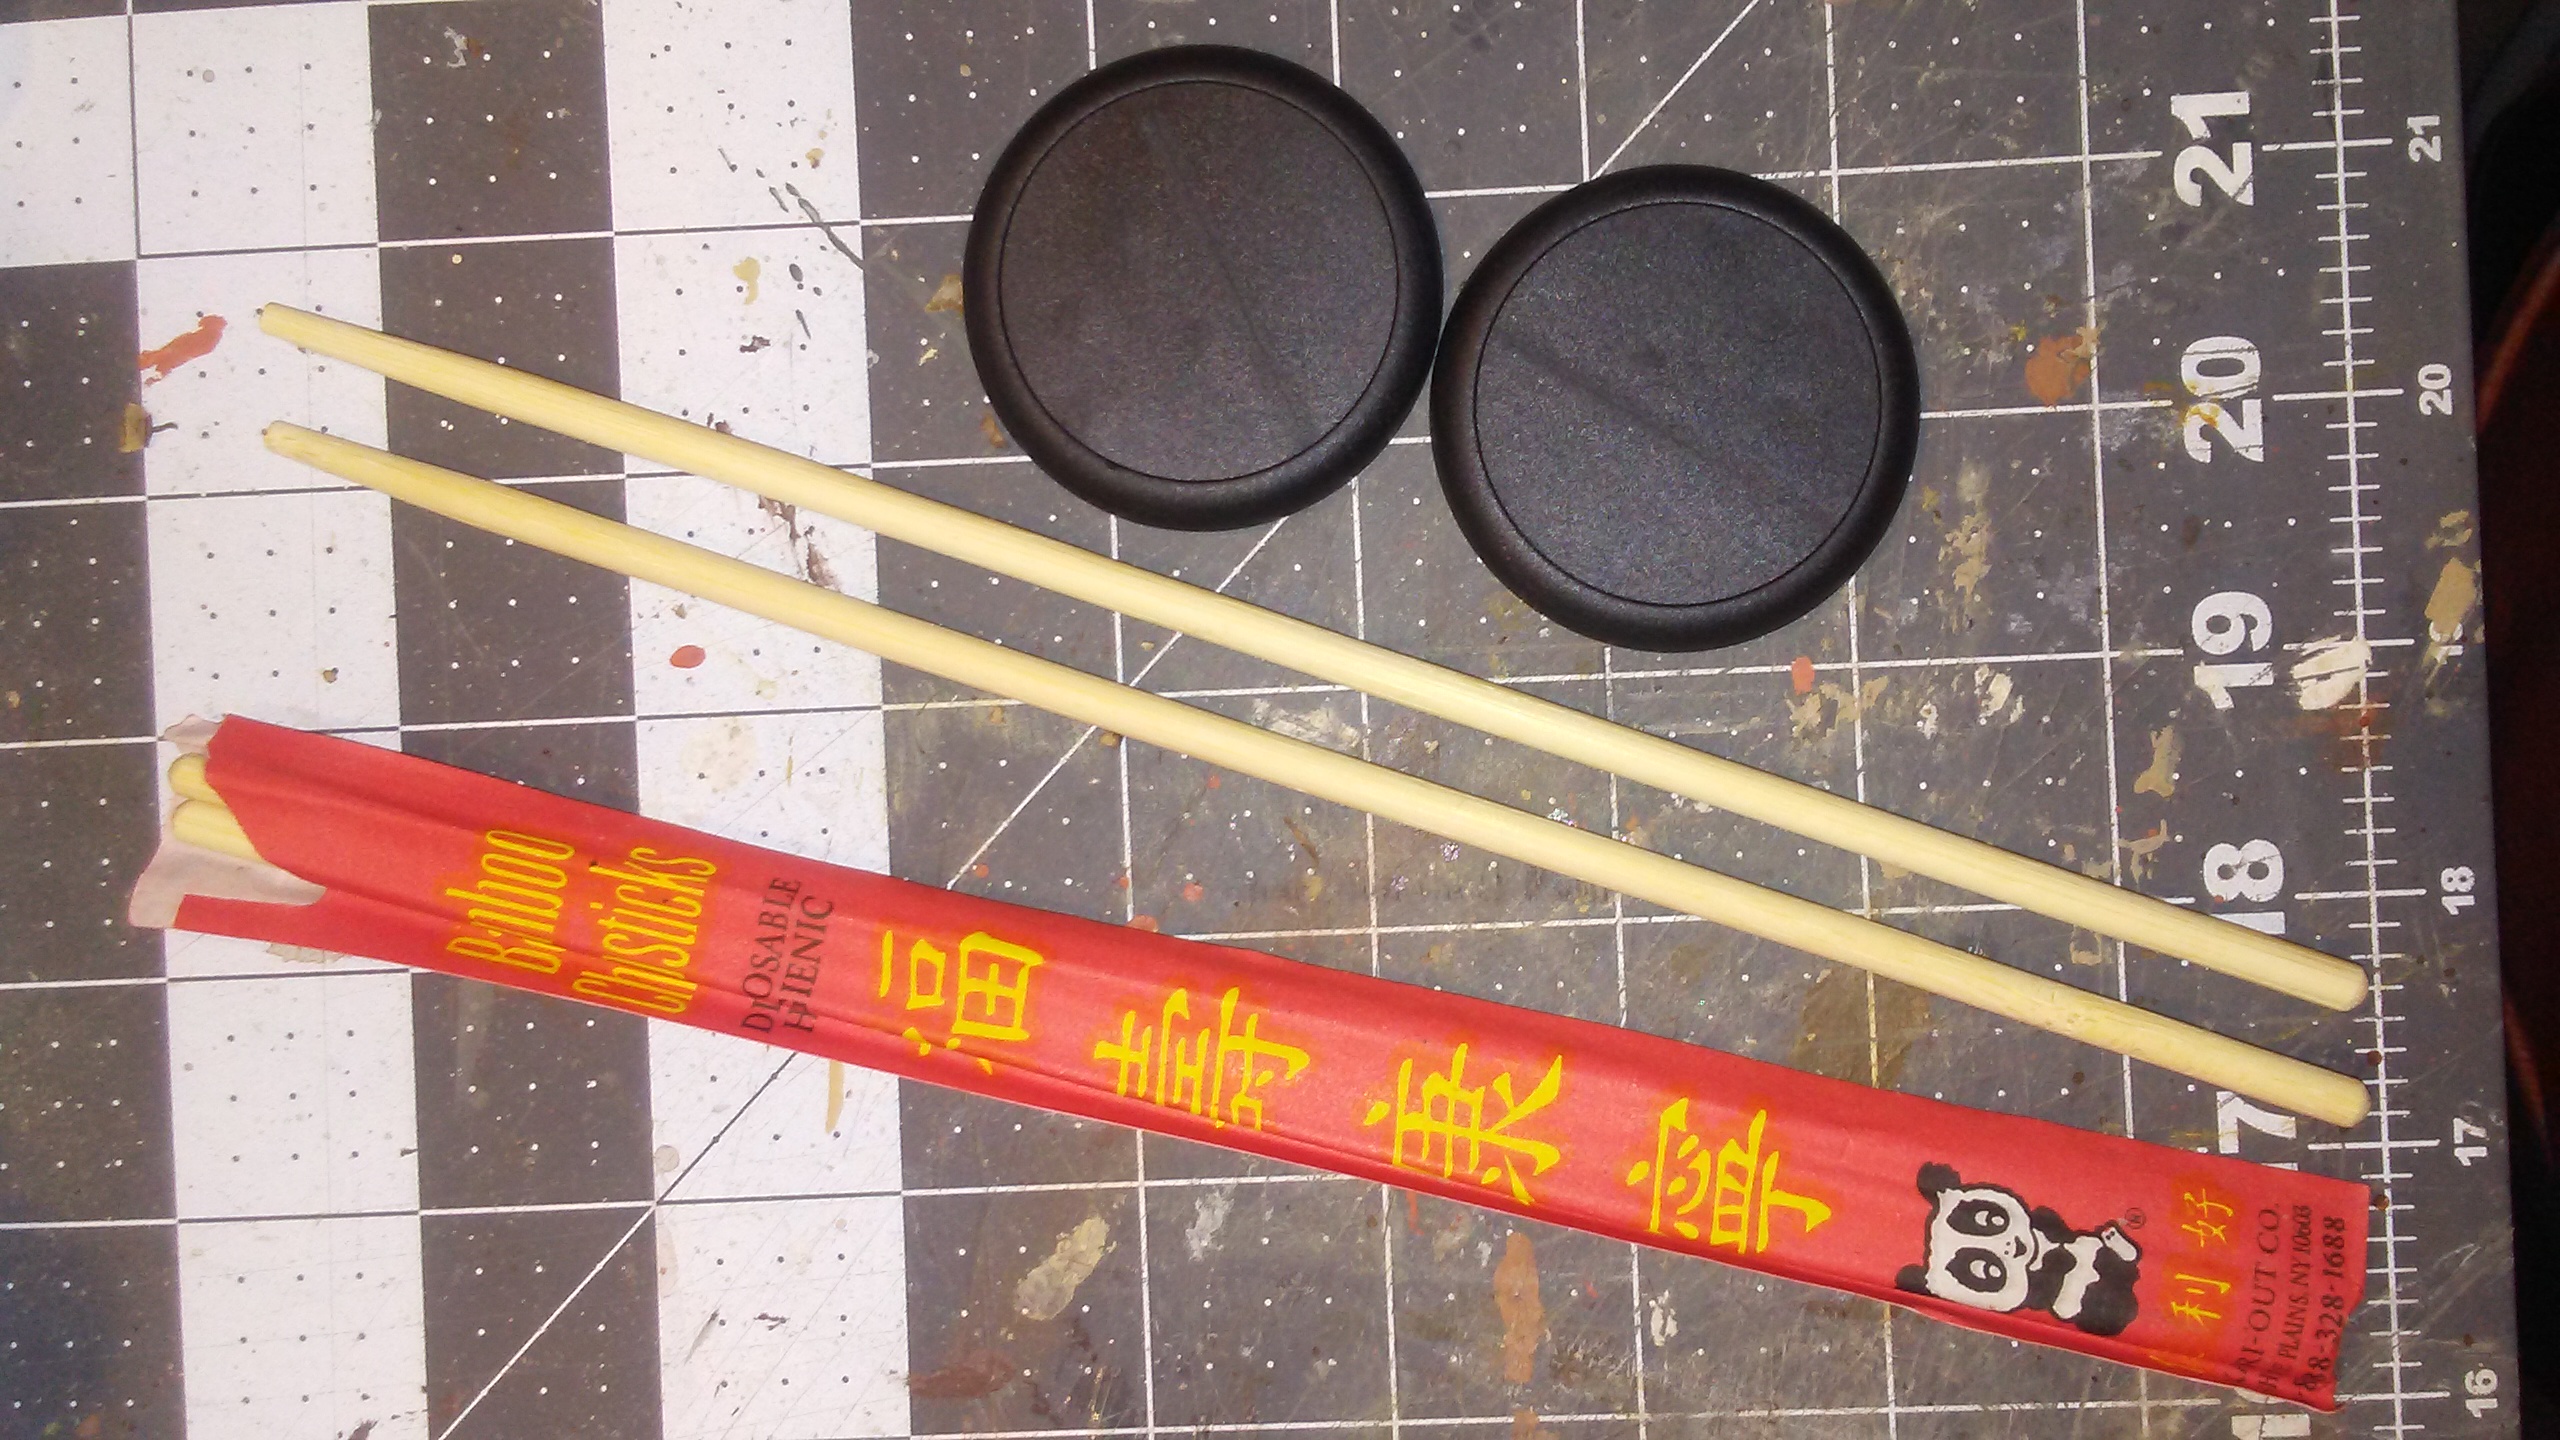 |
| Basic supplies for hazards. |
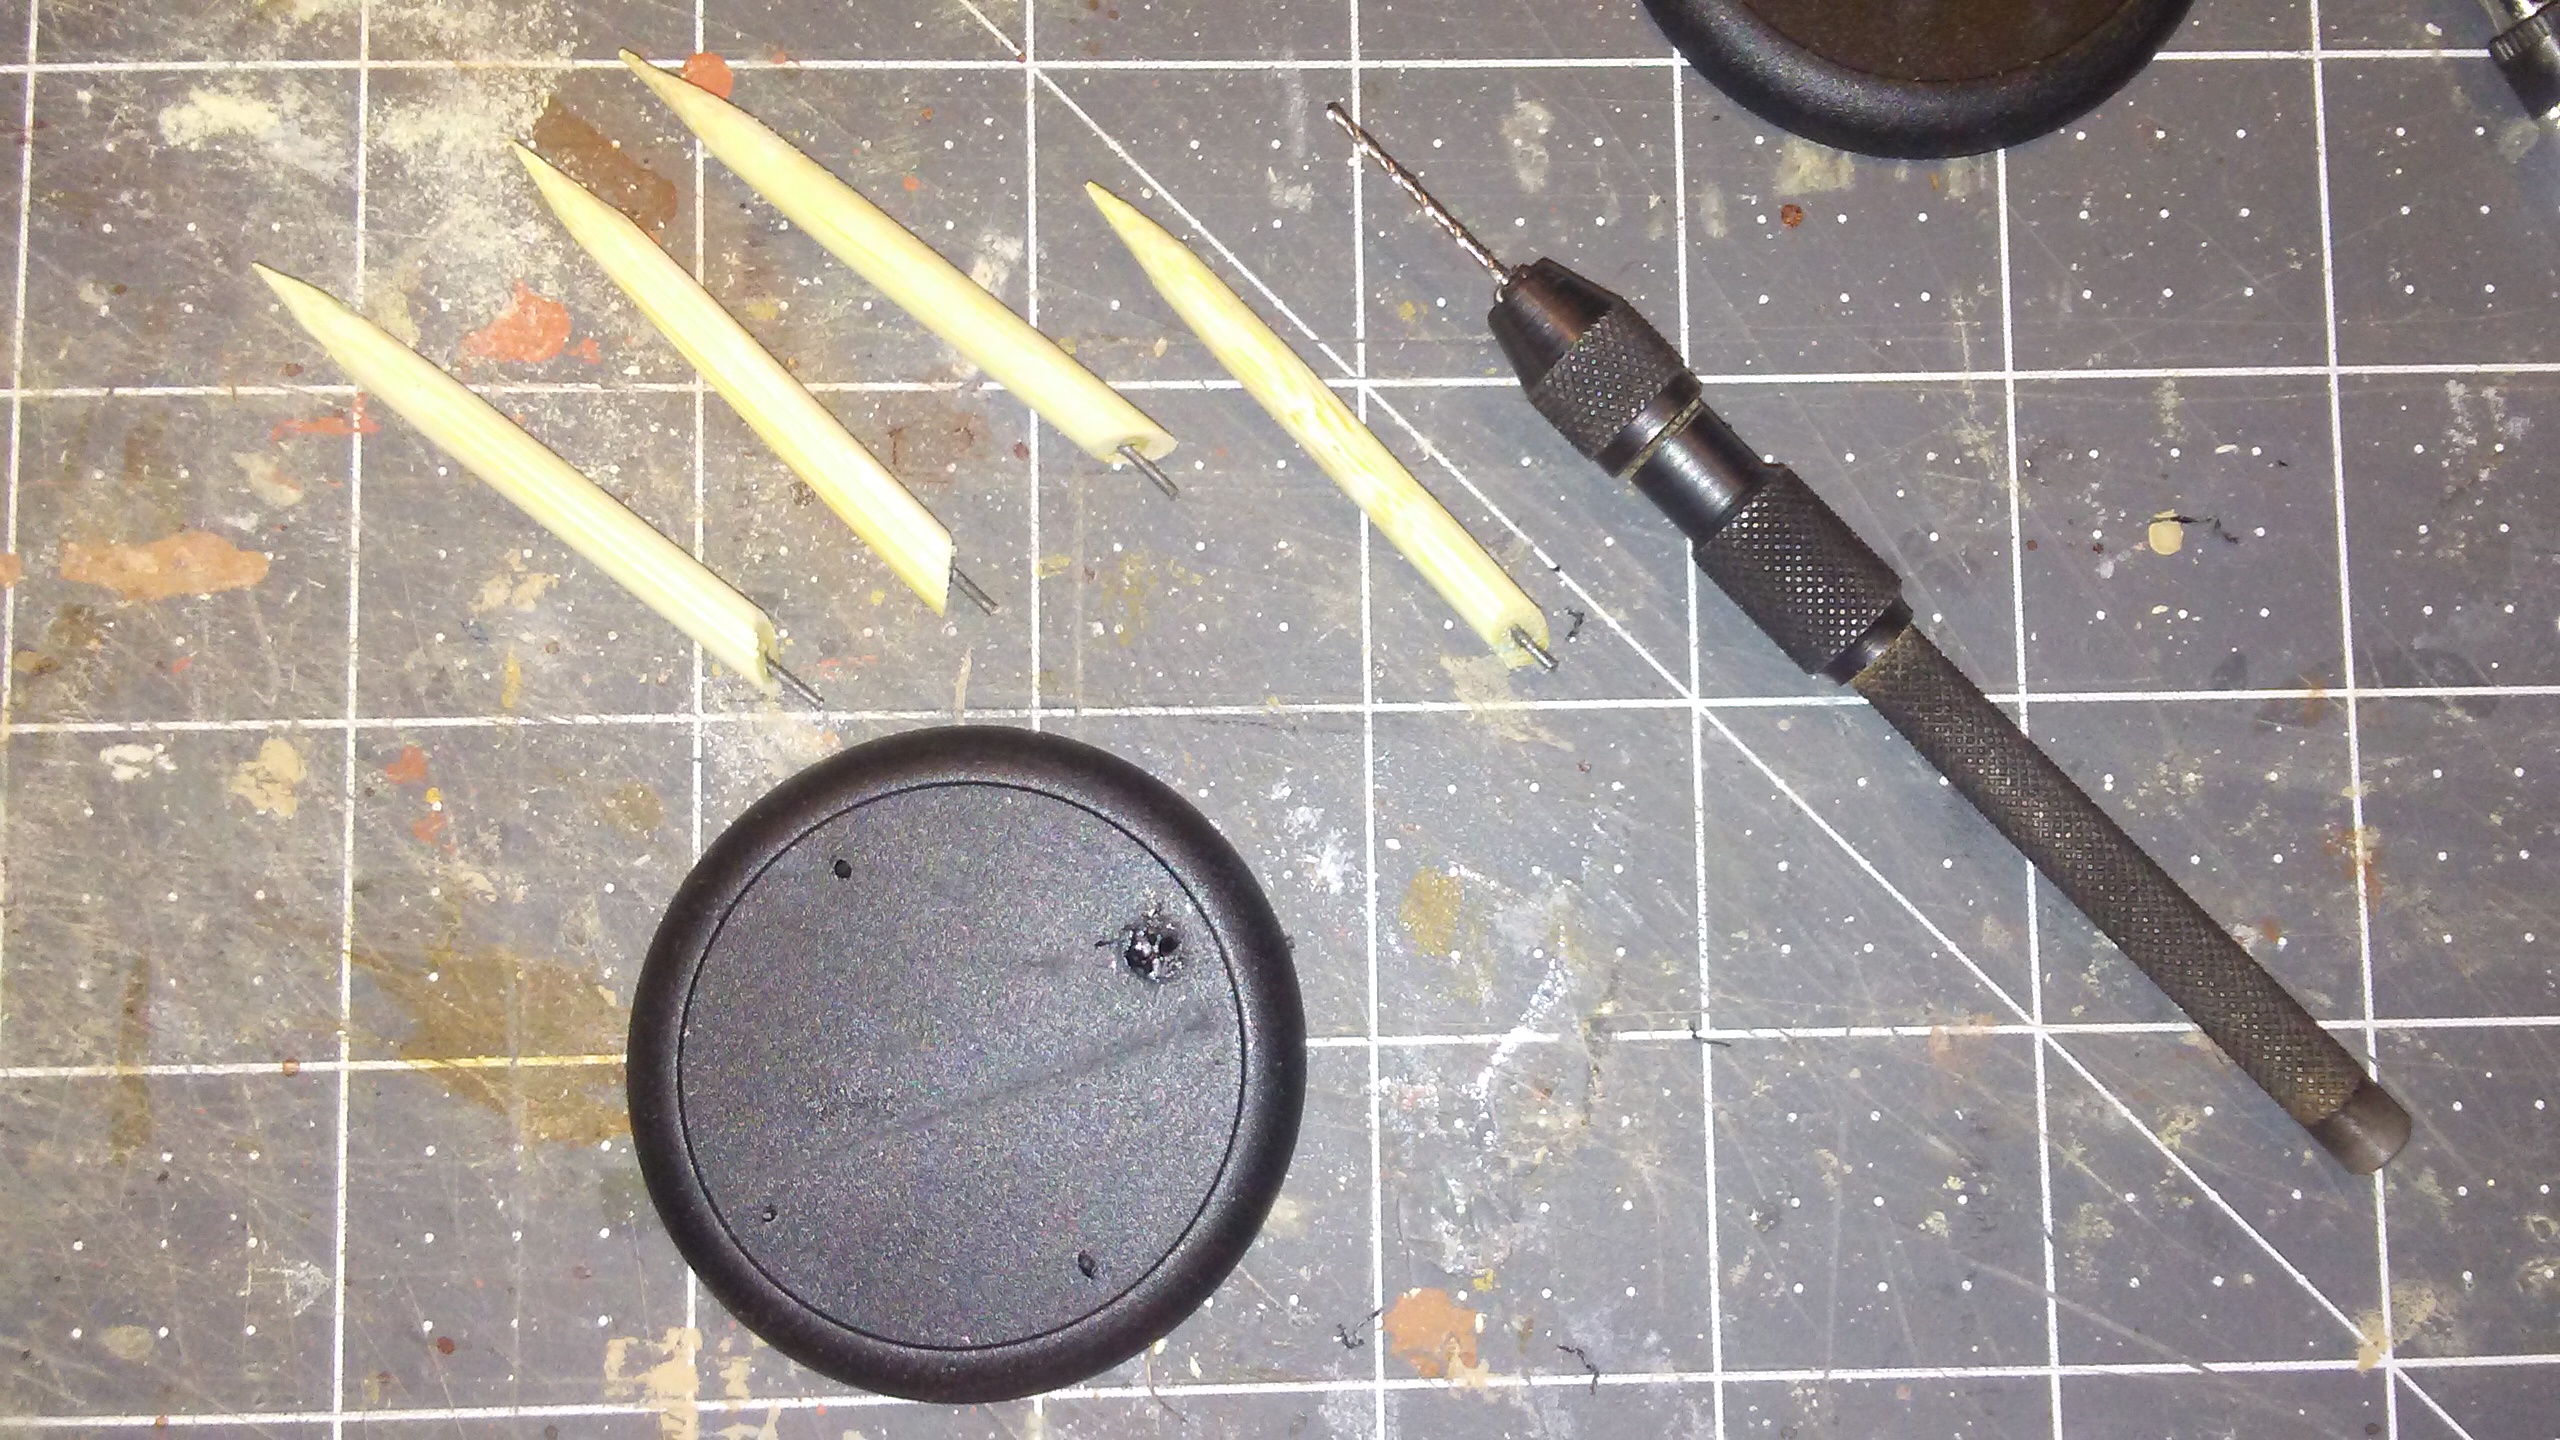 |
| Spikes cut to length and ready for gluing. |
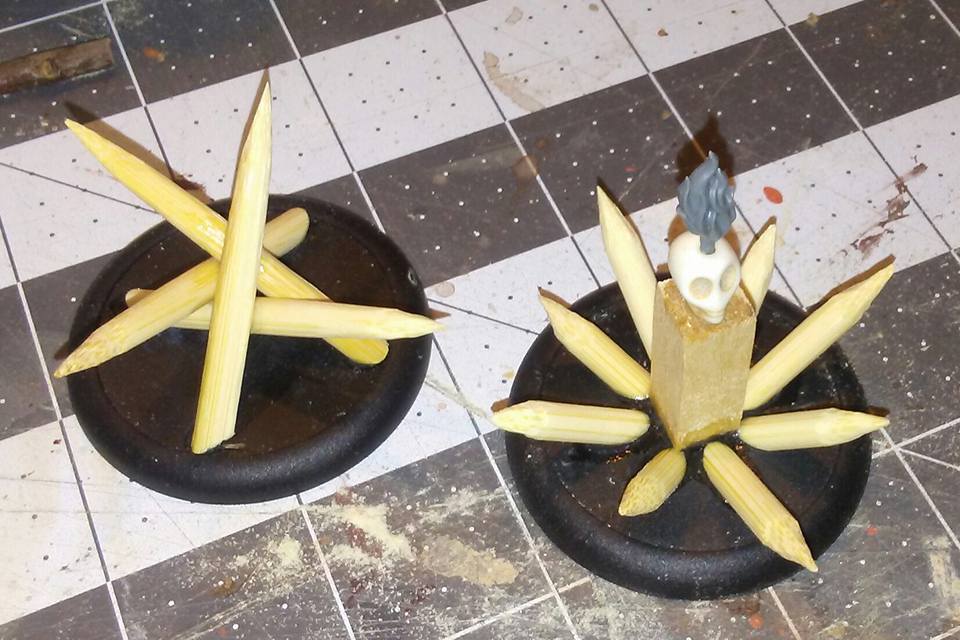 |
| Two hazards for the arena. |
I really enjoy the excitement of a new game. Planning new and different terrain, and seeing it take shape, is one of my favorite parts of this hobby. In fact, sometimes I enjoy making the terrain for a game more than actually playing it!
'Til next time!
No comments:
Post a Comment