Yesterday was a dreary day in our part of the world - not good for outdoor activities, but perfect for continuing work on my Viking building for Saga.
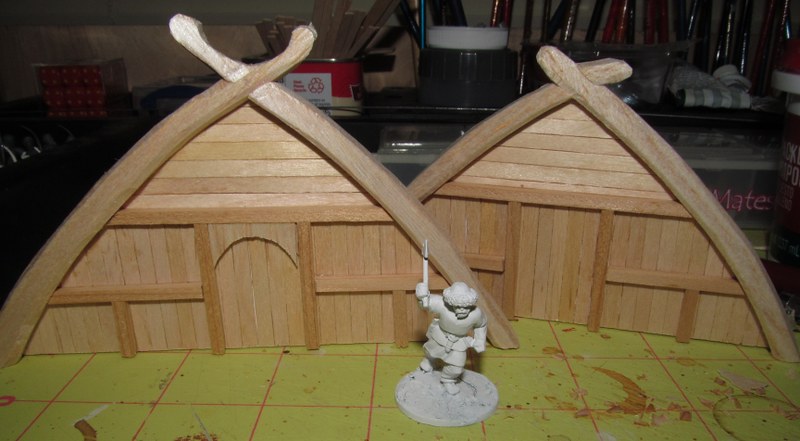
First, I finished the detailing on the ends of the building. I added the bracing strips, and an arched doorway on the entrance:
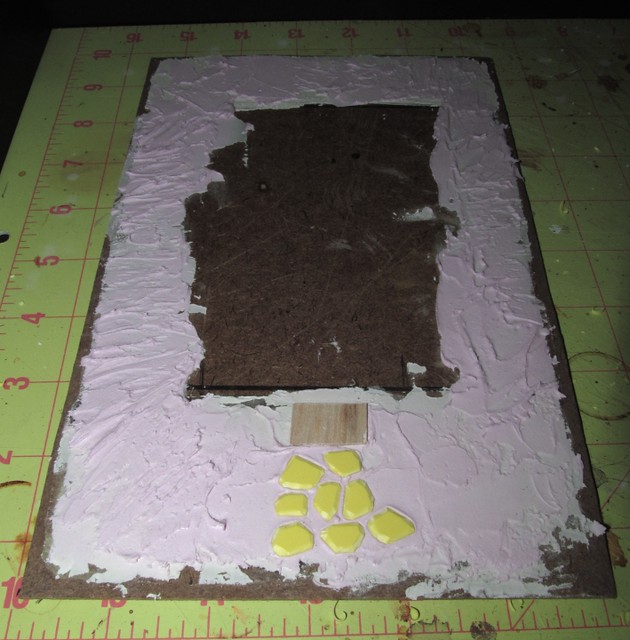
After that, I turned my attention to the base. I found a scrap piece of MDF that was approximately the right size, and beveled the edges with an Xacto knife. I drew on the rough contours of the building, and used spackle to build up the terrain a little. I also added some stones and a step leading up to the door.
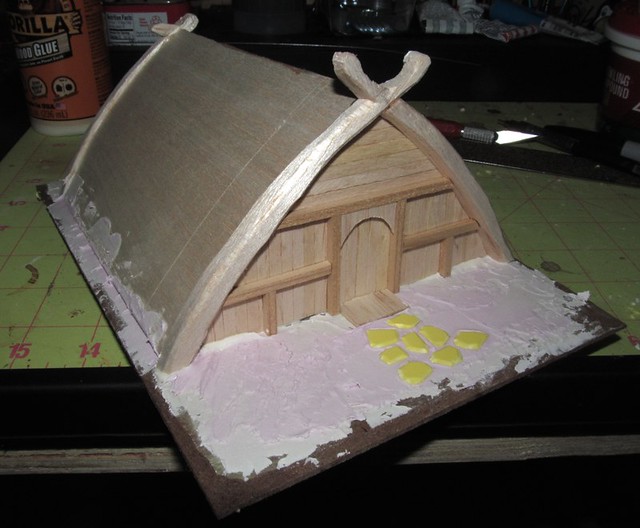
I glued the ends in place, and added a roof. For the roof I used some thin balsa that I was able to bend around the slight curve of the building. Some glue, some weights to hold it in place, and a touch of superglue at the very ends, and it stayed in place quite nicely.
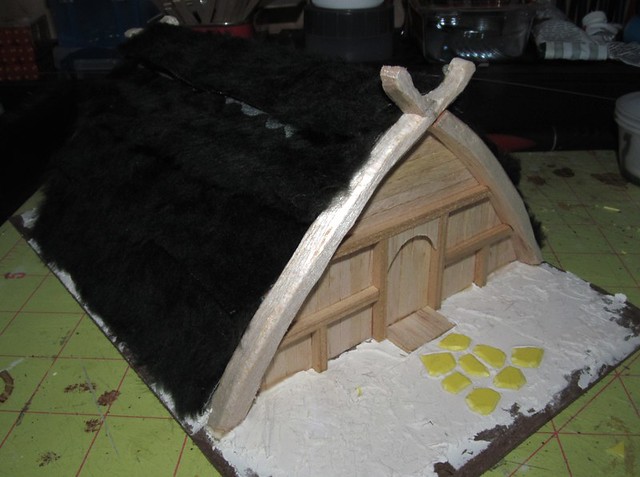
Once that was done it was time to turn my attention to the thatched covering. I had some teddy bear fur that I bought a long time ago for just this type of project. It is a very unattractive dark green color - but it was on sale, what can I say? Besides, after painting it will look (I hope) great! I cut several strips of the fur material and glued them on. I did make a mistake on the top section along the crown of the roof. I glued the fur on with the "grain" of the material going in the same direction (horizontally) as the rest of the pieces. This meant that on one side, you could see the material underneath the fur, and it looked bad. I removed that piece and replaced it with a strip cut with the grain going perpendicular to the rest of the strips, so I could "comb" the thatch down in the directions I wanted.
When the strips were glued down, I "painted" the entire roof with a watered down PVA mixture. I actually used Scenic Cement from Woodland Scenics, since I was too lazy to mix my own. The best I can tell, this is basically watered down adhesive, so it should work well.
Then I set the building aside to dry completely. Once that's done, it'll be time for priming and painting!
'Til next time!


No comments:
Post a Comment